


Make Over Books An Old School Way
3 Materials
$8
30 Minutes
Easy
Looking for an inexpensive way to update your shelves or bookcase? I've found an easy way to makeover your books for a beautiful new look!
Here is a temporary no tape solution that covers your books, in just a few minutes!
This project was inspired by a memory of going back to school and my mom and I wrapping my school books in brown grocery bags 
Do your books look like this? A mismatched group of colors. A great way to get a designer look is to make them all a neutral color!
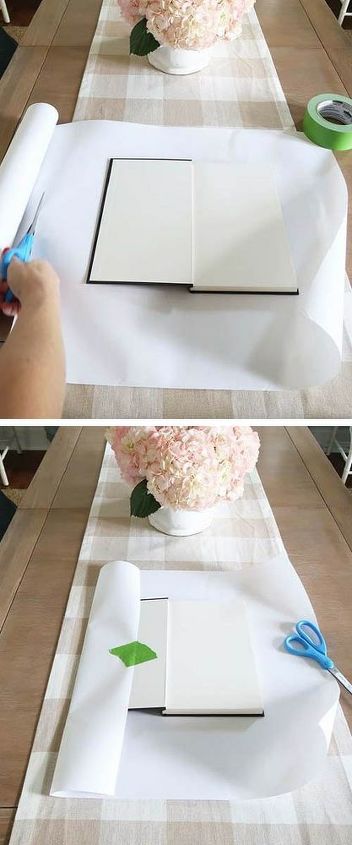
Step 1
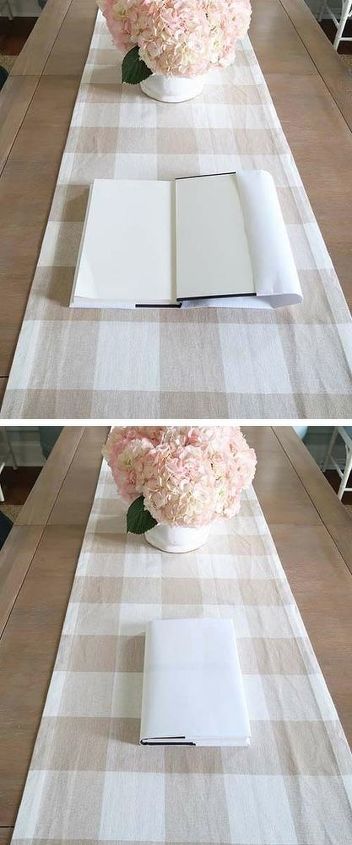
Using white craft paper, layout out paper under the book, with the book OPEN.
Make sure to leave about 3 inches on either side, so they can be folded over the book cover and the book can be closed.
Using the Frog Tape, fold paper over front cover and secure. This will help keep the paper straight, as you fold over the paper on the back cover.

Step 2
As you did for the front cover, fold paper over back cover and again make sure the book will close. If needed, adjust the fold to fold over less paper.
Using your fingers, push down on ALL edges of the book. Top, bottom, and all sides. This will be your folding template later.
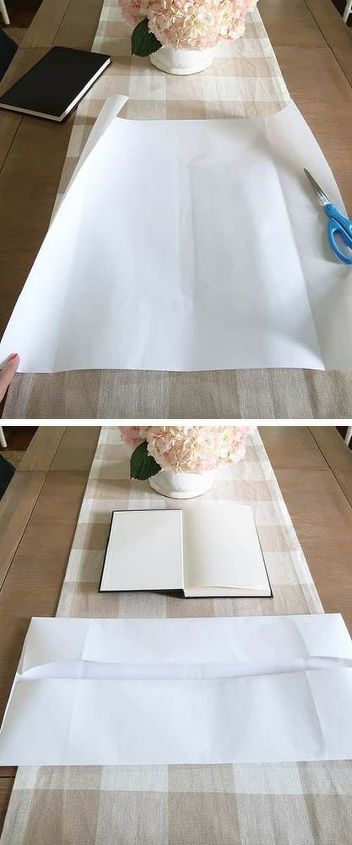
Step 3
Remove Frog Tape (gently to not tear the paper) and remove book from paper. Open up the paper and lay flat on the table.
To give you visual perspective, I've left the book open to show you how the paper will be folded.
Using the previous CREASES fold over the top and bottom parts of the paper, which is equivalent to the top and bottom parts of the book cover.
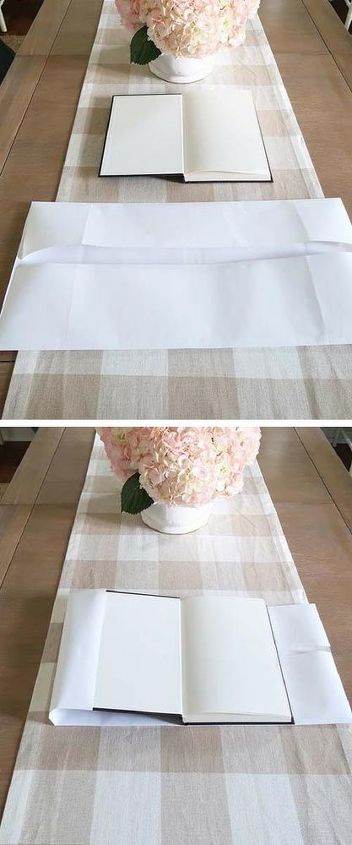
Step 4
Place book on top of paper as shown and gently slide the folded edges over the front of the book cover. Keep sliding until you hit the crease you created earlier.
Step 5
Repeat the same process for the back cover and slide the folds over the cover. Make sure you can still close the book. Make adjustments as needed by sliding the paper.
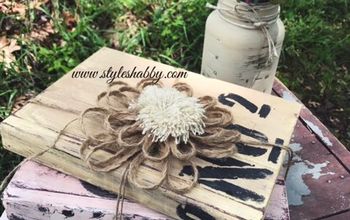
Now the book is COVERED! Wow, wasn't that easy to do and kind of fun :)
You can see that there is a bit of a stripe effect where the black book shows through the paper. It really doesn't show much, when the books are placed.
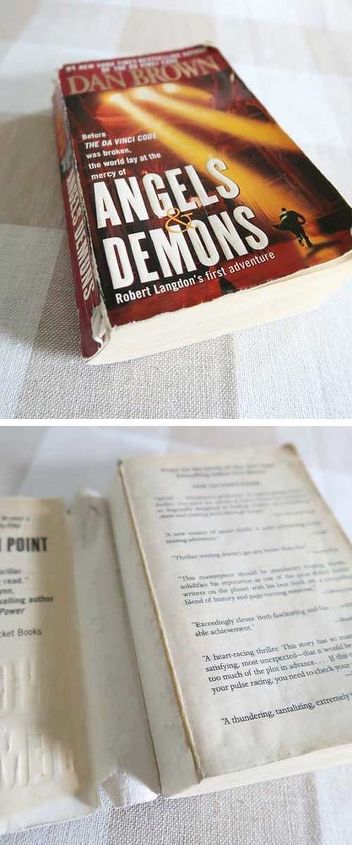
How-to Makeover Paperback Books by Removing the Cover
This one almost seems TOO easy, but it creates a really cool look mixed in with the wrapped books!
If you have old books you know you won't read, this is a good option. OR you can look for flea market finds in second hand stores for pennies on the dollar.
Removing the book cover literally takes 30 seconds! Just pull VERY gently.
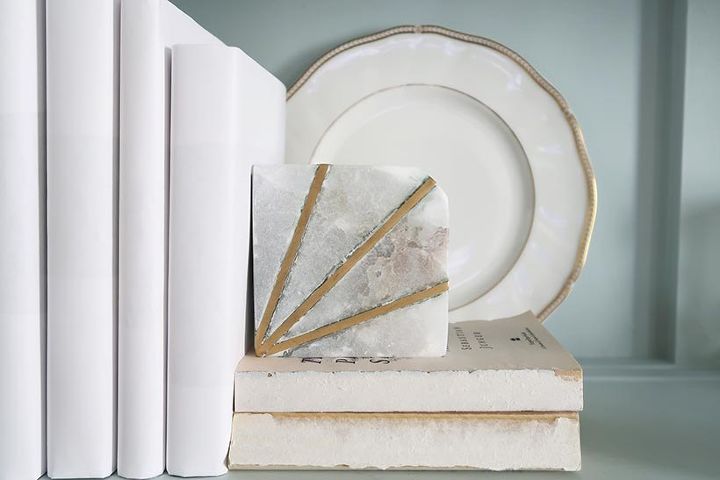
Don't you love this look with the cover removed? For my bookcase, I removed the covers of 4 paperbacks and think they look SO COOL.
Isn't upcycling an old item the best feeling ever?
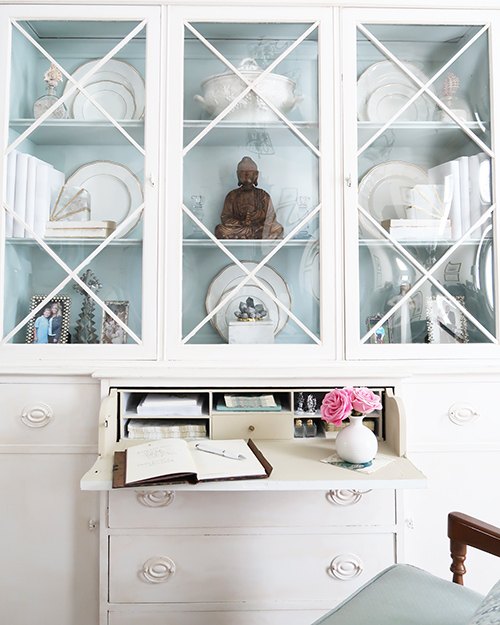
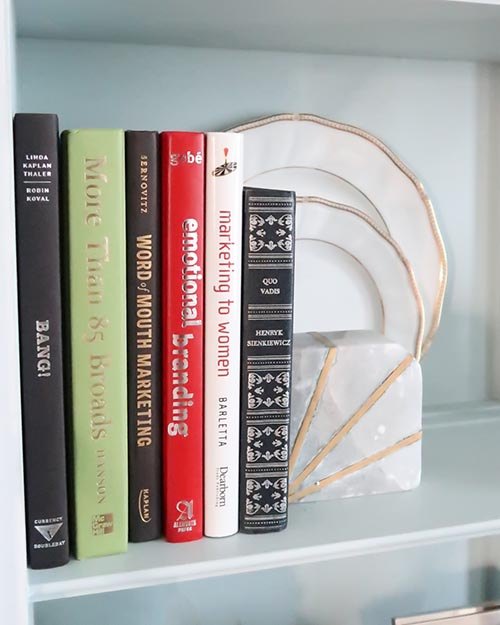
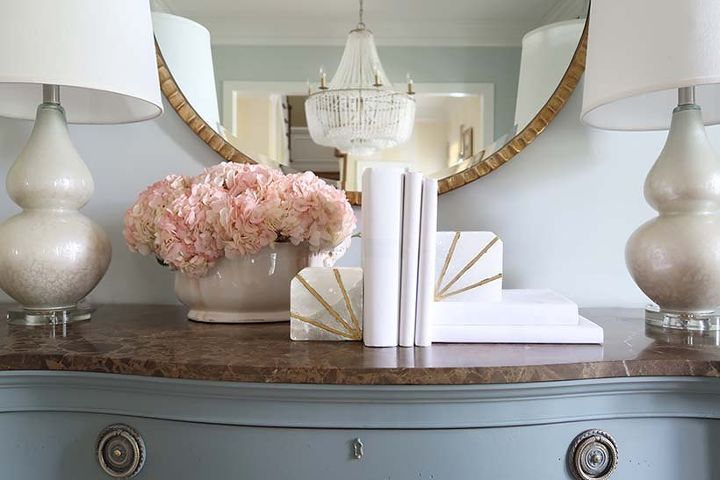
Here is the final look with the books in the bookcase, for that designer look!
Please visit my blog for the full makeover of the bookcase

Want more details about this and other DIY projects? Check out my blog post!


Frequently asked questions
Have a question about this project?