


Fabric Pumpkins On Wood Board
6 Materials
$5
2 Hours
Easy
Hi, it’s Brittany from Our Home Made Easy! I am passionate about sharing easy DIY projects around the house for other busy families.
Today I wanted to share how you can make a cute & quick fabric pumpkin with zero sewing needed! It makes for an inexpensive fall decor piece of art.
You can see the full tutorial on OurHomeMadeEasy here.
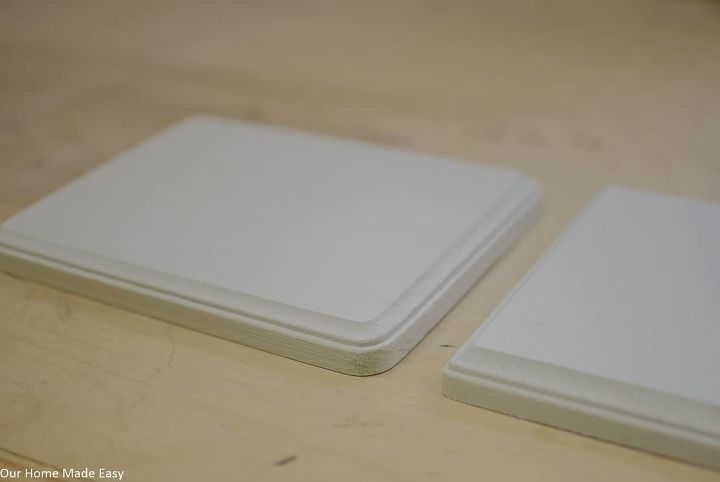
Using craft paint, coat your wood plaque/board with 2 coats of paint. I chose a light color so that my orange pumpkin would ‘pop’ against it. Let it dry.
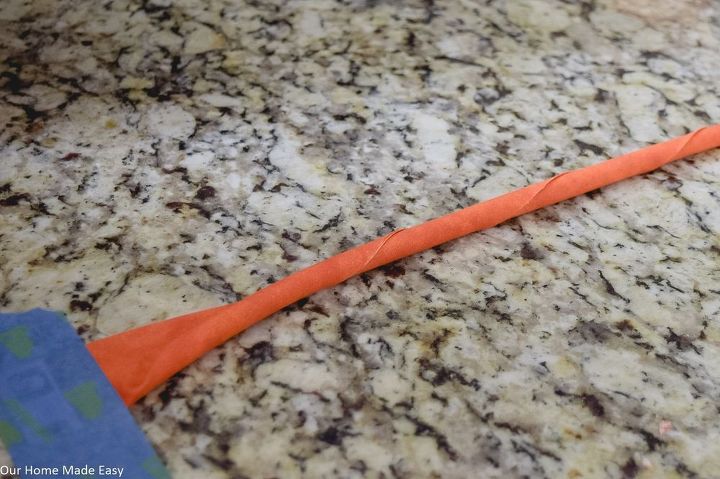
Cut your fabric about 2.5-3 inches wide and 42” long (the full width of the bolt). Take a piece of painter’s tape or masking tape and tape one end of the fabric to your table.
Slowly twist your fabric to create the rolls. Repeat for the entire length of the fabric.
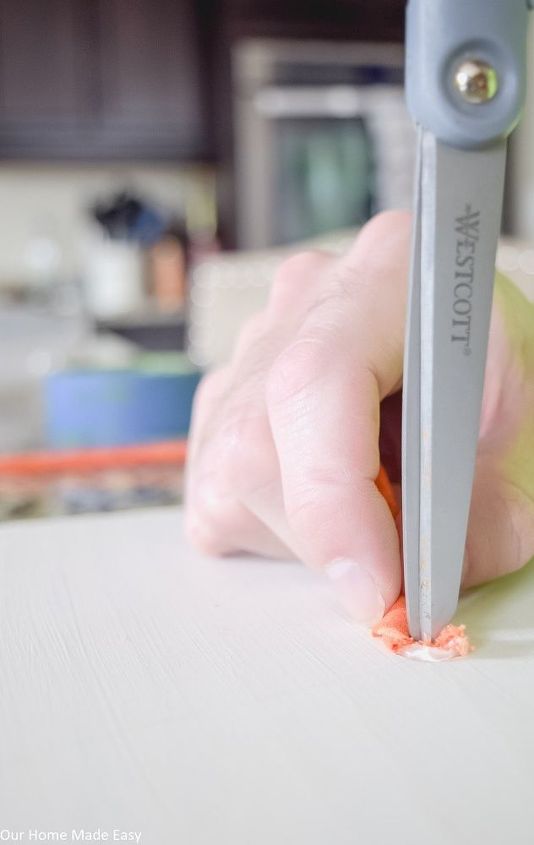
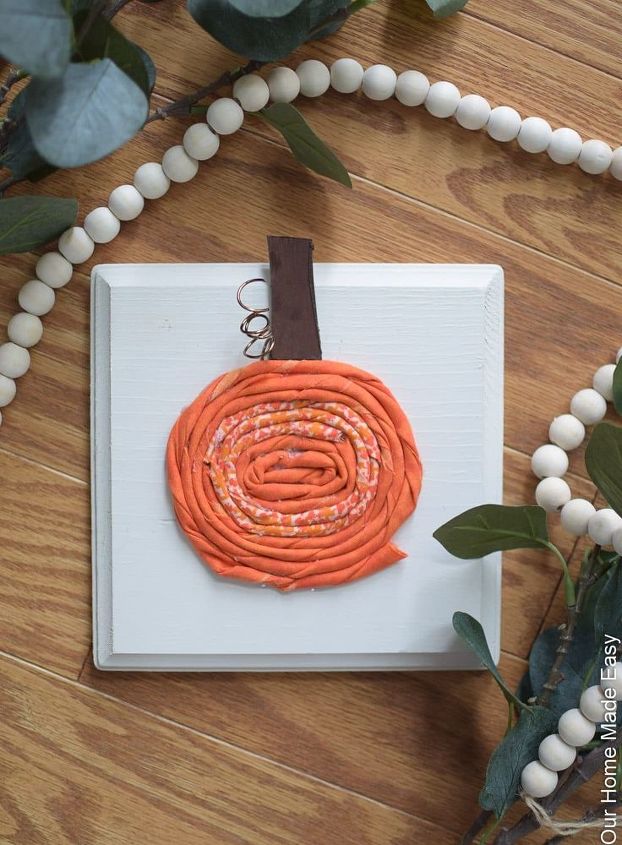
Starting in the center of your board, hot glue the open (non-taped) end of your fabric to wood board. Twist the fabric in a circle.
Once you have 2-3 rotations, trim the fabric and hot glue the end to the wood board.
Repeat for the second fabric. Complete your pumpkin by gluing 1-2 rotations of your first fabric and you’ve finished your pumpkin!
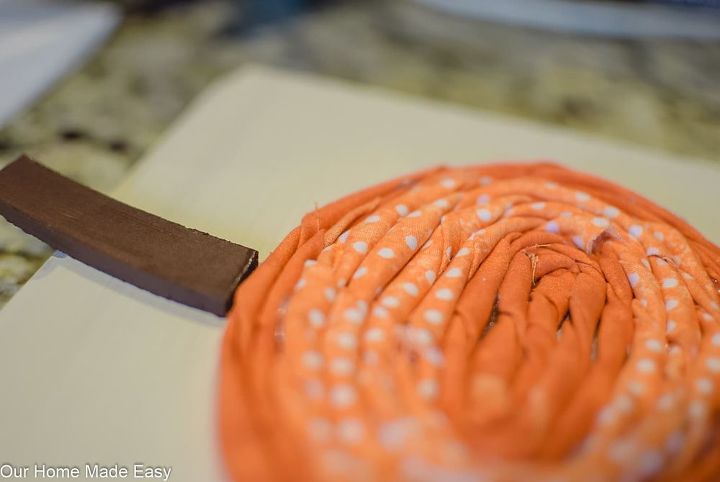
We used a leftover piece of MDF, but an sturdy material will work. Cut out a stem shape. Paint it brown with craft paint. Allow to Dry.
Hot glue the stem on top of your fabric pumpkin.
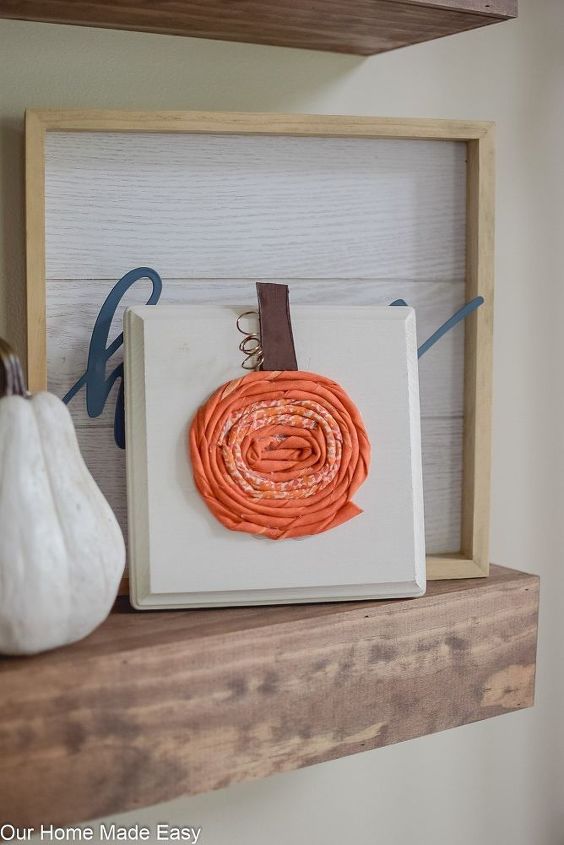
Using thin wire, twist it in a coil with pliers. Snip it to size. Tuck one end into the fabric and hot glue into place.
Thanks for checking out our fabric pumpkins tutorial!
Find more easy projects on our Facebook page, www.facebook.com/ourhomemadeeasy !

Want more details about this and other DIY projects? Check out my blog post!


Frequently asked questions
Have a question about this project?