


Scrap Wood Custom Neon Sign
3 Materials
$10
30 Minutes
Easy
My neighbor had a lot of building work done over the summer. There was a constant skip/dumpster in our road. I managed to rescue some chunky bits of wood from this skip. I combined some of it with roadmaps to make some gorgeous map ornaments (see here). But with another piece, I made a cool custom neon sign for my son.

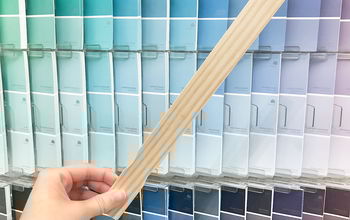
For this neon sign, I used a chunky bit of wood about 2 inches thick and 2 feet long. I wanted a piece of scrap wood that would stand on its own.
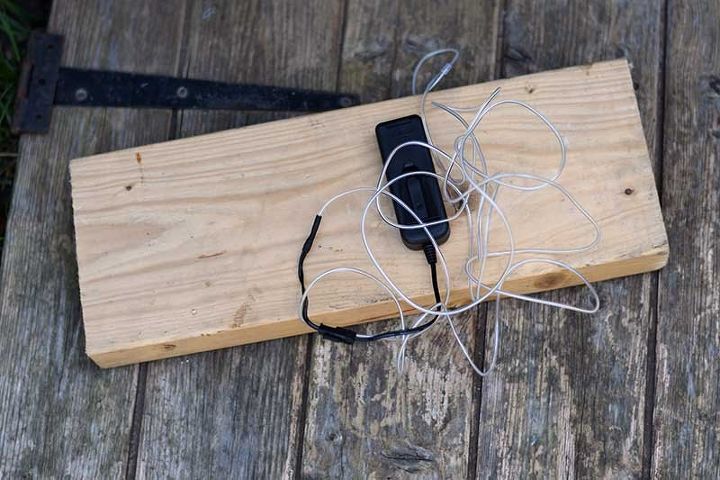
I also bought a 3ft length of El wire (see here) in blue. There are loads of different colors available.
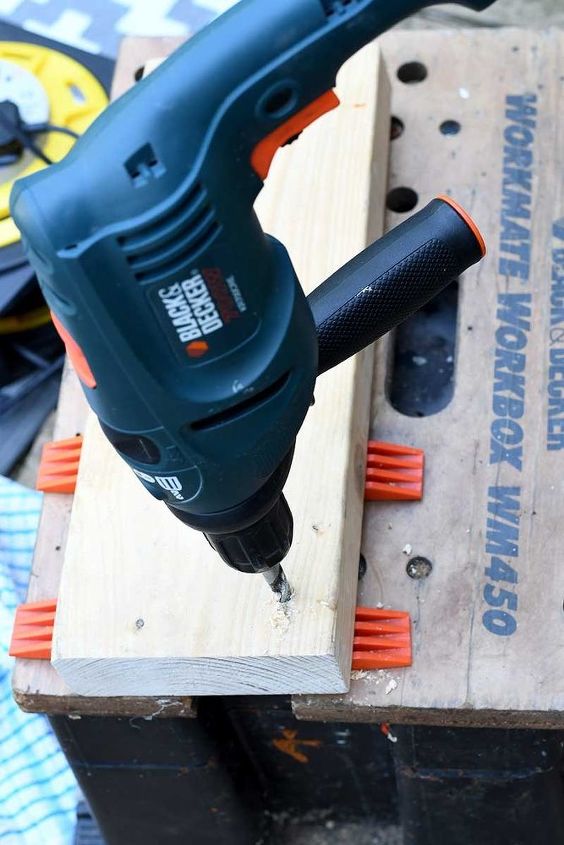
First thing I did was drill a hole into the piece of scrap wood, large enough for the El wire to pass through.
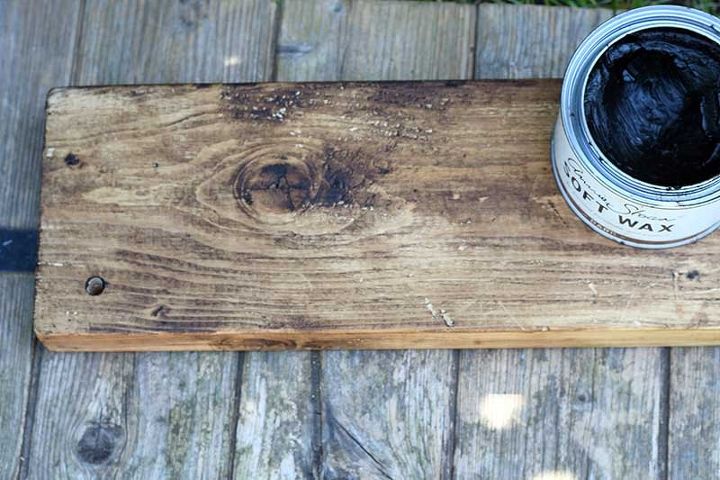
I sanded the wood and then I aged it with dark wood wax.
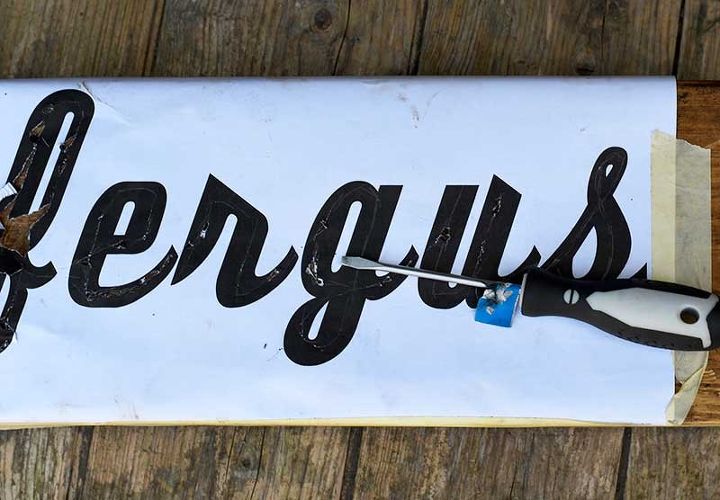
The neon sign was going to be for my son. I printed his name out in a script font big enough to fit the piece of wood. There is a fabulous free tool you can use on the internet to find the right font ( more details on the blog post at the end).
I taped the word to the front of the wood and then using a sharp tool such as a screwdriver I etched the word into the wood.
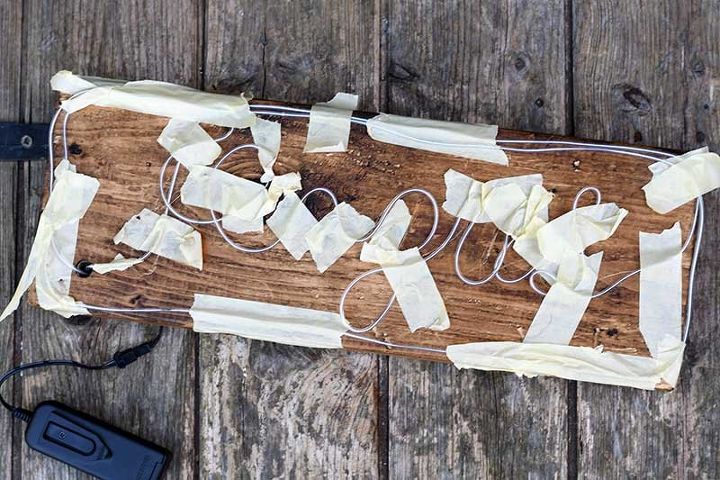
Next, I threaded the end of the El wire through the wood and traced around the word. Keeping the wire in place with masking tape.
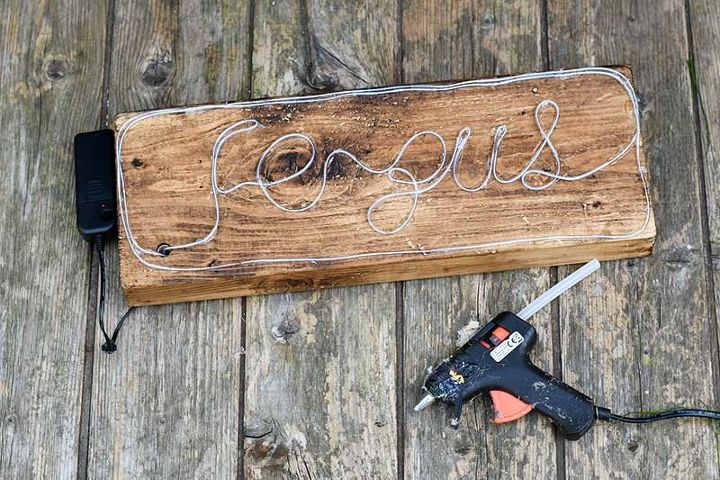
Once I was happy with the word design of the sign. I removed the masking tape and glued the wire to the wood using a hot glue gun.
Finally, I taped the battery pack to the back of the wood and switched on the sign. With the wire, you can have different modes from full-on, flashing to a fading light.
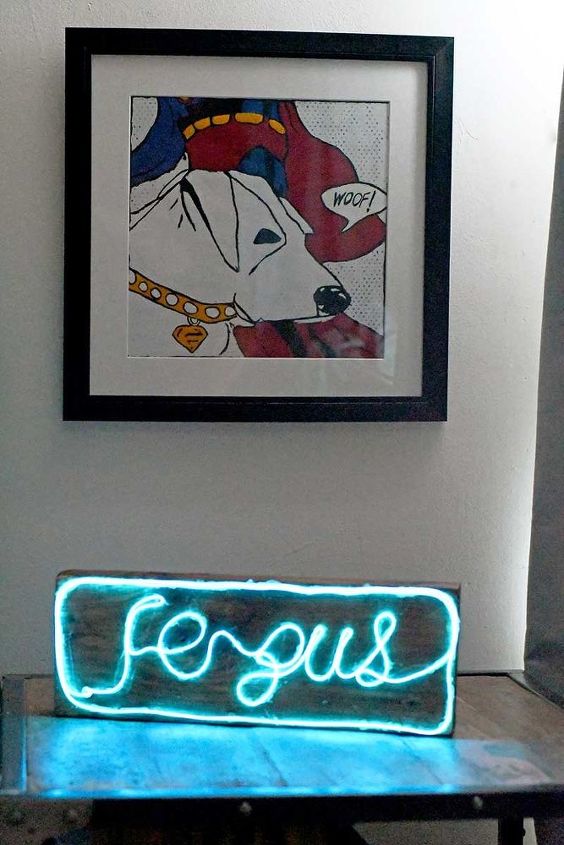
This fun project was well worth it just to see the smile on my son Fergus's face when he saw his name in lights!

Want more details about this and other DIY projects? Check out my blog post!


Frequently asked questions
Have a question about this project?