


Herringbone Cork Board
I love it when people ask me if I can make them something that I’ve never made before. I hardly ever think I can’t make that. Instead, I think how can I make that? Case in point: my friend Beth asked if I could make her a cork board. I’ve never made a cork board before but of course I said yes!
Beth has a successful career in the fashion industry and she needed somewhere to pin up samples and orders at her desk. She had been taping things to the wall behind her desk which resulted in the paint slowly chipping away (not quite the inspiring workplace view she was hoping for).
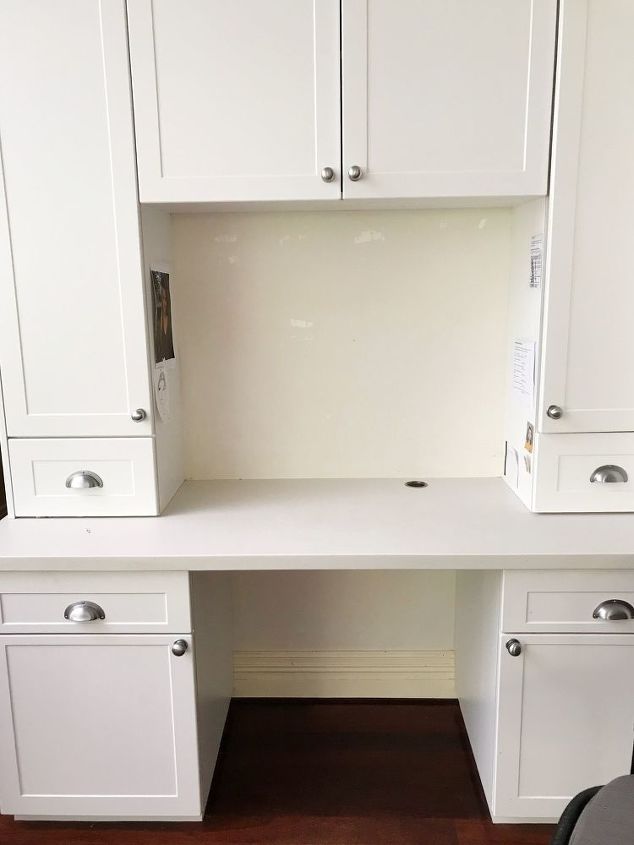
When Beth asked if I could make a cork board to fit this desk space I assumed I could buy a giant sheet of cork and cut it to fit. Ha! Haha! People, if you know of somewhere that supplies giant sheets of cork in Perth, please let me know.
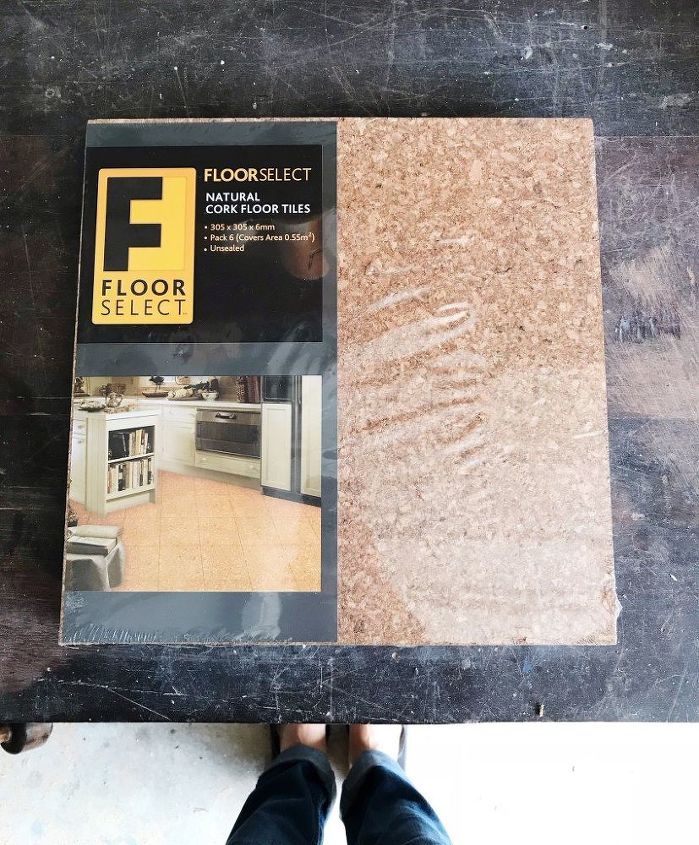
After extensive research (5 minutes on google) I came to the conclusion that the only readily available cork would be these cork floor tiles from Bunnings.
The great thing about living in this age of technology is that you can preview any idea you have. I guarantee someone somewhere has already thought of your idea and then posted it to Pinterest. So I searched floor tile cork board to see if I liked the look of stacked square tiles. And I don’t . Luckily, I also found this image:
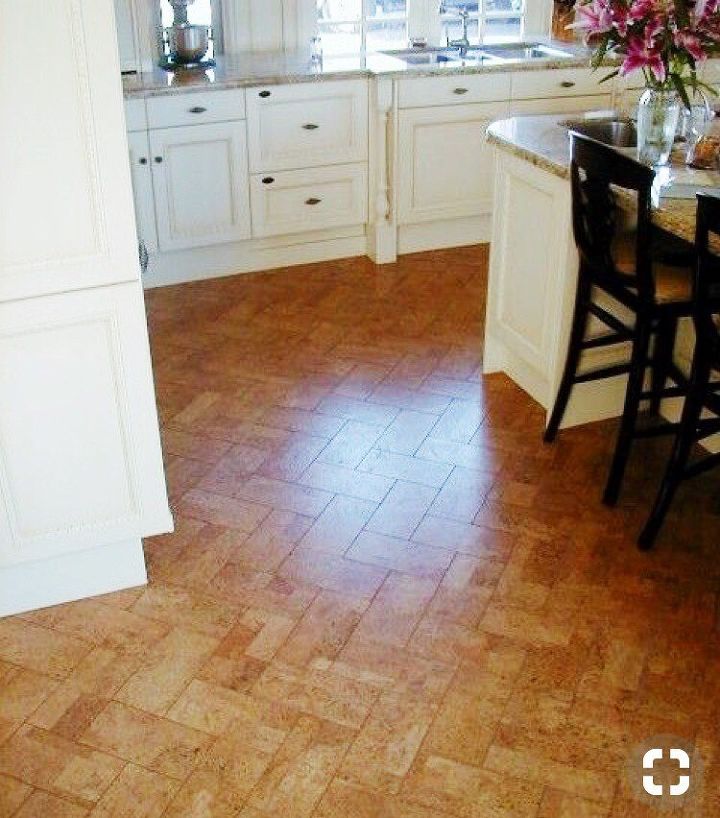
Herringbone cork! I love it!
I rushed to Bunnings and bought a sheet of MDF and a couple of packs of cork tiles:
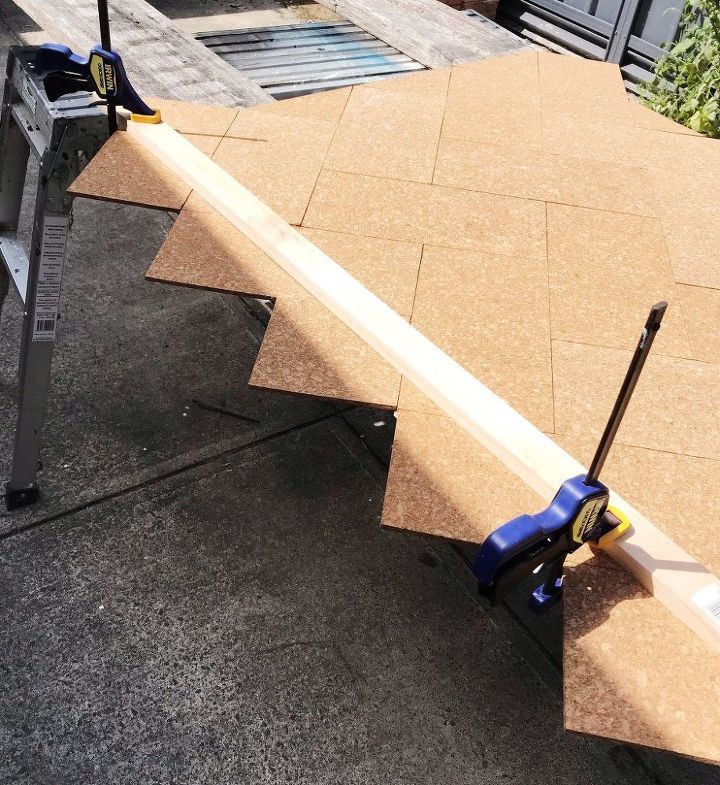
I used my mitre saw to cut the tiles in half (you can cut multiple tiles at once – they’re fairly soft). Then I laid them out in a herringbone pattern to see what it looked like.
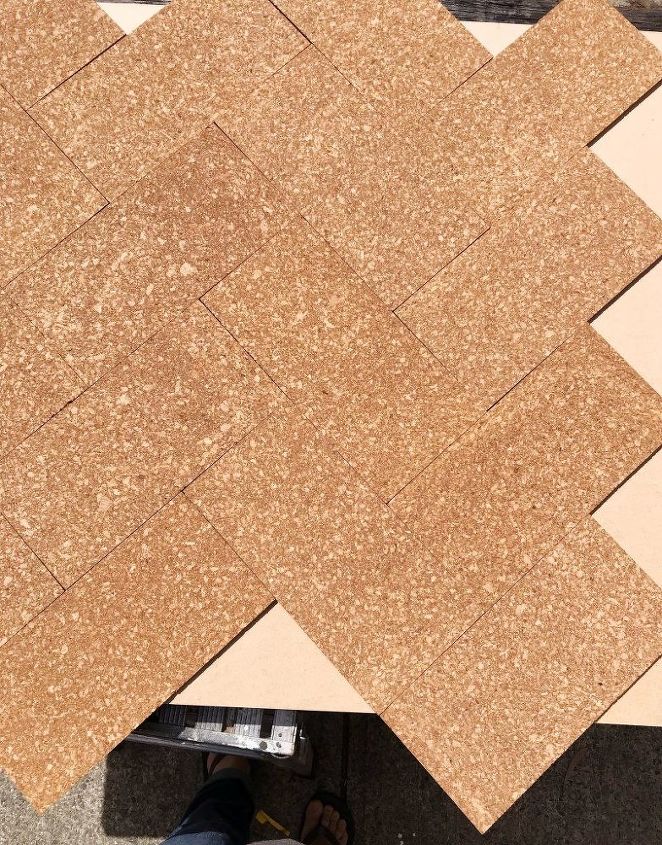
Yes yes yes! This is going to be fabulous! I glued the tiles one at a time in sections and then piled some heavy timber on top till the glue dried. (I was working outside in full sun and if I didn’t weight the cork tiles they started to curl up at the edges while the glue was drying.)
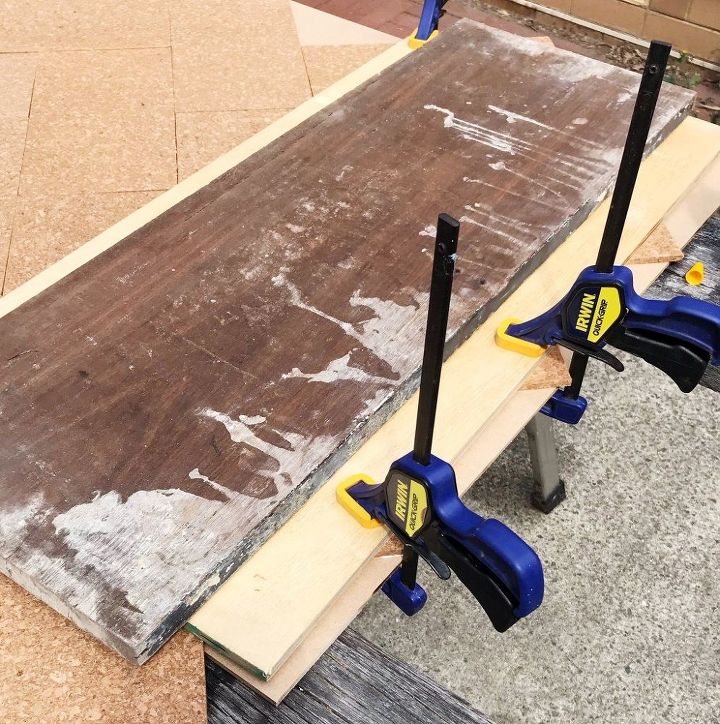
Once most of the board was glued and dried, I went back to fill in the edge pieces.
Tip: don’t cut the edge pieces to fit. Just glue bigger pieces on and cut the overhang off once it’s finished. The above picture shows how I clamped timber to the edge pieces while the glue dried. Then I used my jigsaw to cut along the edges of the MDF sheet, removing the overhanging cork tiles.
I had assumed I would have to screw the cork board to the desk wall to attach it securely. Luckily, it was such a snug fit that once I pushed it into place it wasn’t going anywhere!
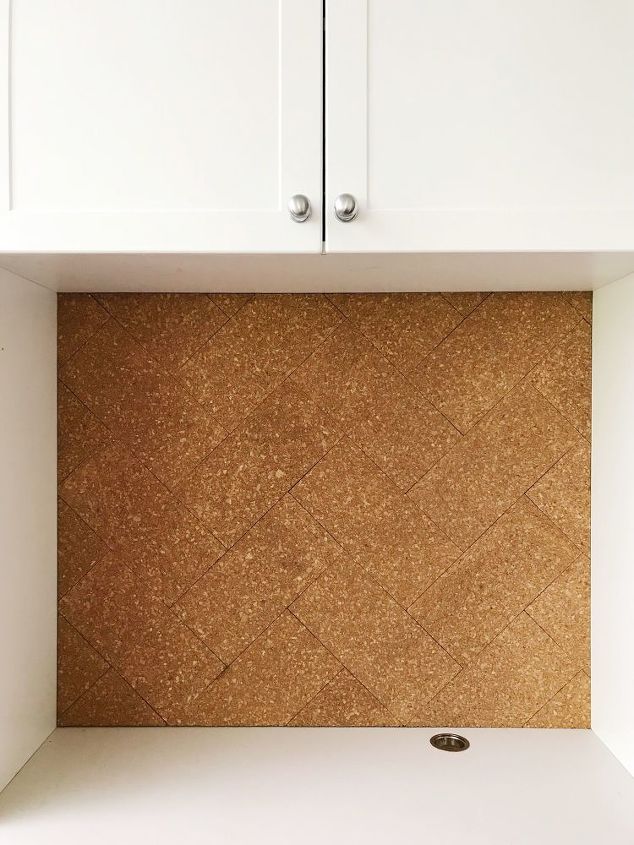
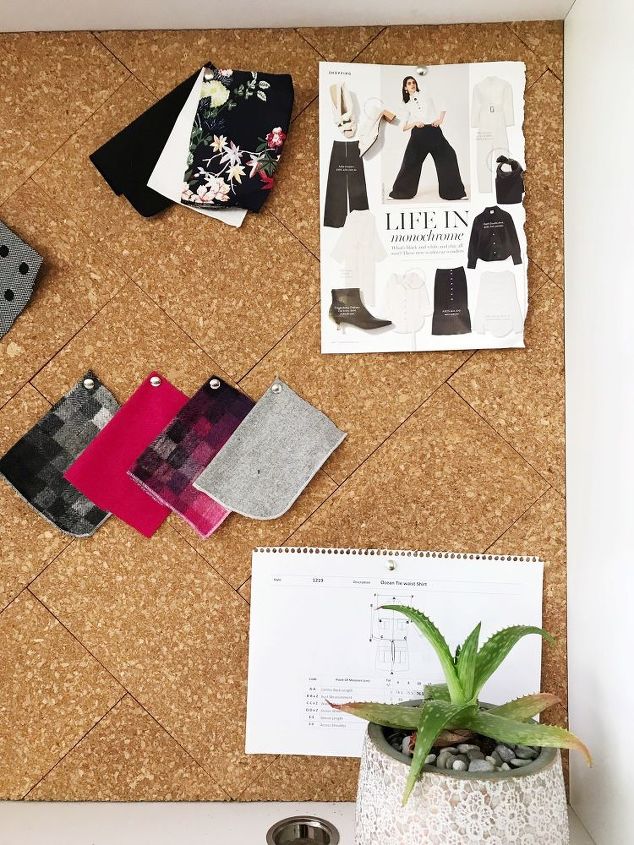
Can you stand it?! The herringbone pattern gives it such a classy, traditional look.
Once the cork board is filled up it probably won’t be obvious there’s a herringbone pattern there … but I’ll know!
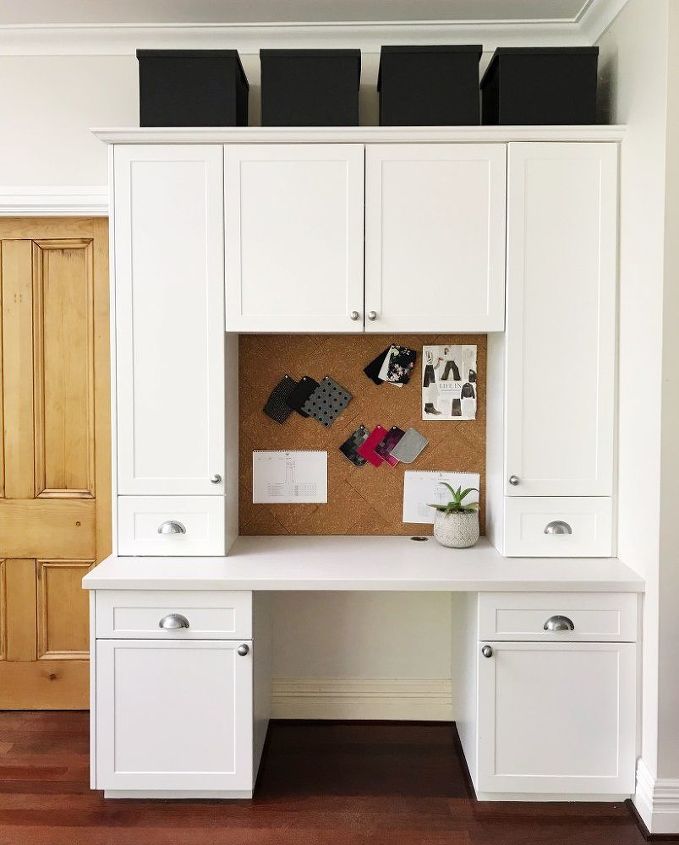
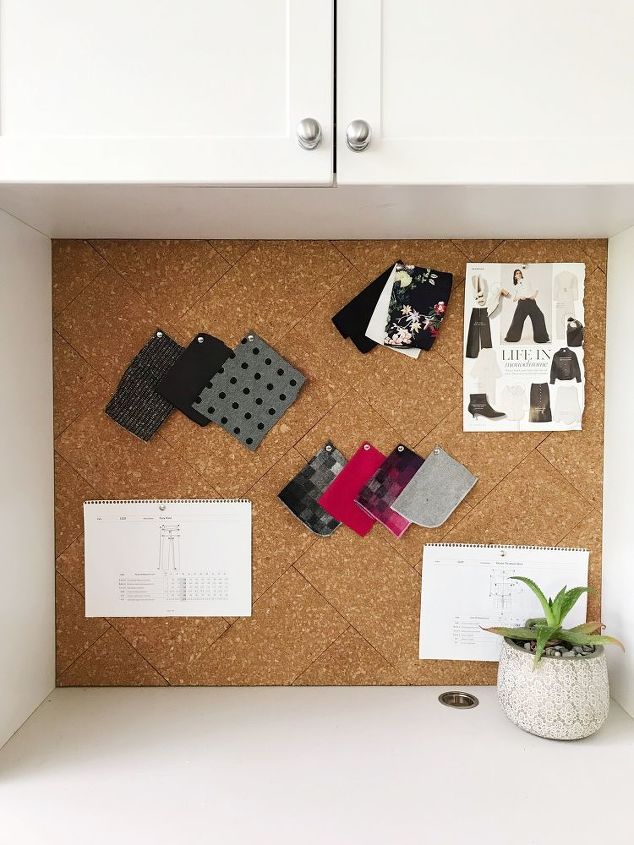
Beth’s new herringbone cork board is in a desk nook which sits to one side of her stunning kitchen. I love it. LOVE. IT.
How much do you want this to be your desk space now? It looks so sumptuous.
I hope you enjoyed my little tutorial and that I gave you some desk space inspiration. As always, if you make one yourself please send me pictures!
Resources for this project:
See all materials


Comments
Join the conversation
-
Love the herringbone look! Definitely takes it up a notch from the plain square tiles. Looking for a place I can put this in our home!
-
Bravo! You totally met the brief.


Frequently asked questions
Have a question about this project?
Can these be glued over floor tiles?
Where were the storage pieces purchased?