


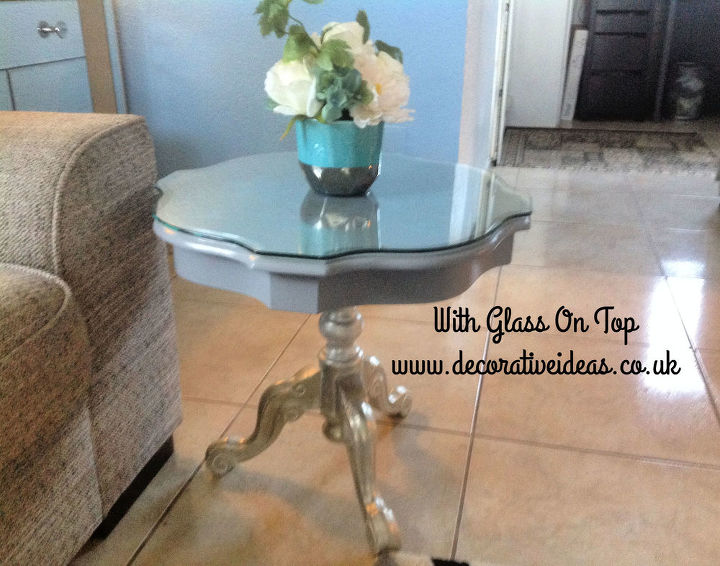
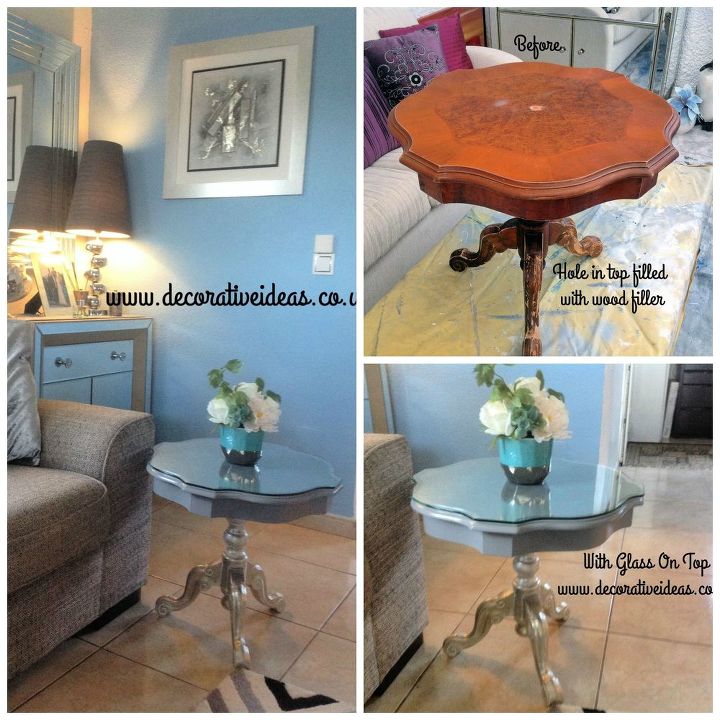
Stencilled ASP Paris Grey Side Table

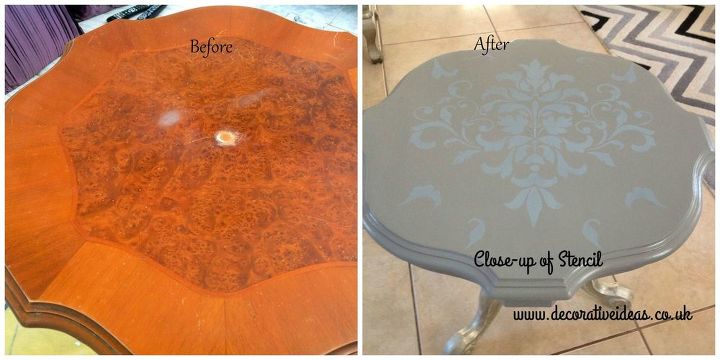
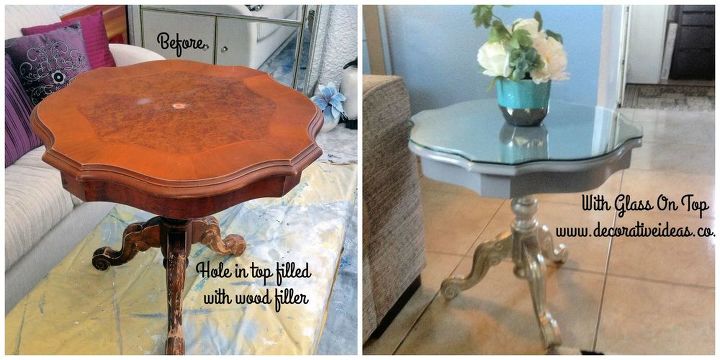
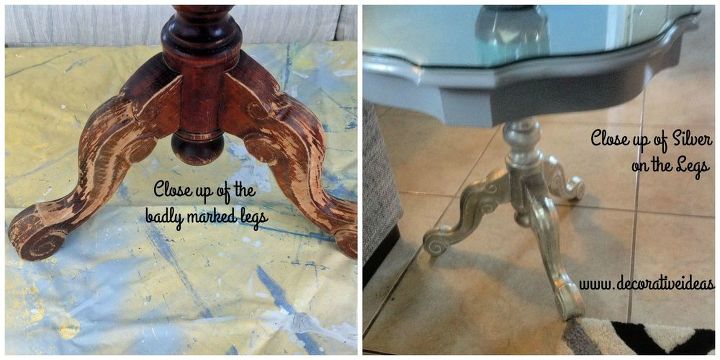
This 'side' table was originally mahogany and quite badly damaged. It had a hole in the middle of the top - although I don't know why - I can't quite make it out and the legs were in very bad condition as you can see from the photos.
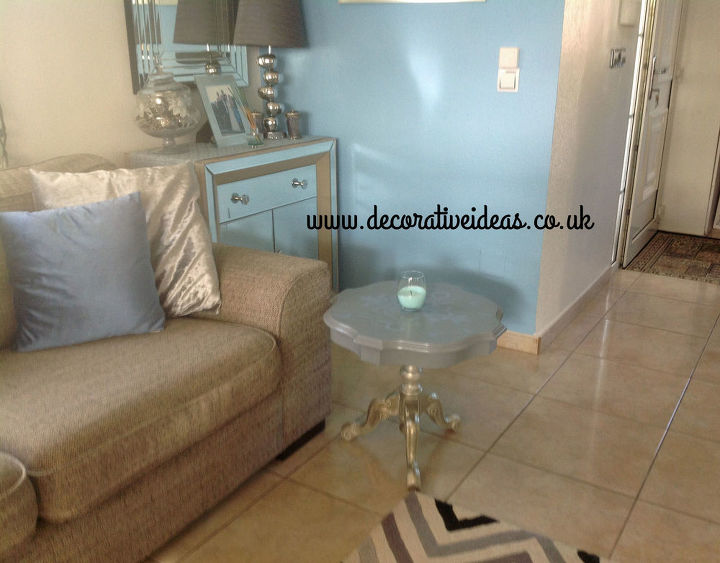
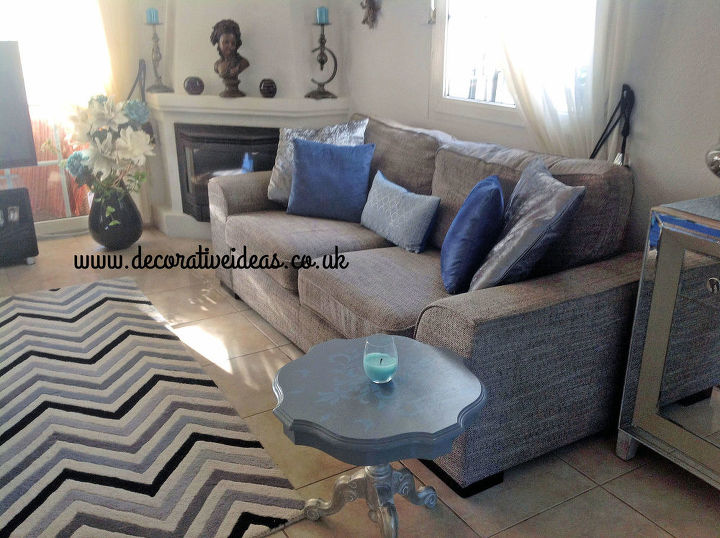
I picked this up in a second hand shop in Spain for 25 euros and knew that it would go in my newly painted lounge and coffee table I painted a couple of weeks ago.
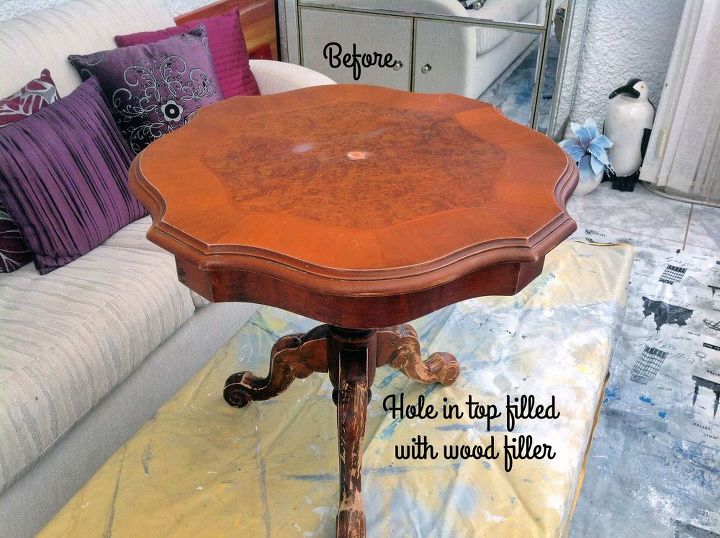
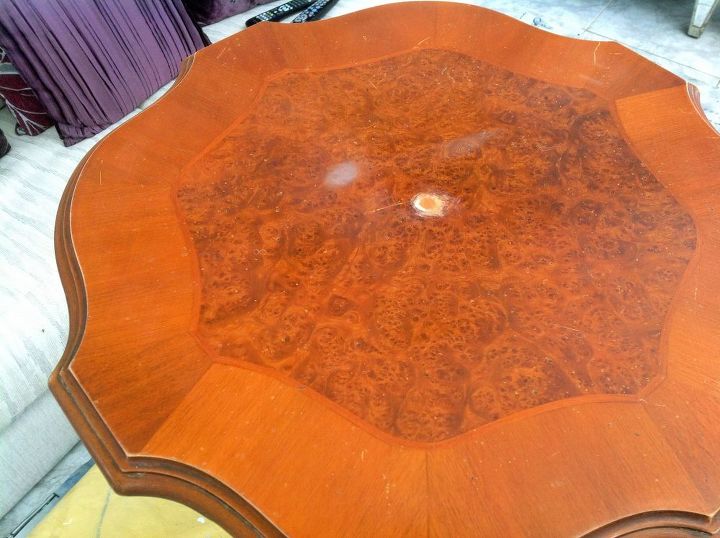
First of all I filled the hole in the top with some filler and then sanded the whole table with 220 grit paper.
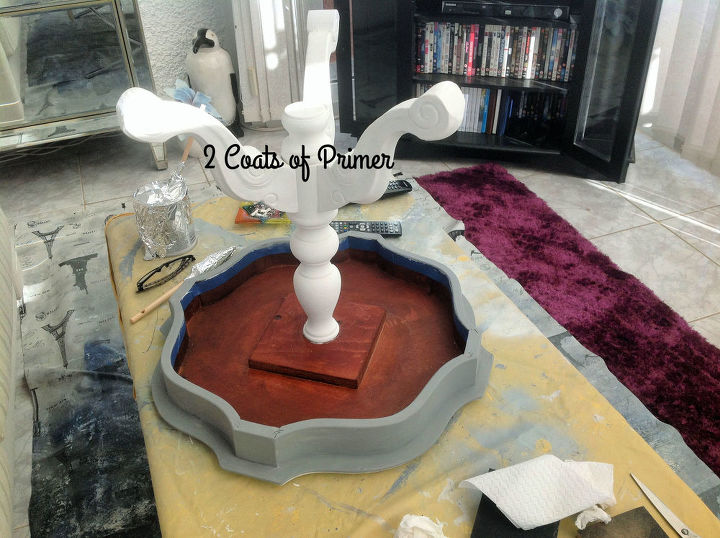
I then put 2 coats of Zinsser BIN 123 primer on both the top of the table and the legs and left it overnight. The next day I put 2 coats of Annie Sloan's Chalk Paint in Paris Grey - just on the top and let that dry overnight - I had other ideas for the legs and obviously couldn't do anything with those until the top was dry.
TIP - when using Chalk Paint I personally like to add small amounts of water. As all Chalk Paints I have used are rather thick and when it is watered down it flows much easier and it looks and feels better. Just go sparingly with the water, as you don't want to go too overboard with the water so add little by little. You can always add but you can't take out!! It is much preferable to have two thin coats than one thick!
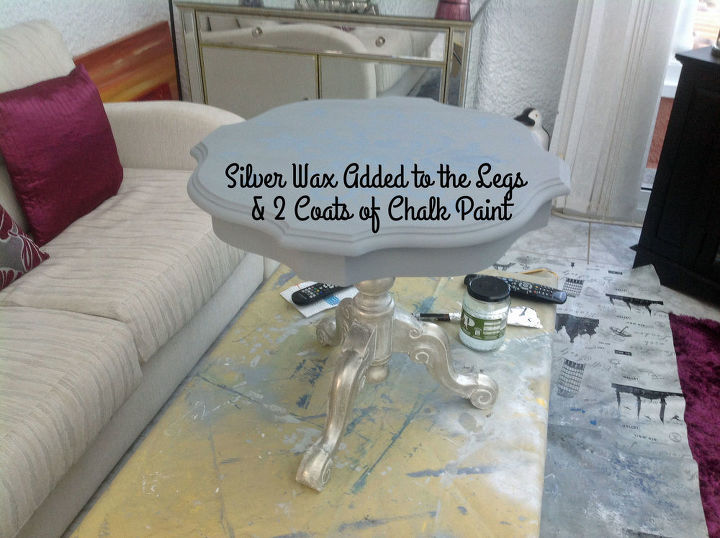
I always like to add some depth or do something slightly different to some pieces of furniture instead of just having it 'plain'. So the next day I applied Liberon Silver wax with a soft cloth to the legs. I then buffed them up with another clean soft cloth to give them a nice soft sheen.
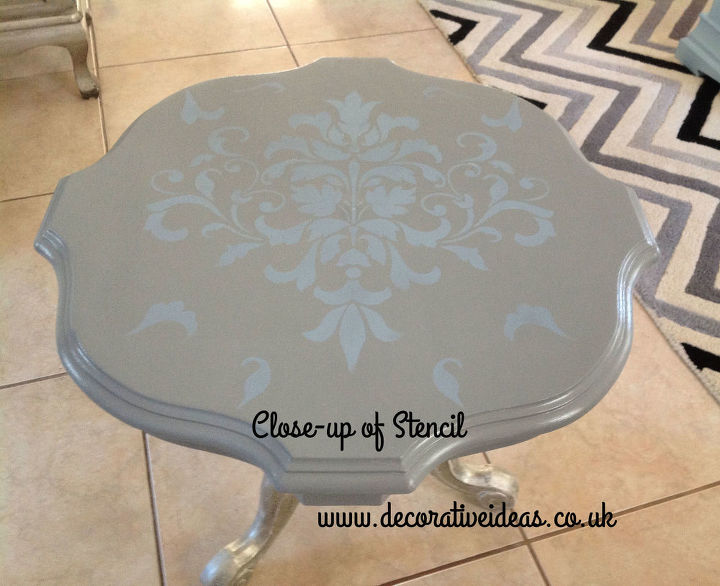
I also decided to do something more to the top of the table and used a stencil purchased from Royal Design Studio called 'Foliate Damask'. The size was 16.75" wide x 16.75" height (single overlay) You will find it here. https://www.royaldesignstudio.com/products/foliate-damask-wall-stencil. The cost was $38.95 which I thought was quite expensive and because it came from America I also had to pay 'Customs'. It is rather large though and can be used for lots more projects.
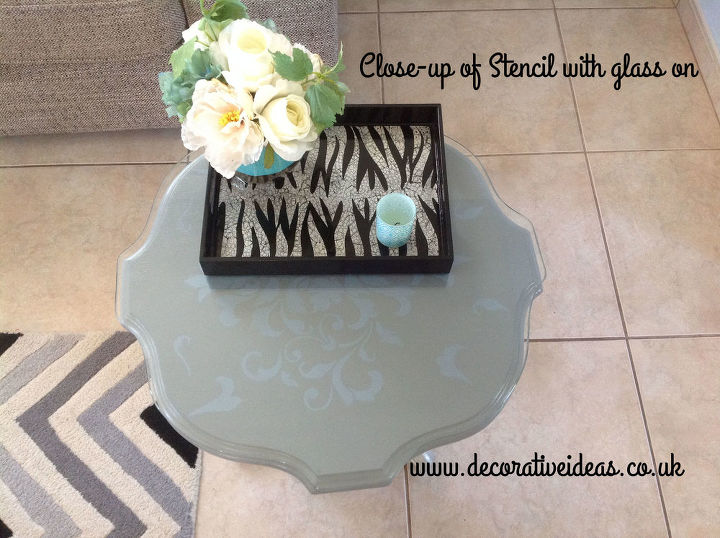
I used a large stencil brush which I also purchased at the same time from Royal Design Studio, although I have a few brushes, this one is quite large, which is very handy when working with large stencils. I then gave the top of the table some protection and used two coats of Polyvine Acrylic Varnish. Here is the stencil I used
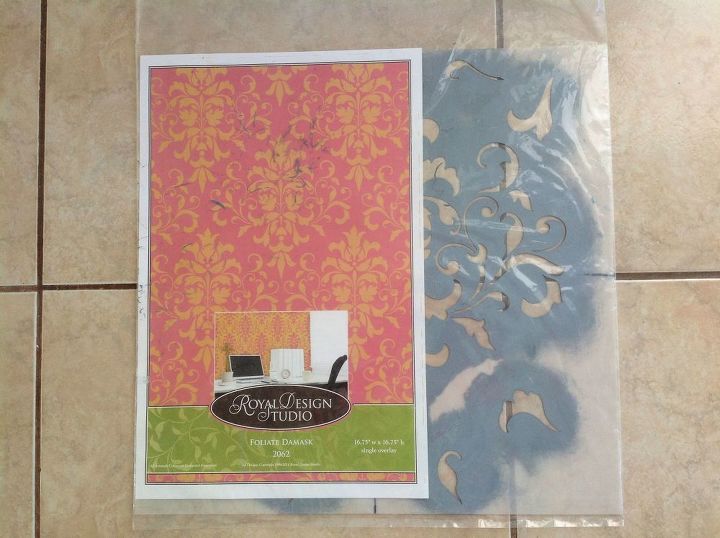
Here is the stencil I used

I know this worked out quite expensive for the stencil and brush, but let's face it - you do have them for a lifetime and you don't have to purchase an expensive brush nor stencil to get the same look  The rest of the materials are what I already had in my stash84


Frequently asked questions
Have a question about this project?