


How to Make the Easiest DIY Tassel Garland Ever!
Ok, imitation is the best form of flattery right? Well, I’ll let you in on a little secret… I often look to the home and garden giants for inspiration for my projects, and this one is no different. I was inspired to make this monochromatic diy garland after snooping about on Anthropologies holiday decor page here is the link to my inspiration: Treasured Tassel Garland
I’m telling you this DIY garland is so easy, you can find the supplies at any fabric/yarn shop, I found mine at our local dollar store. But, if you are still in your jammies and plan to stay that way, I’ll link the supplies below so you can buy them online.
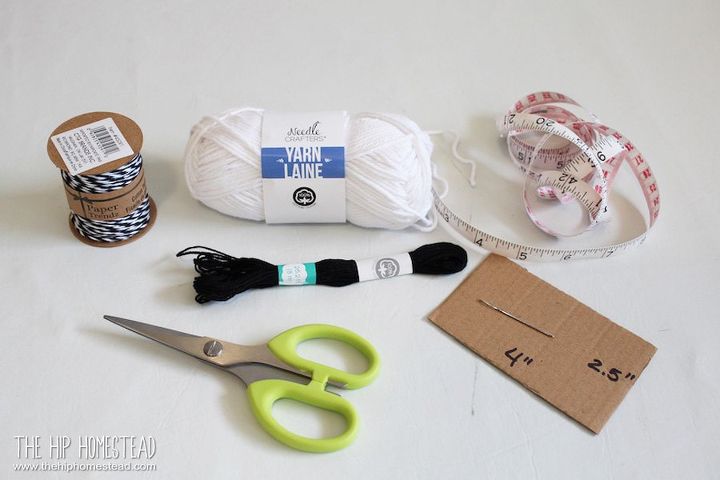
- 1-2 balls of white cotton yarn 80 yards = 20 tassels
- 2 skeins of black embroidery thread (or colors of your choosing)
- 1+ rolls of black and white cotton baker's twine (or colors of your choosing)
- A piece of sturdy cardboard cut 4″x2.5″
- A darning needle
- Sharp scissors
- Measuring tape
How to make the tassels
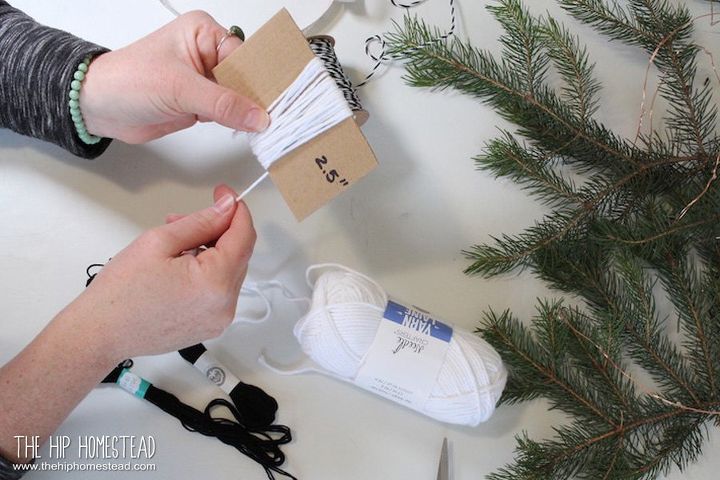
Making the tassels is easy, just hold the starting of the yarn with your thumb while you wrap the yarn around the 2.5-inch side of the cardboard.
I wrapped the yarn 25 times to make a full tassel, but do what works for you.
Try not to wrap too tightly, as the next step is to slide the yarn off the cardboard without it unraveling.
Cut the tail end and carefully slide the bundle off the cardboard.
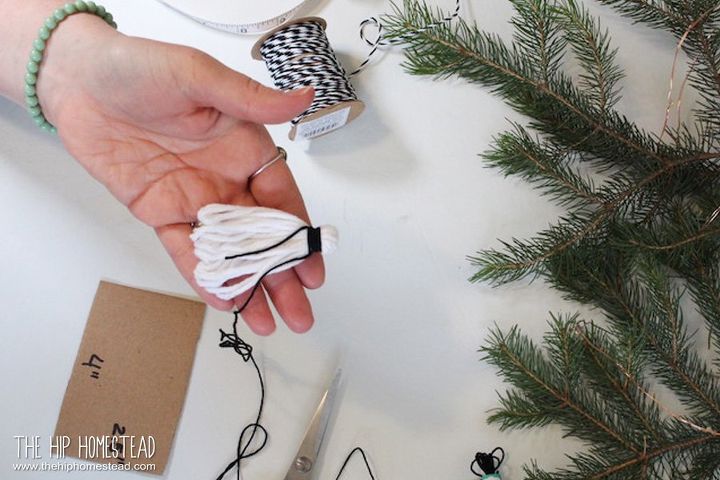
Gather the top and begin wrapping the embroidery thread 15 times around the top of the yarn.
Make sure to leave yourself a tail on both ends of the embroidery thread, you will need to tie these ends together to secure the thread.
Knot the ends together firmly and trim off the excess thread.
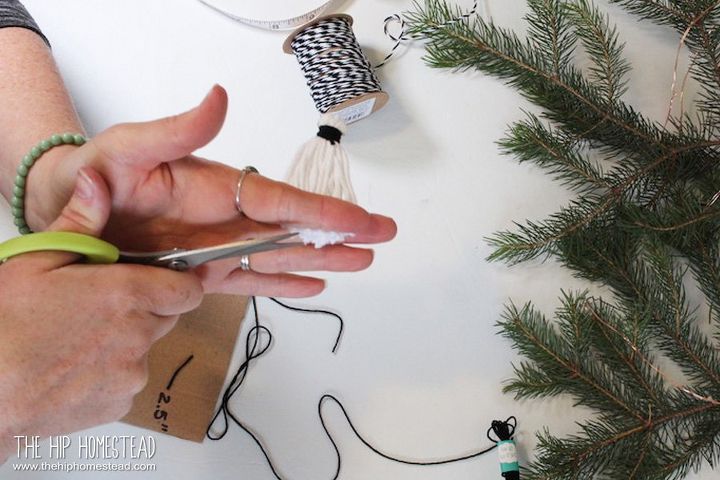
Now, slide your scissors into the loops at the bottom of the tassel and trim the loops to create the tassel fringe.
Repeat 20-50 times :)
Now to turn your DIY tassels into a DIY garland!
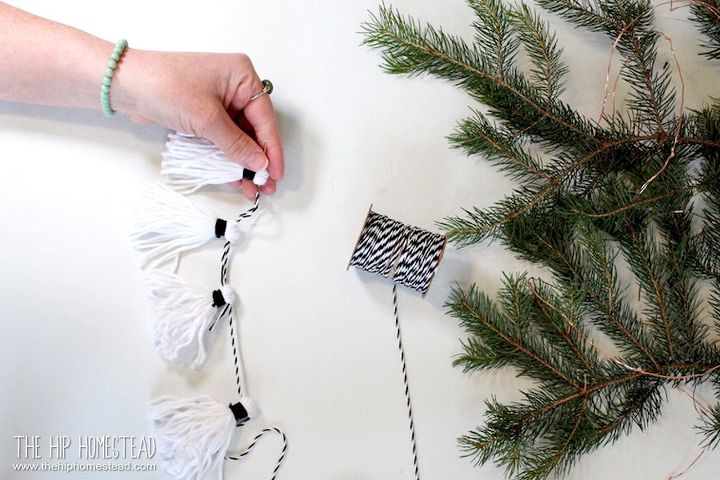
Measure out your cotton baker's twine to your desired length and thread the darning needle on one end.
Begin threading your tassels on to the twine one by one through the top of the tassel.

Once they are all on the twine, begin sliding them to the far end.
This is where I used the 4-inch measurement on the cardboard to evenly space my tassels along the garland.
Feel free to space them in whatever way looks good to you.
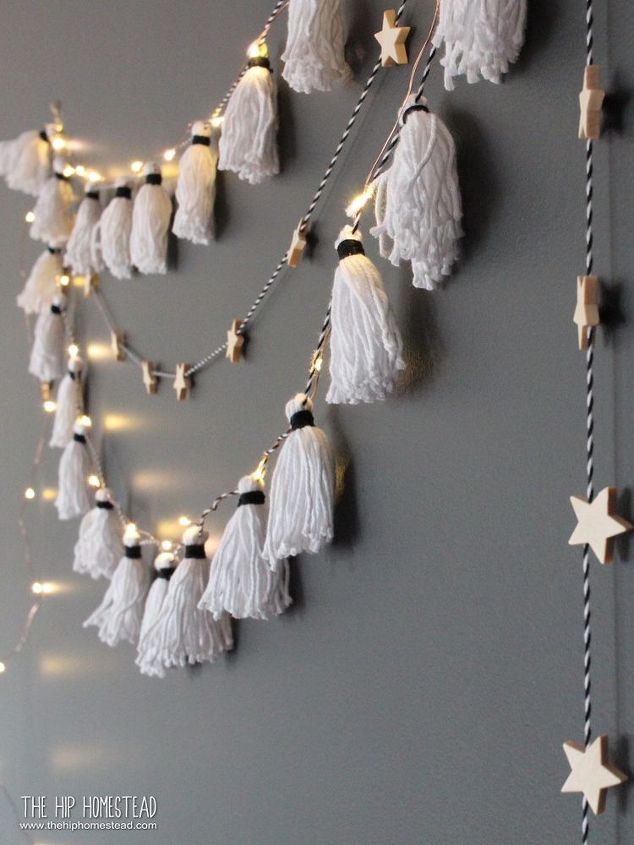
That’s it! String your DIY Tassel Garland on your tree, your mantle or anywhere you’d like.
For more pics and other great articles like this pop over to my blog and say hi while you're there.
http://www.thehiphomestead.com/diy-tassel-garland/
Thanks for hanging out and lets chat again soon!
Jana
Resources for this project:


Comments
Join the conversation
-
Love this!! And so neutral it's perfect decor for those that don't take down the Christmas stuff till after the new year

-
Great project Jana, but how do you keep the tassels from sliding down the baker's string?


Frequently asked questions
Have a question about this project?