


A BETTER Place for My Plants

We have a variety of plants that we brought inside for the winter. Although I have a grow light stand I don't have a good place to set it up.
I told my hubby what I'd really like and he set about figuring it out. I'll say right now there was a glitch in the plan but we got it sorted out at the end and I love the set up.
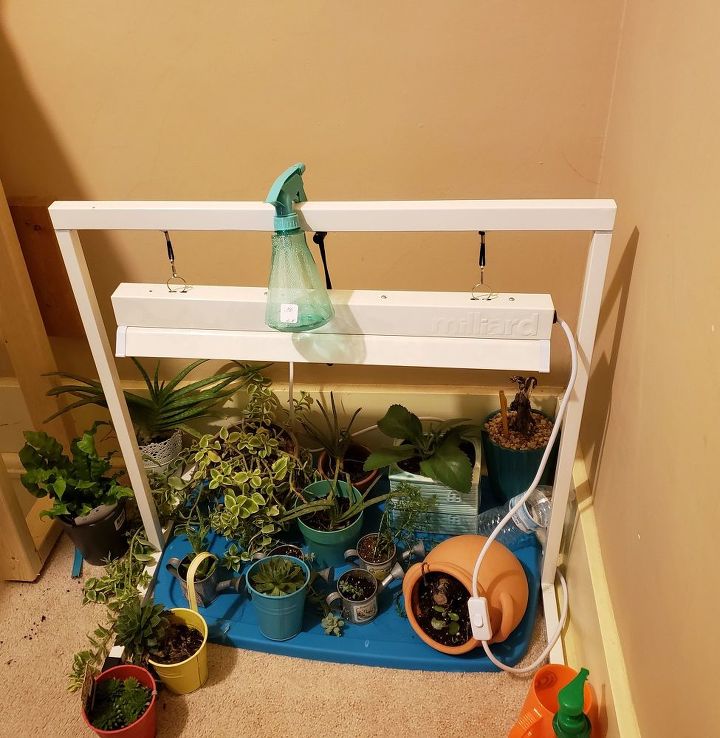
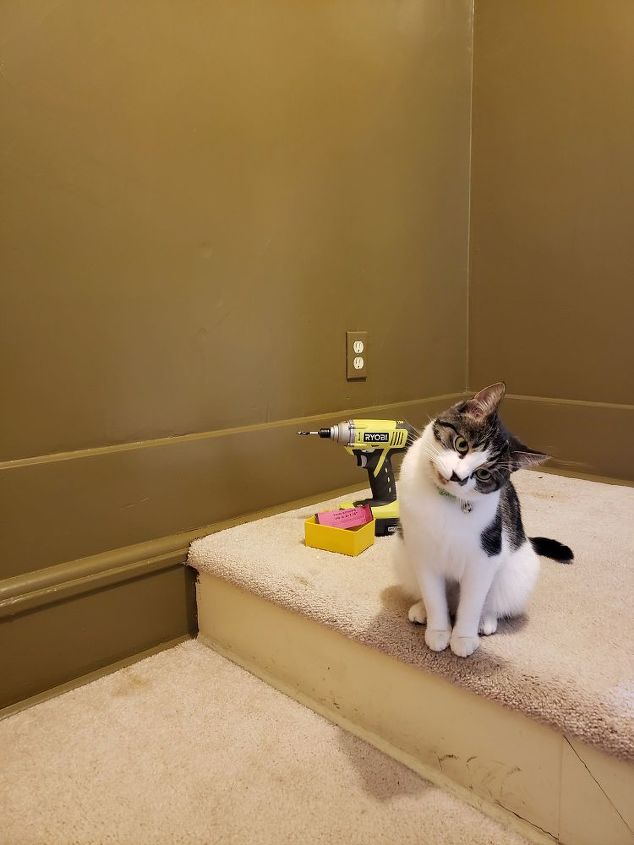
Meanwhile the plants set on the floor at the top of our stairway. I didn't like it at all. I needed something closer to the wall and decided the stand itself was too deep so I'd unclip the light from the stand and hang it on the shelving unit we were building. Since there is a plug in at the top of the stairs it would work well. This ugly space would look better after we were done.
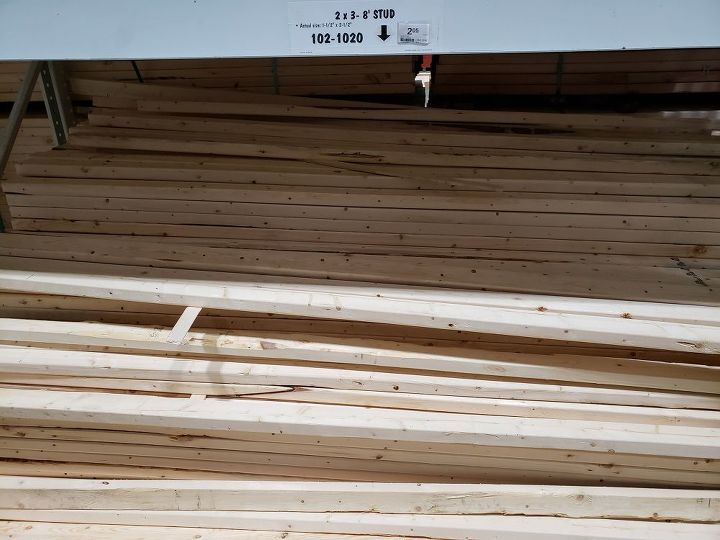
The main thing needed was wood. We went with cheap but sturdy 2x3x8's for the frame and 1x8x8's for the shelving portion.
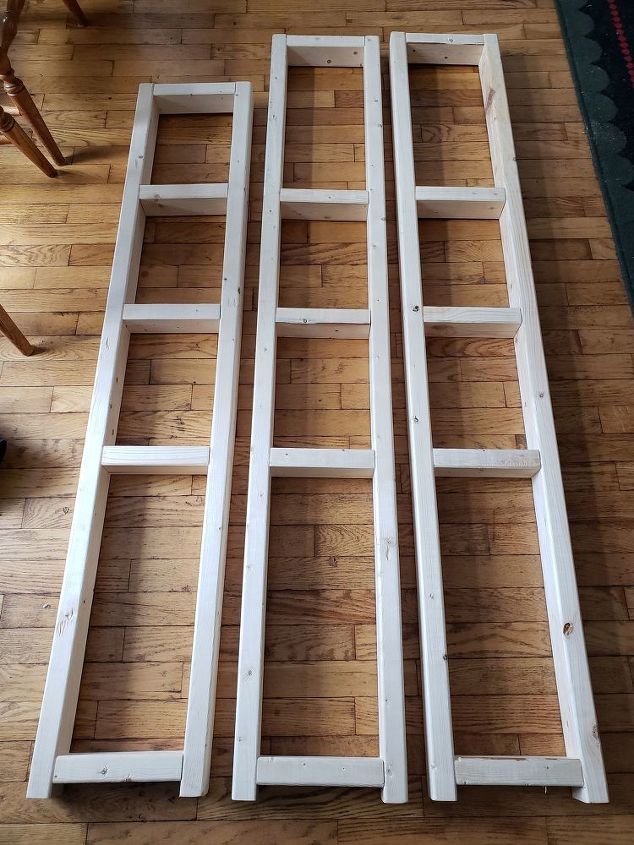
We built the framing sections so that 2 were taller because there was a single stair step to the right along the wall at the top of the steps.
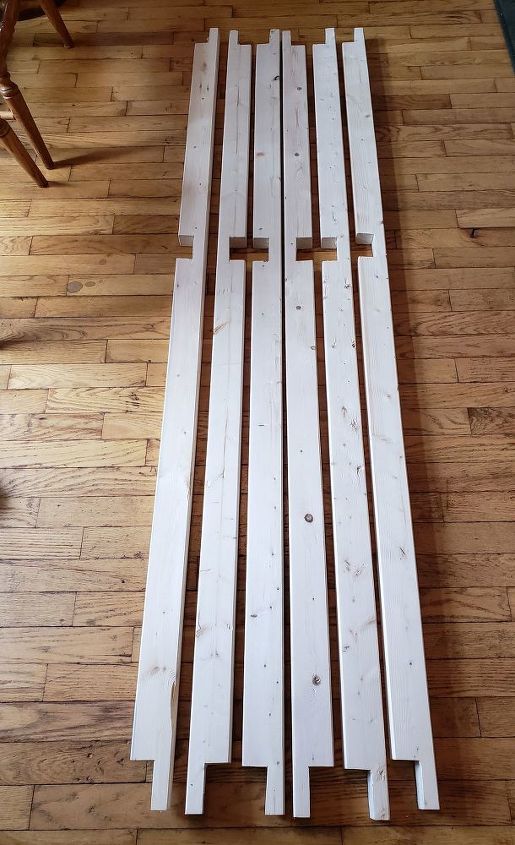
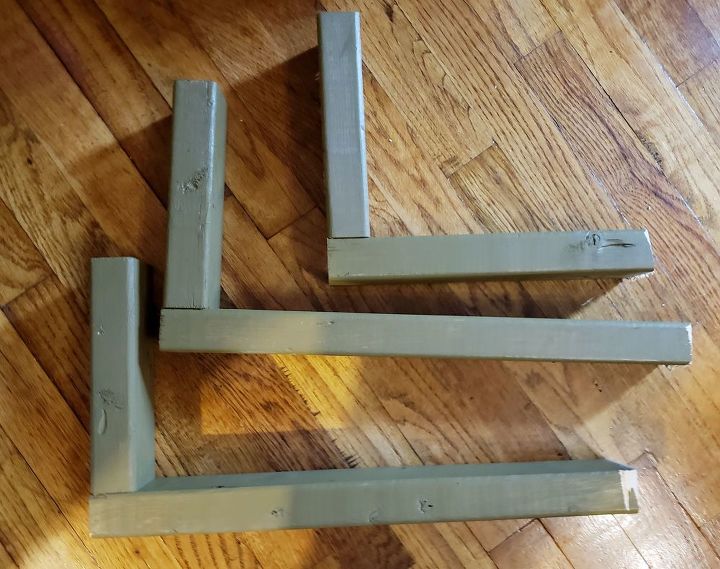
Next we notched out some of the wood so that it would interlock with the frame.
We also decided to paint the walls and the wall unit the same olive green color.
Side note: Eventually the carpet is coming out and the rest of the walls painted because I've seen some fantastic stairway makeovers here on Hometalk!
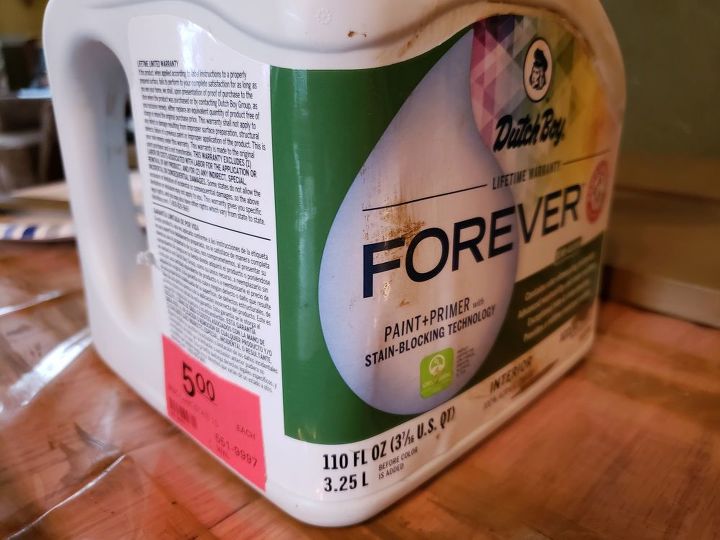
I got the paint for $5- I love when they sell mistakes and it's a color I want, lol. I've never used this "Dutch Boy Forever" type of paint but I have to say it's the best paint ever- 1 coat and done!
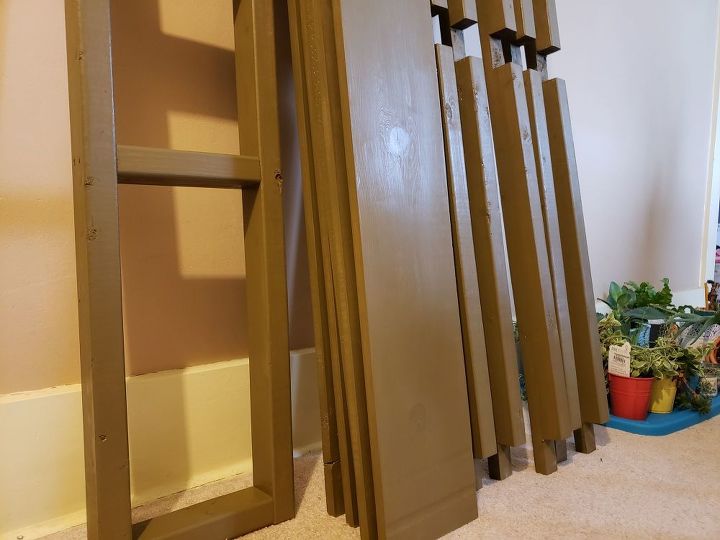
So here are some of the framing, shelves, and notched pieces painted and ready to assemble.
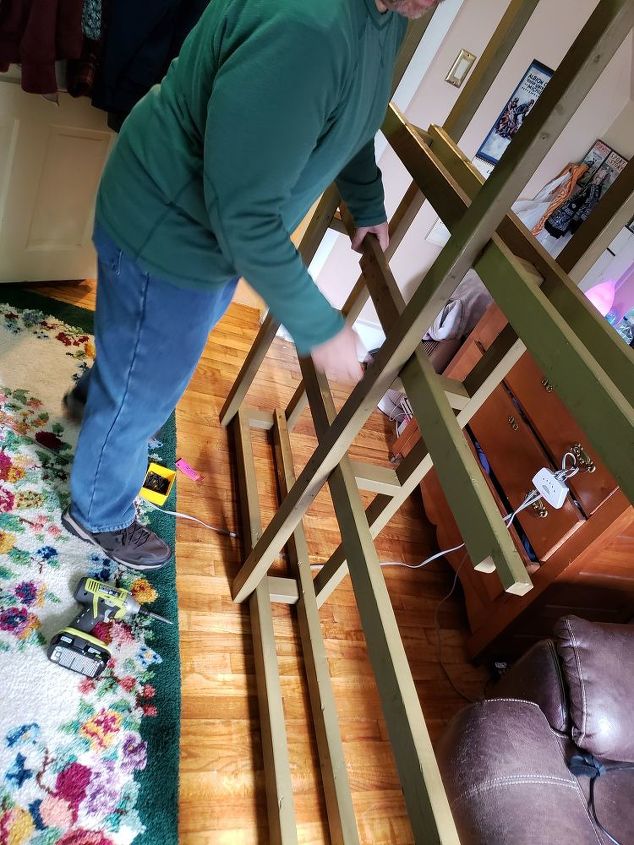
Each notched piece was slid into place while the frame is upside down.....
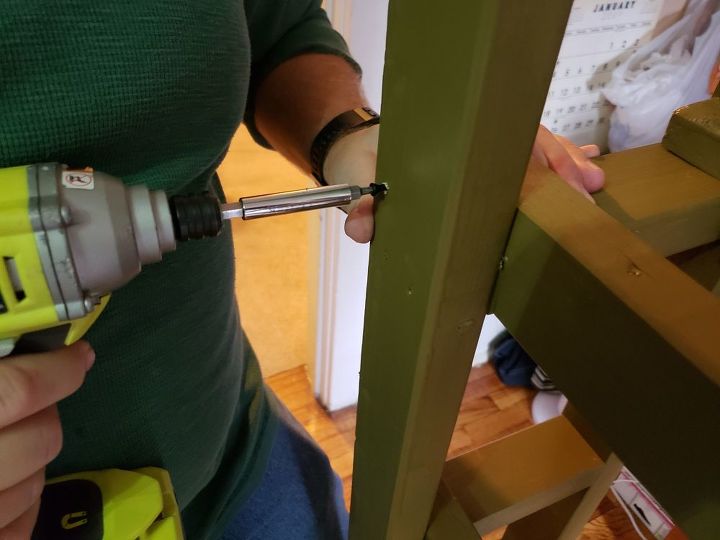
And then the notched pieces were screwed to the frame and the unit turned right side up to lay the shelves on the unit.
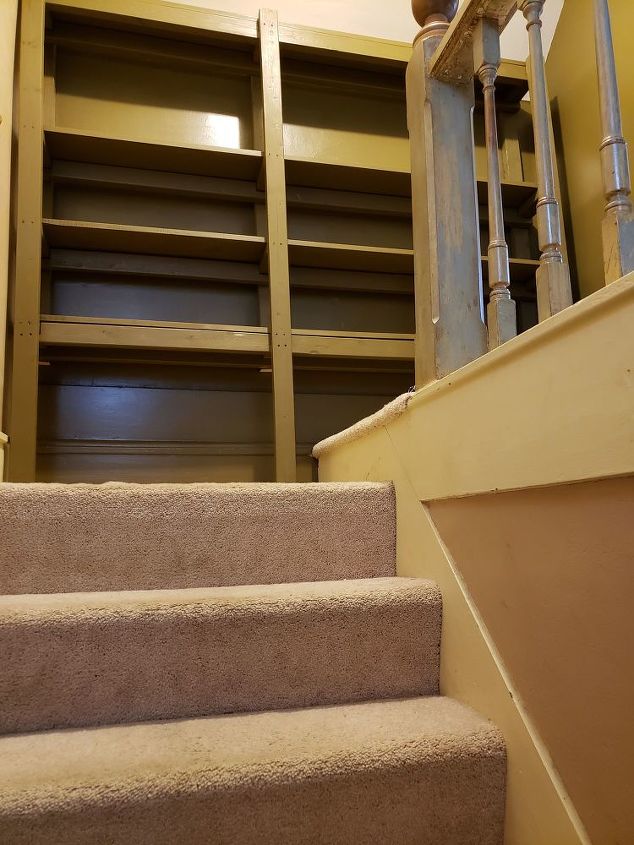
Then the wall unit was slid into place at the top of the stairway. The glitch we ran into was forgetting that the trim was unusually high and deep which caused a large gap between the unit and wall. So we removed it and.....
We cut off a bottom back portion of the 3 frame pieces so that the unit could be attached to the wall without a gap. Problem solved!
Attaching it to the wall with screws keeps everything on the unit safe and secure!
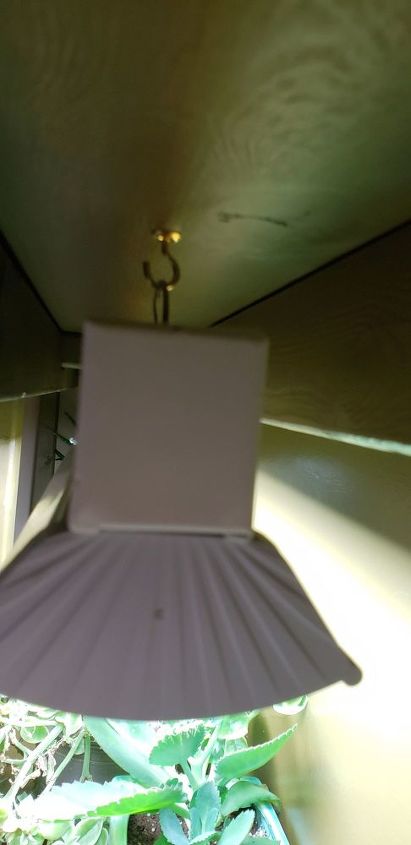
To hang the grow light we added cup hooks under a shelf. We also bought a timer so that we didn't have to manually turn the light on and off each day.

We had everything except the wood and paint but I've listed all materials and tools below for you.
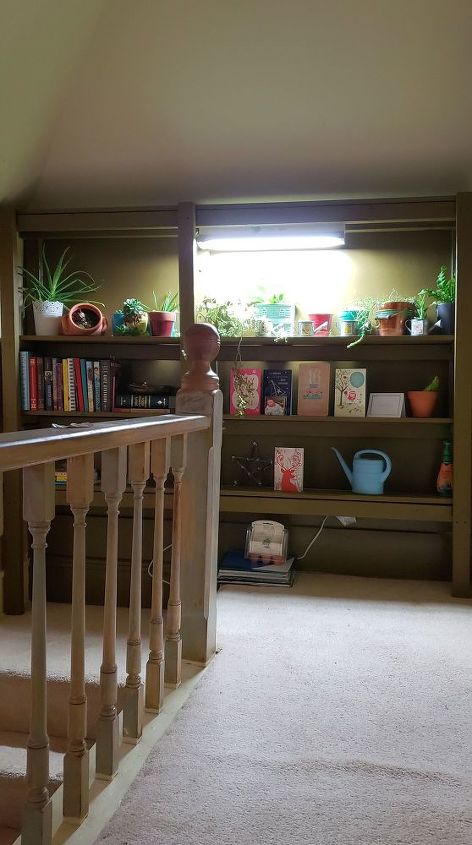
It's a wonderful, functional space for more then plants since it is the height and width of that wall.
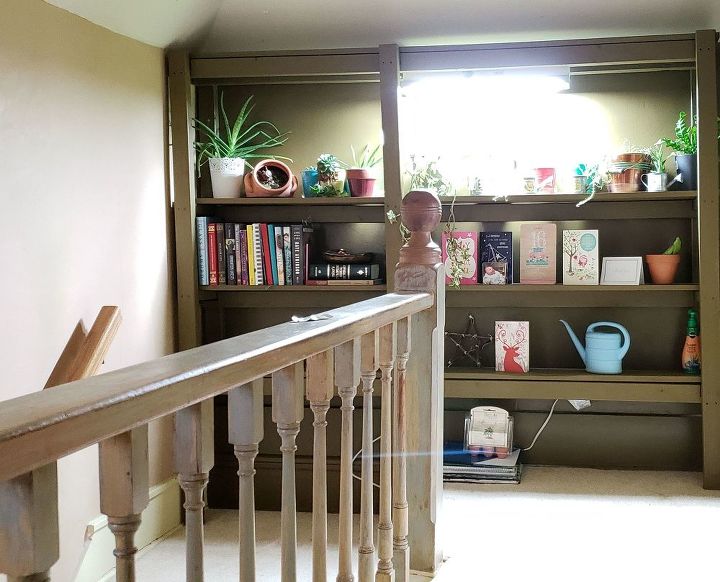
There is plenty of space to walk past it. And that ugly space looks pretty good now and is a MUCH better place for my plants!
Resources for this project:
See all materials


Comments
Join the conversation
-
I'm inspired by your execution and creativity I love it!!!
-
Great job on the bookcase. Looks great where you have it.


Frequently asked questions
Have a question about this project?
How do you handle a huge fern? I brought mine in and mist is regularly, but it is not looking so good.
How do you know how much light a certain plant needs?- as opposed to indirect light from windows.
It looks like you are very handy- I wish you were in Tampa- I have lots of wood and no skills.