


A SIMPLE Paint Distressing Technique for Furniture
In this HT post, I show you a super simple paint distressing technique for furniture that produces fantastic results. Go to the 5 minute mark in the video to skip the door construction and view the distressing technique.
Best and Easiest Paint Distressing Technique
**Go to the 5 minute mark in the video to skip the door construction and view the distressing technique.
I've tried many paint distressing techniques over the years on furniture. Ultimately, this technique consistently produces great results for me.
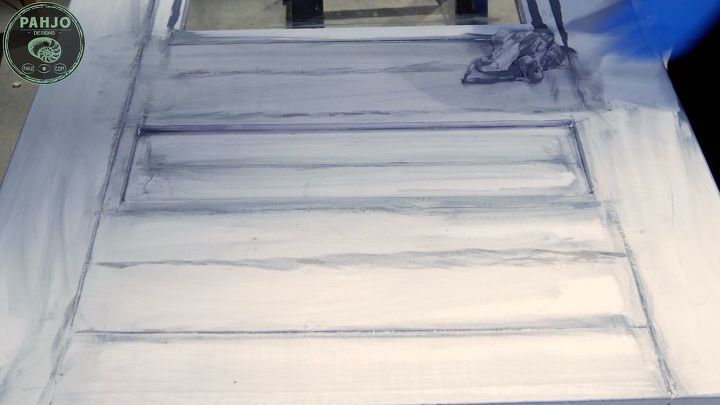
Before distressing, paint the surface with a satin, semi-gloss, or gloss latex paint.
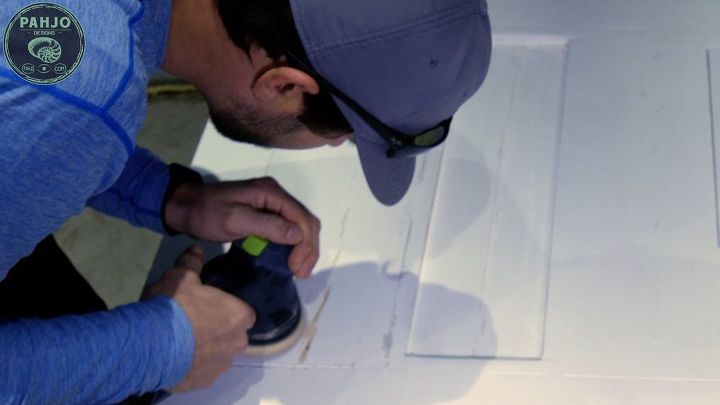
Sand
First, I painted the surface with satin, semi-gloss, or gloss paint.
Next, I sanded the edges, corners, and any other irregular angle I can reach. Also, be sure a very small portion of the wood is exposed after sanding.
An orbital sander or hand sanding works equally well.
Then, I removed dust with a vacuum or rag.
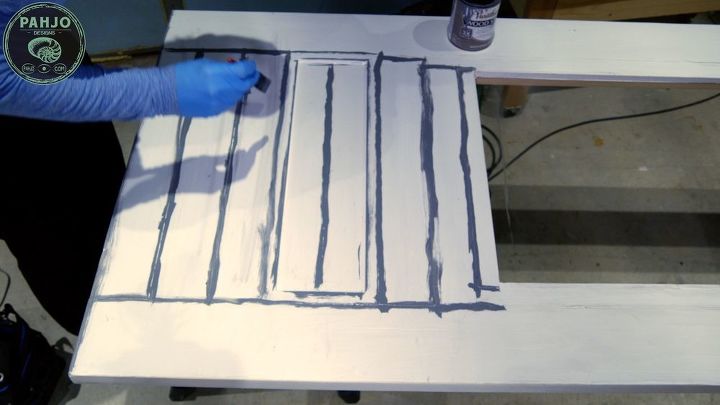
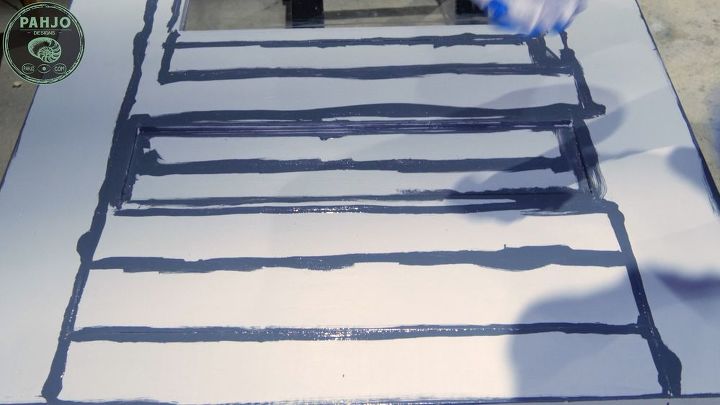
Apply Stain
After the surface is clean, I grab a foam brush and apply stain in the places I sanded in the previous step.
Also, I prefer dark brown or gray wood stain for light paint colors.
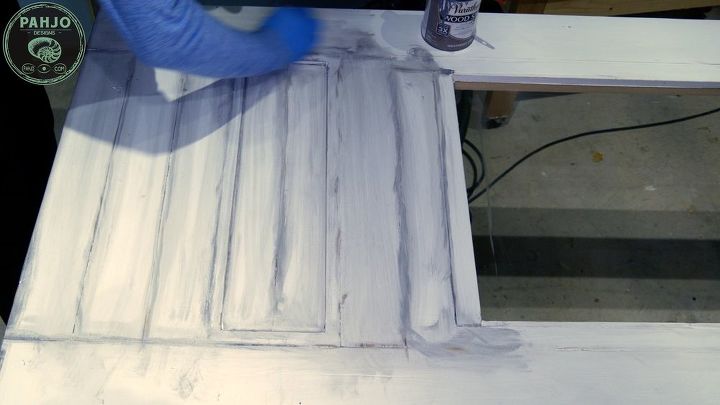
Wipe Stain with Rag
After I finish applying stain to the sanded areas in a 3 foot by 3 foot section, I wipe the stain with a rag.
The rag picks up the stain and spreads it to the non-sanded areas. It also makes the non-sanded areas darker.
The more you wipe, the less distressed the surface looks. You can also use a few rags to remove even more stain if that is the look you are going for.
Different Angle
This technique provides me with a little flexibility in the distressing process especially when the correct paint is used.
Flat paint absorbs the stain way too quickly and makes it difficult to remove with a rag.
When I was done with one side of the door, I allowed it to dry for a few hours. Next, I flipped the door over and repeated the same paint distressing technique as in the previous step. Apply stain and wipe.
Wipe Stain on Opposite Side
If there is too much stain, use a cleaner rag when wiping.

Protective Coat
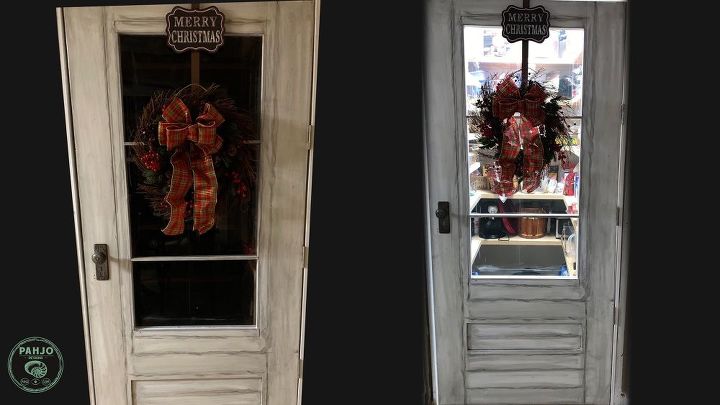
I chose to use shellac as the final protective coat on the pantry door.
Shellac dries quickly and it's super easy to apply. Also, Shellac looks a bit yellow when applied but it dries clear.
Finally, I put 2 coats per side.
Conclusion
If you would like to learn how I distressed the paint for this door, checkout my the tutorial on my website or my other HT post.
In conclusion, I hope you enjoyed reading this article and it brought you some form of value.
Leave a comment below and let me know what you think about this project.
Consider subscribing to my YouTube channel to be notified of future videos and visiting my website for other DIY projects.


Frequently asked questions
Have a question about this project?