


HOW TO MAKE A FOAMY ORGANIZER
How to make a foamy organizer? It’s very simple and in today’s tutorial I will explain you how to do it.
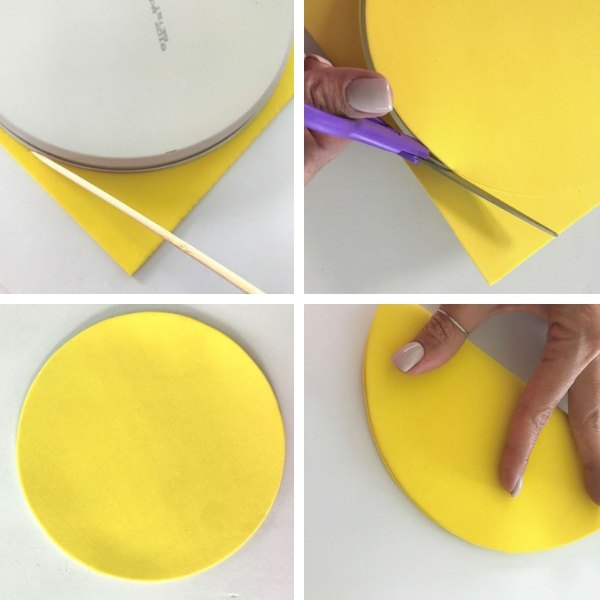
First place the larger lid on the foamy and with the skewer trace the shape.
Cut the shape to get a perfect circle.
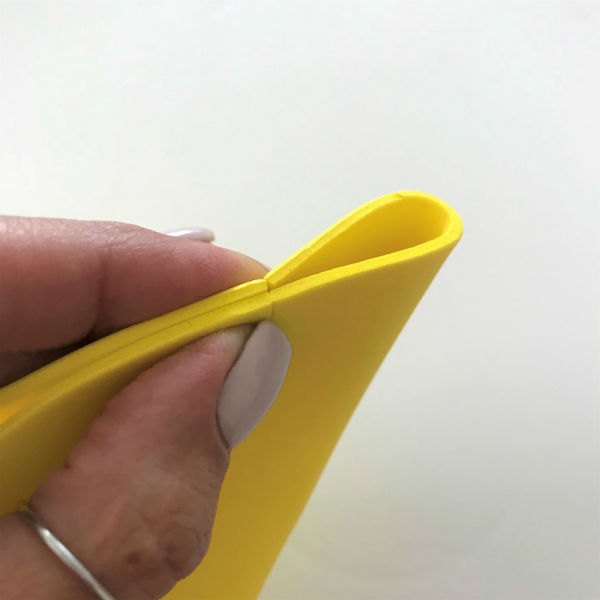
Fold the circle in half and press the corners so the foam gets the mark and make a small cut with the scissors.
Fold the other side (the other half) and repeat the same. It is very important to line up the cuts you previously made. Press both corners, marks and make a small cut.
Repeat this step of folding in half four times. You will mark a vertical, a horizontal and two diagonal. And in all you are going to make the small cut on the edge. You’re supposed to end up with 8 triangles.
Since you have the 8 triangles, you will join cut with cut and then press to mark the center between both cuts and with the scissors you have to make another small cut.
Place the small lid in the center and use the skewer to trace the shape. This is not going to be cut, is simply the base of the organizer.
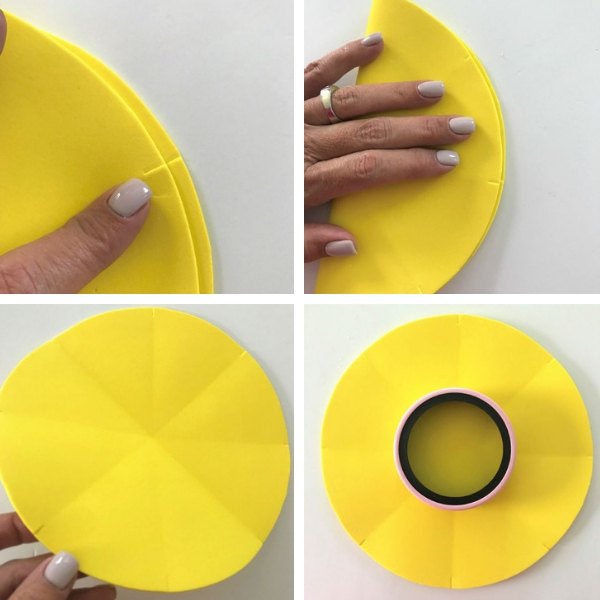
Continue joining cut with cut to complete the 8 triangles. In total you will have 16 small cuts.
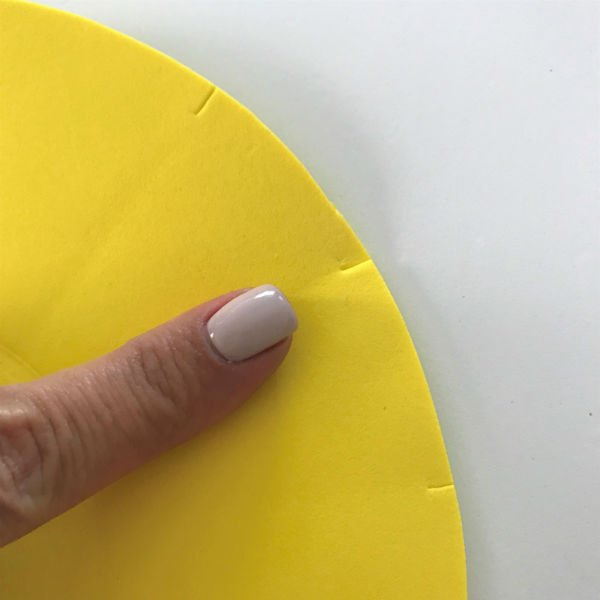
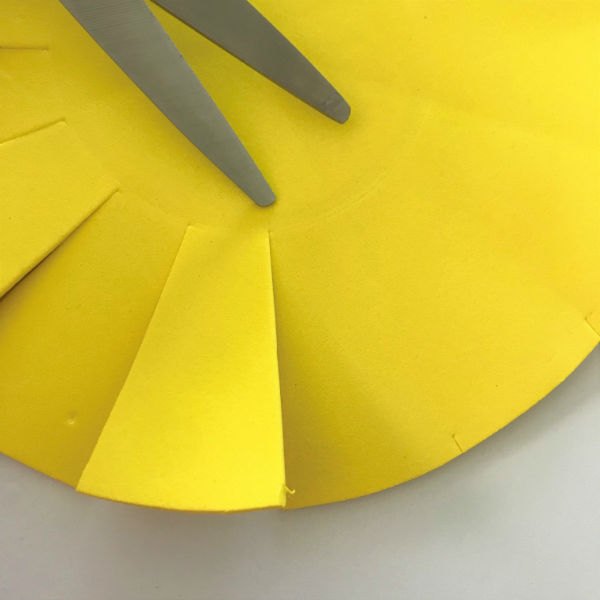
Use the ruler and draw a line from the edge of the inner circle to the outer edge where you made the small cut.
I recommend you to adjust the rule from one end to the other by placing it just above both cuts and there you draw the line outwards on both sides.
Then with the scissors cut each of the lines without passing the edge of the inner circle. (If you have questions, at the end of this article I will leave a video of how to do this organizer)
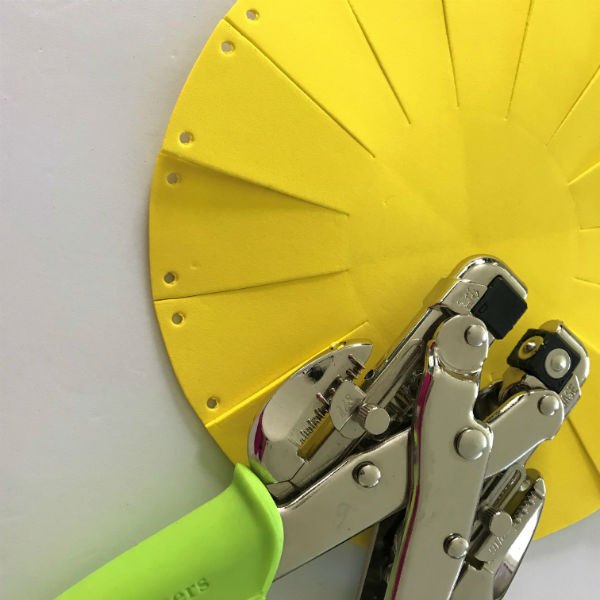
With a Crop A Dile, make two holes on each side of the organizer. You shouldn’t make them too close because when you go to close the organizer they can break.
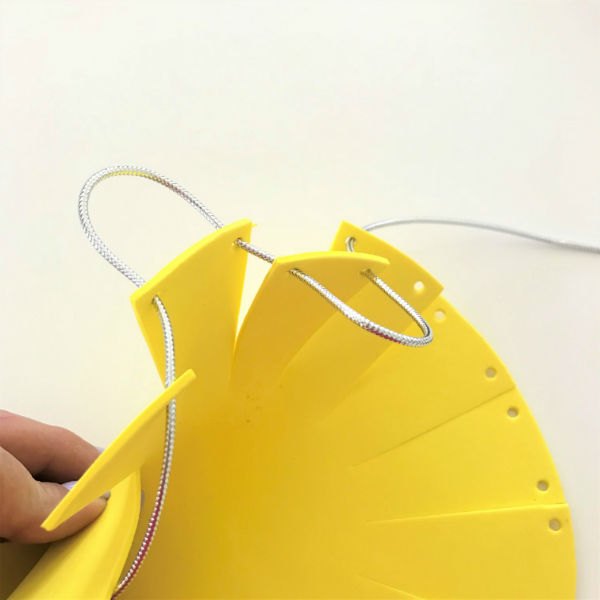
When you start inserting the decorative thread or decorative ribbon you must do it from the outside inwards, so that when you finish completing it you will have both ends out and you can make the closure.
You are going to insert the thread from outside, passing it through the first piece and also through the next piece.
Then you will pass it from the inside out through that piece and the one that follows it, being interspersed and so on until it is completed.

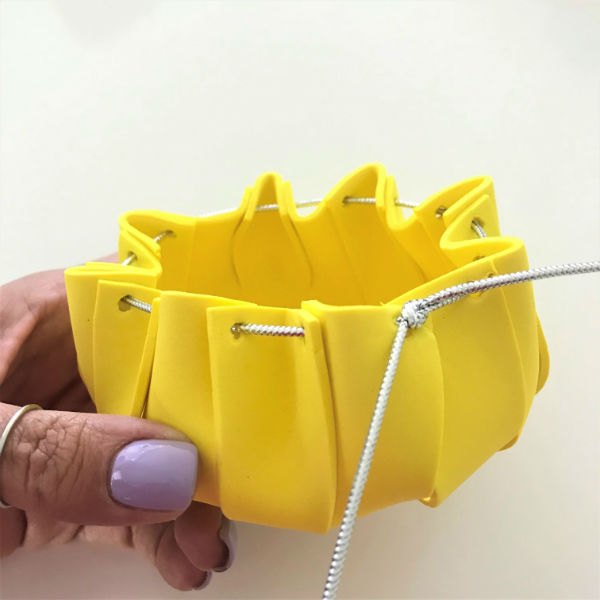
Very carefully begins to pleat, pulling a thread from one side and then the other. When you have it as it looks in the photo, you release a little of the thread and open it up to take it to the size you want.

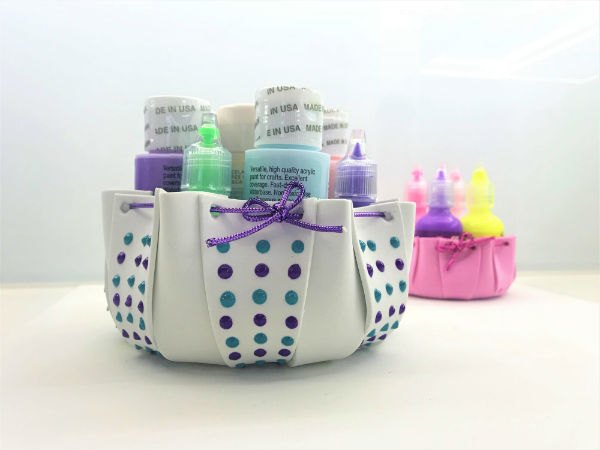
Make a knot and VOILA !!! now you have your foamy organizer. You can add some details to decorate it.
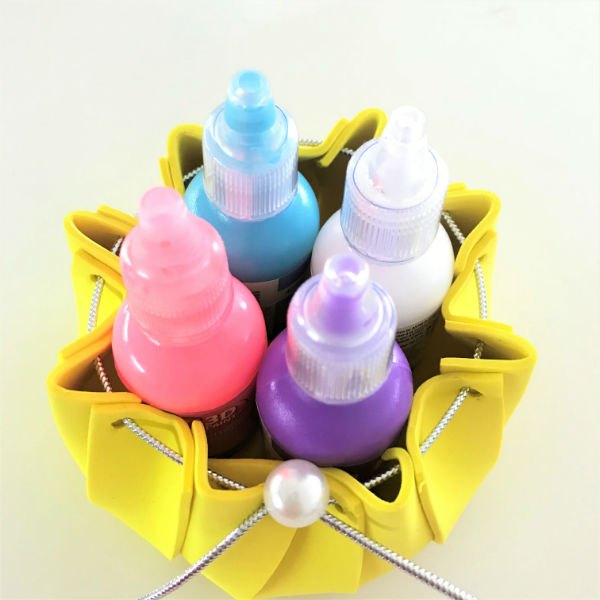
If you want to decorate the organizer, give yourself time to let the glue or paint dry. I used 3D Painting glue for the colors dots.

Click H E R E to see the video of this tutorial and don't forget to suscribe to the channel.


Frequently asked questions
Have a question about this project?