


Puffy Valentine DIY
For this project I am time traveling back to grade school. Maybe you too remember the art projects made from square pieces of colored tissue paper glued into a design with a pencil eraser and some Elmer's glue. Well I changed things up a bit to make the project from more recycled materials but the idea is basically the same.
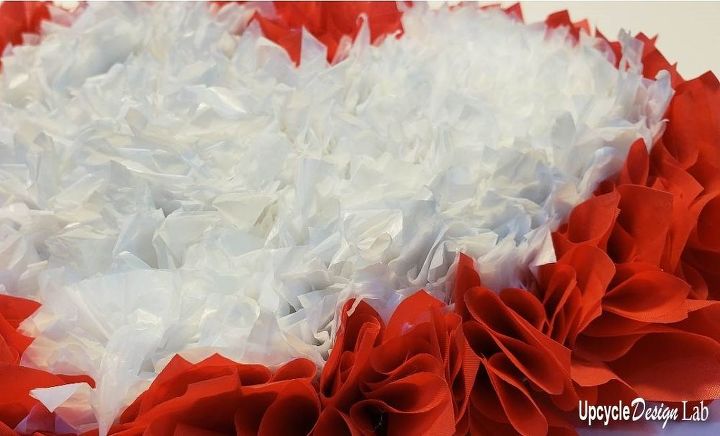
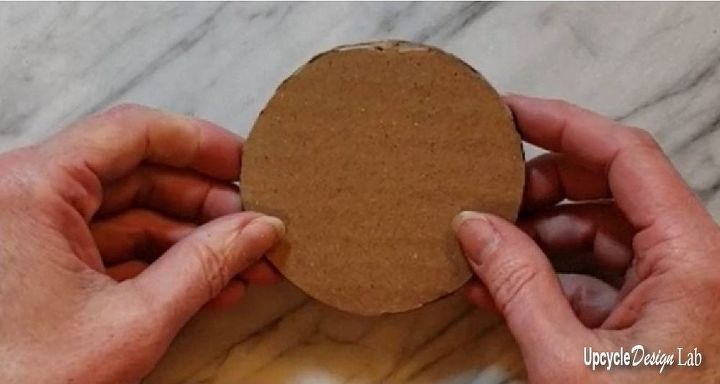
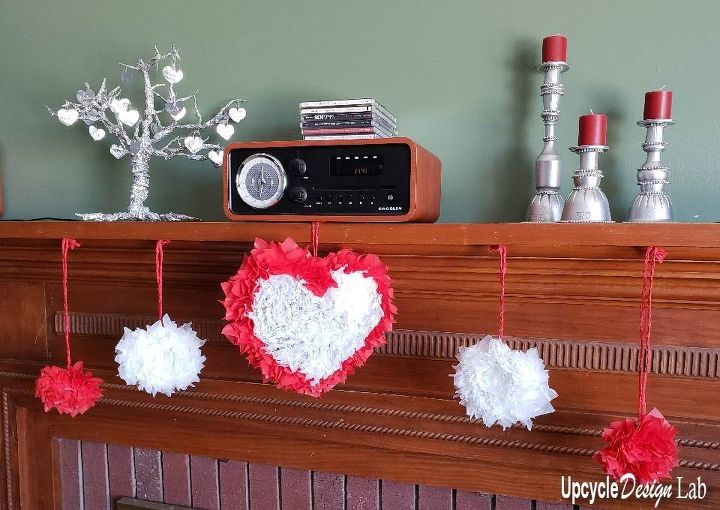
The first step is to decide what shapes you want to make and cut those shapes from some scraps of corrugated cardboard. I used a heart shape, some circles and even a big frame shape.
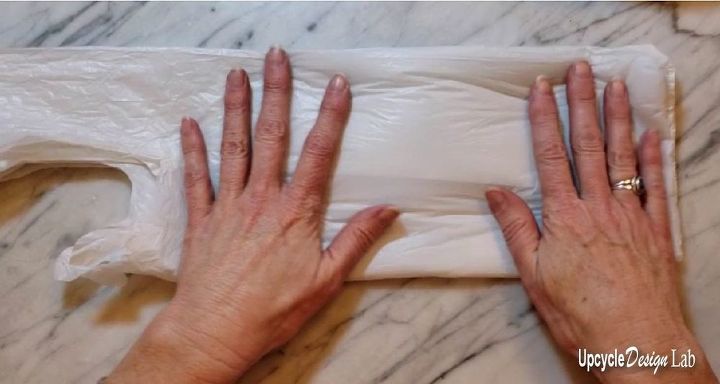
Next you need to cut some plastic bags up into 2 x 2 inch squares. I also use an old plastic table cloth. If you pay attention you can find plastic film/bags in all kinds of colors. I like to remove the printing from the bags before I cut them up. If you are interested in how I do that you can find out three ways to prep plastic bag for crafting here.
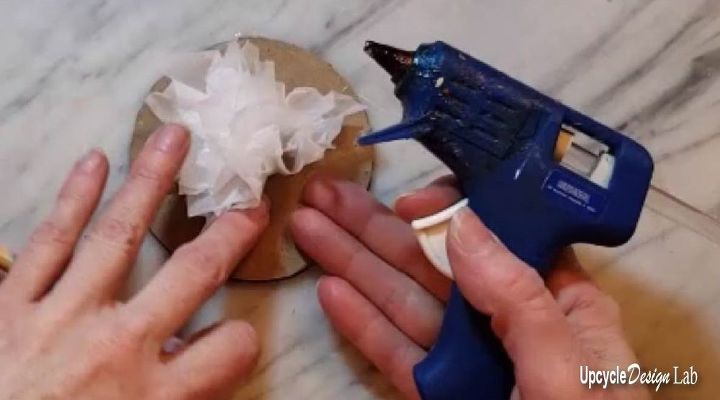
The last step is to use a pencil eraser to wrap the 2 x 2 squares around and then use a hot glue gun to glue the plastic to the cardboard shape.
You can see the whole process and all the different shape that I made in the attached video.
Thanks for taking a look at my project. If you would like more upcycling project DIY's or Green Product Reviews please subscribe to my Upcycle Design Lab blog here.
Happy Upcycling,
Cindy


Frequently asked questions
Have a question about this project?