


How to Make a Wood Baby Rattle
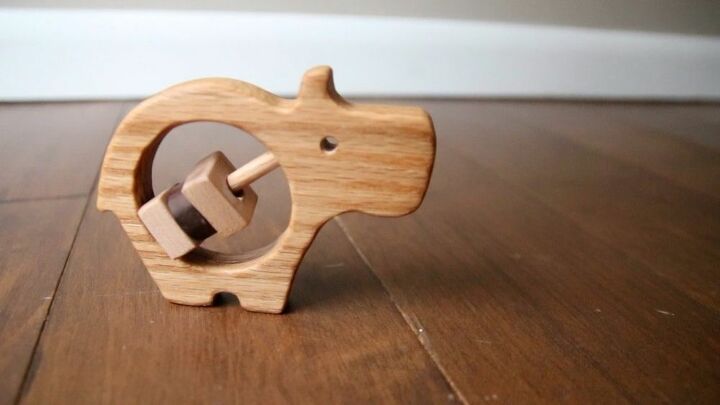
My new nephew was born a few months ago, and it was right around christmas time so I decided to make this little toy rattle for him. I used a piece of oak and made my own kid safe finish for this and it turned out better than I expected! This is my first time making a toy like this and I really enjoyed the process. I hope you enjoy it as well.
The first thing I had to do for this rattle was cut out the shape. You can use any shape you would like to use but I used a hippo shaped animal. If you are interested in the template I made for this, I can download it on my website.
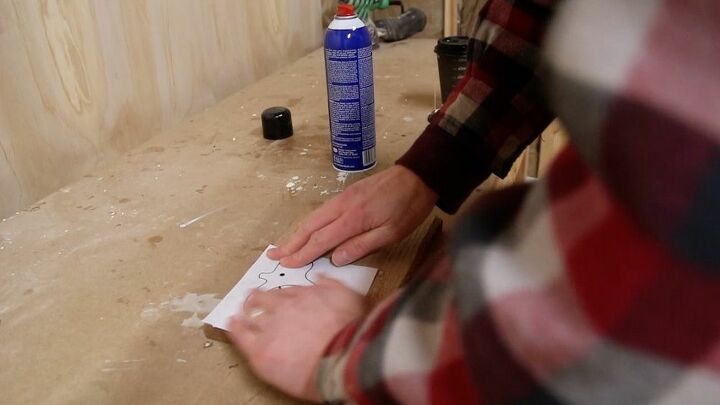
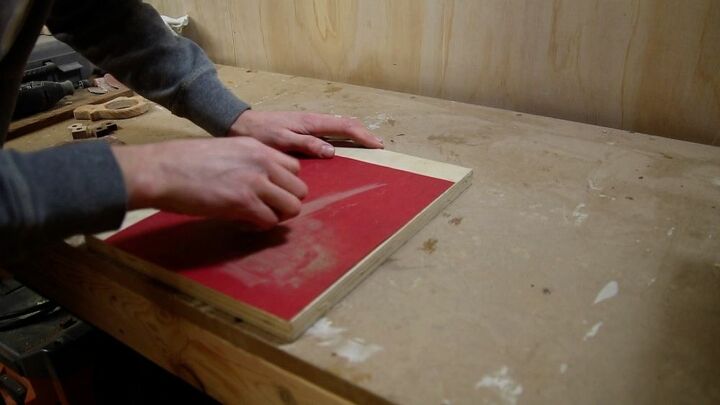
First I attached the template to the piece of oak I was using for the rattle using spray adhesive. I just sprayed it on the block of wood, applied the paper and let it sit for a few minutes.
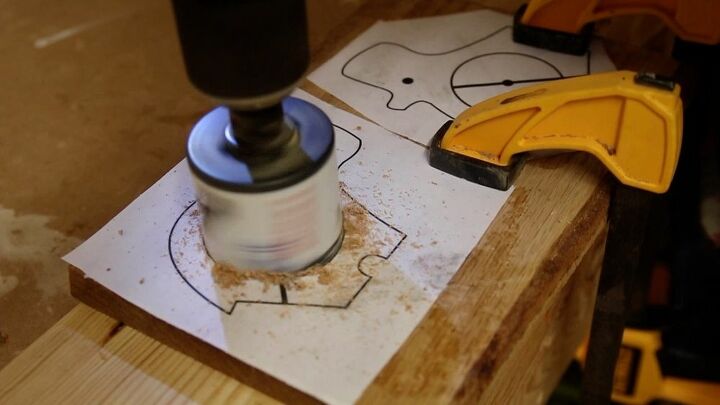
Before I cut out the shape from the outside, I cut out the circle part on the inside. To do this I used a 2-⅛” hole saw and make sure you put a piece of wood under the piece you are cutting, that way there will be no tear out from the hole saw. Once the inside part was cut out, I then drilled out the place for the eye of the hippo.
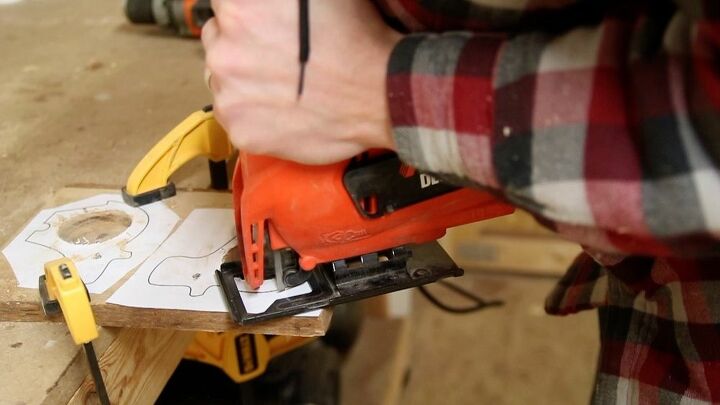
After those two things were done, then I used a jigsaw to cut out the shape. I went along the outside of the line. I would later go back in and sand to the line. I found that clamping the board to something made it a lot easier to cut with the jigsaw.
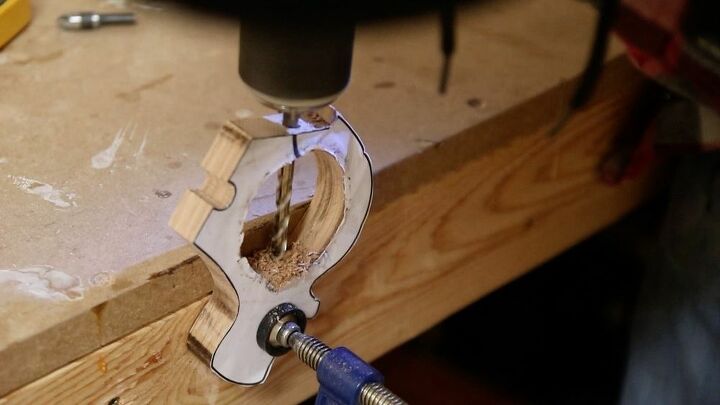
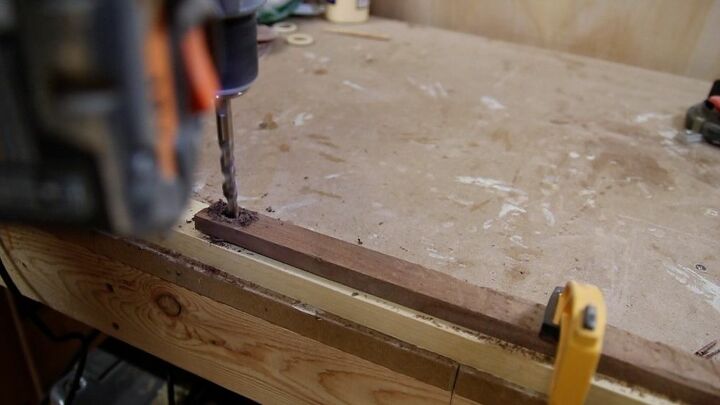
After this I cut a ¼” hole on the end of the rattle where the dowel would go for the rattles.
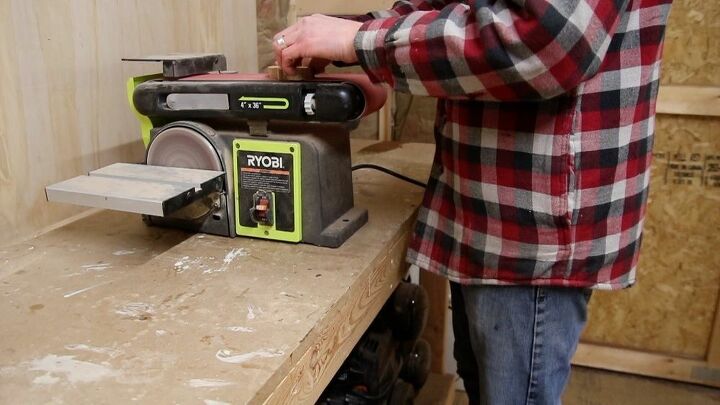
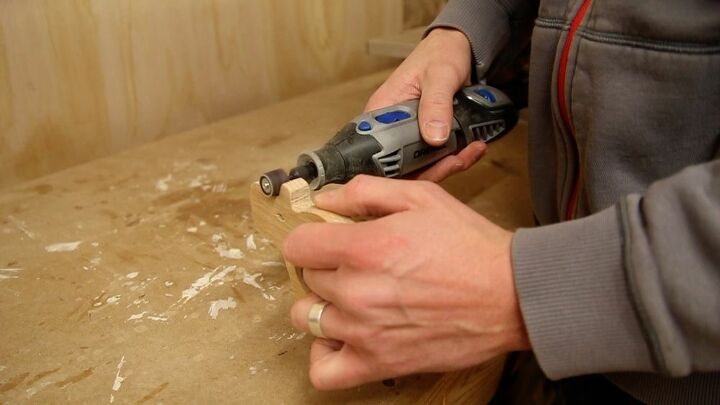
After the shape was cut out, I could sand it. I did as much as I could with the bench sander, but couldn’t reach a lot of the little curves with it, so I had to sand much of it by hand. This took a while but worked. I did used a Dremel for some of the hard to reach places and a file in some even harder to reach places. You can also wrap sandpaper around a dowel to get in some of the tough places. One thing I tried to make sure of while sanding was that I got rid of all sharper edges. I wanted it to be very safe for a child. I sanded it to 220 grit.
The next thing I had to do was assemble cut out all the rattle pieces. I cut down a strip of walnut and maple that was 1” wide and about ½” thick. I first drilled a ⅜” hole in the middle of the wood and then used a bandsaw to cut around the hole into a small block shape. I made three of these blocks. After I cut them all out, I then used the disc sander to clean the edges up a bit. Two of the blocks were square, and for the third I used the disc sander to round over the corners of the block to make a circle.These pieces were pretty small to sand so I used spray adhesive to glue a piece of sandpaper to a piece of wood, held the block in my hand and sanded it that way and it made it a lot easier.
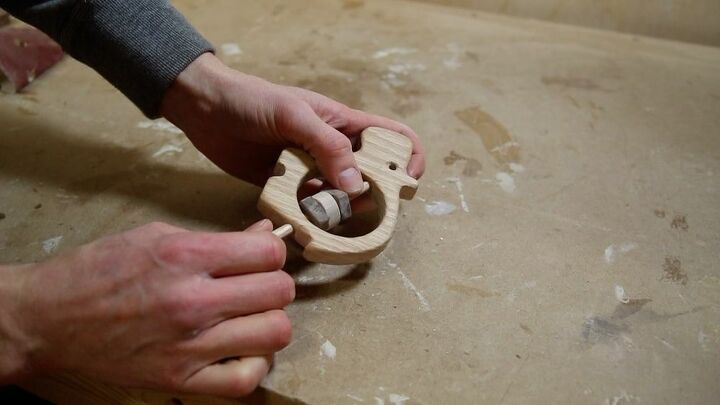
Now everything was prepped for assembly. To to this I first put wood glue in the hole where the dowel wood go, got a ¼” oak dow and put it through one side, added the rattle pieces, and then tapped it into the hole. Make sure you use non-toxic wood glue if children will be playing with this.
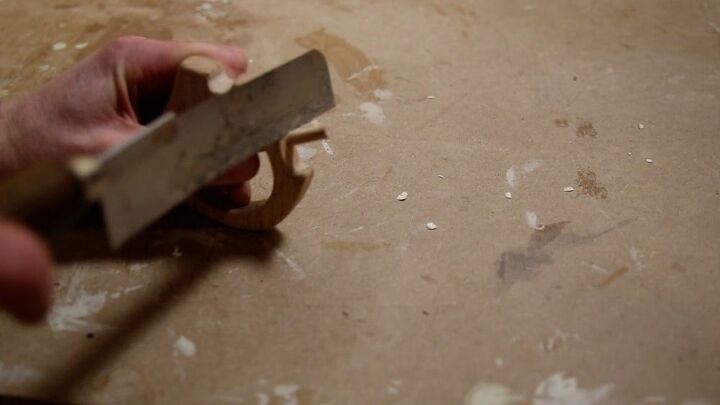
I used a flush cut trim saw to cut off the access of the dowel, and then sanded the area I cut off to match the rest of the rattle. That is all of the assembly for this rattle.

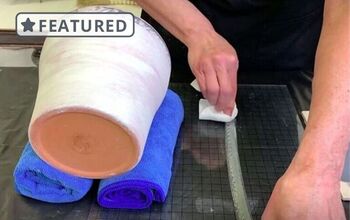
It was now time to add finish to the rattle. I made my own finish for this because it would be for children and I wanted it to be non-harmful and also protect the rattle. To do this I used ¼” cup of pellets and a couple tablespoons of caster oil and put them in a double boiler. I let it all melt down to liquid from. Once it was liquid, I stirred it really well and poured it into a glass jar where it almost instantly solidified. After a few minutes it was ready to rub on the rattle.
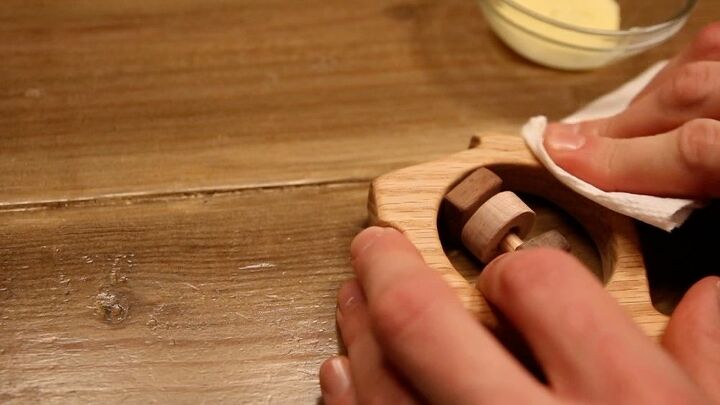
I just put a little on a rag and rubbed it on pretty thick. After a few minutes I buffed it out and cleaned off any access. These material give the rattle a protective coating and it is non-harmful for children. You could probably also use mineral oil or jojoba oil in place of the caster oil and you can adjust how much of the oil you want based on your preference.
Resources for this project:
See all materials


Comments
Join the conversation
-
Beautiful wooden rattle! What a lucky little boy to have such a sweet and talented uncle!


Frequently asked questions
Have a question about this project?