


Door Organizer
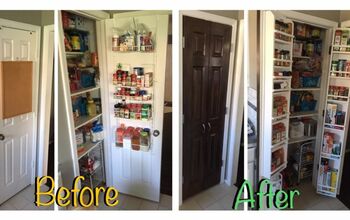
This project is very easy and quick to make and is very much flexible and can be easily adjusted according to your needs. You can adjust size of the pockets to make them wider and deeper. If needed, make it little bigger by adding additional pockets.
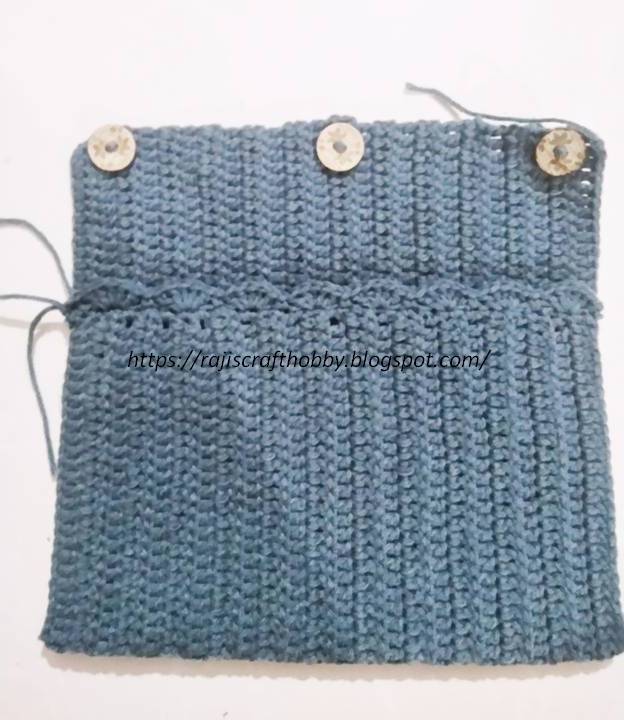
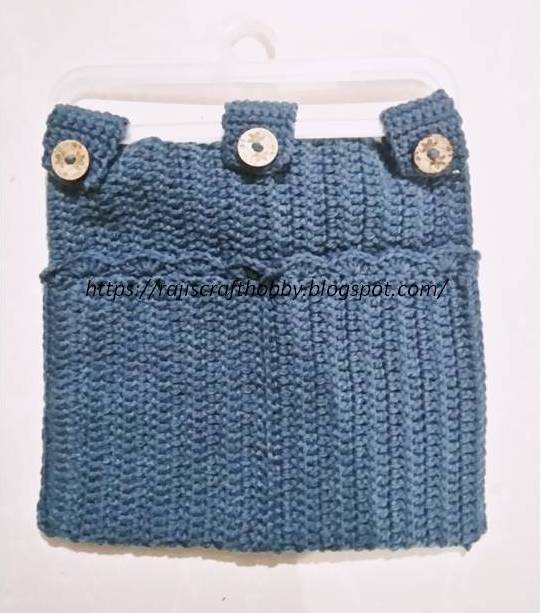
Once the desired length is reached, fold your work to check the measurement of the pockets and sew in the buttons at the top using yarn needle.
Now lets make the strands for hanging.
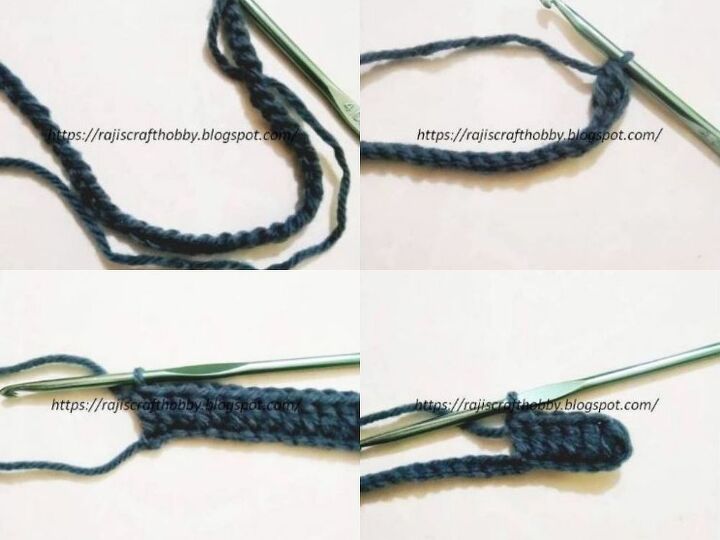
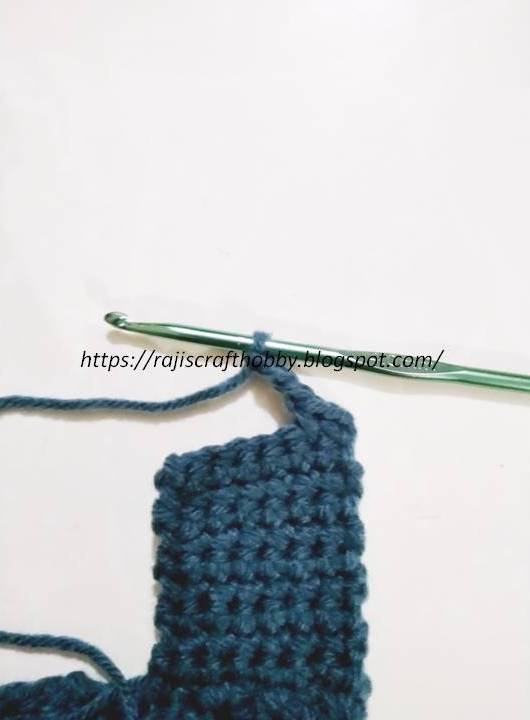
Make 7 Single crochet in each stitch at the top of your project.
Chain 1 and turn.
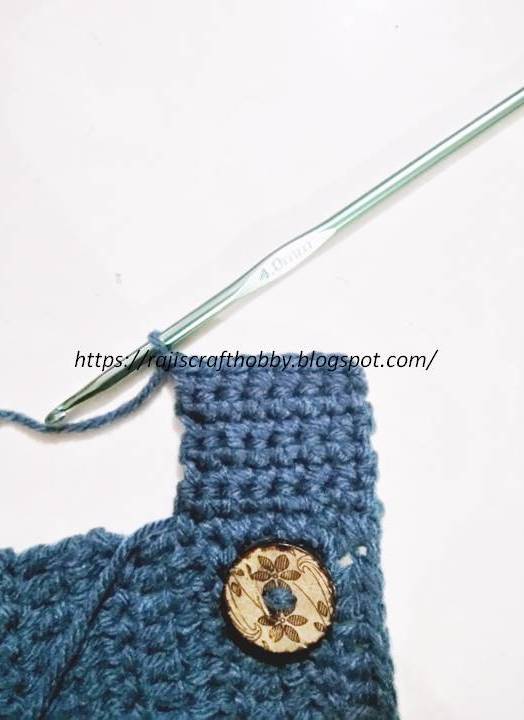
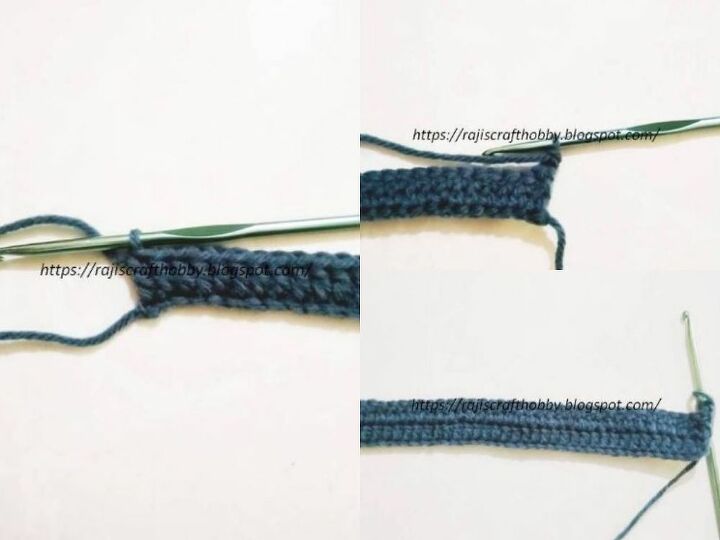
Make around 7 to 8 rounds of single crochets.
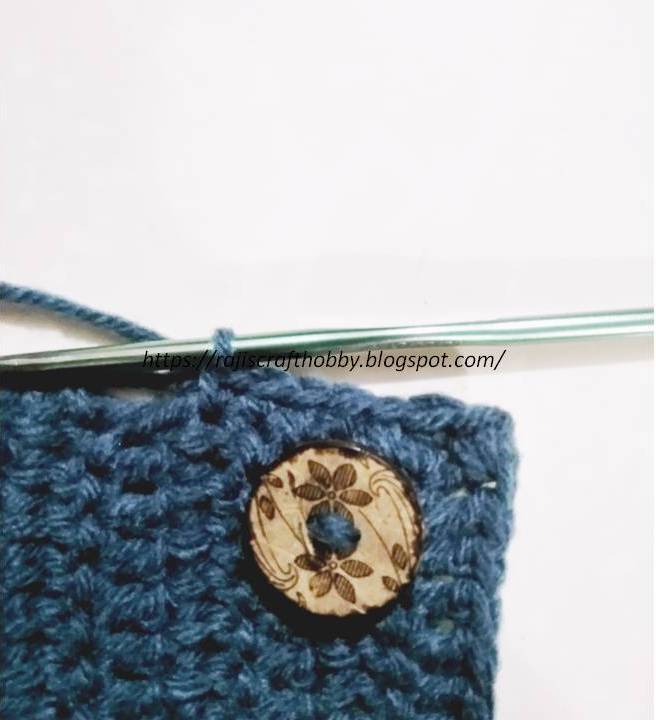
For making the button hole, make 2 single crochet, chain 3, or chain according to the size of your button you are using, then continue with single crochets.

Repeat the same 2 more times.
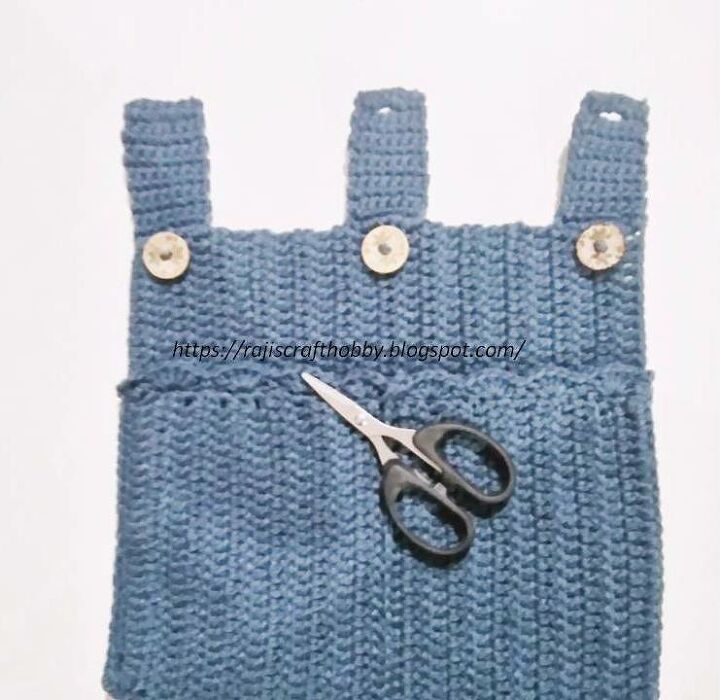
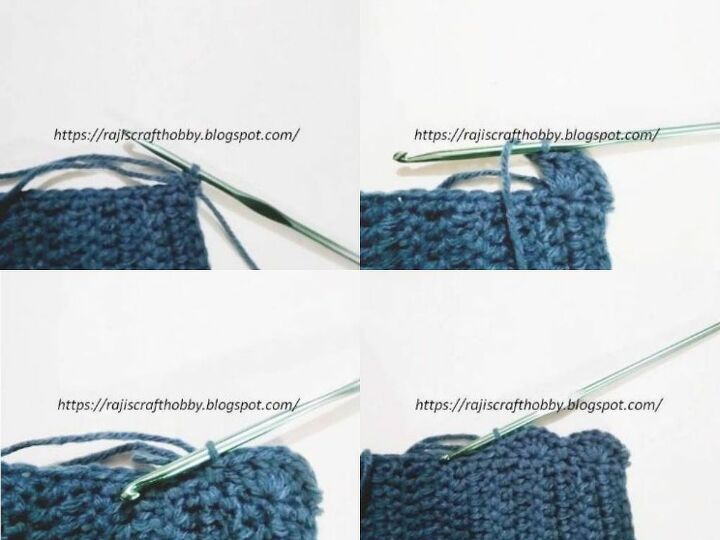
Fold your project and sew the ends together to make pockets. I made 2 pockets by sewing right in the center of the organizer.
You can you slip stitches as well to join it together.
Weave in the ends.
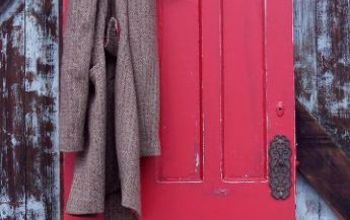
Use a hanger to hang it on the door.
Resources for this project:
See all materials


Frequently asked questions
Have a question about this project?