


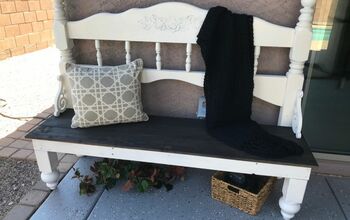
DIY Bench With Storage
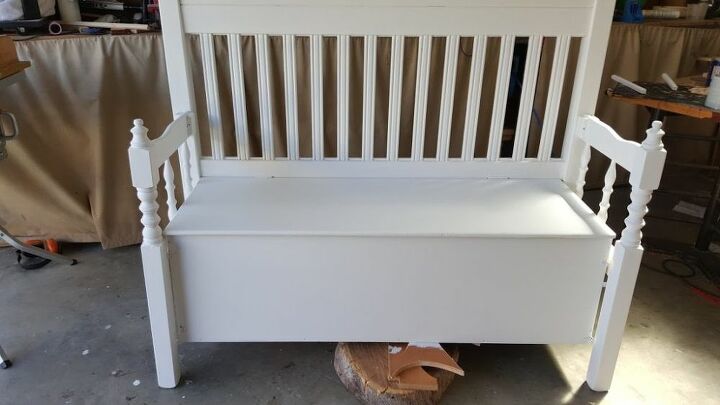
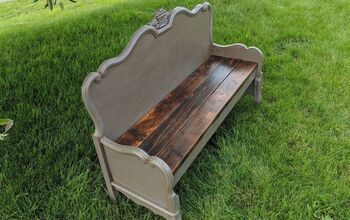
I have always wanted to make one of these headboard benches, but I was never lucky enough to find one that came with a header and footer. I have finally given up and I made one by mixing 2 beds together. Because I have just discovered chalk paint I knew I would be able to hide the wood with the paint.
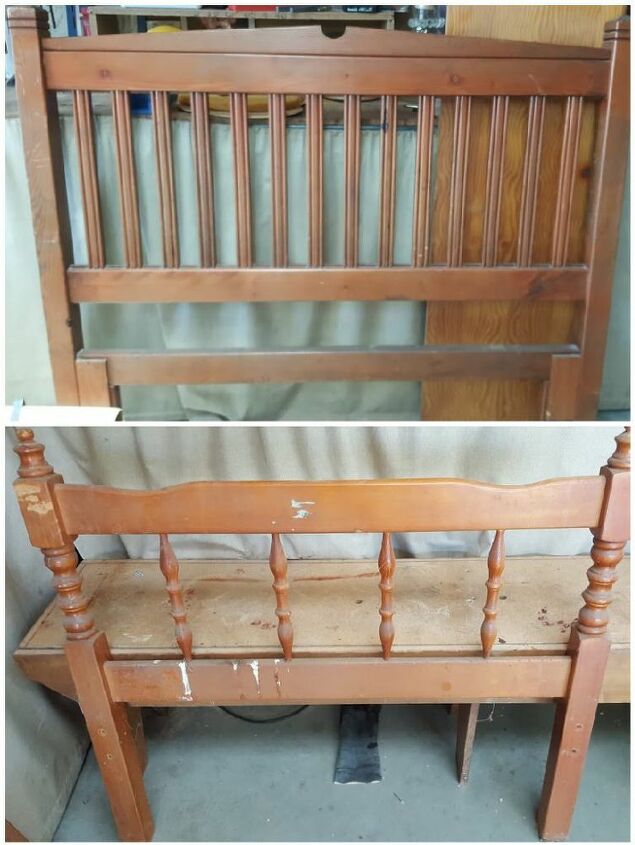
I started with a queen size headboard and a single bed headboard cut in two for the sides.
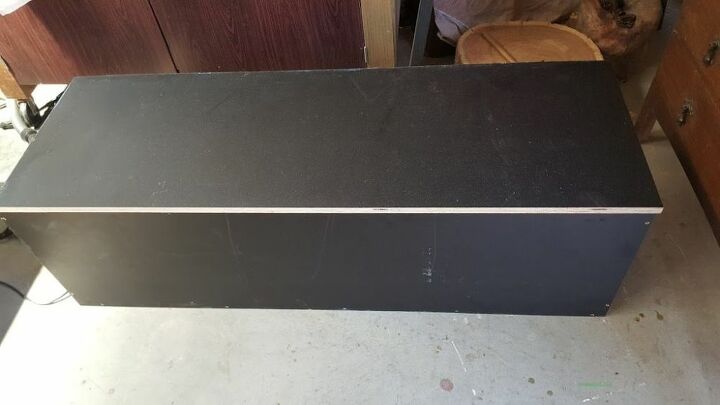
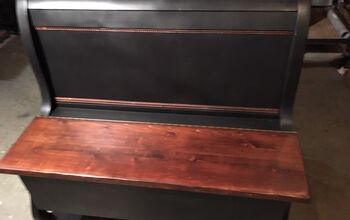
A box was made using formply, which looks like a plywood but it has this black coating on. Any plywood can be used. I made my box to the inside length of the headboard.
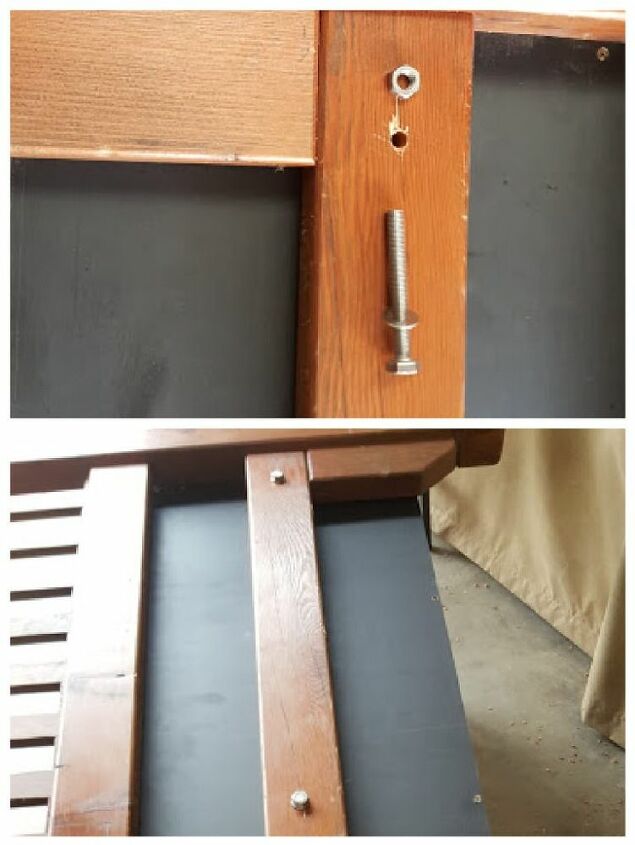
Holes were drilled through the headboard and into the box to join the two. Bolts were used to screwed the two together while it was laying down because the legs are not attached yet.
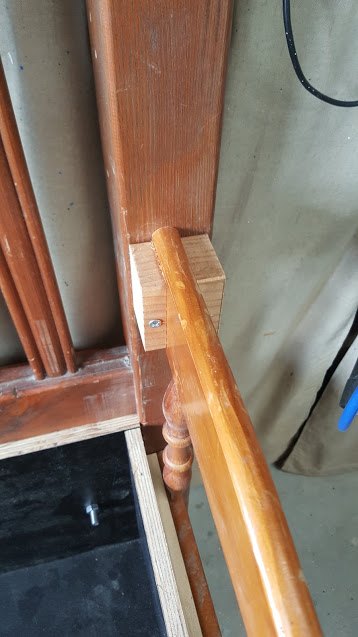
The single bed headboard was cut in two which served as my legs. The legs were screwed into the chest and attached to the top of the headboard.
Chalk paint was used to paint the bench to hide all the different colours.
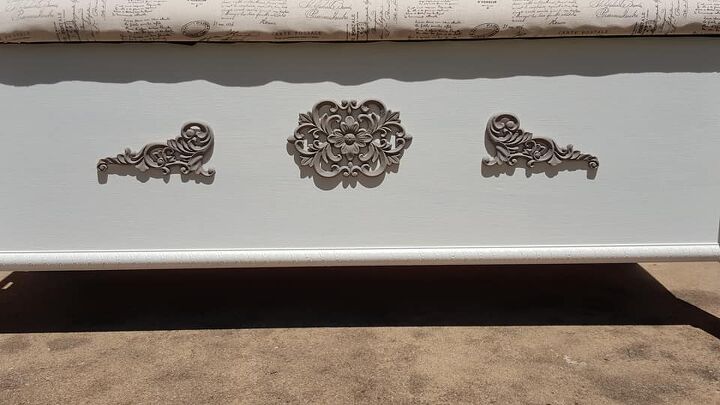
I padded the bench top and added decorative appliques for a better cosmetic look.
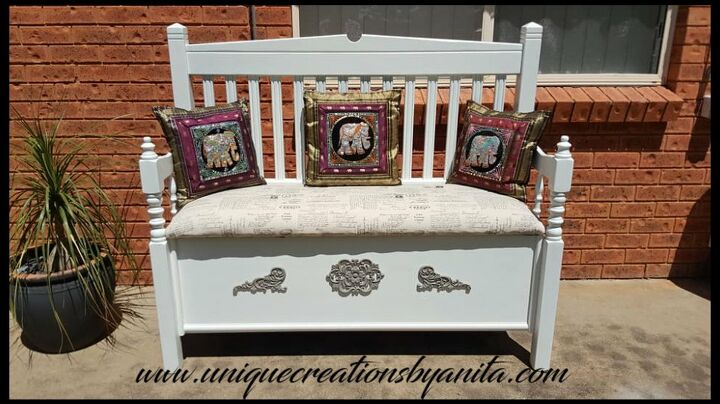
And TA-DA my bench was complete. The cost of this bench will depend on the materials you have at home. All my materials were recycled or I had them at home. So the cost of this bench was very low for me. To see more awesome repurposed furniture check out the kids craft/activity table and themed animal bench.

Comments
Join the conversation
-
I love it and am going to give it a try, u are one creative soul 😊


Frequently asked questions
Have a question about this project?