


Staircase Renovation - From Boring to Gorgeous!

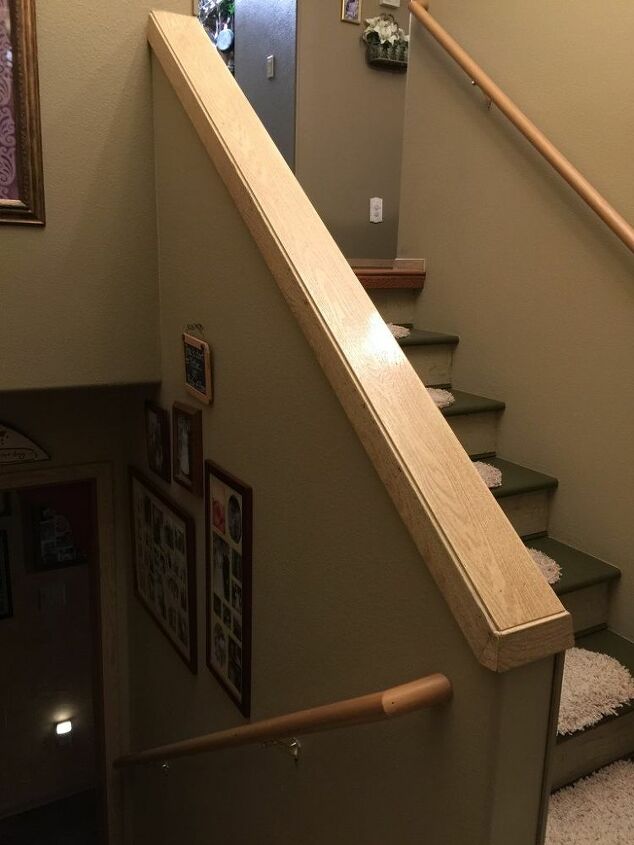
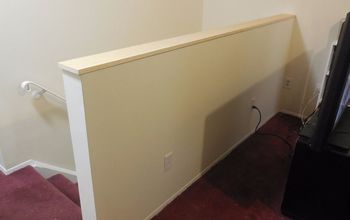
We live in a split level home. When you enter the front door, you have two options: 1) take the stairs to the left and go downstairs to the lower level or 2) take the stairs to the right and go upstairs to the upper level. The dividing wall between the sets of stairs was just a simple 1/2 wall covered in drywall. I researched You Tube for options to update this stairwell - I've never loved it and we had been in this house for 14 years!
Since our downstairs is what they call a 'daylight basement', it is pretty dark. I thought that if I removed the drywall and opened that 1/2 wall up, it would allow more light into the downstairs hall. So after doing some You Tube research, I bought a drywall knife and started sawing.....without telling Hubby! Like I said, I had been researching how to update this area for a long time. I chose to start this project when one of my favorite people in the World, my bro-in-law, Todd, who lived in another State was very sick. I had gone to visit him a couple of months before but since he didn't live close by, I couldn't just pop in to see him. I think this was my way to help take my mind off him being so sick by doing something productive.
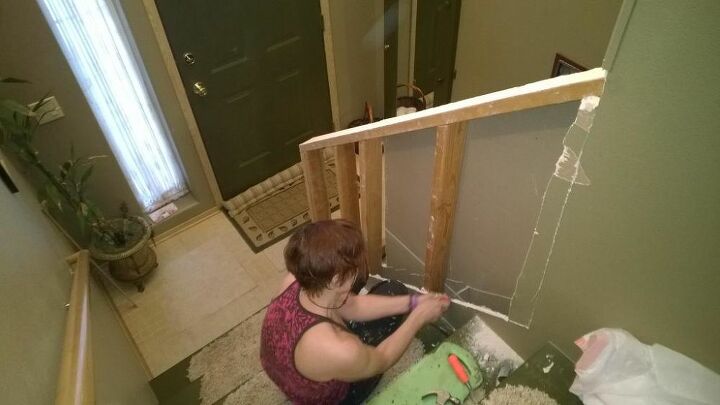
Here is what Hubby saw as he came home from work the day I dove into this project....me removing the drywall with a manual drywall knife. He was a bit surprised as I hadn't mentioned this new project to him.
Even though I knew there were no electrical cords in the wall, I wasn't confident enough to use a power saw, plus, I didn't want ALL the drywall dust that would result if I did use one.
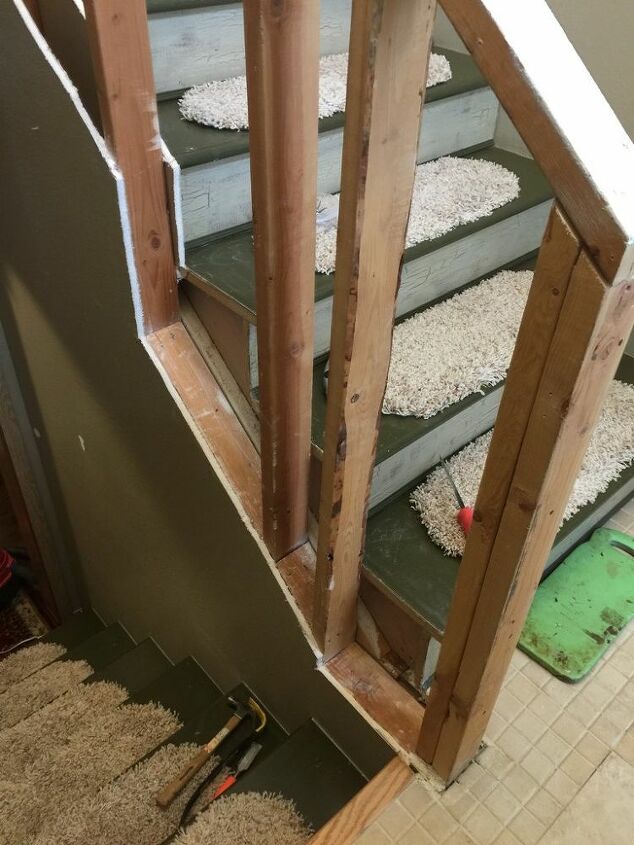
Here is a picture of the studs that I found under the drywall. Since I didn't really know what I was doing - even though I had You Tubed MANY staircase remodels, I figured it made sense to work with what was there opposed to removing the studs (even though they were not evenly spaced) and starting from scratch. After reviewing what I had to work with, I decided to buy MDF boards to cover these raw 2 x 4's and then decorative trim to make it pretty.

I LOVE a nice newel post. Here is the start of what I PRAYED would be a fabulous one when it was finished. I used all my clamps to hold the MDF in place after using construction glue. You'll see I also put my 15lb kettle bell into good use to secure the top piece :)
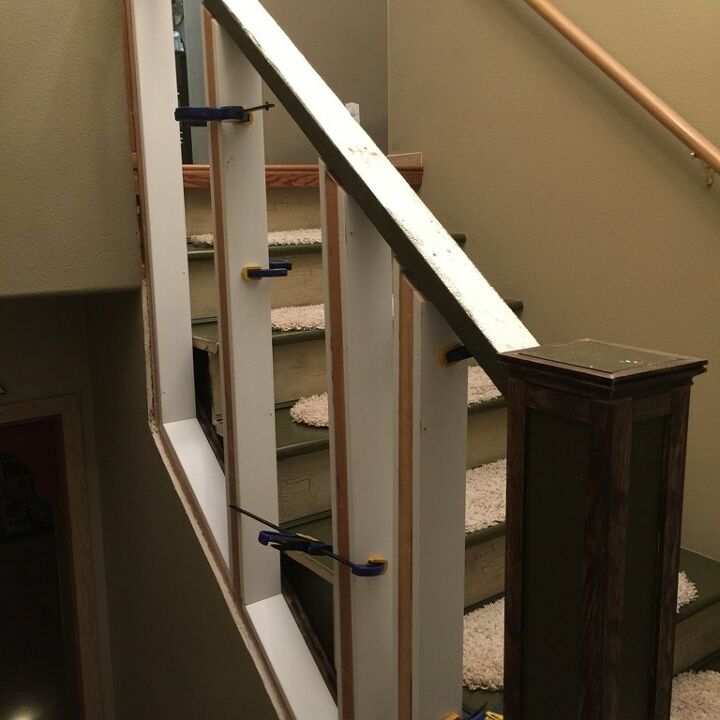
Here are the 2 x 4's being dressed out in MDF. I would have used real wood but didn't want this impromptu stairwell project to cost an arm and a leg. I don't regret using the MDF as it was easy to work with, inexpensive and I was going to paint it anyway. You can already see how nice the newel post is shaping up!
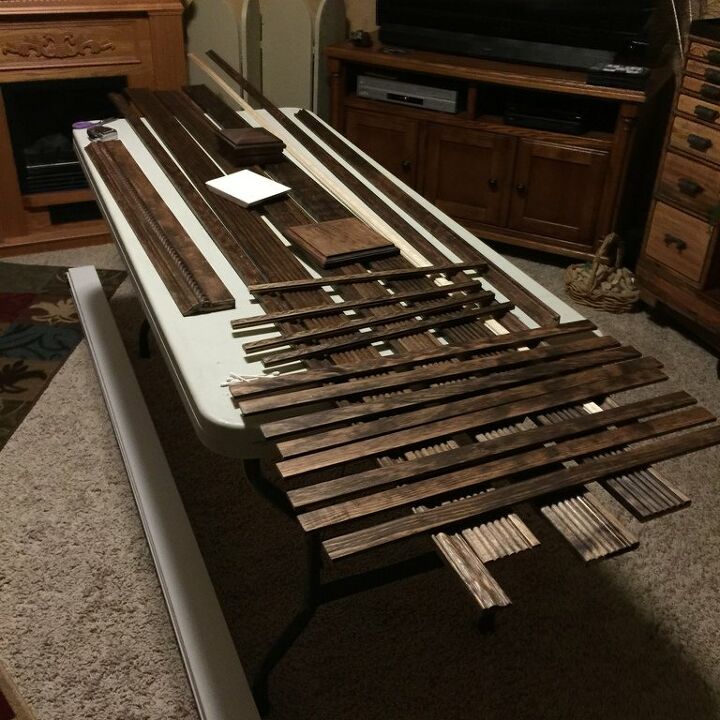
Here are a lot of the trim pieces. I sanded and stained each one. I used Minwax Provencial for the stain and topped it with 2 coats of Minwax polyurethane with a light sanding between each coat.
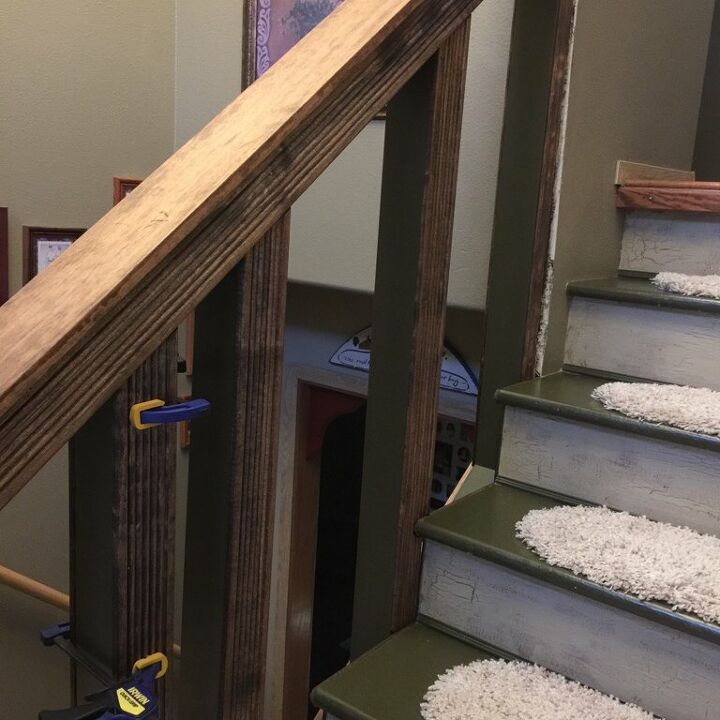
I started adding the trim after painting the MDF with Behr in Chocolate Cupcake. You can see I'm utilizing the clamps again. After the construction glue dried, I did use my nail (brad) gun to secure them further. Looking purdy, huh?!
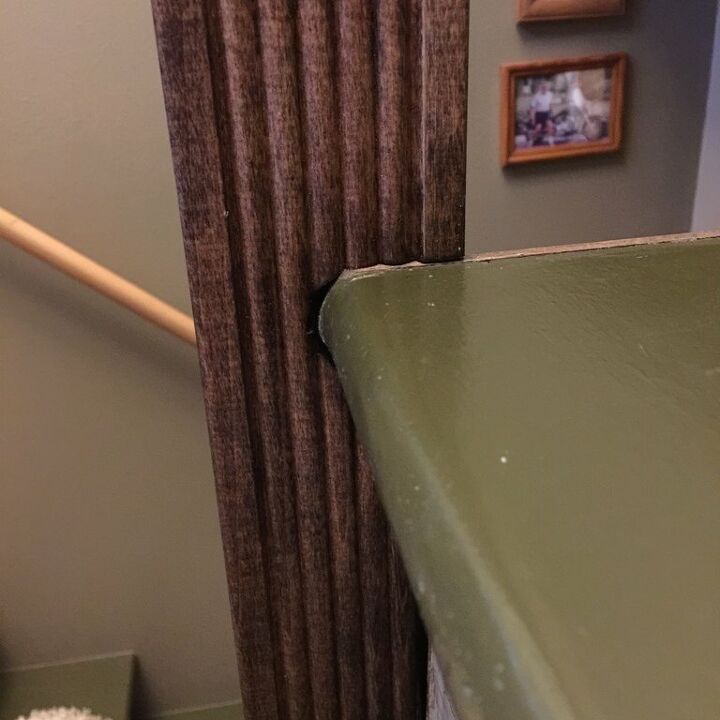
This is one of my favorite cuts. It may not look like much, but I was pretty pleased I was able to cut it so it fit snug around one of the stair treads.
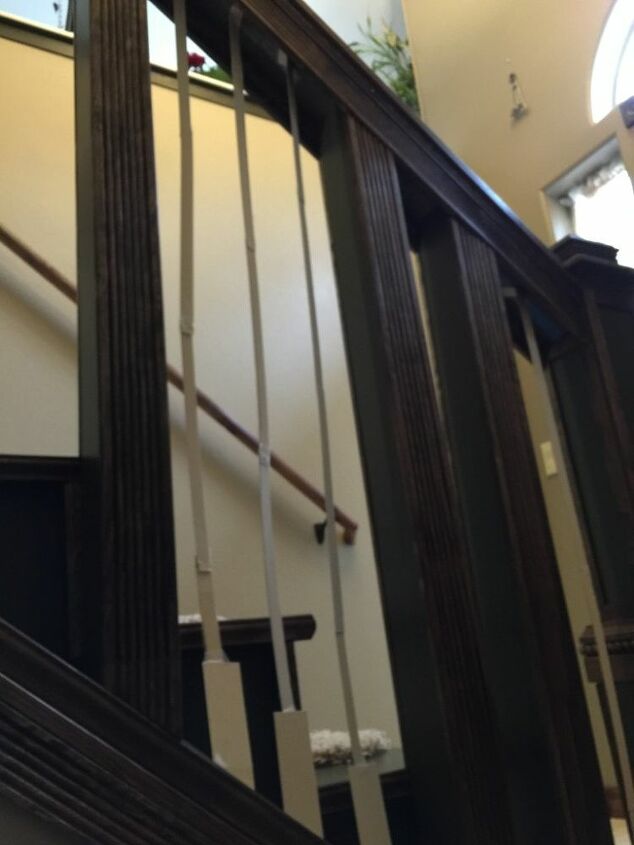
I'm a visual person, so to determine how many spindles I would need to make this stairwell up to code, I cut strips of poster board and taped them to the openings.
Here is one of my other cuts that I was pleased with. The piece is 1 1/2" x 1 1/2" and miter cut as well.
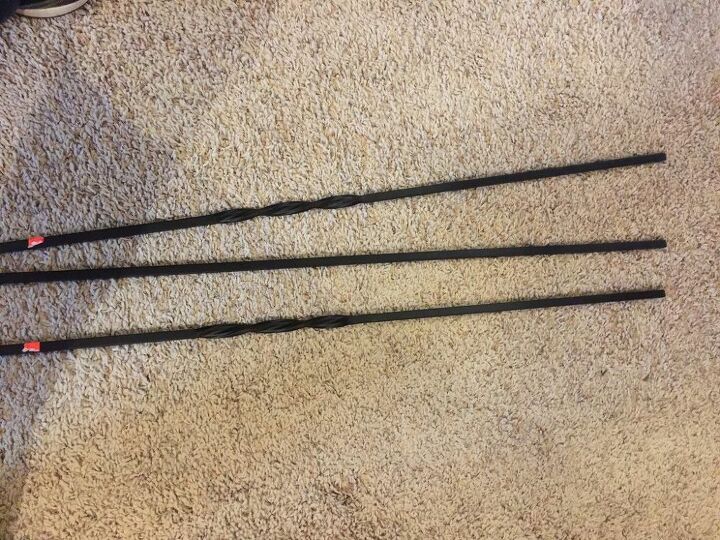
We were lucky enough to find wrought iron spindles at Habitat for $2 each! They were different styles but they ended up creating a nice, eclectic look to the staircase! They were too short for the height of the banister but I created a 'footer' for each to make them fit the space.
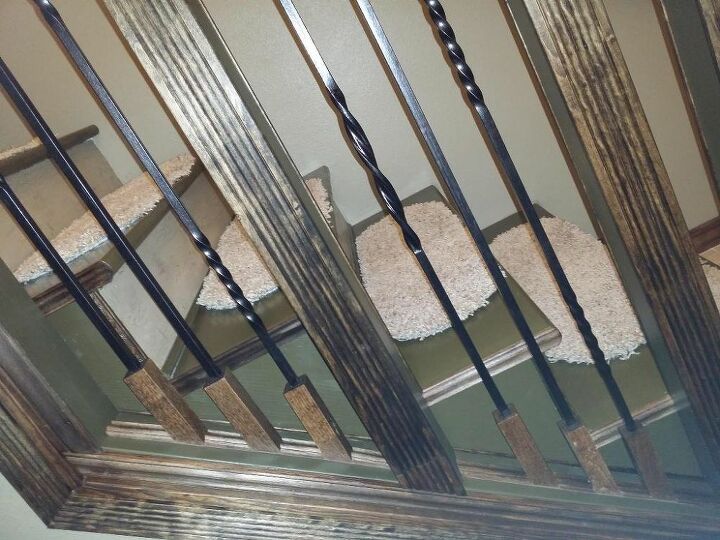
You can see the footers here. I used 1" x 1" boards, cut them to the height I needed then cut the bottom to fit the angle of the slope. Once that was done, I drilled a hole in the top to set the spindle and used construction glue in the hole. When installing the footer, I bored a hole to set a screw then cut trim pieces to be placed between each footer to add stability. The wrought iron spindles are beautiful!
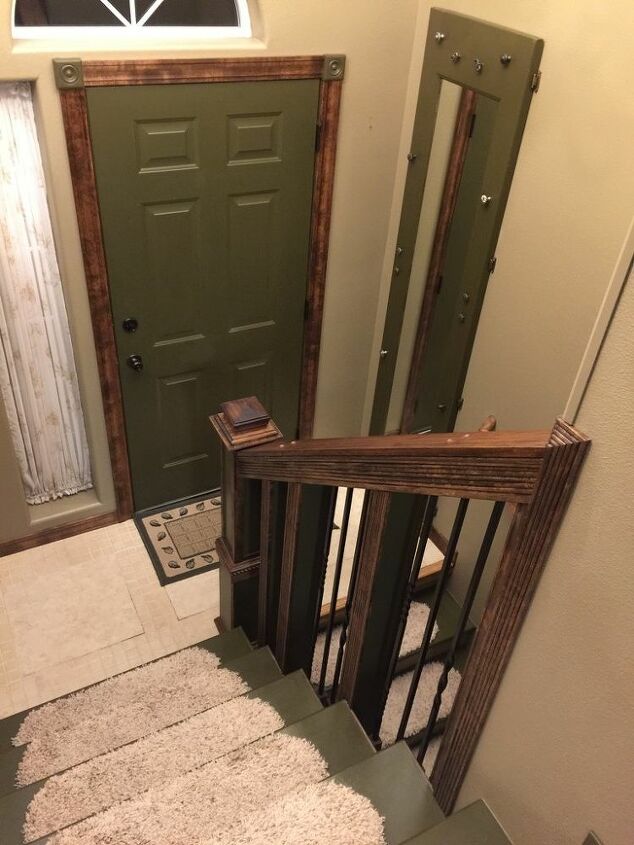
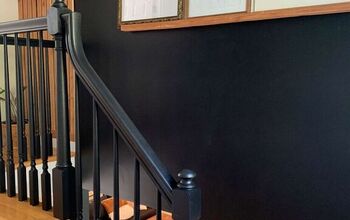
The result is a dramatic makeover and the extra light downstairs is delightful! We love everything about the new stairwell but my two favorites are the wrought iron spindles that I found at Habitat for $2 each and the newell post - we didn't even HAVE a newell post before the renovation.
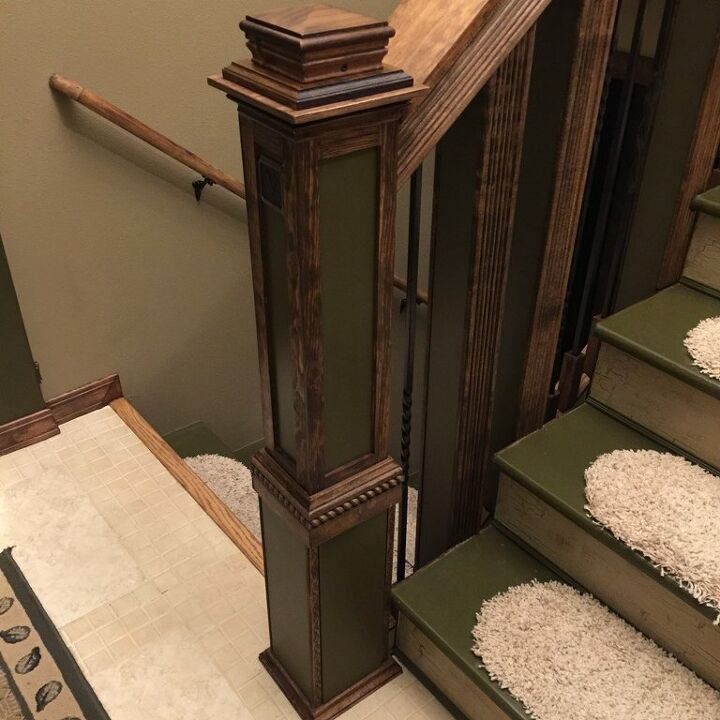
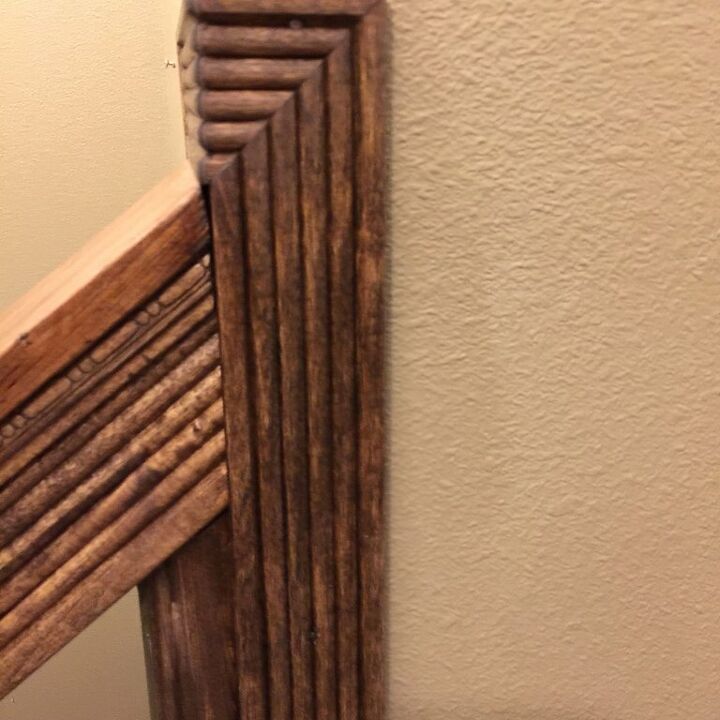
The newell post is my favorite feature! That trim with the rope accent is a piece I also found at Habitat. It was all they had! Talk about sweating as I measured, remeasured and measured again to make sure the first cut I made on each piece was perfect! It is also one of my favorites in this project.
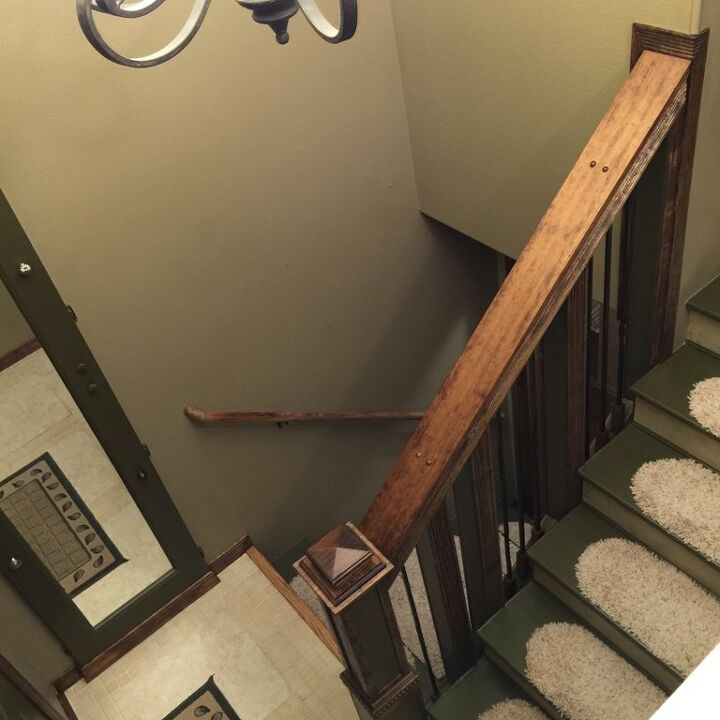
The stairwell from above. If you love this project and would like to see even more pictures and instructions on the progress, please visit my blog where you'll find that information. Todd passed away while I was working on this project. Hubby has named it Todd's Staircase - love! I know Todd is proud of what I was able to do with this staircase.

Here is the stairwell after changing the carpet treads.

I never get tired of this view or the light that now comes into the downstairs hallway.

Comments
Join the conversation
-
Wow! Fantastic!
-
just great! I have some very ugly stairs in a very old house. This might help giving me an idea 😊


Frequently asked questions
Have a question about this project?