


Reverse Canvas - Canvas Transformation From "oops " to Beautiful
I had a canvas in the house that was staring at me for a long time… Few weeks ago I was experimenting with some signs but as you can see it was a fiasco… nice quote but my letters were NOT looking at its best. Never tried it before but I thought WHY NOT let’s do it , especially that I have all the supplies already at home

These are the letters I was on the mission to cover

I have to say removing the canvas from the frame was NOT fun at all , but it is “do-able “
Who would think that those little guys are so tough!…lol
I am so glad painting was easier. The wood on the canvas is bare, so you can stain it or paint it any color under the sun.
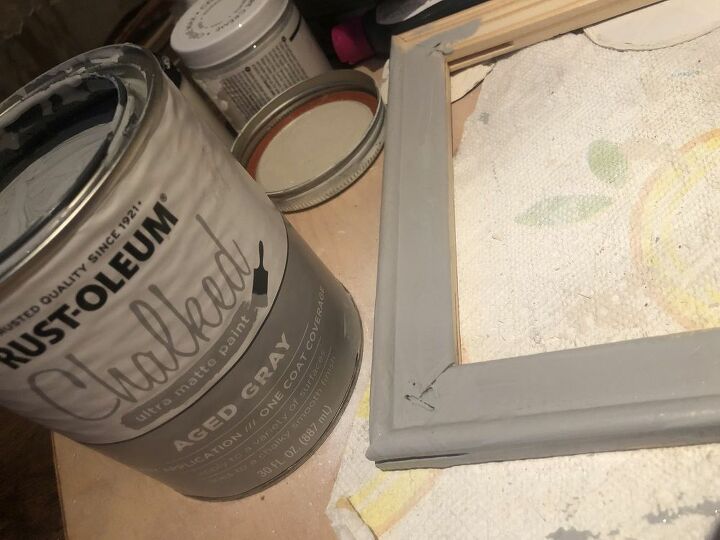
Painted slightly with chalk paint that I had laying around but you can use any paint.
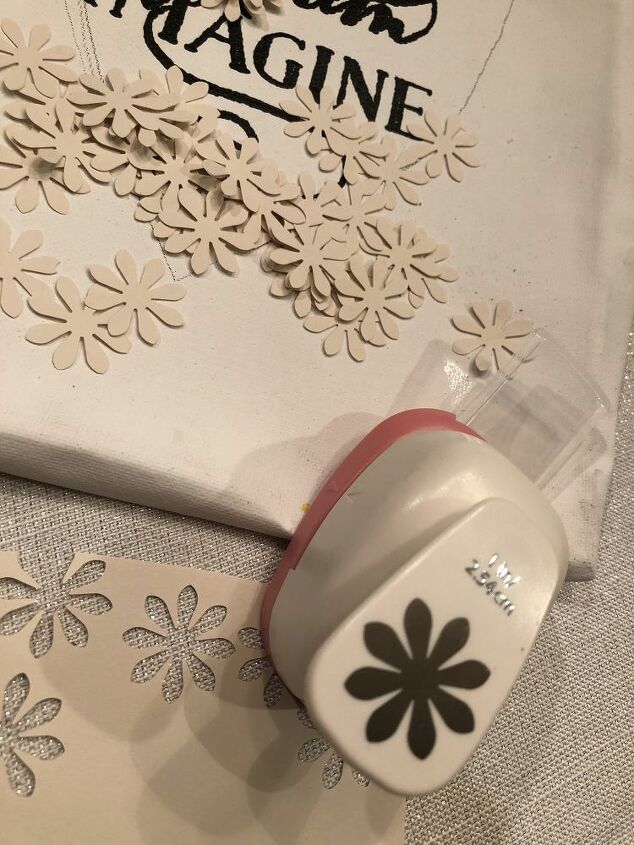
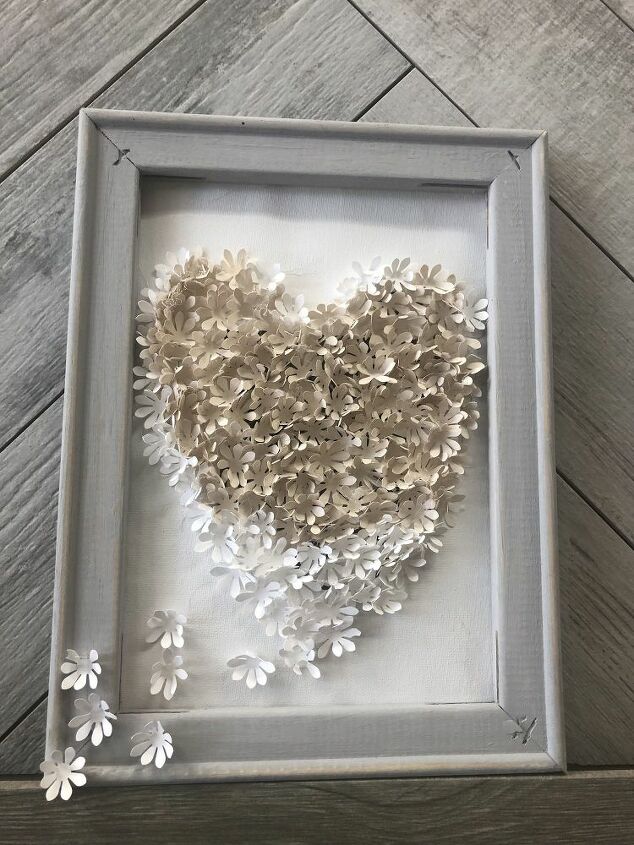
While the canvas is off of the frame, you can go ahead and apply your design element(s). This step can also be done AFTER your canvas has been reattached…whatever you prefer. I decided to decorate my frame with construction paper flower cut outs.
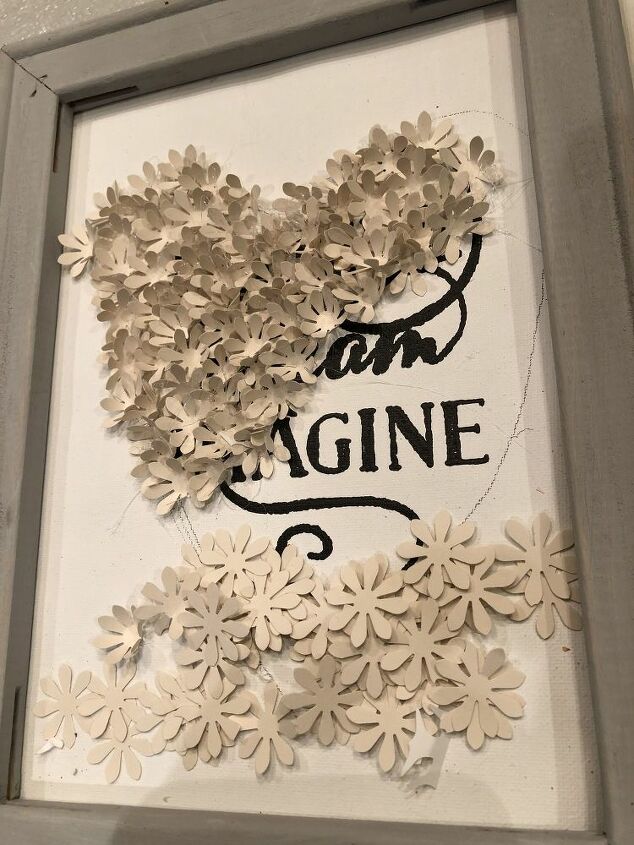
Just had to make sure that the size of my design fits INSIDE the frame. As you can see my OOPS from the”previous idea ” is slowly getting covered with a help of flowers and a hot glue gun
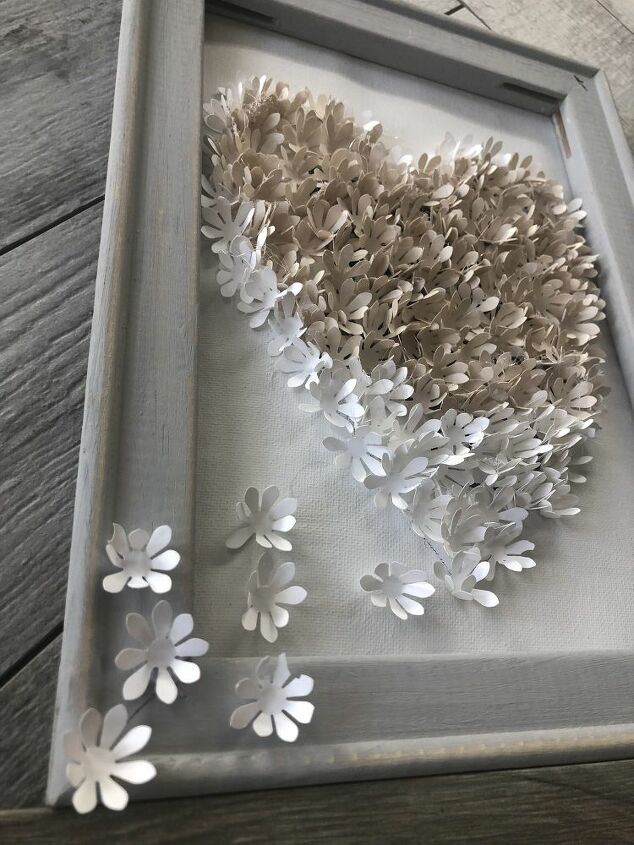
As soon as my project was done, I permanently attached the canvas along all four edges with a help of a staple gun, but hot glue would work fine too.
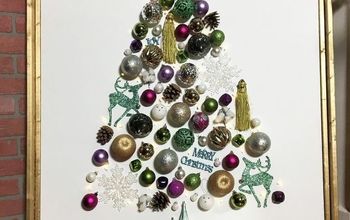
Check out our other Home Decor Diy projects here
So what do you think?


Comments
Join the conversation
-
It turned out very nice!!
Lovit!!
-
Hi Agnes. You are a crafter that, like me, has to like your finished product and if it doesn’t suit you, then you revise it. I can’t tell you how many times I have redone projects around my house. You made an exceptionally beautiful piece! Thanks for the share.


Frequently asked questions
Have a question about this project?
Love it!
I thought your letterings were nice! Are you a perfectionist? Also liked your finishing work.