


Turning a Table Top Into a Flower Box

My husband and live in a small apartment so we have a very small counter top. It’s not enough space for us to do our work. When we first moved in we got a kitchen table from Ikea and used it as a desk.
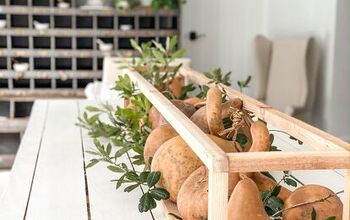
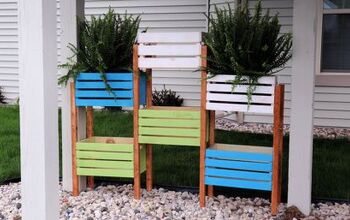
We then got a bigger table, and didn't need the Ikea one anymore. But trashing good wood? Are you crazy? We had to reuse it. We transformed it into a beautiful ultra big flower box.
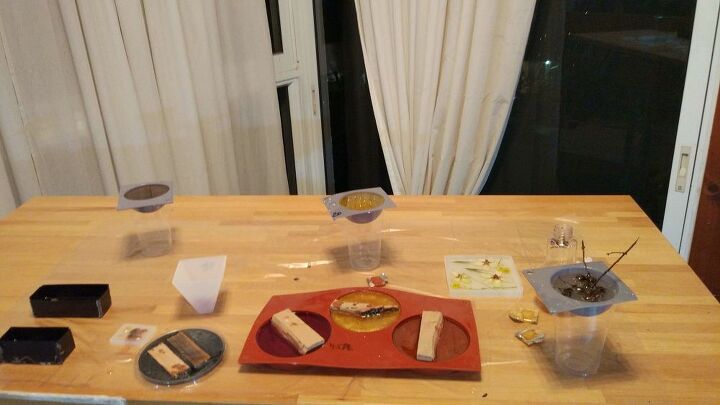
The table being used for our Epoxy artwork...
I took the table top to our neighbour. He’s a carpenter, and I consider having a carpenter as a neighbor as one of the perks of this apartment. I showed him my sketches for the flower box and he helped me cut the wood using his table saw. We cut it into 9 strips of 2.5" each and 1 big strip of 7 inches wide.
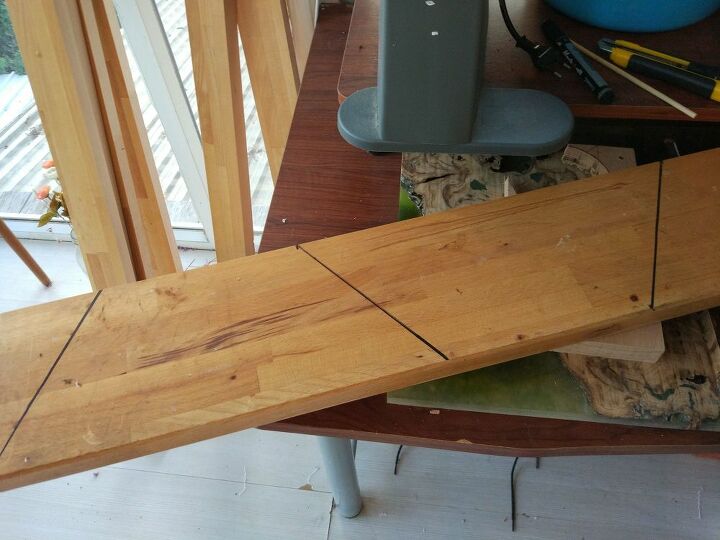
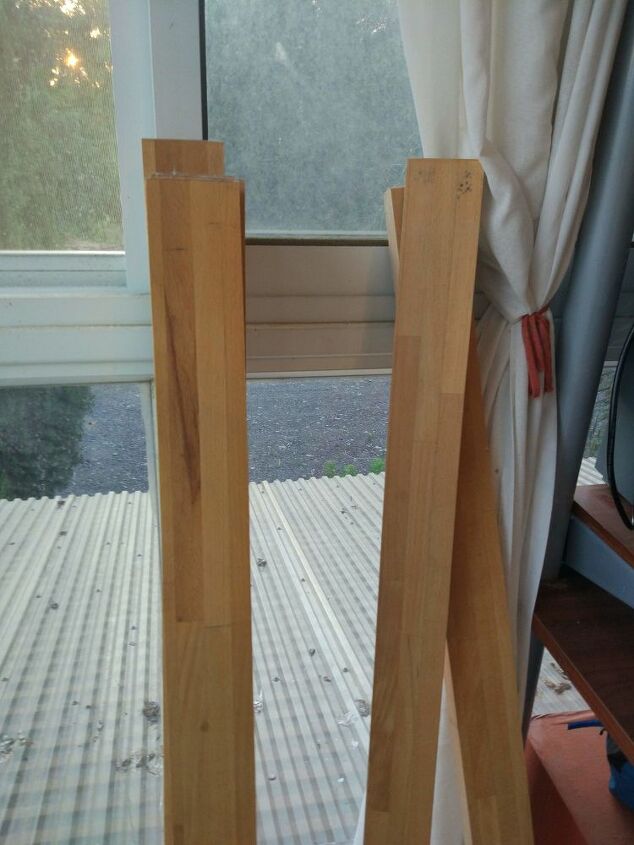
I took the wide part and draw 2 trapezoid on it. Calculating the length of the long part to be 3 times the width of the horizontal part, with an inch apart from one another.
I'm an impatient person. Always was. Especially when it comes to arts & crafts. When I start something, I can not leave it until I'm done. Are any of you like me?
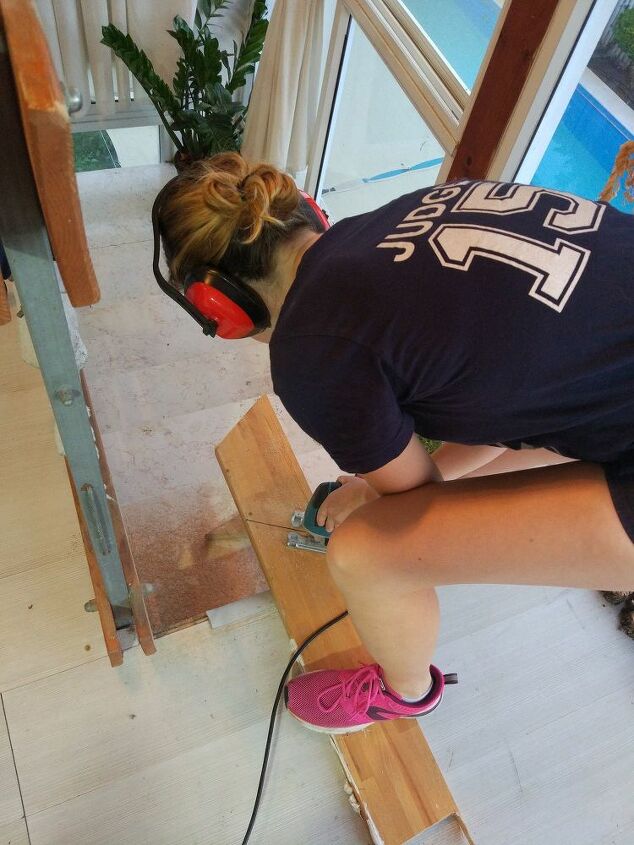
At the time I wanted to cut the trapezoids, my husband was washing the floors in our entrance hall where we usually work. I was kicked out, only allowed to cut the wood on the stairs. Don't worry, I was wearing eye goggles and noise cancelling headset.
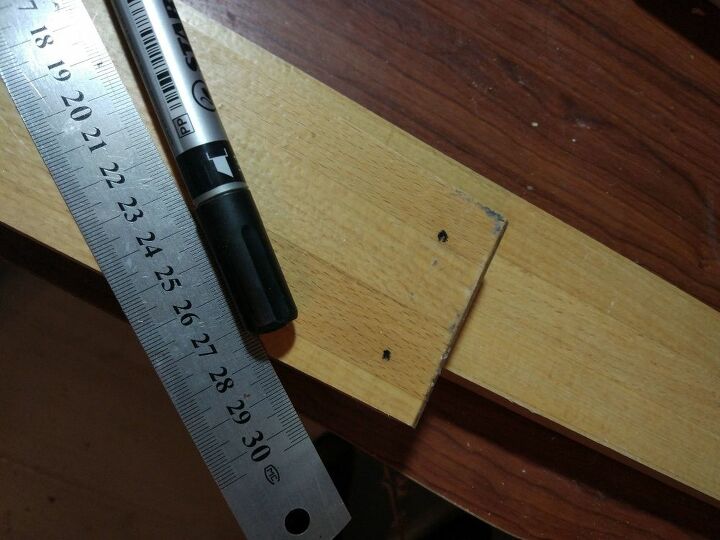
Then, I marked 2 dots on each end of the wood strip, to drill a hole.
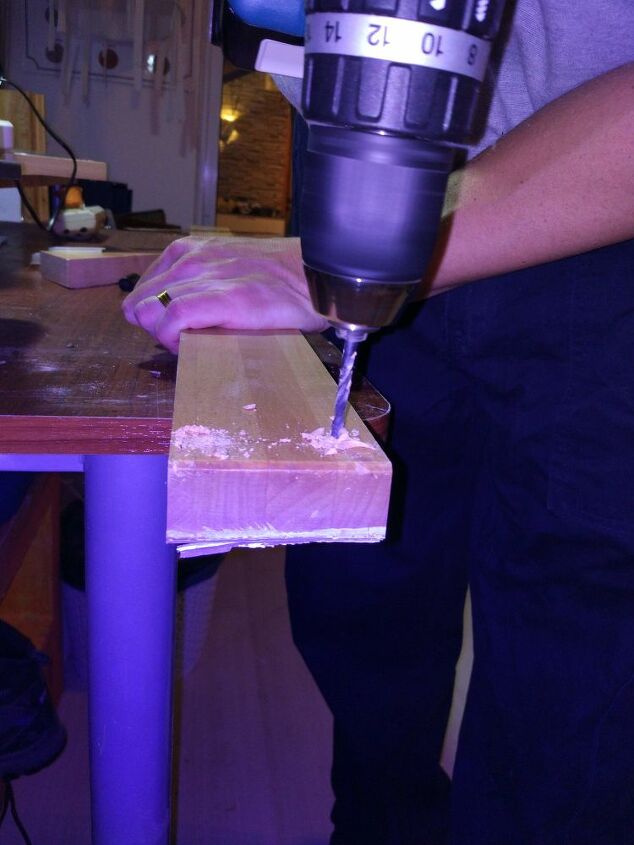
It was getting late at night, so my husband offered me some help to make it more efficient.
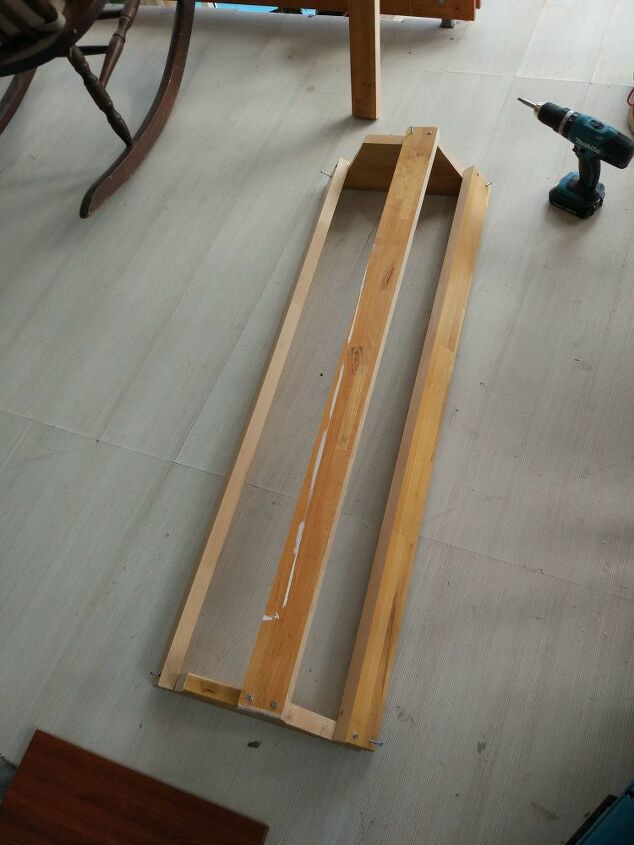
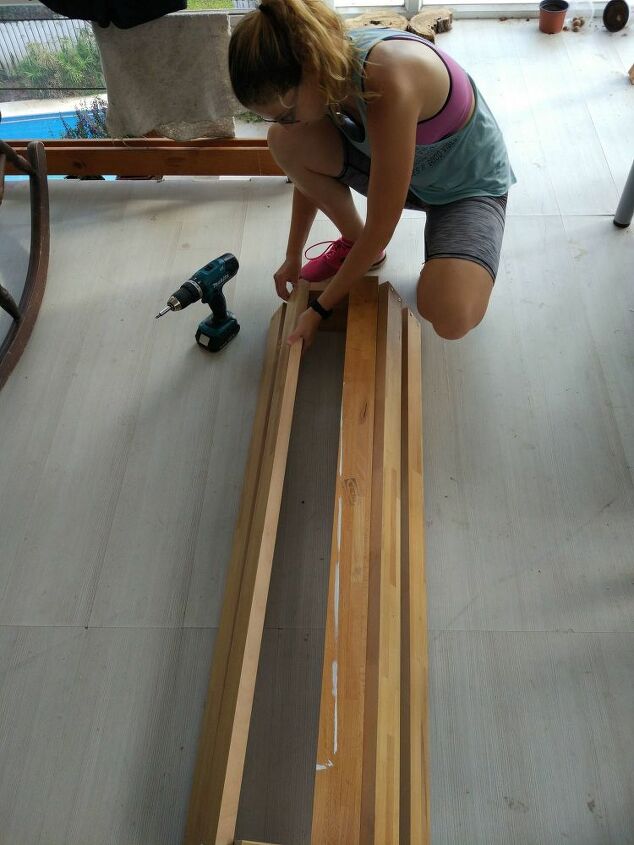
The next day, we began by assembling the flower box.
First, we placed one wood strip on each side of the trapezoid and held it together while screwing one screw at each end, not too tight.
Beech wood is a very dense wood. It was a frustrating job. After some cursing, my husband came to my rescue and shared a cool "life-hack" which made it super easy- covering the screw with room-temp. wax before screwing it in. It worked like magic!
After I was sure everything was levelled and at the right angle, I placed the other strip of wood on each side.
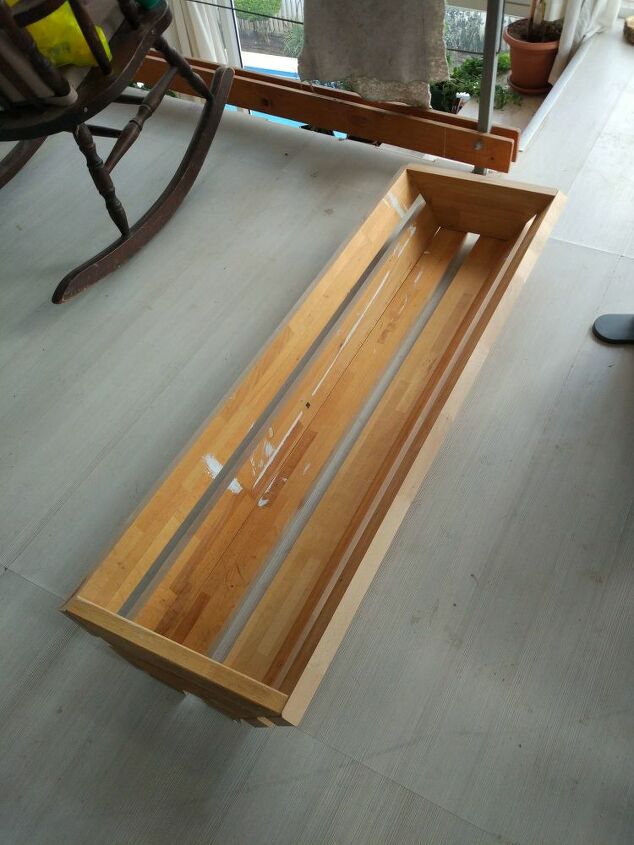
Then, we flipped the flower box over, making sure everything was in place before tightening all the screws.
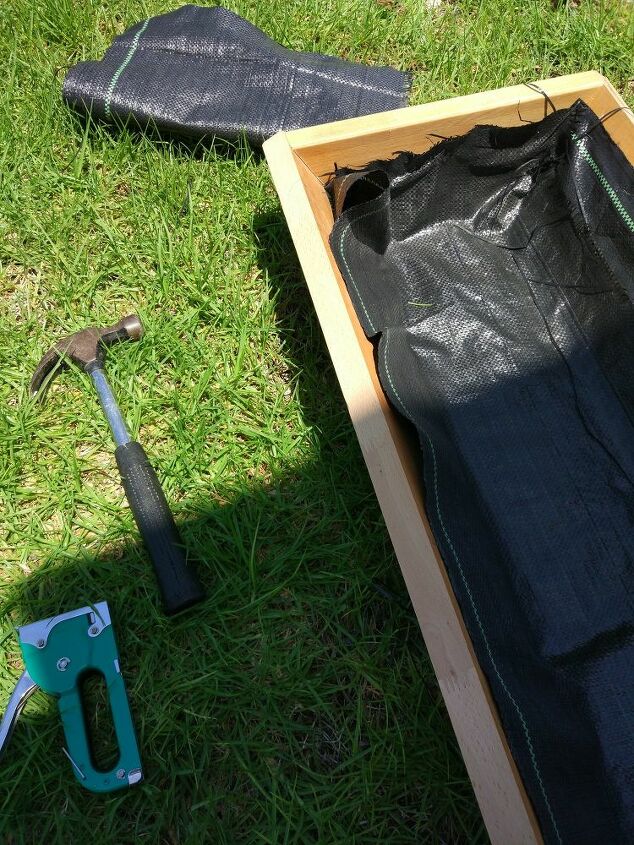
The following day my mom helped me to place landscape fabric inside the flower box. We made it double coated for extra safety. We used a stapling gun to attach it to the wood. On the corners we had to use a hammer to nail it together.
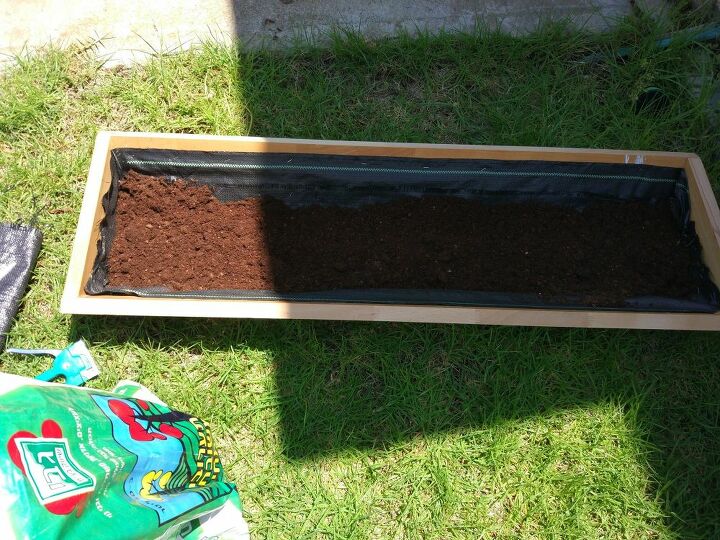
Then, we added a small amount of soil on the bottom.
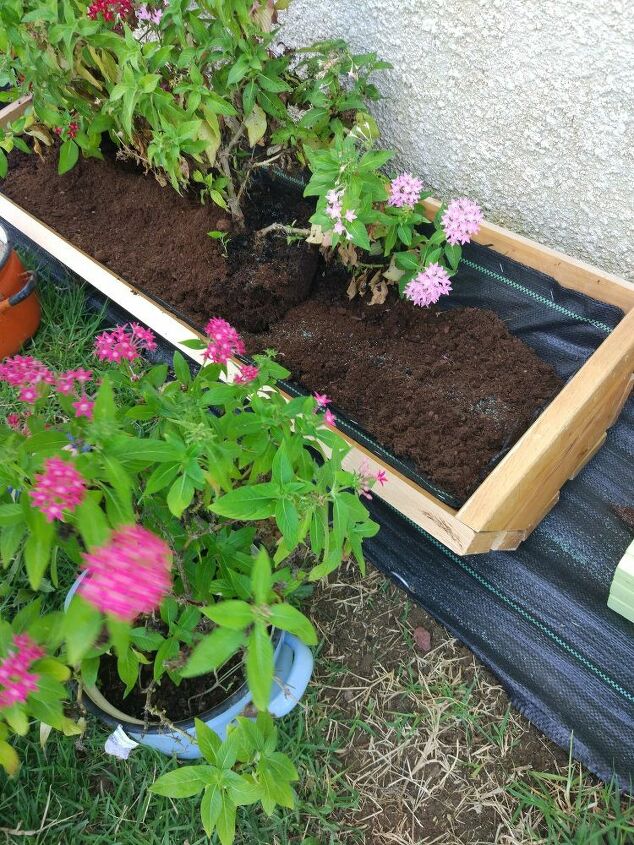
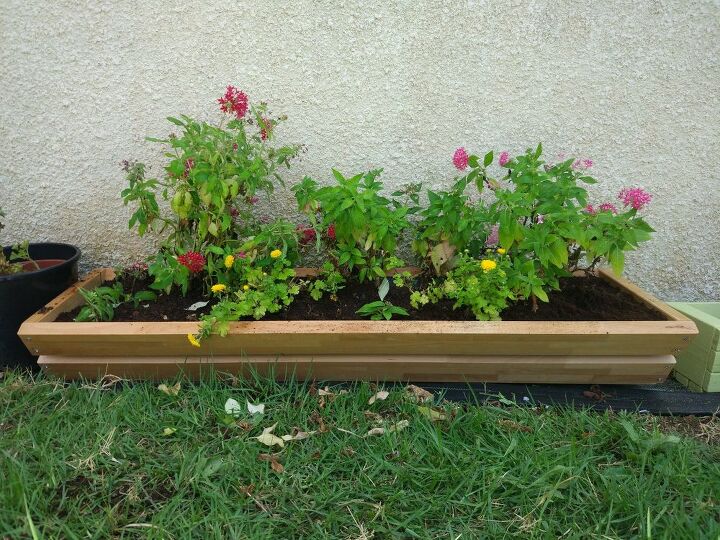
My mom had old flower boxes with flowers, so we moved them into the new flower box, placing 3 flowers from the same color palette.
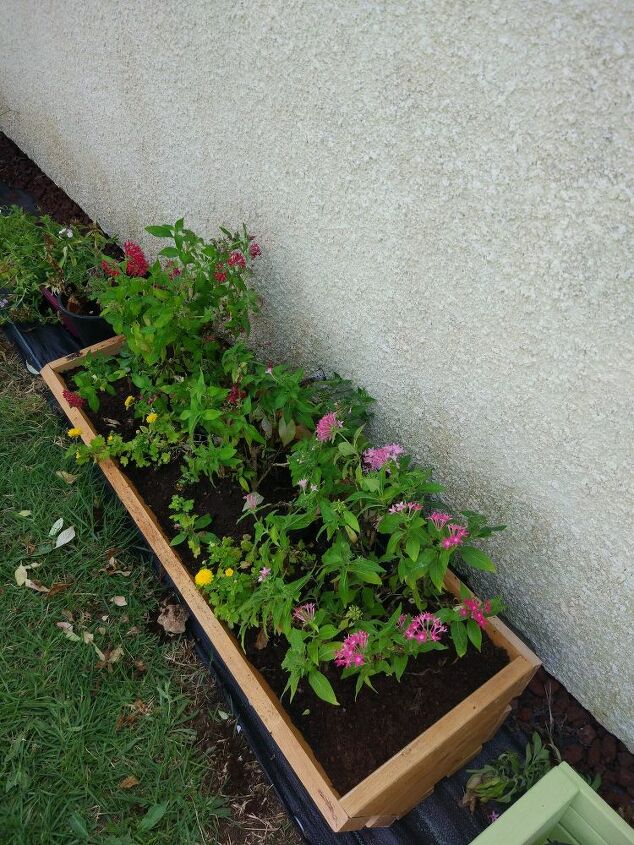
On the top of the flowers we added some more soil, to cover it up. We cleaned it, and place it in a shadowed place near the entrance of my parents' house.
We poured some water and love into it.
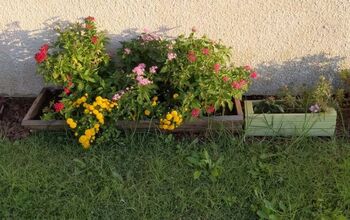
I think it looks much better than an Ikea table! What do you think?


Comments
Join the conversation
-
lovely, and great recycling. thanks for the idea
-
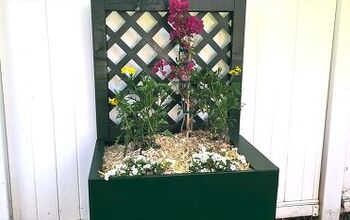
3 months later... :)


Frequently asked questions
Have a question about this project?