


Portable Shelter/Tent Up-cycled With Pallets and Fencing

Starting this post was a bit difficult because I had sooo many reasons to make this, for one I sell things from my house and I will sell things in the yard too when the weather permits but the birds were killing me with reddish/purple POOP!!
 I live in a bird sanctuary and have a berry tree, don't get me wrong I love the cardinals, blue jays and other birds but really can't stand the POOP! Okay another reason was the weather like the threat of rain, the blistering sun and wind would keep me inside too! I also was invited to sell things at a local farmer's market but you have to bring your own shelter/tent and my pop-up tent that I had only used twice broke completely just a few weeks before the invite
 ! Those things are just awful, cheap, thin metal but the canopy was still perfect so I saved that part and put the rest in the "What do I do with this?" pile. Now I really need some outside shelter and it needs to be mobile too!
I had this idea, no... more like a picture in my mind so without a plan, only a vision, I got started on creating my Up-cycle pallet portable shelter/tent , I still haven't figured out what to call it! Oh and did I mention I have zero $$ for this project!!
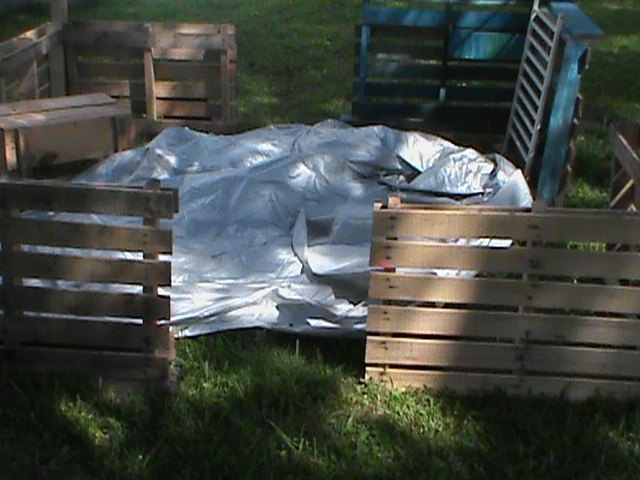
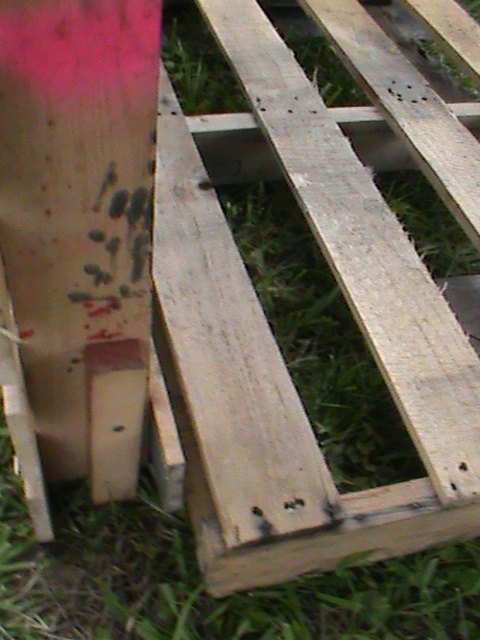
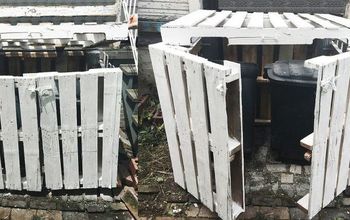
I started by gathering all the materials I thought I might need. Pallets and the canopy were the first things I grabbed but now I need posts to hold up the canopy, right!
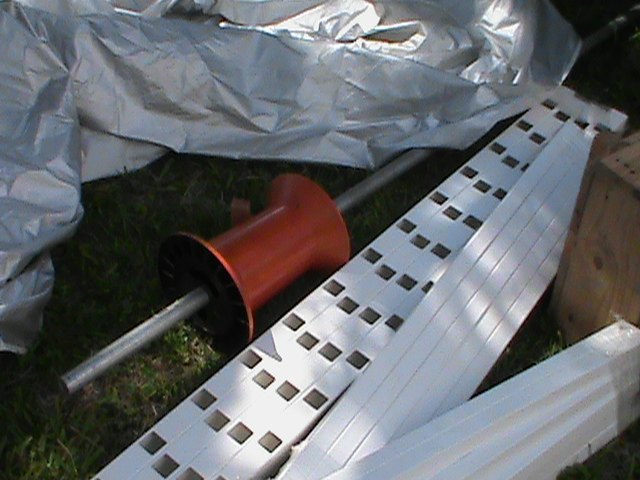
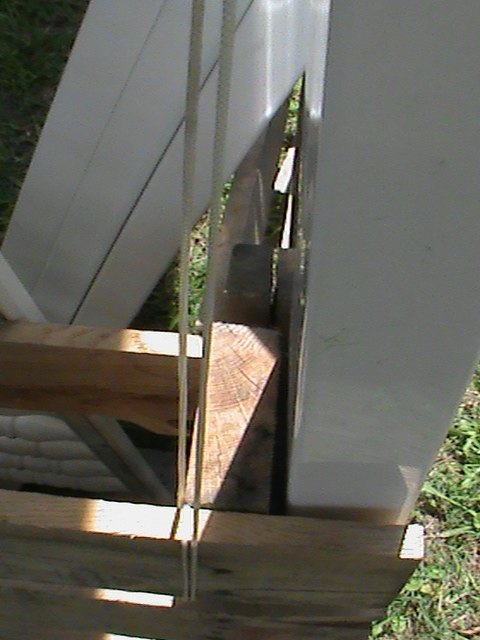
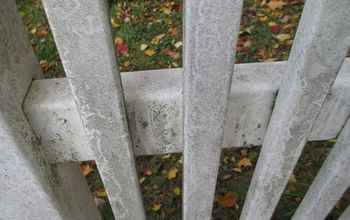
I have many wood posts and beams but I have other plans for those so I thought, "I have some fence railing I could use as posts!". Well what do you know they are perfect for this project and I had 4! I also have a long pole along with a spool for the center post!
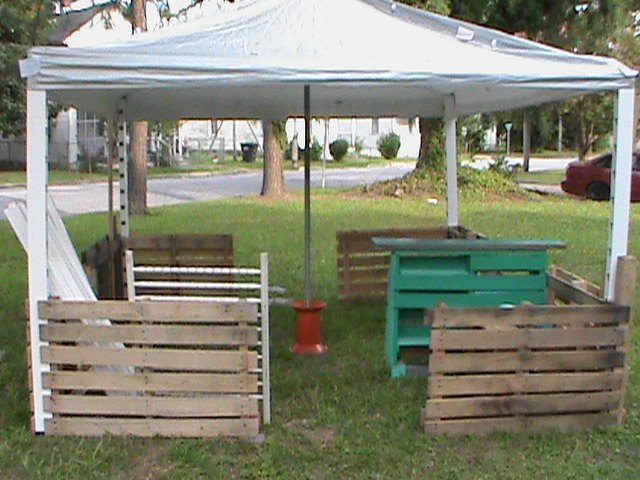
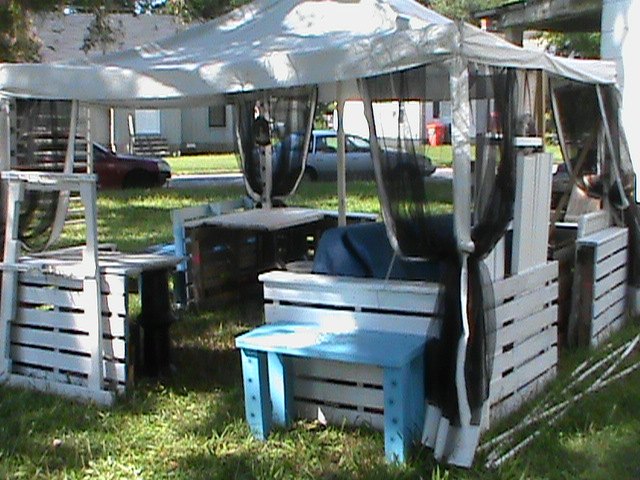
Okay, this is going so well, I really can't believe it! All I did was put the fence rail between 2 pallets. I then drilled in 3 2" wood screws into both sides of the pallets (3 x 8= 24 screws needed for that part) right into the fence rail. Now I have four corners, so on goes the canopy (10' x 10') and then the center pole with the spool for some stability! I used some metal stakes on the inside of the spool to hold down and hold up the pole.
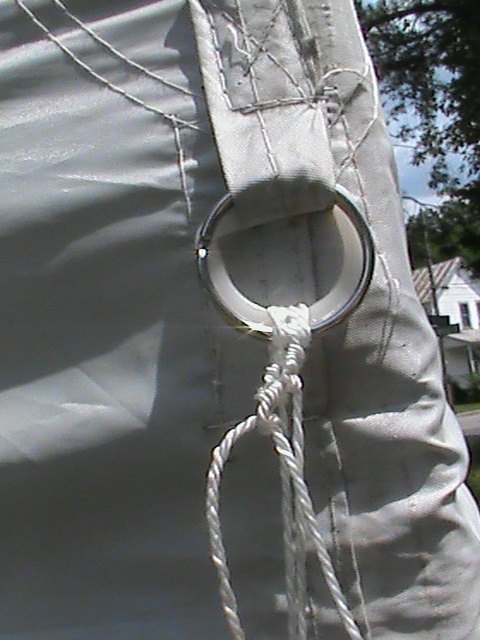
Well I still had a few problems to work out like the plastic rings on the canopy! I knew I would have to tie down the canopy somehow so I added 4 metal key holder rings and they are working great! I used a nylon string and a million knots
and looped it around the top pallet board to hold the canopy in place!
Alrighty then I still need to anchor the corners down so I made 8 stakes from some scrap wood 1" x 2" I had. I used a rubber mallet to stake them into the ground then I screwed them into the sides of the pallets. 2 for each corner equals 8 stakes.

I drilled an old crib rail into the fence railing to hang things on. This was all done in one day and it is looking great! I'll paint tomorrow!
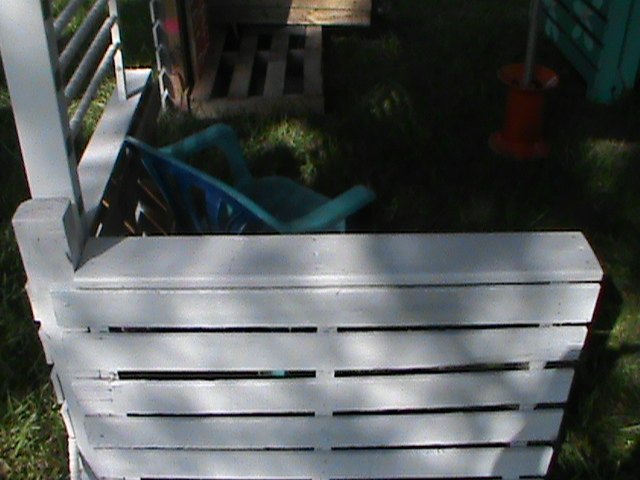
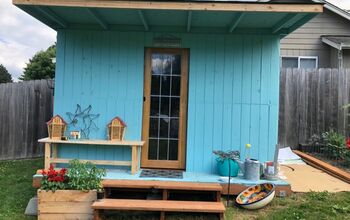
I added more pallet wood for shelves in the morning. This looks so much better! I then painted everything with a white porch paint to match the canopy! I thought I was pretty much finished but...
that night we had some bad thunder storms and the wind was just gusting! One corner was blown over so I knew I had to weigh down the corners more. I thought about using some bricks but that wasn't working ! "But what can I use?!?? I wish I had some sand bags"., I thought to myself, "but I don't. I could make some bags or use some plastic bags. Sand isn't a problem, I'll get some from the beach. What can I use?...
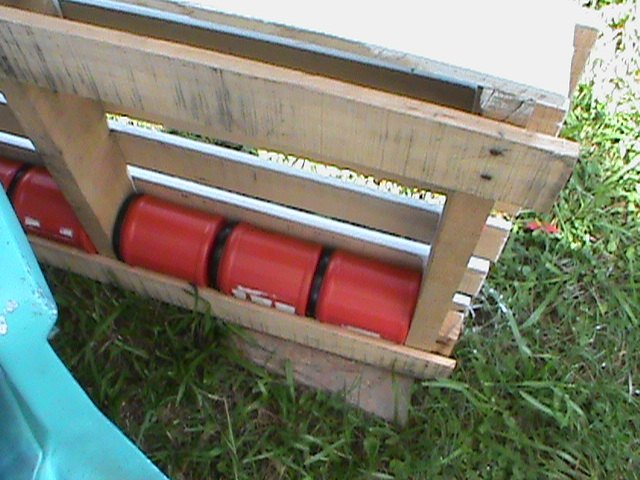
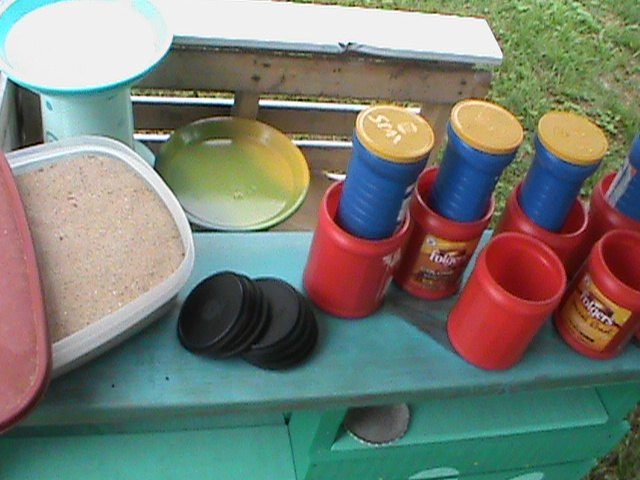
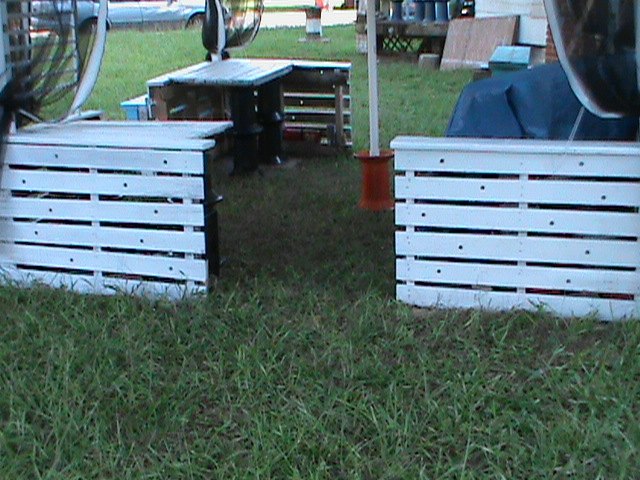
Oh I know plastic coffee containers!!! That should work!!" 3 fit perfectly!! I can easily pull these containers out and stack them in a crate for moving or storage! I save a lot of different things and sometimes for a very long time! I'm still amazed how all of this is working out! I'm also doing everything by myself so the heat was just starting to get to be too much so quitting time for the day!
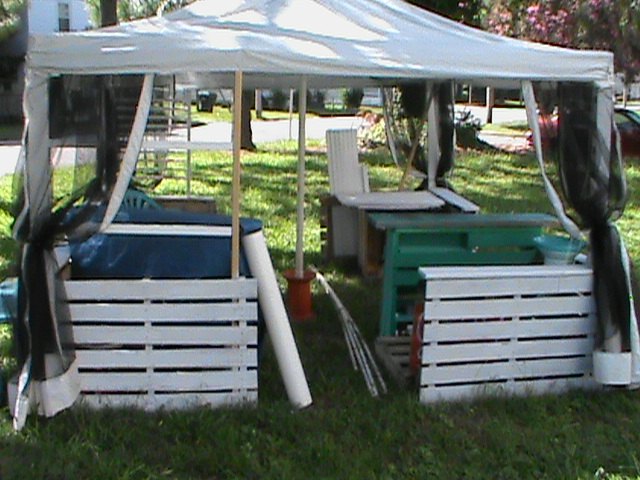
The next day I added the curtains from the old broken pop up tent. I strung nylon rope through the holes on the fence railing and clipped the curtains up with clothes pins, I also took out the metal pipe and replaced it with a longer pvc pipe. I then added...
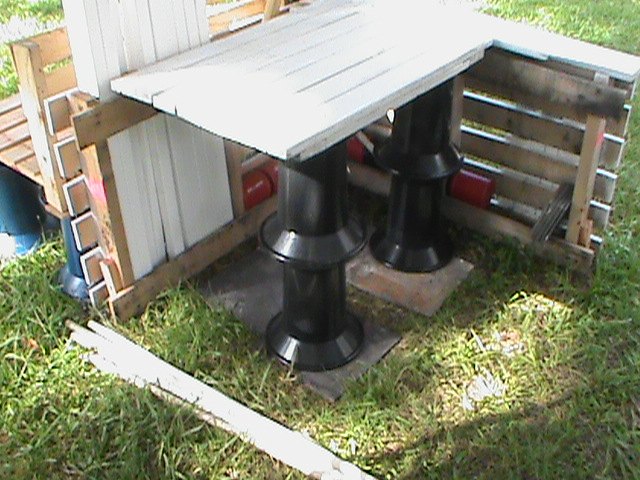
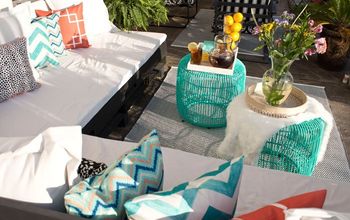
a few tables inside with spools for legs. These are not attached to the corners or to the spools, remember I want this to be movable. The spools are screwed into each other thou but not into the table top.
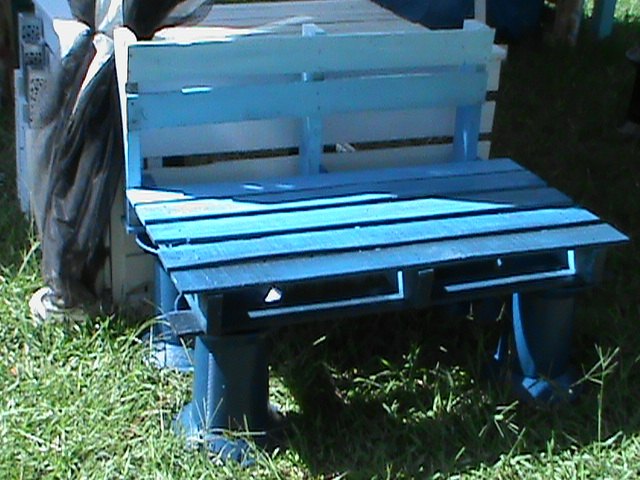
I added some color to a pallet bench I made with some more spools for legs! The shelter is just so white, I needed some color!
Another bench I made a few years ago, just repainted it. Added a little more of this and that, now I'm finished!!! I've had this up for about a month now through the rain, wind, stormy weather and it has not moved since that first storm!! I love it, had 2 BBQ's and 2 sales, still not sure if I like the curtain thou they are iffy to me but all in all I love it!!
Well I still need to paint some more (inside), add the 5 way pvc connector to the top of the center pvc pole then add the rest of the pvc pipes to the fence rail so the canopy will not sag but not sure how to do this right now and still keep it easy to break down to move or for storing in the winter months. I love this and use it all the time now! Everything I already had to make this so far. The only thing I will spend any money on will be the 5 way pvc connector and that shouldn't be more than $7 ! I think I'll make a floor from pavers and pebbles very soon, that will be the only part of this project that will be permanent to the yard.
I added marbles for some color! I used a 5/8 bit to drill holes then added the marbles. I have a huge bag of all colors and sizes which is great for this part of the project. I just had to try a few to find the marble that fit the hole, should be a little tight fit and if I needed to I used a rubber mallet to tap them into the hole. Easy peasy stuff!
Thanks for looking at my new shelter!! Any comments and/or questions are always welcomed . I'm still thinking of what to call it, any ideas?
Resources for this project:
See all materials


Comments
Join the conversation
-
Well done for all the thought that went into all the elements of this!
- See 1 previous


Frequently asked questions
Have a question about this project?