


Salvaged Art Blooms DIY Tutorial
Sometimes a project will lay untouched because its lacking that little something more, and you can’t find just the right thing. I love creating garden art and this is a dilemma I run into often. But, finally after sifting through old jewelry and my basket of rusty stuff, I discovered a way to construct some cute little blooms that would work beautifully in many instances.
It all started with a handful of small Christmas bells….
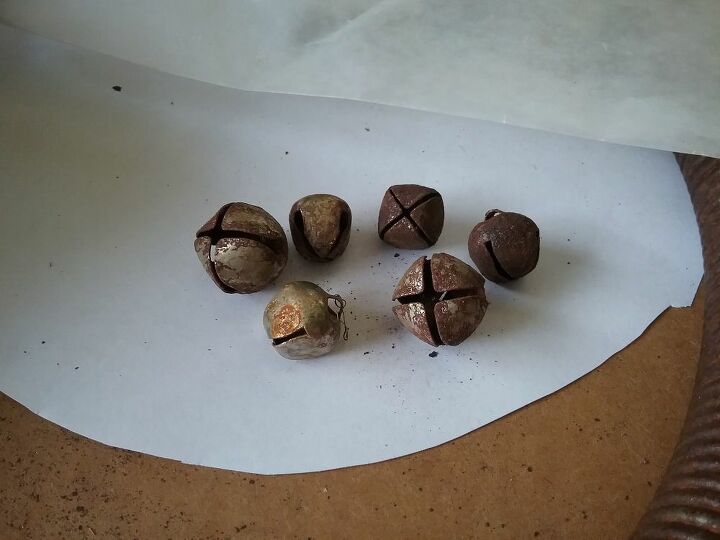
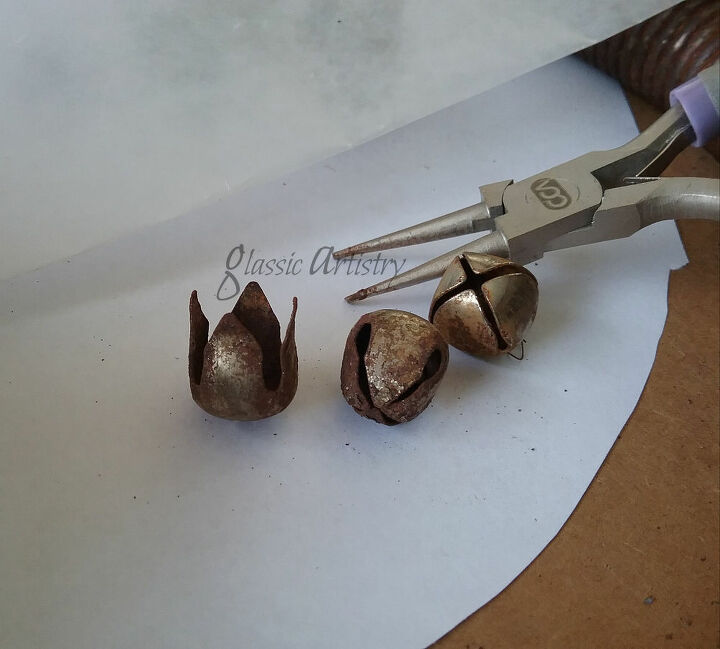
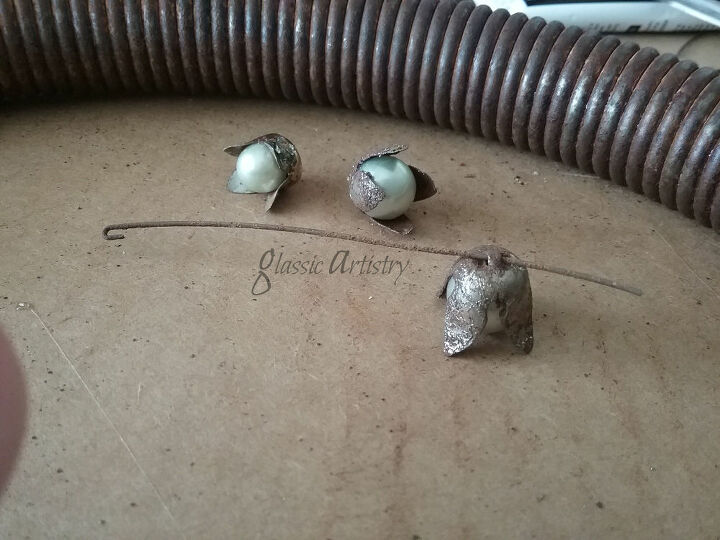
Curious to see what one would look like, and thinking it might resemble petals, I bent back the top .. and there was that big beautiful center just waiting to be filled with something pretty.
Pearls and glass beads were glued in with E6000.
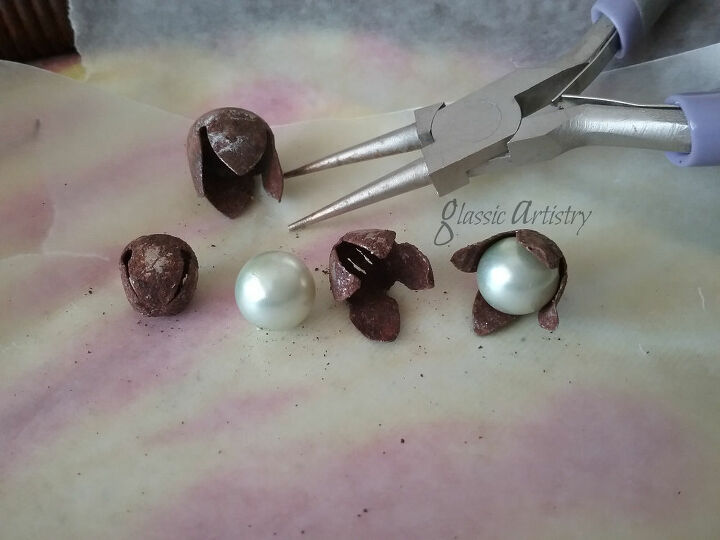
After the glue was dry, the petals were rolled back slightly and shaped with round pointed pliers.
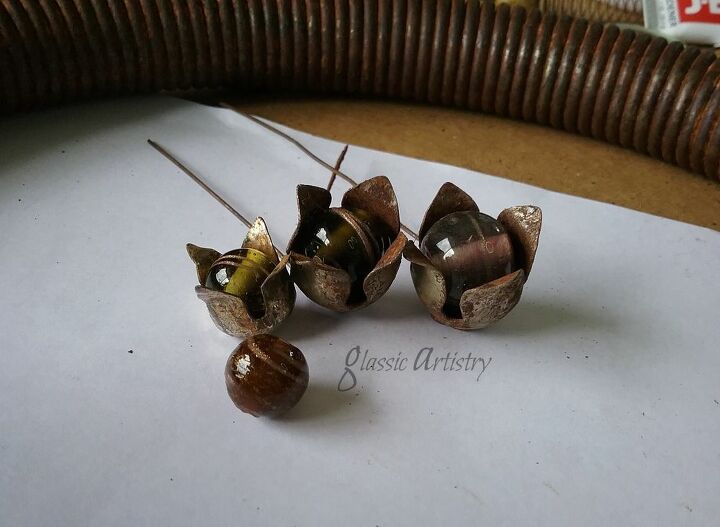
A wire stem was inserted through the small metal loop on the bottom the bell, and squeezed tight. Some loops were brittle from rust, which made them fragile. I pre-shaped my wires before inserting them to avoid any unnecessary pressure, or twisting, on the loop.
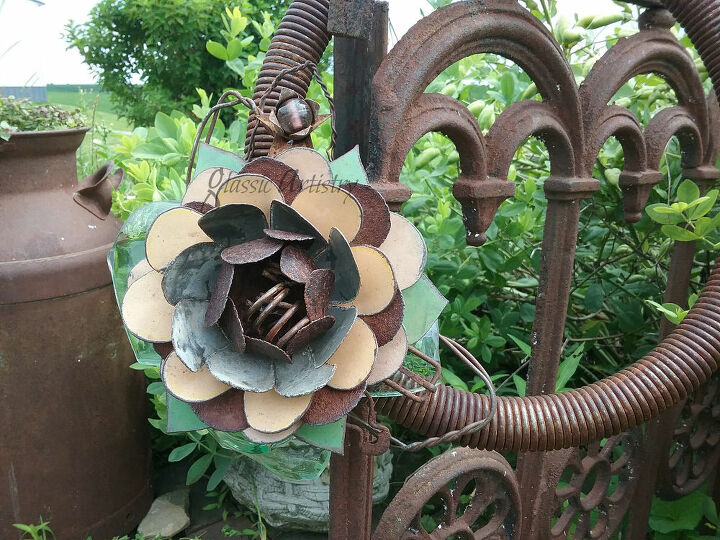
A rusty star shape was glued to the bottom of the large mauve glass bead bloom. It found a home right away in a garden wreath I was making.

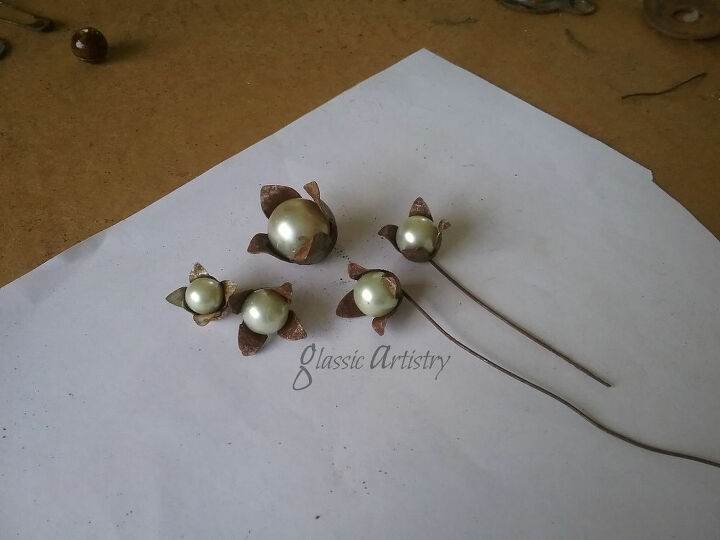
I love the pearl blooms. Aren't they dainty looking? I can't wait to use them in something special.
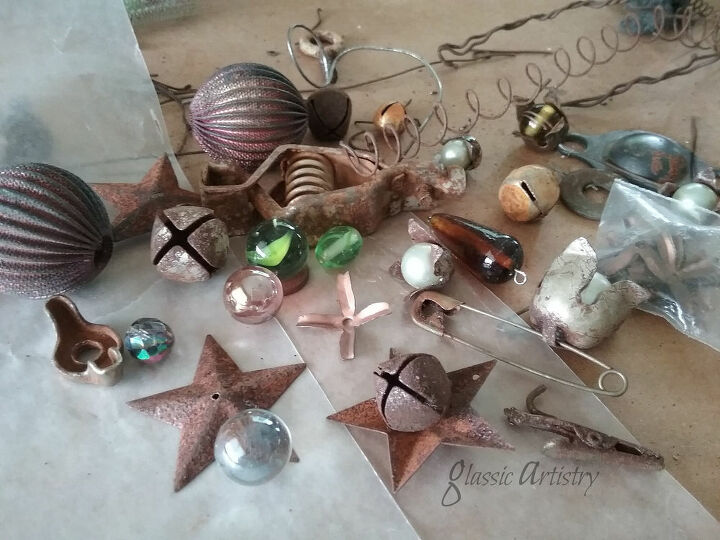
These little blooms have me looking at all my little scrap bits and pieces a little differently now as I sort through them .. there’s a lot of possibilities out there.
For more fun diy tutorials, click on my blog link below. Would love to have you stop by for a visit!

Comments
Join the conversation
-
This a such a wonderful way to use old but interesting things that you might have around the house. I love ideas like this. Thanks for sharing.
-
Yes, I am going to go through all my junk to find different items to use.


Frequently asked questions
Have a question about this project?
How did you make the larger flower on the gate where you put the little blooms?