


Custom Door - Craft Room Makeover - Extreme Upcycling
Hi There,
This is the third project in my Extreme Upcycling-Craft Room Makeover Series. I am working on several upcycled projects to get my craft room more organized and to make it look better.
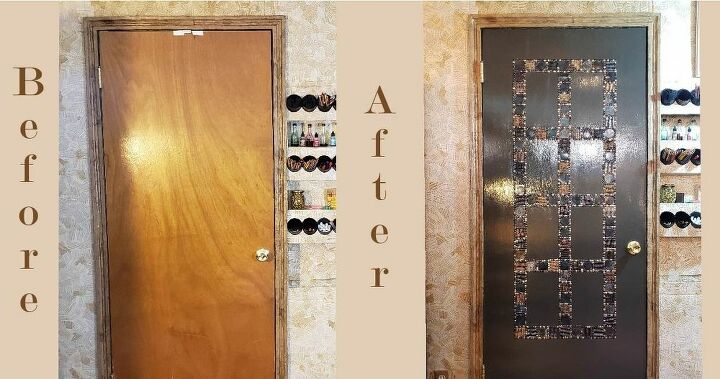
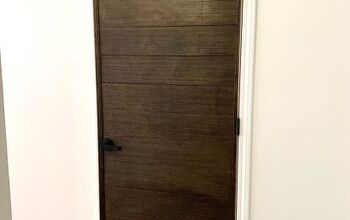
Today's project starts with a cheap panel door, some paint and some empty tin cans.
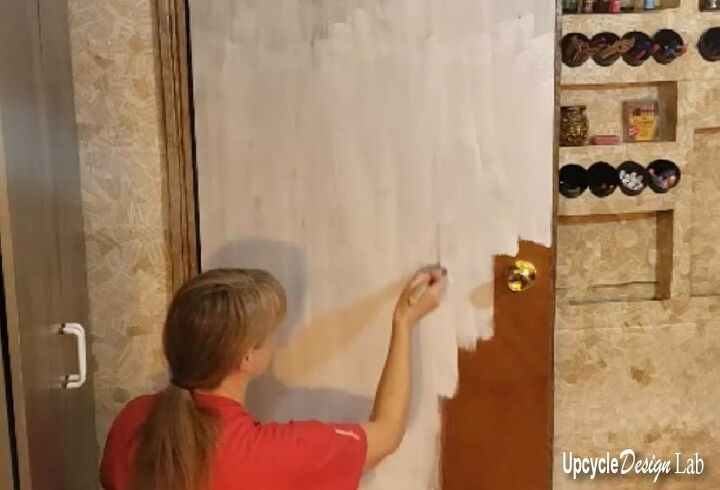
The first step was to paint the door. I started with a coat of primer paint and then added a top coat of gray.
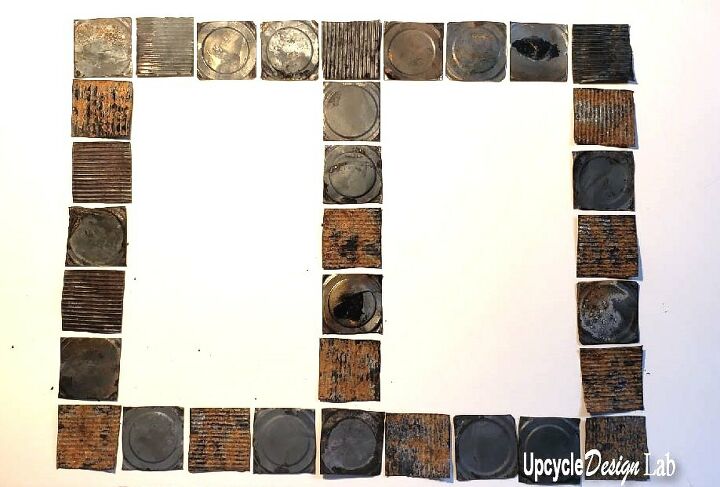
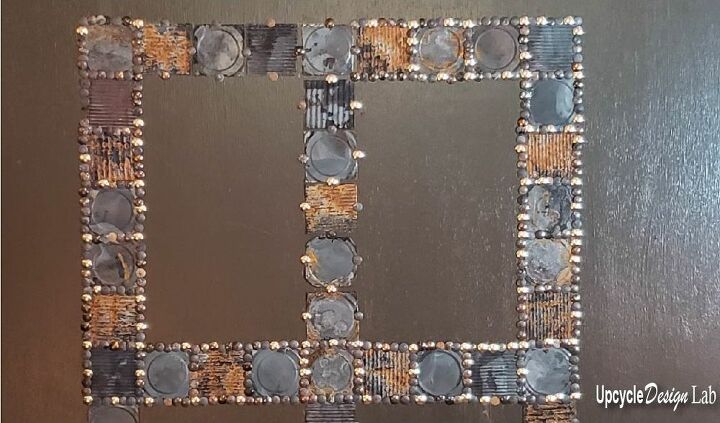
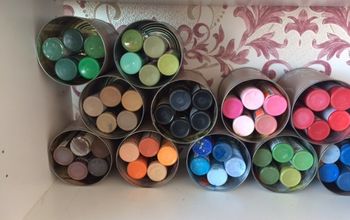
Next, I took a bunch of tin cans, tin can lids, and literally a couple of thousand silver thumbtacks and put a rusted finish on them.

Once the cans were rusted I cut them into 2x2 squares using a cardboard template and some tin snips.

I laid out my design and determined how many metal squares I would need.
Then I marked the door and started applying the squares using the thumbtacks to hold them in place.
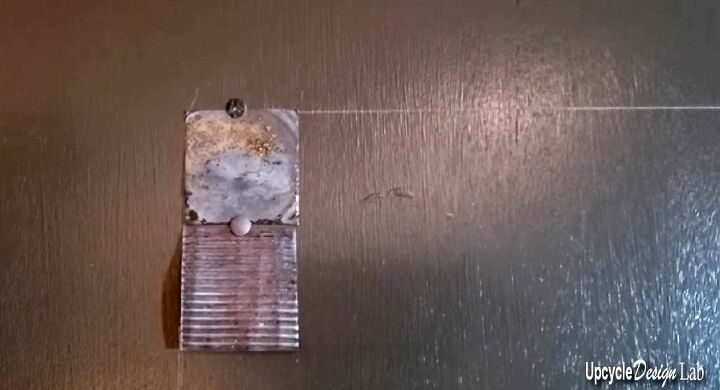
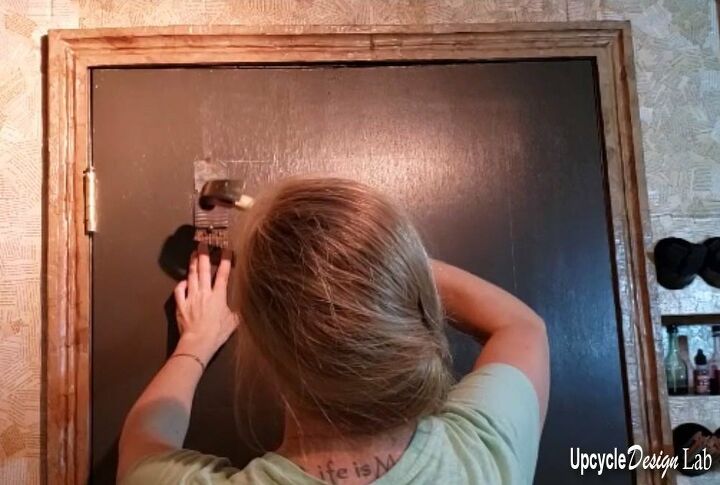
Once all the squares were in place with a couple of tacks I finished off all the sharp edges by covering them with more thumbtacks.
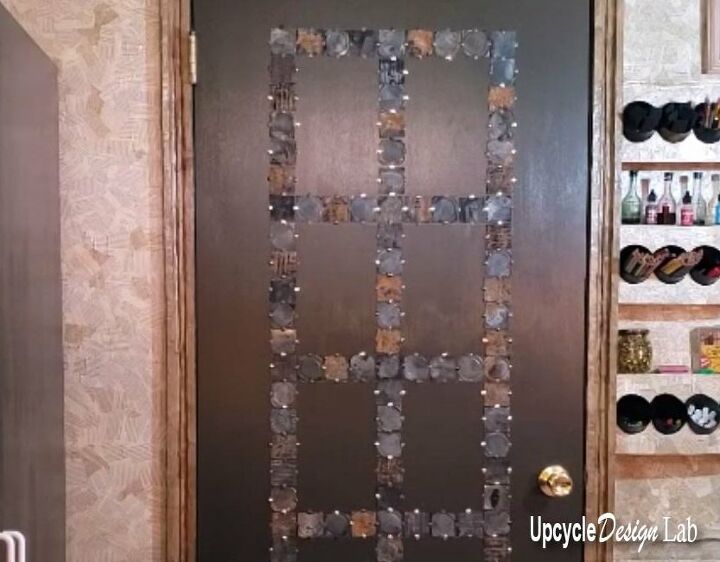
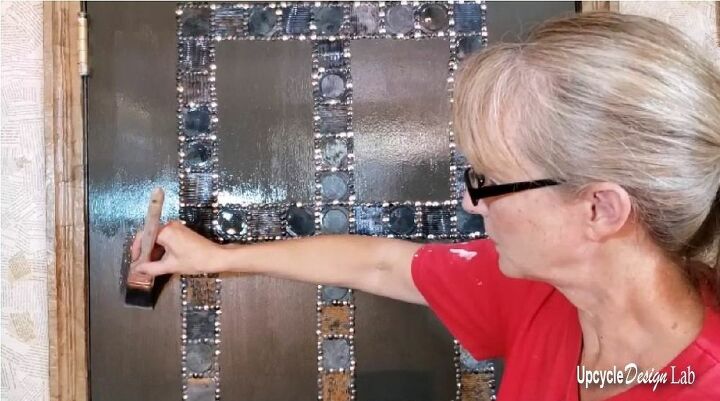
The final step was to add a coat of minwax polycrylic.
You can find all the details in the attached video.
For a complete list of materials and supplies please visit
http://www.upcycledesignlab.com/craft-room-makeover-extreme-upcycling-custom-door-facelift/
Thanks for taking a look at my project. If you would like more upcycling project DIY's or Green Product Reviews please subscribe at www.UpcycleDesignLab.com.
Happy Upcycling,
Cindy
Resources for this project:
See all materials


Comments
Join the conversation
-
This sounded very weird at first, but after watching the video and seeing the “after”, I’m a fan! Wow! What an upgrade, looks fantastic!
-
I love your work. Your ideas are so clever and original. Pure genius.


Frequently asked questions
Have a question about this project?