


Farmhouse Wood Crates From Scrap Flooring
In this project I show you how to use scrap flooring and lumber to make some cute and useful crates! If you are a DIYER you most likely have a stash of random lumber or scrap flooring. Put it to use and make something great!

This project could be made for free if you have the right materials on hand. It does however require some power tools. We used a table saw for ripping the tongue and groove and also for ripping the flooring to 2" strips. We also used a mitre saw for cutting the boards and the flooring to the proper lengths. If you do not have a board big enough for the sides, you may need a biscuit joiner for the joining smaller pieces together. A drill, jigsaw and router are handy for cutting the handle holes. We used a sander for finishing and a brad nailer for assembly. Some stain or wax will be needed to match the sides to your flooring. Look to see what you have on hand first!
The finished crate will be 17 3/4" x 9 1/2" x 12 1/2"
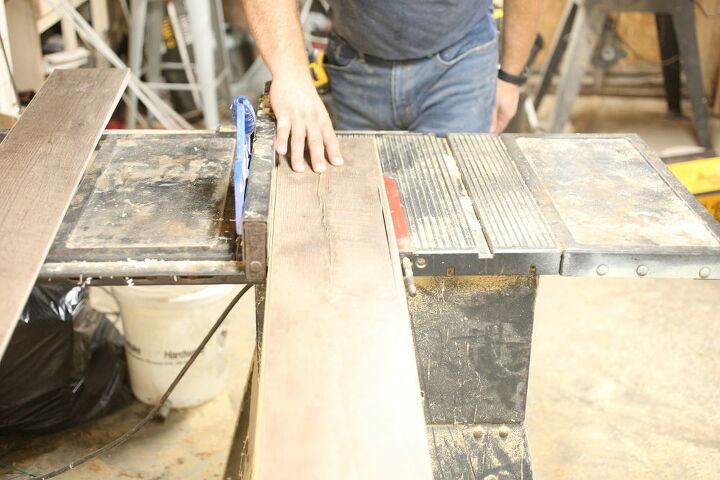
Step One: Rip the tongue and groove off of the flooring

Step Two: Cut the flooring into 2" strips
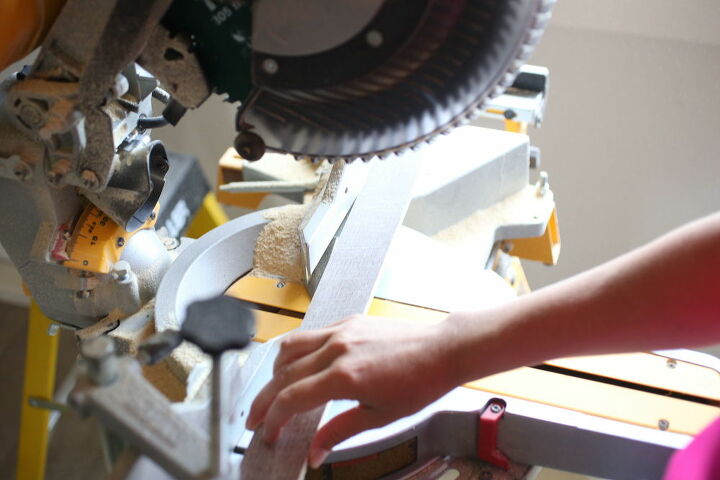
Step 3: Cut the strips to the proper length 17 3/4"
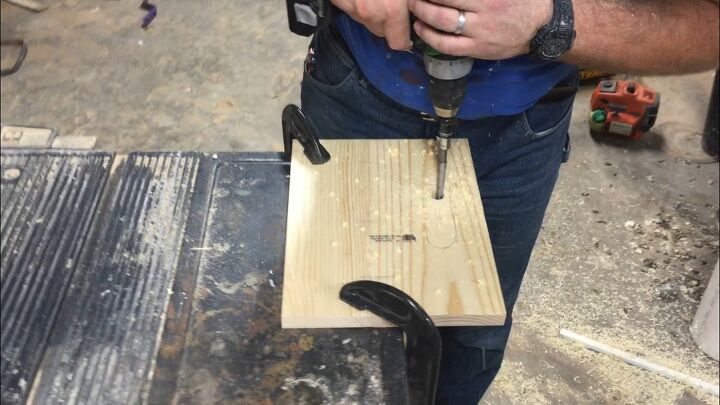
Cut your scrap lumber for the sides. If you don't have a big enough piece biscuit join some pieces together. You need the sides to be
9 1/2" x 11 3/4"
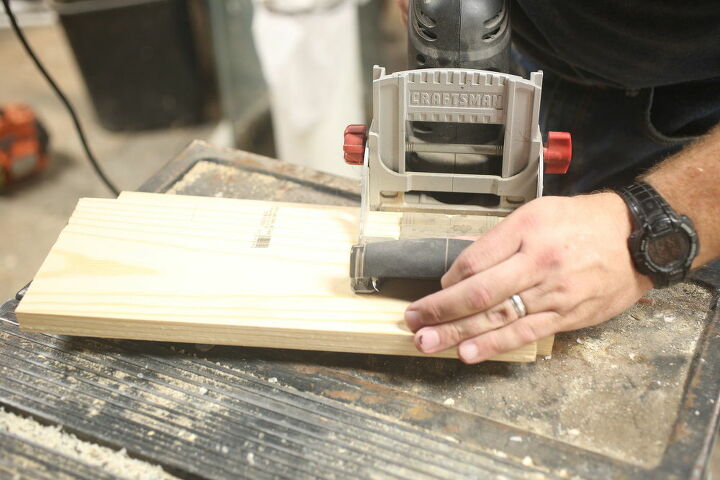
Step 4: Sketch a rough handle shape onto your sides. Using a drill with a 5/8" bit, make a hole in the shape. This will allow you to fit your jigsaw in and cut around the shape you traced. Finish the hole with a router and then sand it smooth.
Step 4: Sketch a rough handle shape onto your sides. Using a drill with a 5/8" bit, make a hole in the shape. This will allow you to fit your jigsaw in and cut around the shape you traced.

Now cut around the shape with a jigsaw
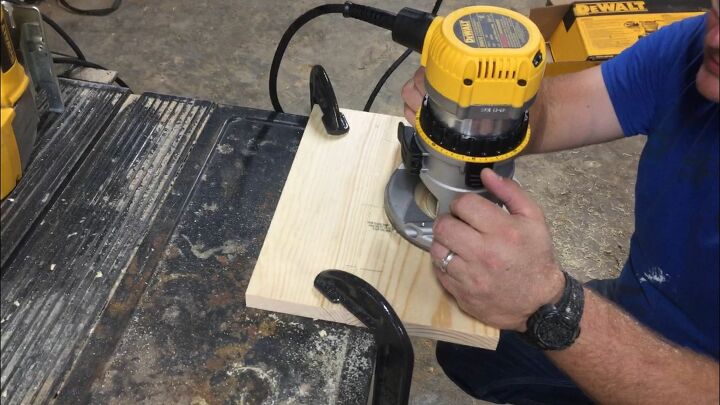
Finish it with a router and then sand the handle.

Step 5: Stain the sanded sides with a color or a mix of colors that will roughly match your flooring slats. Mine did not match perfectly, I just used some products that I had on hand. Perfection is not required!
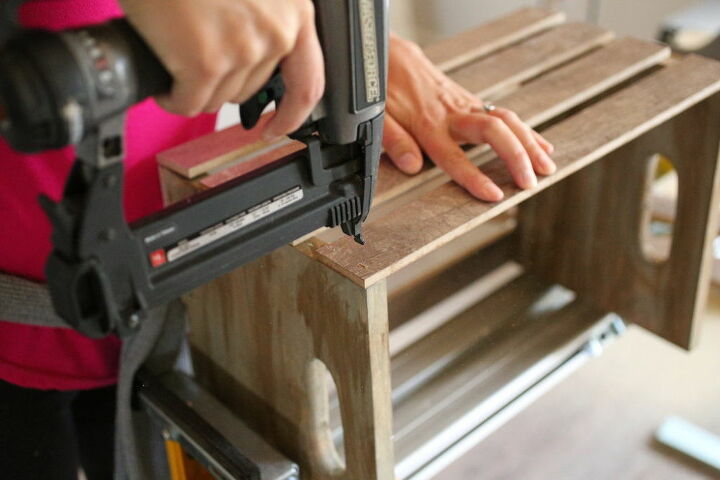
Step 6: Using a brad nailer assemble your crate. I did five slats on the bottom, and four slats on the front and back of the crate. Just eyeball where you want them and go for it!
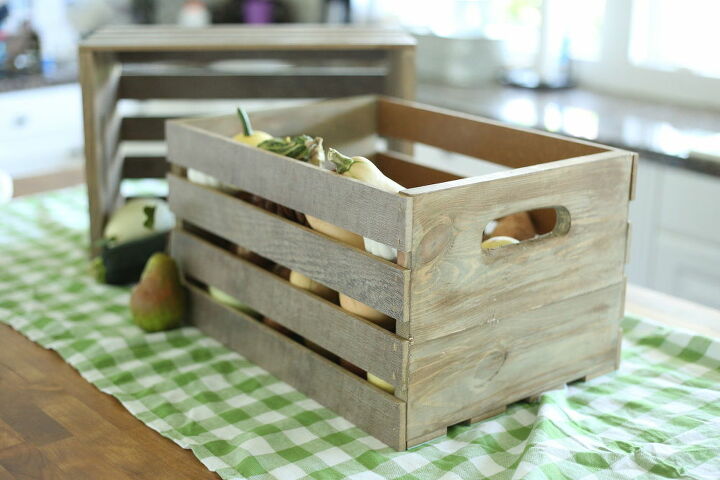
Enjoy your crates that you made from scraps!
A fully detailed post for this can be found on my blog The Everyday Farmhouse. There is also a youtube video linked above.


Comments
Join the conversation
-
Wow love this idea. I always have a ton of scrap wood. Think I will make gift baskets for the holidays thanks!


Frequently asked questions
Have a question about this project?