


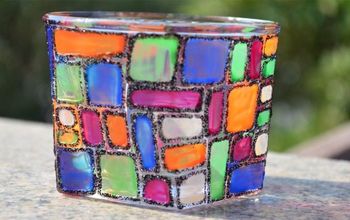
Frosted Fall Candle Holders and Vase

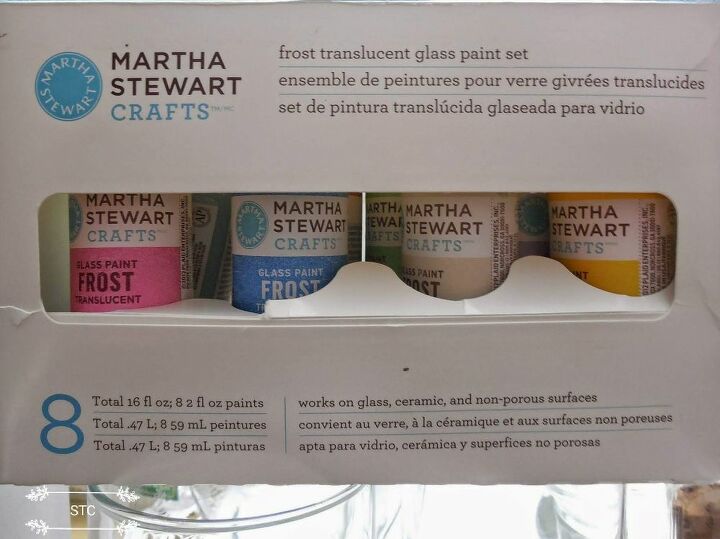
Our weather has been so terrible since Fall stepped in so I felt the need to cheer myself up by producing color inside my home. I've had this glass paint set for years mostly for the ocean shades in it BUT I never paid any attention to the orange before! Voila, I'll paint some glass candle holders with it and go from there.
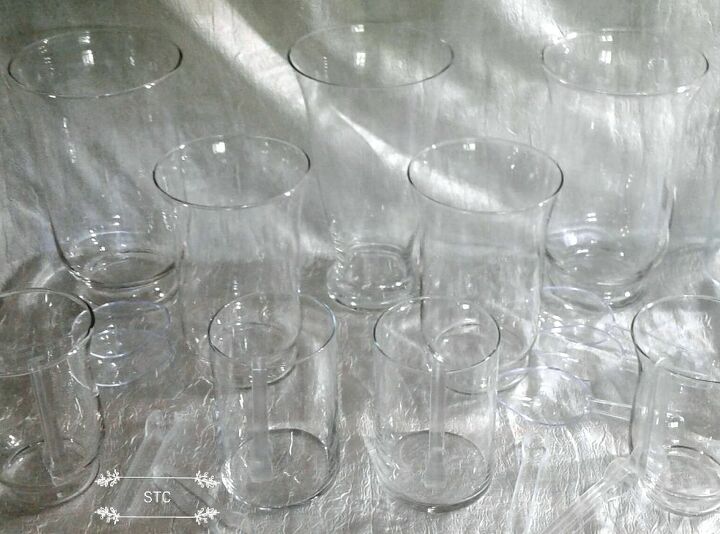
I find that you can usually buy loads of these various glass holders at yard sales and thrift stores for just some small change. Even if you purchased them at the dollar store you are still getting a bargain. Fortunately I always have these on hand because I never know when the craft fever will hit.😄
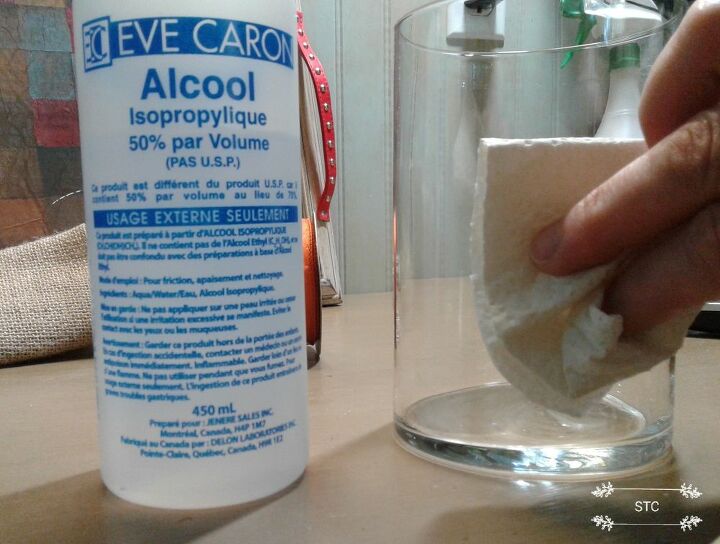
Whenever I paint or etch glass I wash and dry the glass well to get it free from dust and grease. But as a further step to remove any fingerprint smudges I'll wipe the surface I'm about to paint with alcohol.
The first video gives you a quick run down of how I apply this particular paint product.
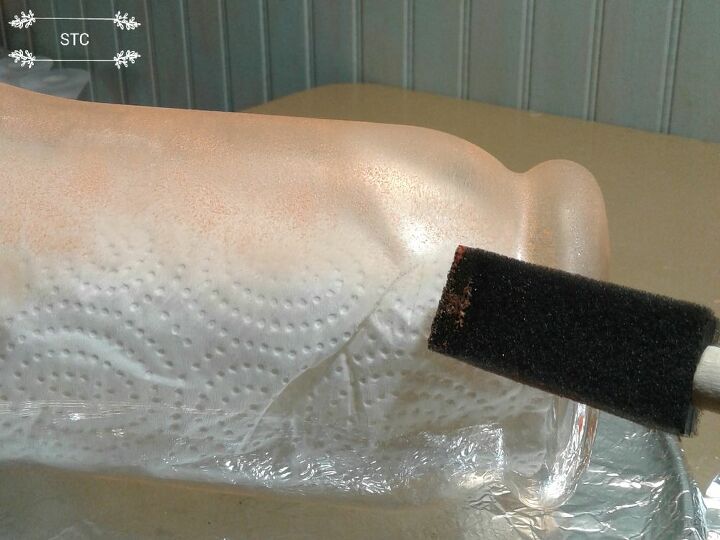
I squeezed some paint onto foil wrap, once I begin painting the process will go quickly so I like to have fast and easy access to the paint.
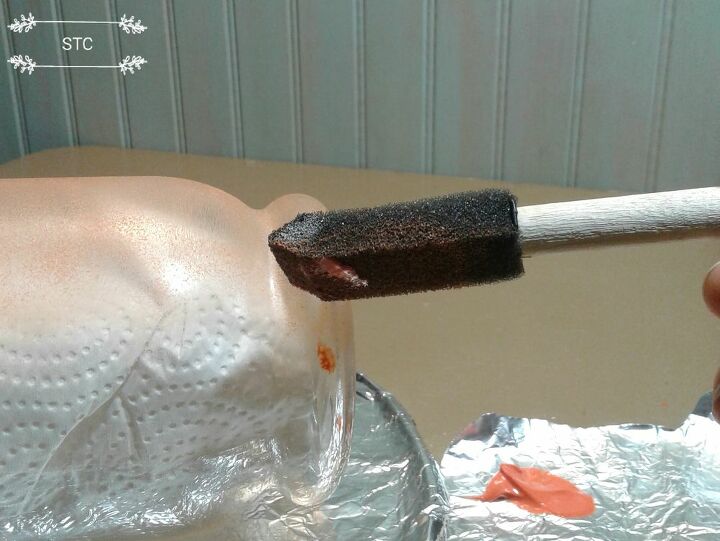
I generally take small amounts onto my sponge and apply in a quick tapping motion, a little paint goes a long way because the glass isn't porous like wood.
This second video shows how the whole look of the candle holders came together with just a few small accents
Wrap your ribbon around the cylinder to get a rough measure and snip allowing an extra inch to fold the overlapping raw edge under.
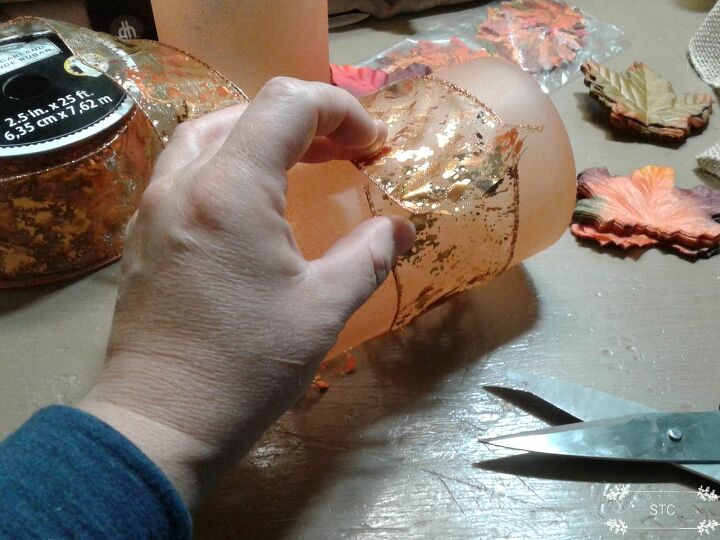
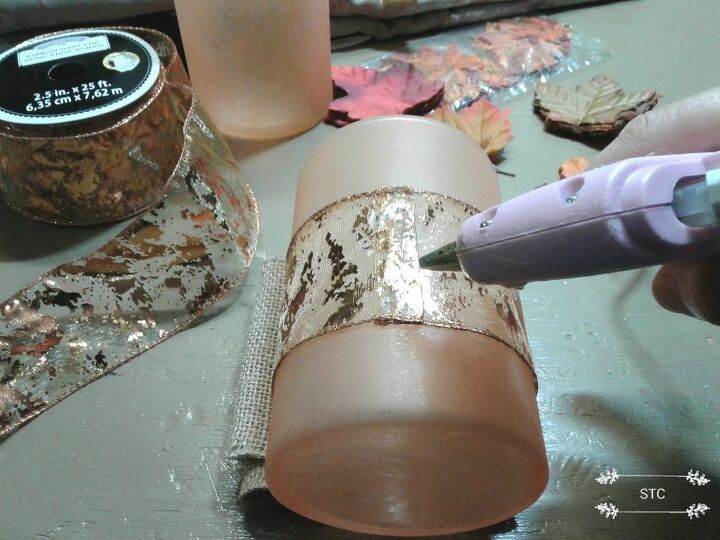
Once you have your folded edge you may pull it taut and seal the join with hot glue. To keep my container from rolling I made a cradle with burlap to hold it in place while I worked on the trims.
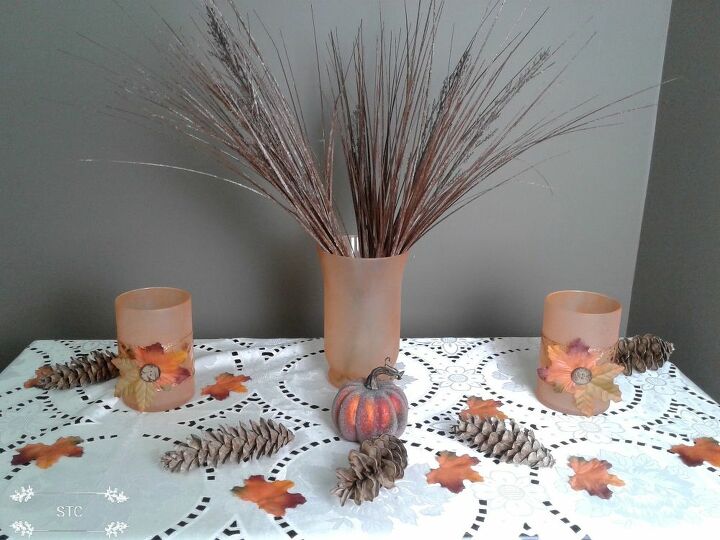
Here they are completed showing you the two different height options you can get with placing them flat or atop a candlestick. I dropped in a couple of battery operated tealights just because I can light them up and walk away and forget it... no mess, no stress!

Here they all are on my sideboard looking far from boring now, they turned out great I think. Stay tuned for more and thanks so much for viewing my quick and colorful Fall craft.
Note: Time listed below doesn't include dry time for the paint but actual application and assembly afterwards. Cure time for the paint is 21 days to air dry and become permanent. I left these to dry overnight just for good measure before I rough handled them, they dry quickly though.
Resources for this project:
See all materials


Comments
Join the conversation
-
Cool!
-
Water and then use a scrubby pad to get off the black spot the wax will soften and you can pull it out or use a spoon you can get it out. I've done this a lot. Be patient


Frequently asked questions
Have a question about this project?
I have been saving my store bought candle jars, how do I get the exess wax & black smoke off them? I put them in the freezer, what next??