


When the Dishwasher Gets Dirty: How to Clean a Dishwasher With Vinegar

Hometalk Recommends!
There is no doubt that my dishwasher is one of the most crucial tools in my kitchen so when I noticed that my dishes were not coming out ho, I wanted to get to the bottom of the problem very quickly and fix it! After running them through the dishwasher, my silverware and dishes were coming out coated with residue and in some cases, still covered with food. Trying numerous detergents and adding a rinse agent did not remedy the problem. I decided to treat the problem as if there was a clog somewhere in the dishwasher and determined the best way to clear the clog was to clean the dishwasher. The more it cleans, the dirtier a dishwasher gets!
You will need:
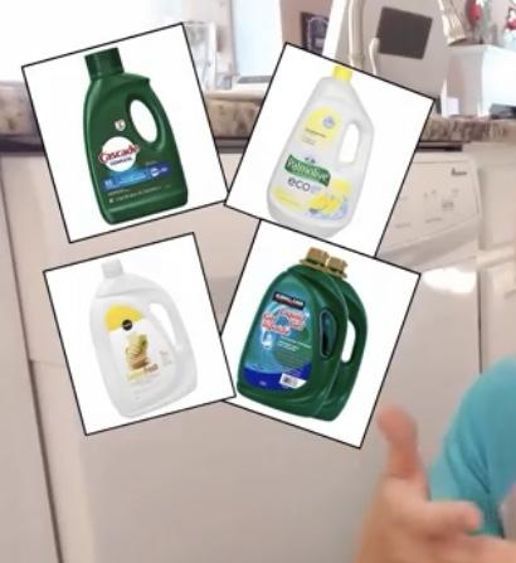
- Distilled white vinegar
- Blue Dawn liquid detergent
- Toothbrush
- Shop-vac
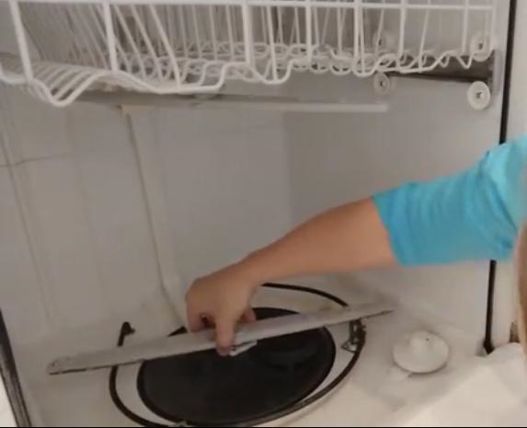
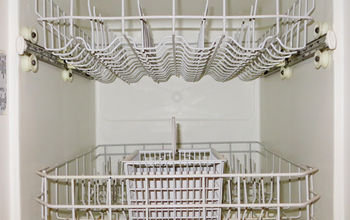
Step 1: Remove the Racks and Both Spray Arms
I removed the top and bottom racks by sliding them out. Then I removed the lower spray arm and upper spray arm by simply pulling them off. Your dishwasher model may require that you unscrew these pieces so be sure to check if there is any hardware or if they just snap on.
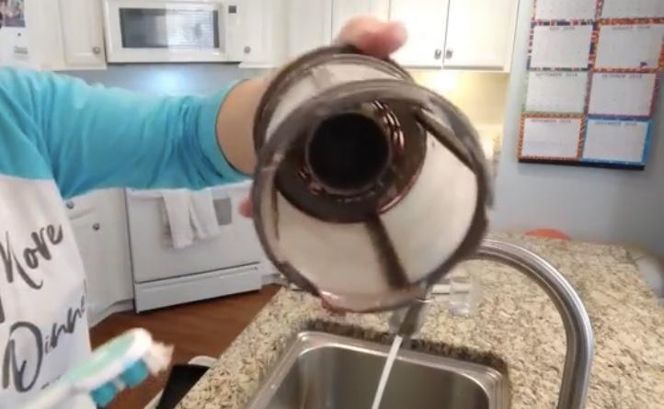
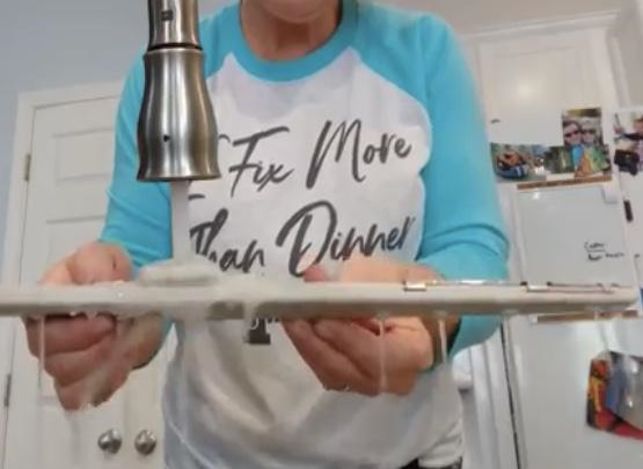
Step 2: Clean the Drain Filter and Other Components
I removed the drain filter and discovered that it had a lot of grime and build-up on it. I scrubbed the drain filter and the arms using a toothbrush and dawn liquid soap and then rinsed them thoroughly under the kitchen faucet. I checked to make sure water flowed freely through the water holes in the spray arms and that neither one was clogged with any residue.
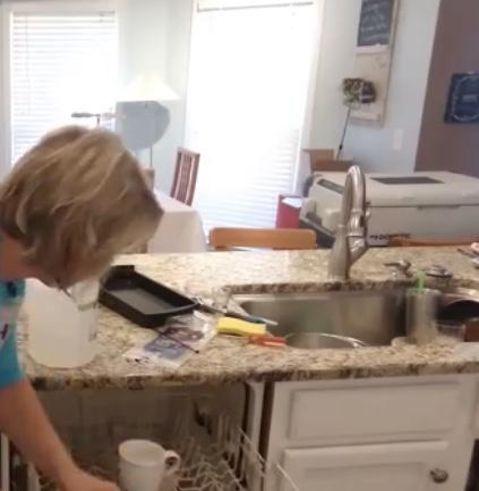
Step 3: Ensure Adequate Water Supply to the Dishwasher
I took a quick look under the sink at the valve that turns the water on and off to the dishwasher to make sure that it had not been inadvertently turned down or off. Mine was turned as high as it will go so I continued investigating.
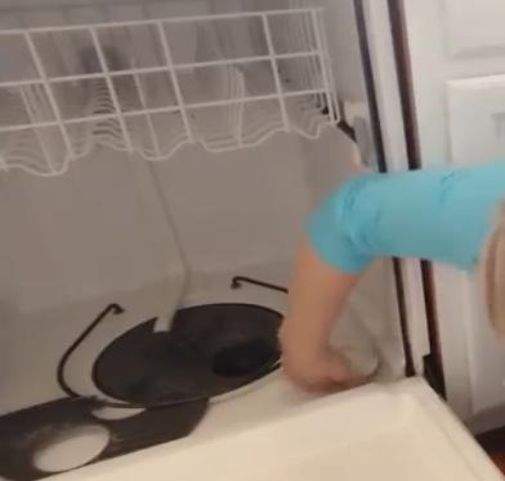
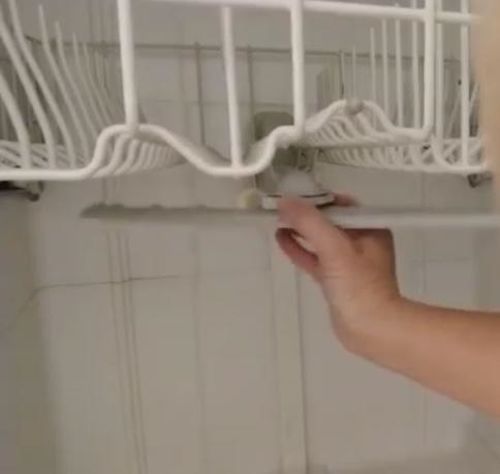
Step 4: Check Float Valve
I checked to make sure that the float valve was sitting in place correctly and took it off to check for any build-up underneath. If any build-up occurs, and the float cannot move up and down freely, it may cause the dishwasher to have problems filling and draining. I did not find any debris under the float assembly.
Step 5: Scrub the Dishwasher Interior
I scrubbed the inside of the dishwasher using a sponge soaked with vinegar and then used blue dawn on the patches of very stubborn grime build up. I was careful not to use too much dawn inside the dishwasher and risk creating too much suds inside from not being able to adequately rinse it.
Step 6: Reinstall Filter, Racks, and Spray Arms
I reinstalled the now clean filter, put both dish racks back in place, and then snapped both of the spray arms back into place. The dishwasher and all of the components were now free of residue, soap build-up, and grime.
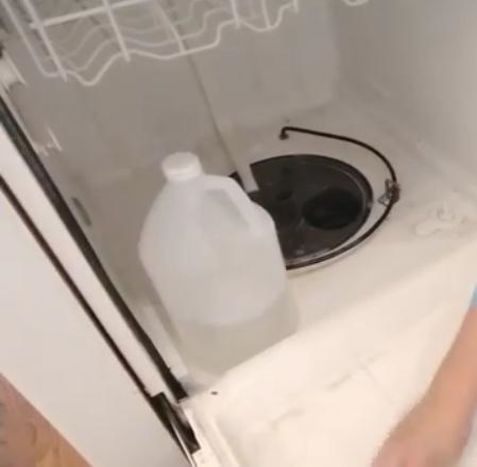
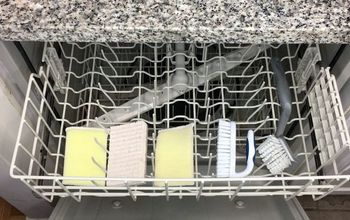
Step 7: Run a Vinegar Cycle
I carefully placed a heavy mug filled with vinegar in the top rack and ran a cycle to give a hot vinegar shower to the entire inside of the dishwasher. It is probably a wise idea to do this periodically rather than wait to see a build-up on your dishes and then need to go through the deep clean. If after several cycles, your dishwasher continues to work properly, stop here. The problem was most likely grime inside the dishwasher filter or other components. If the residue on the dishes returns, move on to the next step.
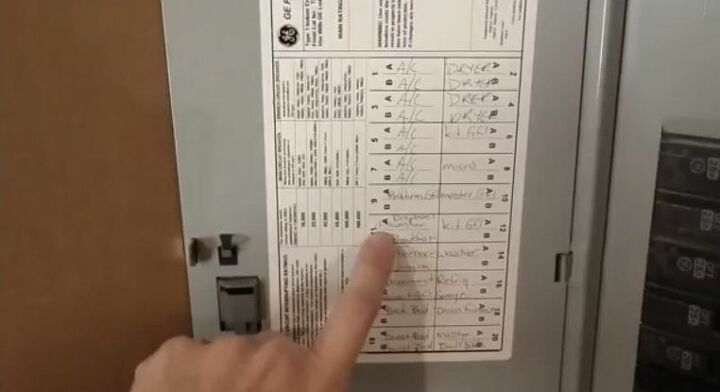
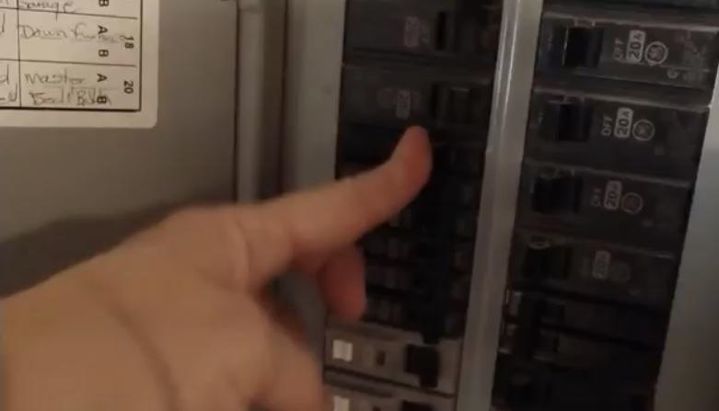
Step 8: Disconnect the Power and Water to the Dishwasher
While I was dedicating time to cleaning the dishwasher, I wanted to make sure to rule out poor water flow or poor drainage as the cause of the build-up on my dishes. In order to do this safely and without any water leaks, I turned off the power and water supply to the dishwasher. Locate the breaker box and breaker that corresponds to your dishwasher and turn it off. Locate the closest water shut off to the dishwasher and turn it off.
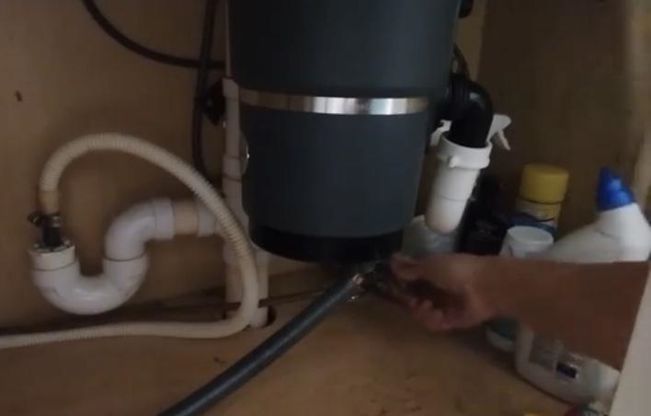
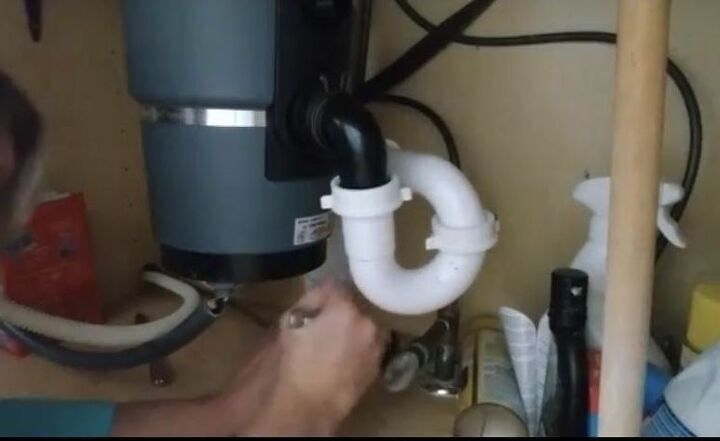
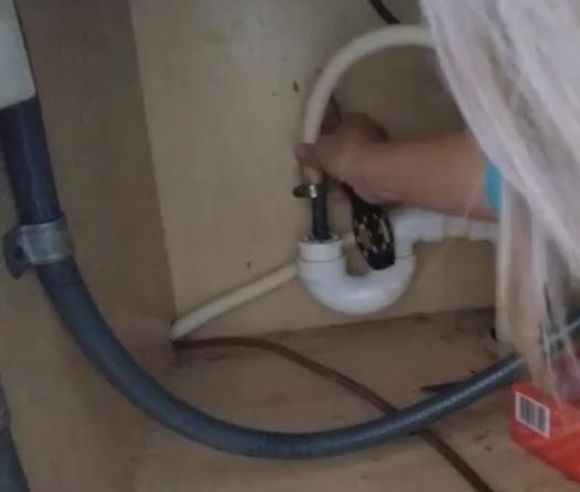
Step 9: Disconnect the Water Supply Line and Drain Lines
I disconnected both the water supply line and the drain line between the dishwasher and the connections under the sink. This may require accessing the lines from underneath the dishwasher or sliding it out from underneath the counter. It will depend on your specific dishwasher model.
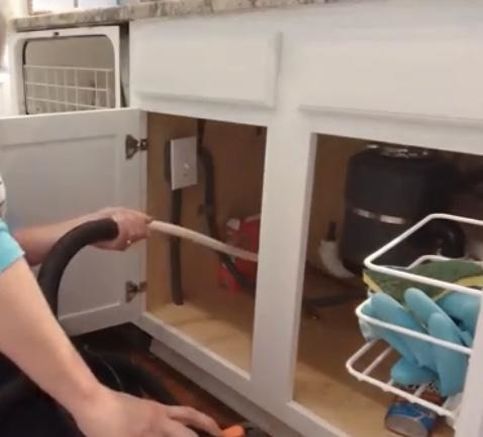
Step 10: Clean the Supply and Drain Lines
To make sure there was nothing obstructing or slowing the flow through either or the lines, I used a shop-vac to suck out the drain line and then ran water through the water supply line. I did not find any obvious build-up or debris inside them.
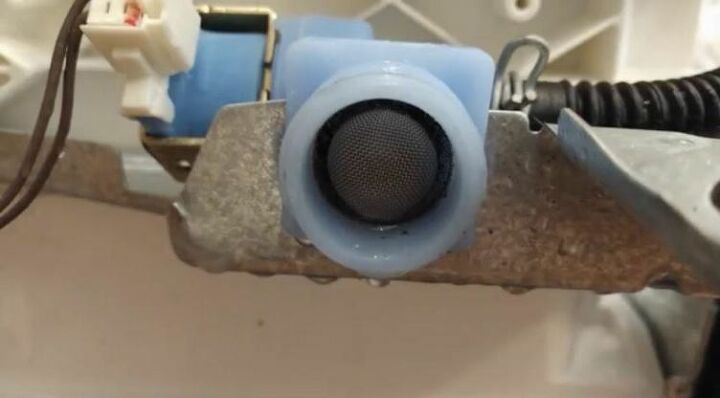
Step 11: Clean the Inlet Valve Screen
Before reconnecting the water supply line to the inlet valve, I used a toothbrush and vinegar to scrub the inlet valve screen. If there is any build-up on this screen from your water, the flow to the dishwasher could be impacted.
Step 12: Reconnect the Hoses
I reattached both the drain line and the water line back to both the dishwasher and their sources underneath the sink.
Step 13: Turn Power and Water on
I restored power to the dishwasher at the breaker box and turned the water supply back on. After turning the water back on, be sure to check all of the connections for secure installation before running the dishwasher to prevent leaks.
After the deep cleaning, my dishwasher works like it is brand new. Save yourself the time and effort of disconnecting the hoses by testing your cleaned dishwasher for several cycles first. Now that you know the dishwasher gets dirty the more it cleans, a good scrubbing might be all it takes to have your dishes come out sparkling again!
Do you have a great tip to keep your dishes coming out shiny and clean or to prevent build-up inside the dishwasher? Find more tips for keeping your appliances like-new and share your own DIY ideas at Hometalk!


Frequently asked questions
Have a question about this project?