


How To Make Your Own Coasters
I like to make gifts for all occasions and coasters are a useful item many people need. I have come up with 3 different coasters that are easy to make.
Wood Burning -
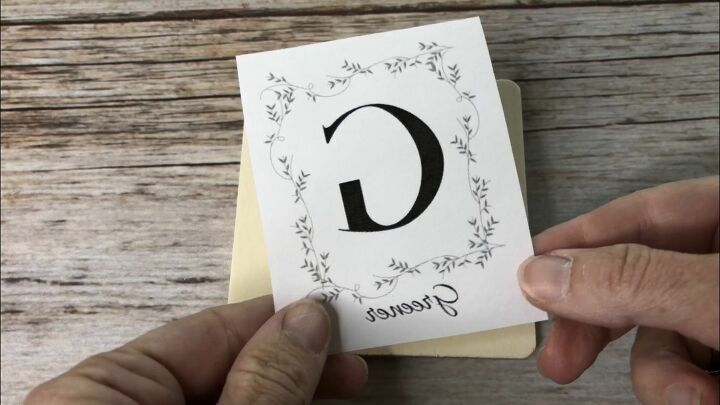
I created a design I wanted to transfer onto my wood coaster.
Tip - make sure to print the design backwards so it will transfer the correct way and make sure to use a laser printer for this transfer technique.
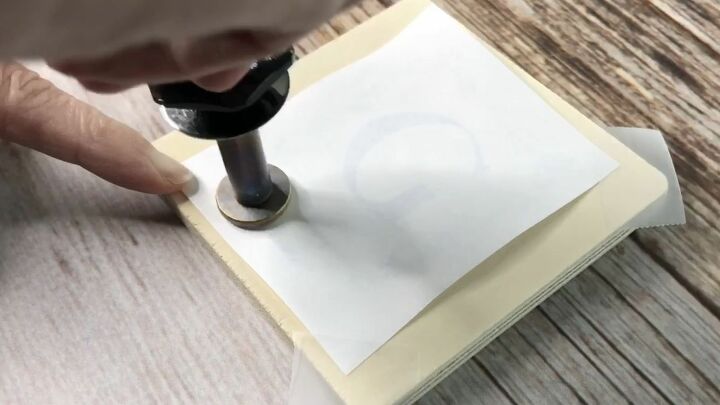
I used my Plaid Wood Burning Tool set and a package of 4 wooden coasters from Plaid. I put on the wood transfer tip on my wood burning tool and heated it up. I placed the transfer right side down on the coaster and began ironing the back side of the transfer. This will transfer the ink from the paper onto the wood coaster.
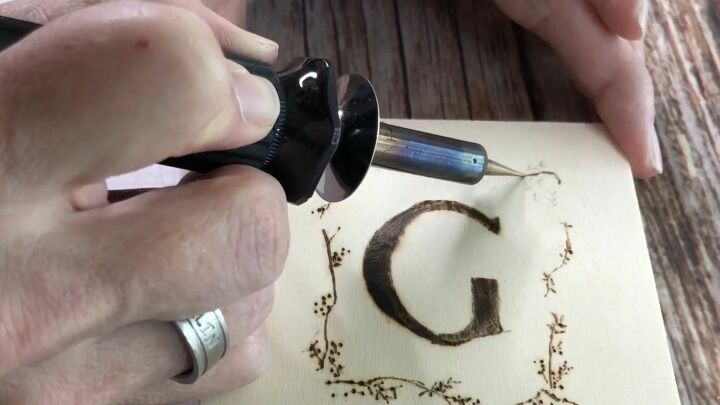
When my wood burning tool was cool enough, I changed the tips and re-heated it. I traced the transfer design with the tool.
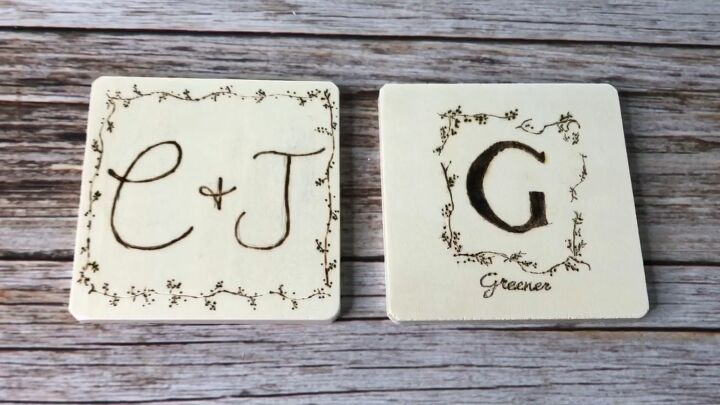
I loved how these turned out.
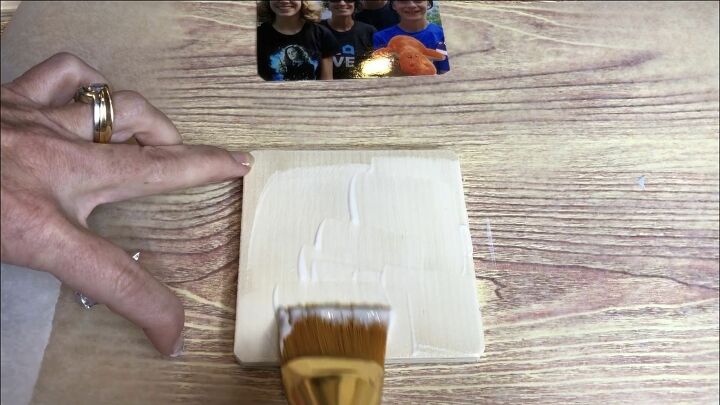
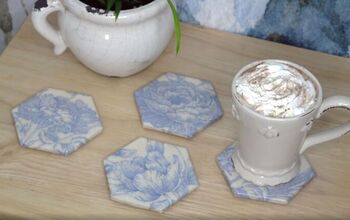
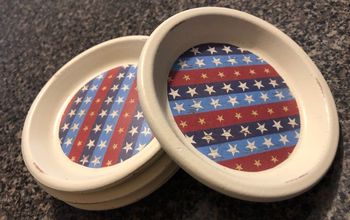
Photo Coasters -
I painted on a layer of dishwasher safe Mod Podge onto my Plaid wooden coasters. This also works with tile.
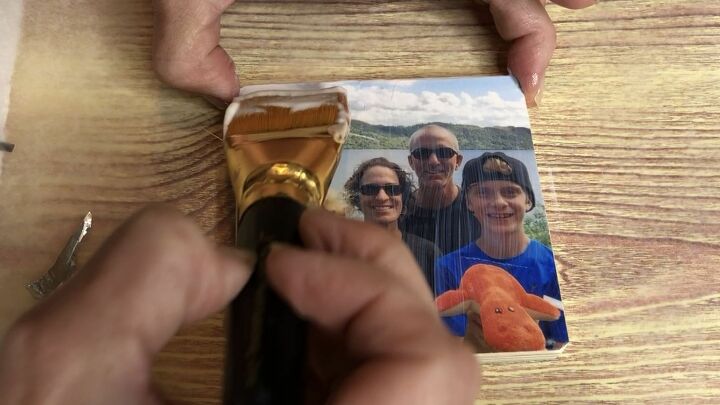
I cut a photo to the size of the coaster and laid it onto the Mod Podge coated coaster. I then painted a top coat layer of Mod Podge over the photo to protect it. I followed the Mod Podge directions and completed the recommended amount of layers to seal the piece.
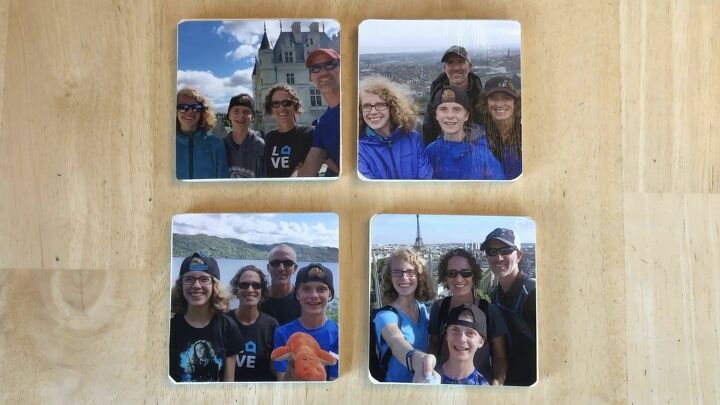
I love the bright vivid pictures, and look forward to using these.
Chalkboard Coasters -
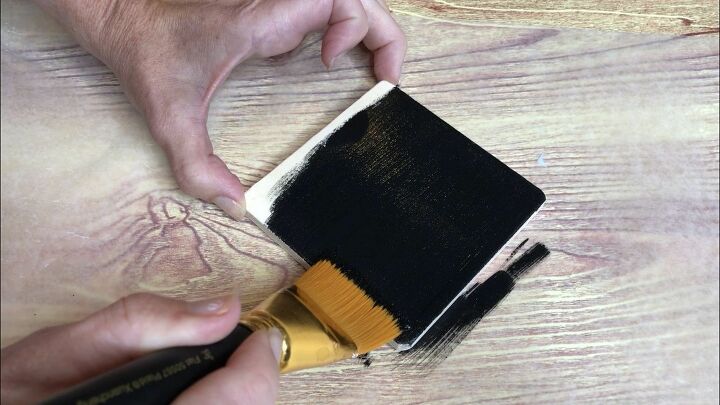
I painted Folk Art Chalkboard paint onto my Plaid Wooden Coasters and let that dry completely.
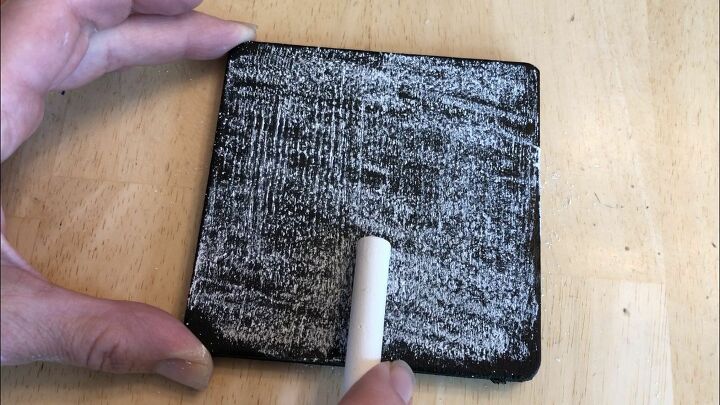
I seasoned the chalkboard paint by rubbing chalk all over it, then erasing it. This will help the words and designs not stick to the coaster and be able to erase well.
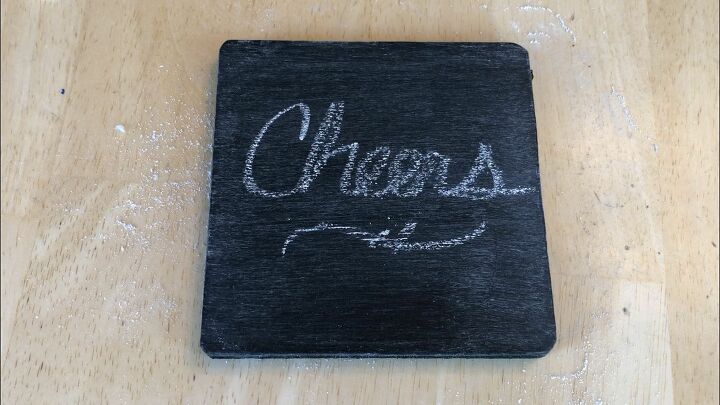
Once the chalkboard paint was seasoned, you can write messages, draw designs, or write names on the coasters. Love that they're interchangeable.
I would love to have you stop by my blog Chas' Crazy Creations for the full tutorial as well as sign up for my latest creations, posts, recipes, exclusives, and more...
I would love for you to subscribe to my YouTube channel to see more of my crazy creations - https://www.youtube.com/c/chascrazycreations
Resources for this project:
See all materials


Comments
Join the conversation
-
Amazing!! LOVE this idea.
-
These are so cute! Love it! 💙💙


Frequently asked questions
Have a question about this project?