


Terracotta Coaster

I have a love hate relationship with coasters! They are necessary to preserve the beauty of our furniture, but *sigh* why are they so lacking in design and proper functionality? I decided it was time for me to figure out a better coaster design for my house. I thought about all the issues of coasters I have previously used...cardboard and cork seems to just get soppy wet (and let's face it, leave an even bigger ring), flat tile ones (so pretty, but the condensation just puddles and runs off)...what to do what to do?! Hmmm...a saucer?! Terracotta flower pots have those nice saucers....not very pretty though. Wait! I can fix that.
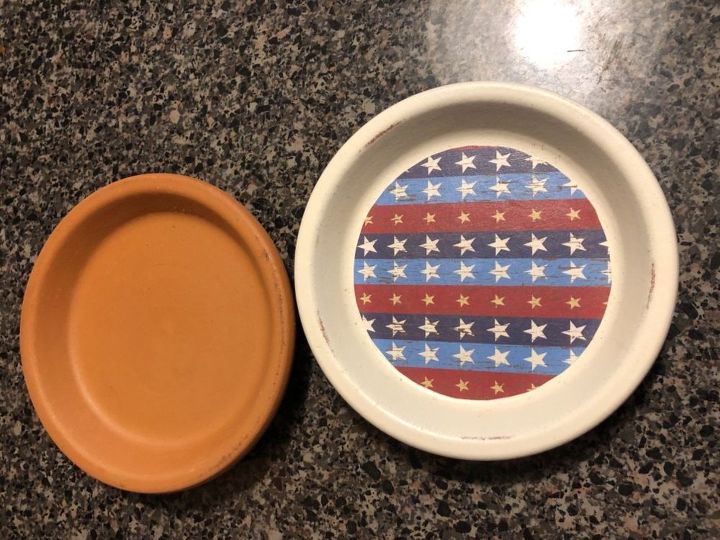
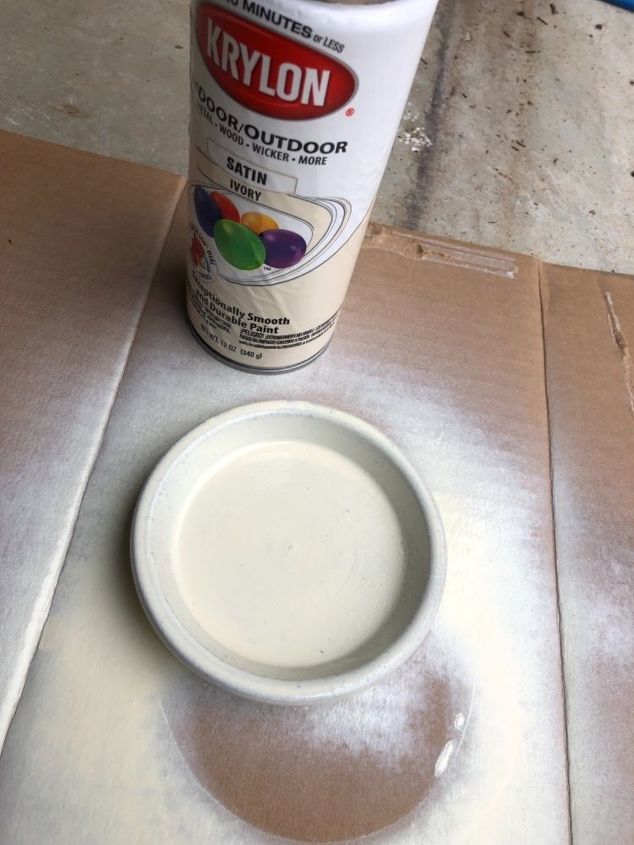
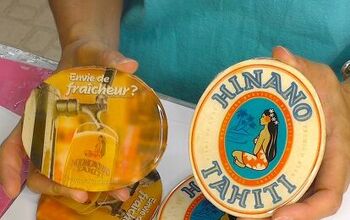
I went to WalMart and grabbed some small terracotta coasters. Not too expensive, so I grabbed a stack (or two). I mean, coasters for different themes, holidays, so many ideas....Here is a before and after of a darling Americana themed coaster. Let me walk you through how I did it!
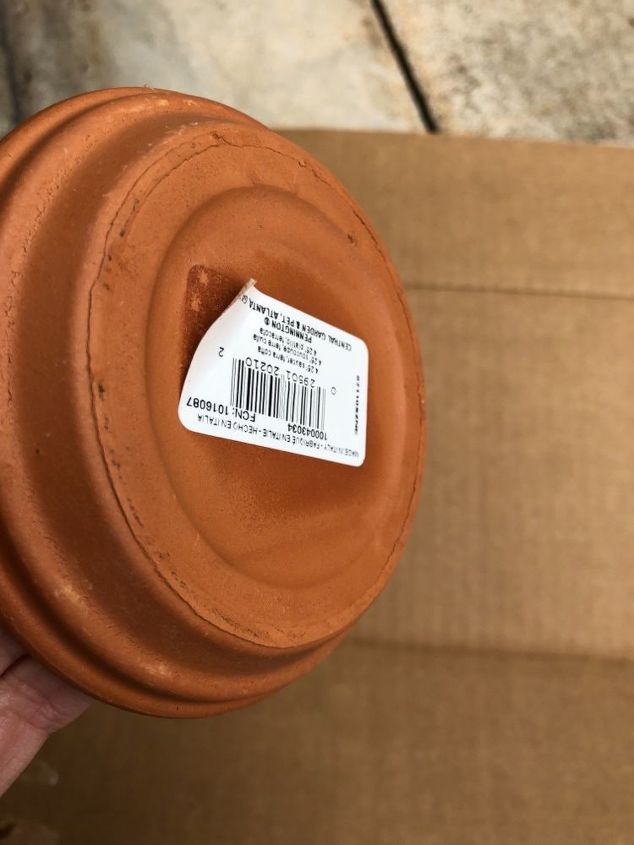
Labels, such a bane of contempt with us DYI'ers. Luckily these peeled off fairly easily. I wanted a nice finished look to my coasters, so I removed all the labels.
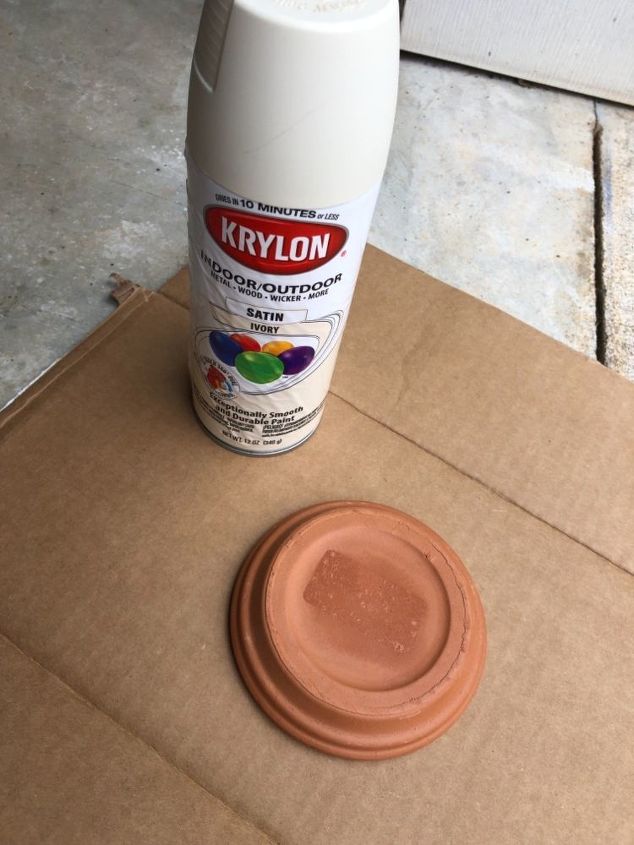
Pick a color, any color! Spray paint is such a versatile tool. Here I had Krylon, not my favorite brand, but I couldn't find the color I wanted in Rust Oleum at my local WalMart.
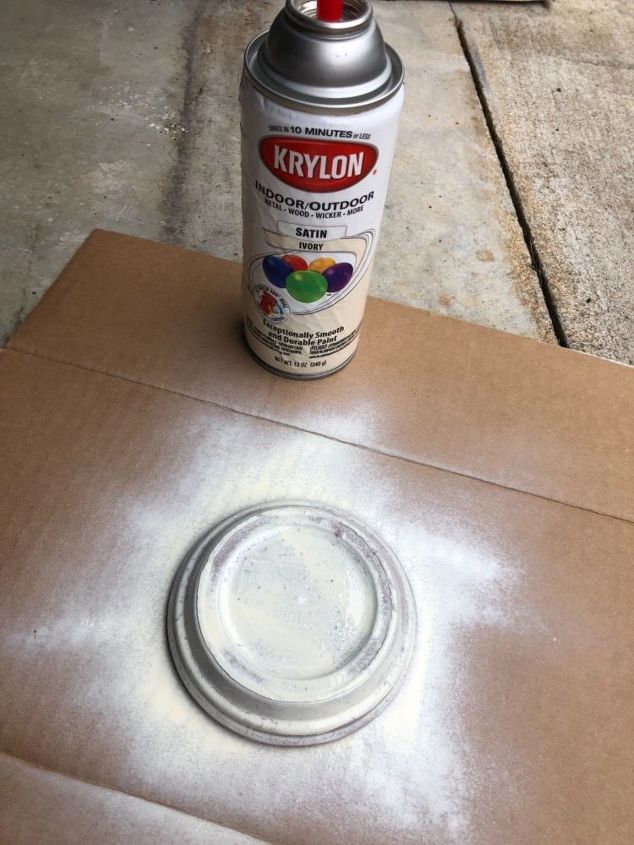
Paint! Learn from my mistake, wait until these bad boys are COMPLETELY dry, possibly even paint on an old plastic cup to prevent the paint from sticking to the cardboard. *sigh*
Once the outside was painted enough, it took three coats, allowing an hour dry time between coats. I flipped it over to do the same to the inside!
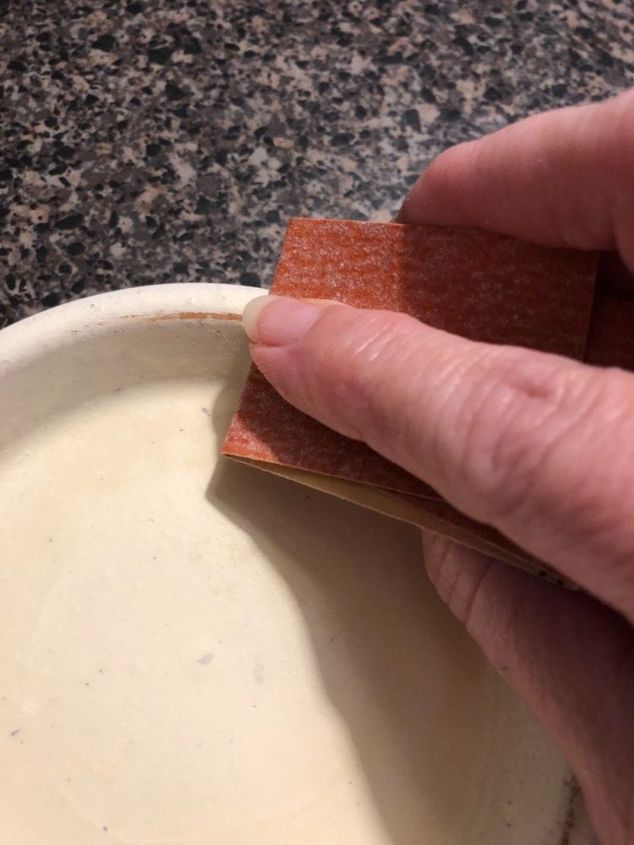
Once the paint was dry, I used some sand paper to distress it ever so lightly!

Once you pick your paper, find a glass the right size to trace, then cut your paper to the appropriate size.
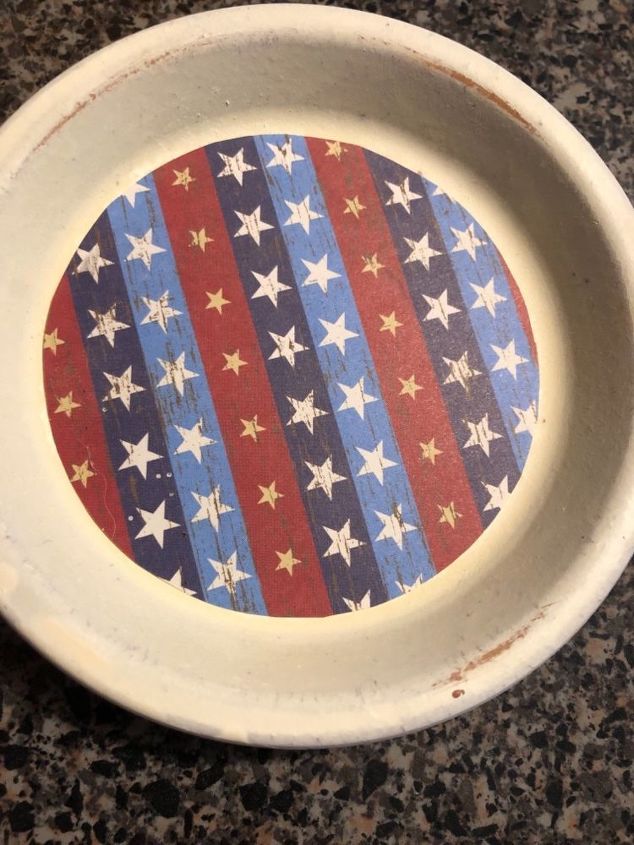
Mod podge time! Using a small brush, I applied a thin coat to the bottom of the scrapbook paper. Lined it up and pressed it in, more mod podge over the top. Allow to dry and add additional layers of mod podge to the top. Two or three should do it.
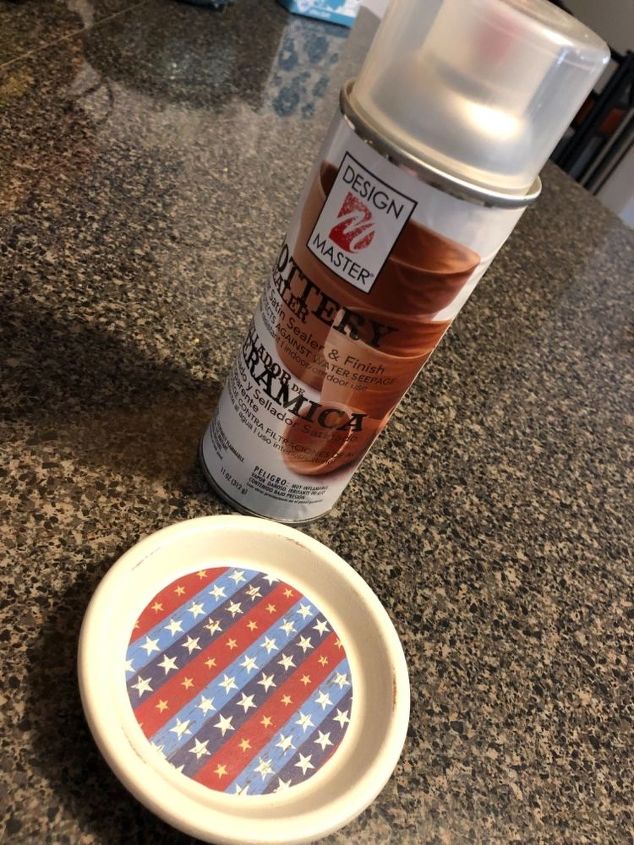
Once that mod podge is all dry...a top coat to seal the coaster inside and out. Allow to dry for four hours and apply a second coat.
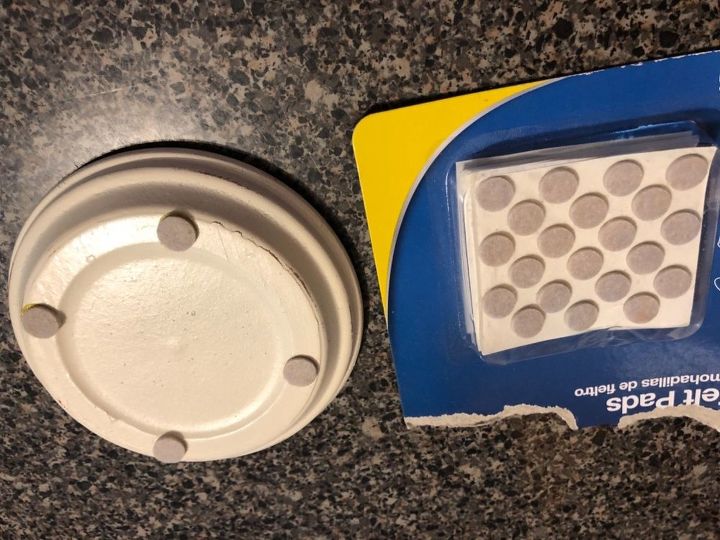
Allow that sealant to dry overnight and apply some felt to protect your furniture.
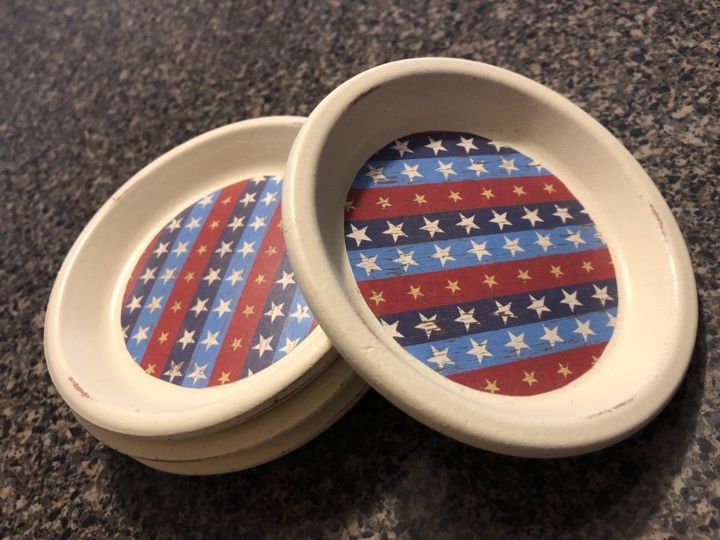
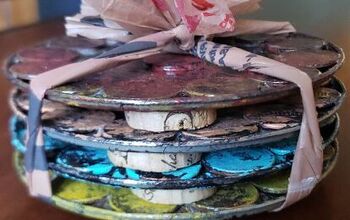
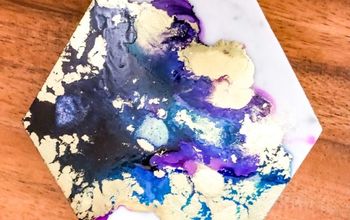
How darling are these? Imagine the possibilities! Coasters to match every room, holidays, and more! Below see a few others I created using this method.
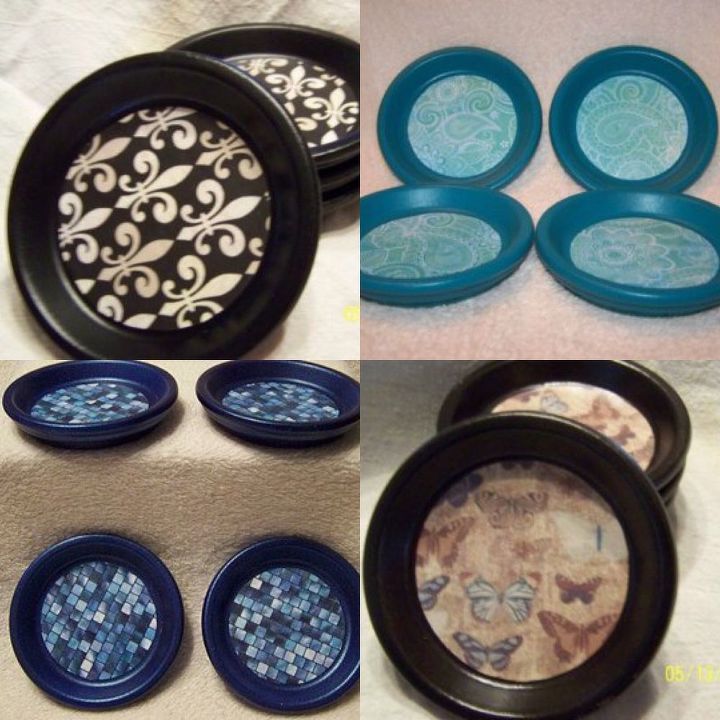
Here are a few other variations I created using this method. 💕
Resources for this project:
See all materials


Comments
Join the conversation
-
Hi Lynnette; Lou is correct, the denim-backed circles are put in the bottom of the terra cotta 'coasters' and do a wonderful job of keeping all the moisture soaked up. They can be easily changed for different holidays, occasions, etc., and they never let the glasses 'drip' any moisture on any of the furniture, etc. I love them and they're so easy to make in whatever design I choose. Even have made some in star shapes for Christmas!
-
Save those lids from yogurt, cottage cheese, sour cream, etc as they work great to use as paint stands, also washers, and machine nuts. I learned from painting on newspaper and it became part of the project.


Frequently asked questions
Have a question about this project?
What size saucers?