


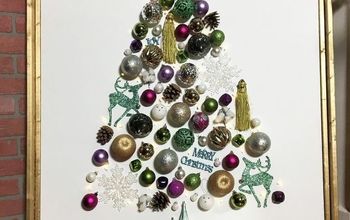
How to Make a Button Christmas Tree Decoration
These cute little button Christmas trees are super quick and inexpensive to make. You can use up your button store or buy the right colour to co-ordinate with your theme. Great for older kids to have a go at too. You can use a blunt needle so long as it passes through your buttons. Grab your buttons and make a few now!
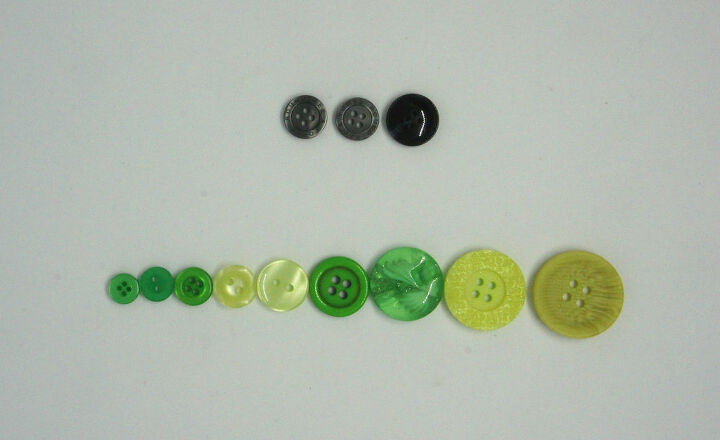
Select your buttons that you would like to use. Choose buttons of increasing size so that you get the Christmas tree effect. Lay them out in ascending order so that you do not mix them up accidentally. You can use one colour theme or perhaps two contrasting colours!
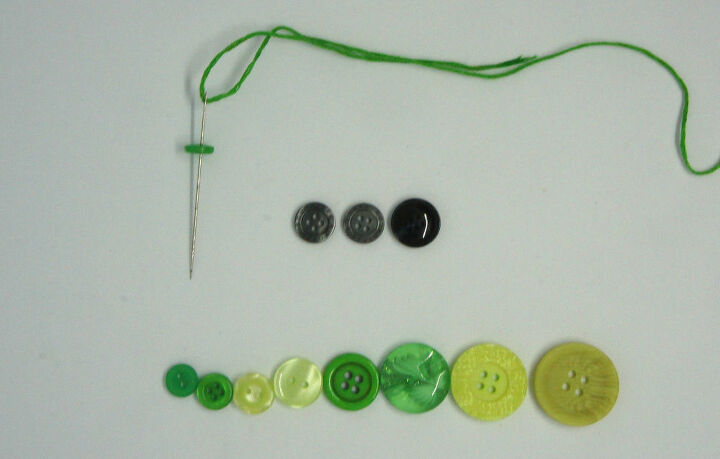
Remember that you need some small dark coloured buttons for your pot.
Thread your needle with a long length of embroidery thread. This can match your buttons or contrast with them. It is up to you.
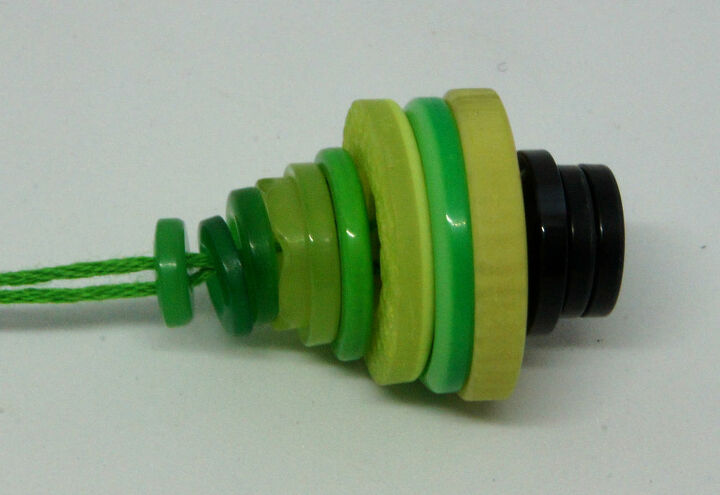
Start threading the buttons onto the needle, starting at the smallest button.
Continue threading the buttons onto the needle in the order that you laid them out, finishing with the buttons for the pot.
Now turn and thread the needle back through the buttons. Make sure you use a different hole in each one. You should end up with a small loop at the bottom of the pot and the needle and thread back out of the top of the tree.
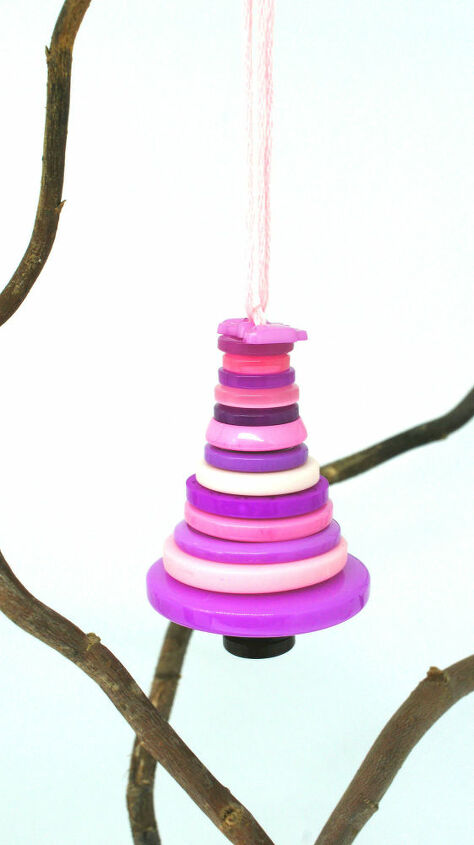
Pull the thread tight and tie a knot in it at the top of the tree. Then decide on how long you would like the hanger to be and tie a knot in it at that size. Cut off the spare thread. Hang it on your tree or perhaps on some twigs as I did!
Well done! You have now finished your Xmas Tree Decoration!
If you need any more Christmas decoration inspiration visit my blog at https://christines-crafts.com/category/xmas/


Comments
Join the conversation
-
So simple yet full of possibilities! The wheels are already turning toward the button collections in my sewing box and attic!
-
Glad you like it!


Frequently asked questions
Have a question about this project?