


How to Correctly Apply Painter’s Tape for Perfect Straight Lines

Setting out to do some painting but don’t know how professionals get those perfectly straight lines or avoid getting splatter on the baseboards? The secret is painter’s tape!
In this article, I’ll tell you exactly how to make the most of painter’s tape, including how to apply the tape on walls, on tricky areas like baseboard corners, and how to remove painter’s tape.
It may sound simple, but speaking from past experience as a painter, incorrectly applied painter’s tape can be just as useless as not using it at all while making use of it makes life so much easier.
Once you understand the steps detailed below, painting perfect straight lines and keeping your baseboards pristine will be a cinch.
Tools and Materials
- Painter's Tape
- Paint
- Dusting Cloth
- Putty Knife or Plastic Card
- Sharp Utility Knife
- Additional Helpful Tool: Laser Level
Painter’s Tape Application
1. Make Sure Your Surface is Clean and Dry
Before I even unwrapped the packet for my painter’s tape, I made sure that the surface that I was applying the tape to was clean and dry.
If you have recently applied a different coat of paint to the area, gently press down on an inconspicuous area – I always go for a bottom corner or where a unit may cover later – to make sure that it’s dry.
If the surface is dry, take your dusting cloth and wipe it down as dust particles on the surface can stop the paint from bonding.
2. Apply the Tape to the Wall
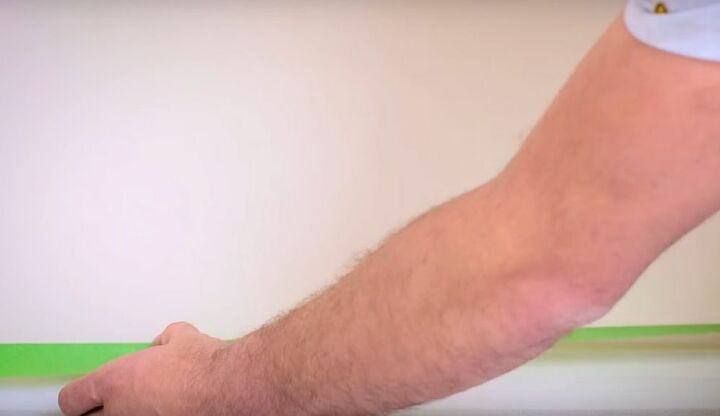
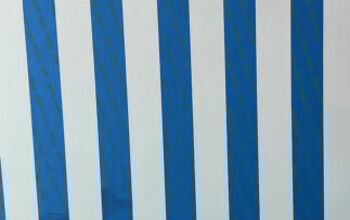
Now that I had a clean and dry surface, I peeled the painter’s tape off the roll and, going straight from the roll, I eased out sections, smoothing it down, and then rolling out some more as I went along a straight line.
To help guide my tape application here, I usually use a laser level across the surface so that the tape stays perfectly straight, but you can always use a regular long level to mark out a perfect line with a pencil.
If you’re more of a novice, however, you may find it easier to rip off smaller amounts of the tape and then stick each piece slightly overlapping the last. Using smaller pieces gives you more control along a straight line.
3. Eliminate Gaps and Seal the Edges
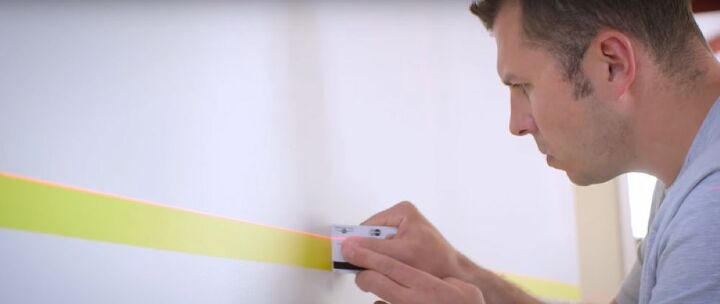
This is the part that most novices neglect; making sure the painter's tape sticks well. Simply running your hand across the tape isn't enough. If the tape isn't properly bonded or has gaps, paint can seep through.
To achieve this, I like to use a trick known as burnishing. This is where you take out your putty knife or a plastic card from your wallet and run over the tape with it, being sure to go in one direction to push out all of the gaps and press down the edges.
Applying Painter’s Tape to Baseboard Corners
1. Run Along the Wall
Following the same first step as before, you need to make sure that your baseboards are dry and clean before doing this step. We all know how dusty they can get, so be sure to really dig in with your duster.
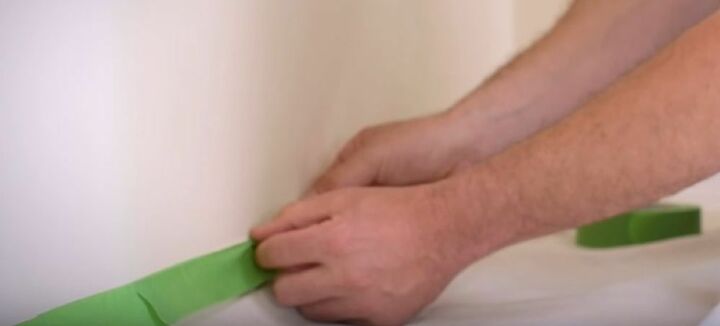
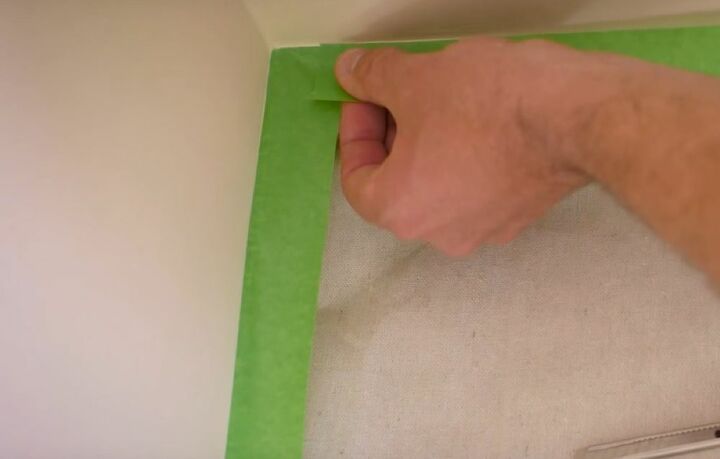
Once clean and dry, you can apply the painter’s tape straight from the roll by holding it flat against the wall. This way, you make sure that you’re only taping over the trim and not on the wall. I like to think of this as taping from the top of the baseboards as opposed to what some people do, which is tape from the side-face up.
If, however, you don’t feel confident enough to reel out a full line of tape straight from the roll in one, tear off smaller sections and stick them down as you go along the baseboard. This allows you to have more control over where the tape sticks down.
Learn how to paint trim perfectly every time.
2. Run Through the Corner and Up the Perpendicular Wall
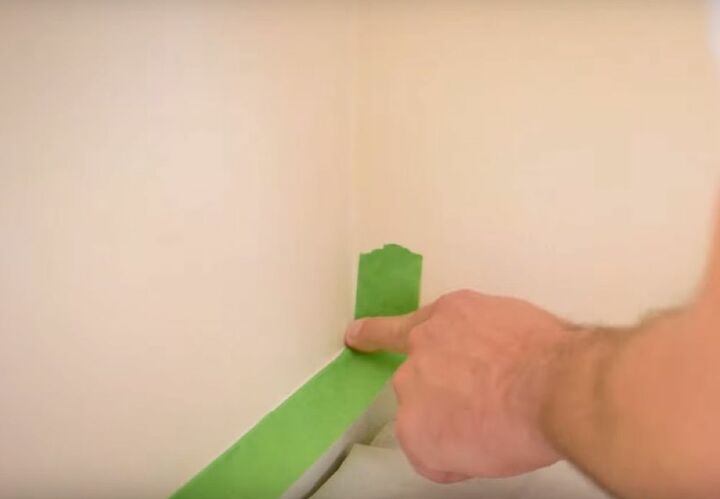
As you approach the corner, if you’re running along straight from the roll or putting it on in sections, make sure your last piece overflows. This is so that you can run the painter’s tape through the corner and up the perpendicular wall.
Don’t worry, the tape won’t stay there for long, but I find that with this method, you end up with the tape covering the baseboard perfectly square to the wall.
3. Burnish the Tape and Cut Off the Excess
Using the method described above – with a putty knife or plastic card – make sure that you burnish the tape firmly to the baseboard. Once the tape along the baseboard is firmly attached, take out your utility knife and cut along the base of the excess tape.
To avoid any cuts along the wall, you’ll want to angle your knife as though it’s going at a 45-degree angle behind the top of the adjacent baseboard to the one that you’ve taped. Be sure not to press down too hard in this step.

4. Tape the Adjacent Baseboard
There’s no need to lay the tape all the way up to the wall here. That's because the tape you've already applied covers that bit. So, starting at the edge of the bit of tape you've already put down, all you need to do to tape over the top of the adjacent baseboard is follow the same method as before.
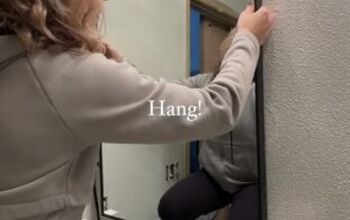
Removing the Tape
1. Remove the Tape While the Paint is Still Wet
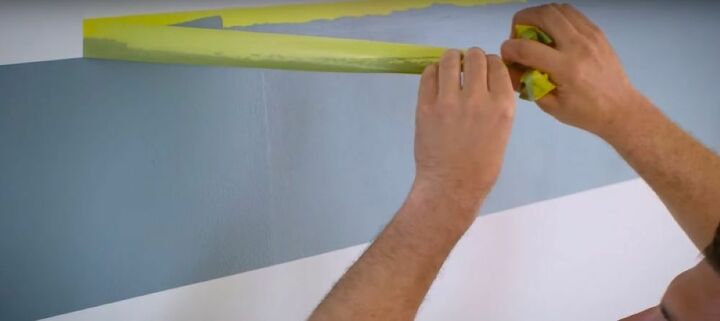
For the best result when using painter’s tape, slowly peel it off while the paint is wet. This is because pulling tape with dry paint can cause some paint to be pulled away, running the intended straight line.
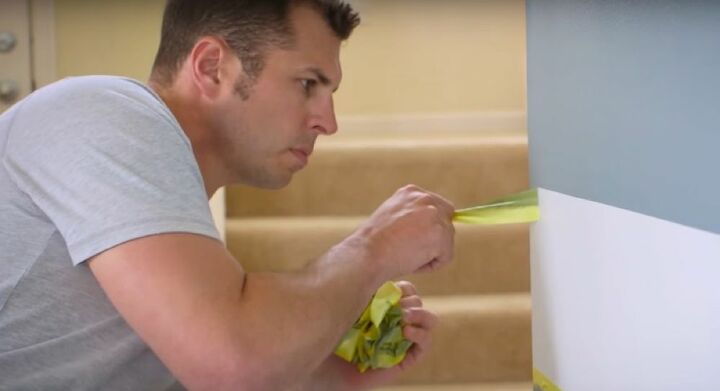
2. Pull Slowly at a Backward 45-degree Angle
Carefully pick at an edge and then slowly and carefully begin to peel the tape at a backward 45-degree angle. This ensures that it doesn’t pull off any of the surface color beneath and keeps a straight line where intended. If you hear a ripping noise, you’re going too fast.
3. If Paint is Dry, First Separate the Paint from the Tape with a Razor
When trying to lift tape from dry paint, you’ll need to go very slowly. To help tease the dry paint from the tape while keeping the straight line, use your sharp utility knife to break the bond carefully. Then, pull back the tape slowly at a 45-degree angle.
How to Correctly Apply Painter’s Tape for Perfect Straight Lines
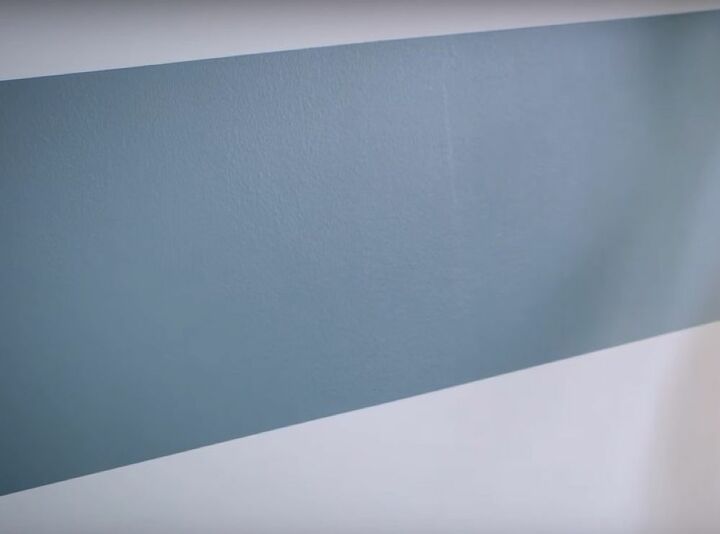
By following these steps, you’ll make the most out of your roll of painter’s tape to achieve perfectly straight lines. Burnishing and pulling the tape away slowly at a 45-degree angle are the key steps to correctly applying and removing the painter’s tape.
Be sure to share this tutorial with a friend if they’re planning on painting their interior.
Comments
Join the conversation
-
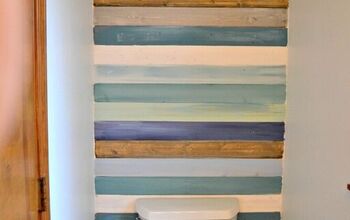
What color paint did you use for the blue? I love it!
-
I always have trouble the paint seeping threw the tape !! It just happened to me lastnight :(


Frequently asked questions
Have a question about this project?