


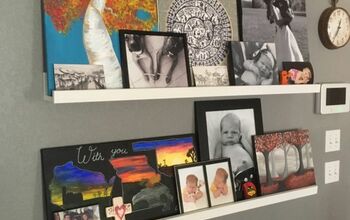
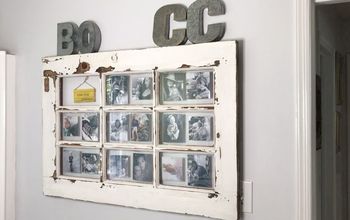
Picture Rail

Great to display photos and artwork and change it out as often as you like!

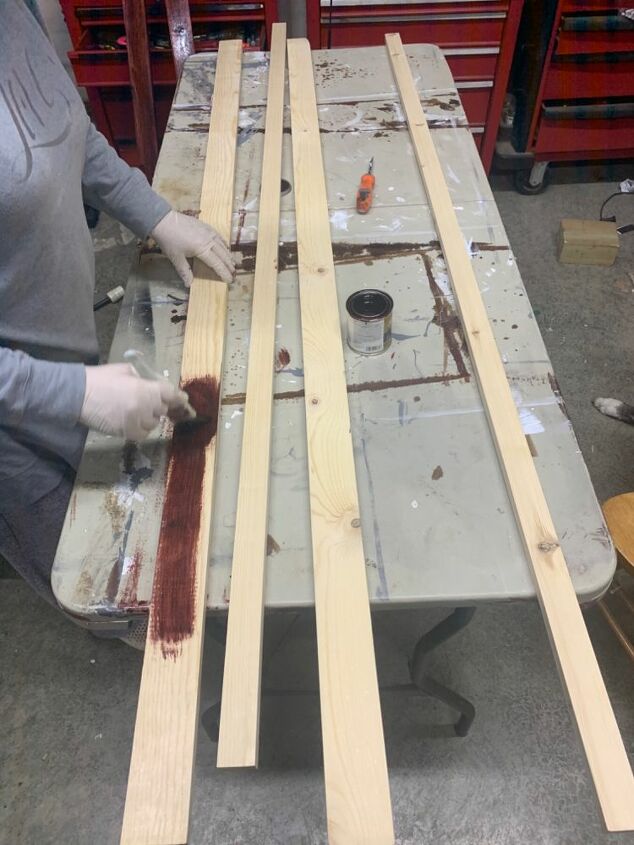
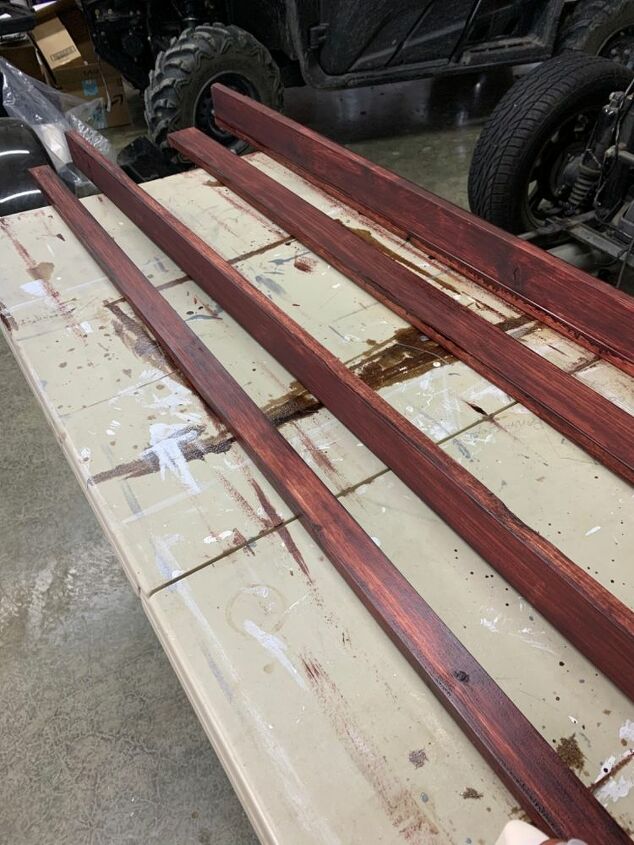
I wanted two 6’ rails. We bought two 1x3x6 and one 1x2x6 pine boards for EACH rail. We chose a Minwax Stain and Polyurethane combo in a color to coordinate with the rest of our woodwork, but they would be nice painted too.
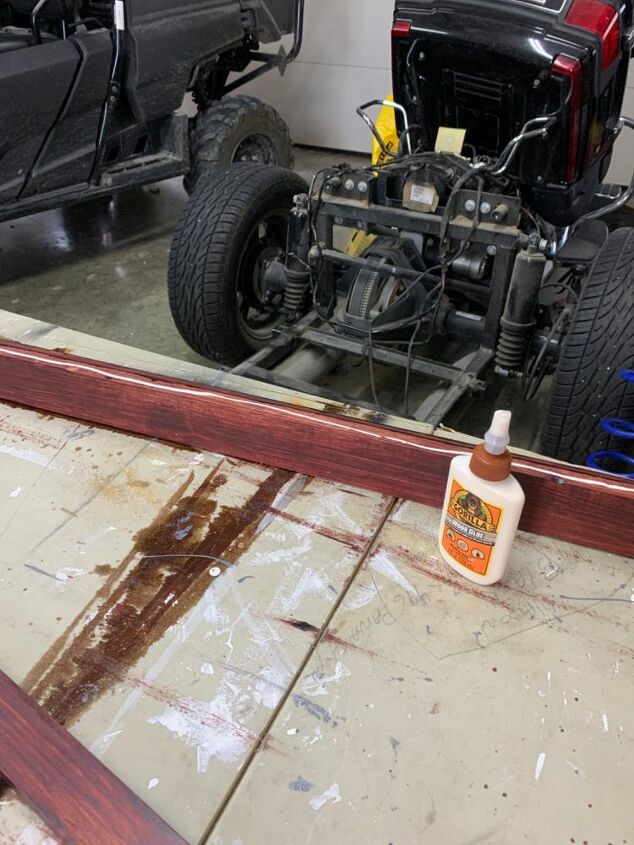
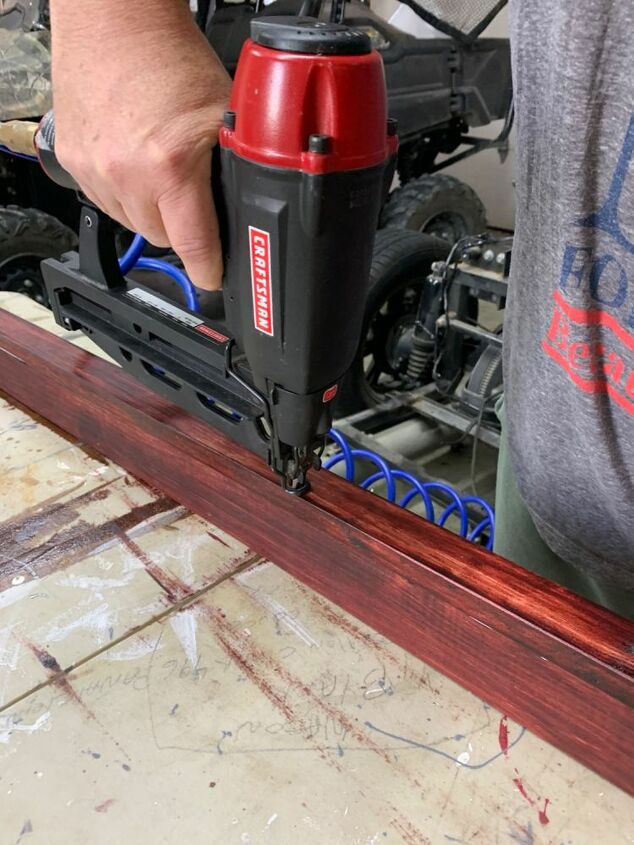
I ran a thin line of wood glue along the board before nailing them together. Probably not necessary but it doesn’t hurt either!
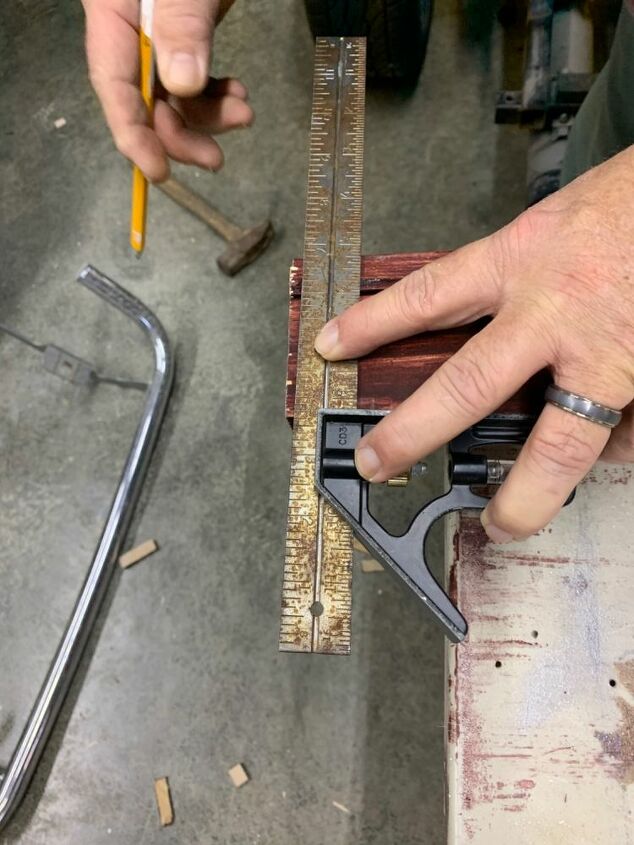
Even though the boards were precut to 6’ we wanted nice, clean cuts on the ends so we used a square and trimmed the ends off.
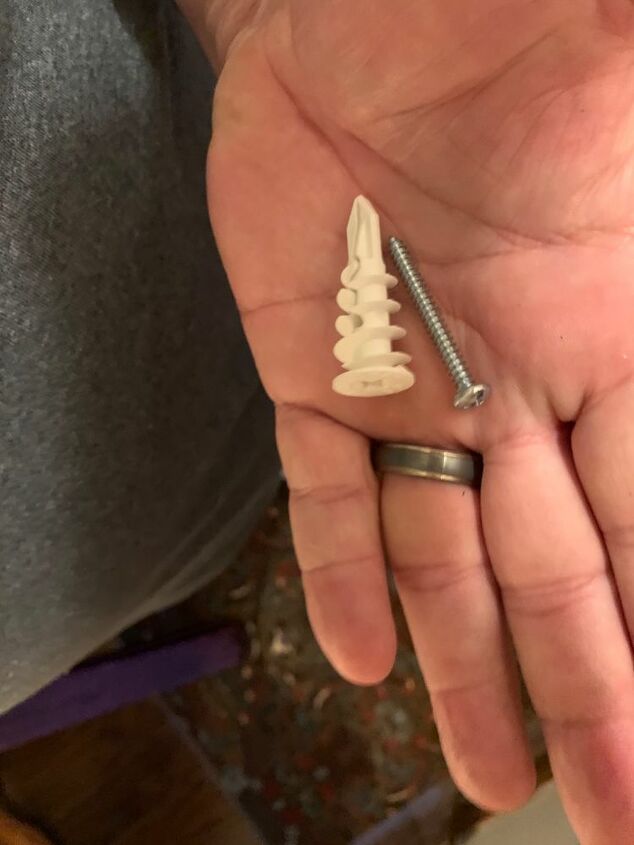
We used these drywall hangers and screws to mount the rail to the wall.
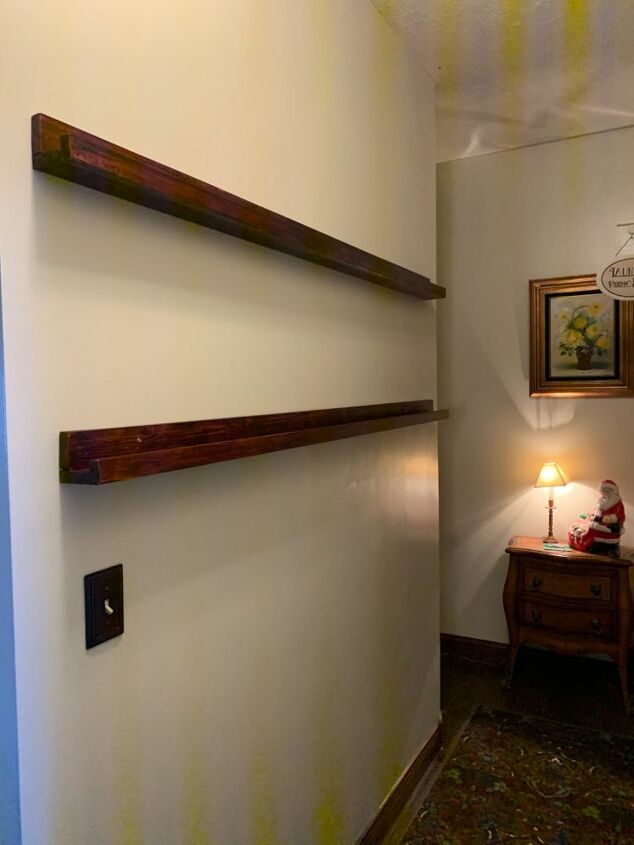
We used a level and tape to make sure the rails were evenly spaced and nice and level.
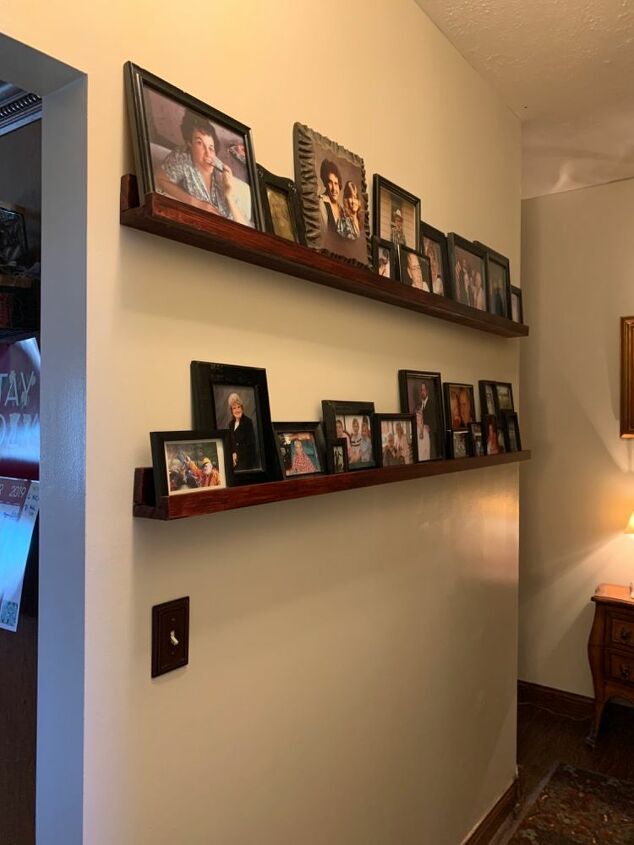
All done and we love them!


Comments
Join the conversation
-
Love your picture rails Kimberly! Thank you for perfect timing, showing your materials and process. Now maybe my hubs will make these as narrow book ledges/picture rails to use behind a door! That space that is always wasted.
These look great and so functional too! Thanks again!
-
Thanks! Of all the crafts, etc. I’ve attempted, this one, by far, has been my favorite and one of the easiest too!


Frequently asked questions
Have a question about this project?
How were they mounted? I don’t see any screws but the instructions also didn’t say anything about creating any holes or slides for mounting.
Looks like 3 boards to me. What did you use for front edge to keep pics on ledge? Thanks.
How far apart are your picture ledges? And how far from the ground did you put lower shelf.