


Blue Whale Mosaic Picture Frame

When you are living on an island surrounded by water your artwork often gets inspired by the sea. I've collected sea glass for many years along our beaches and I always, always love to recycle and repurpose things which lead me to this project. The setting of the scene was inspired by a unique water color painting that I immediately was drawn to, a large whale reaching up to a tiny boat!
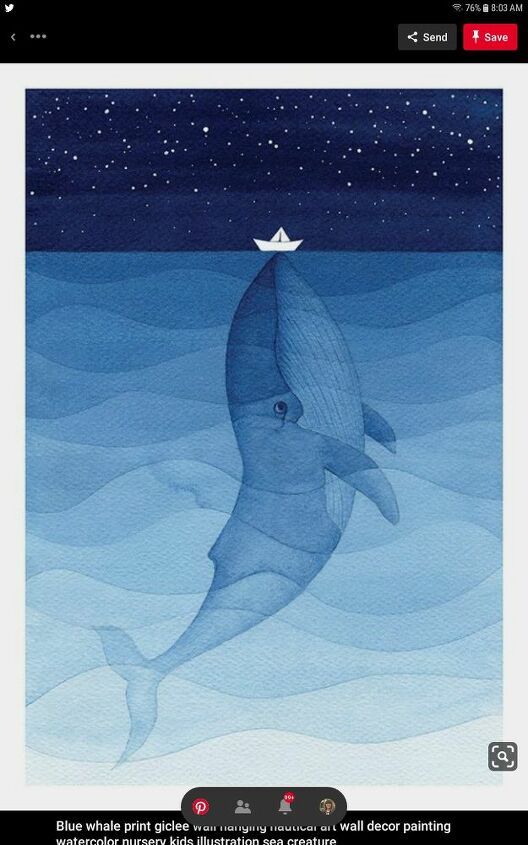
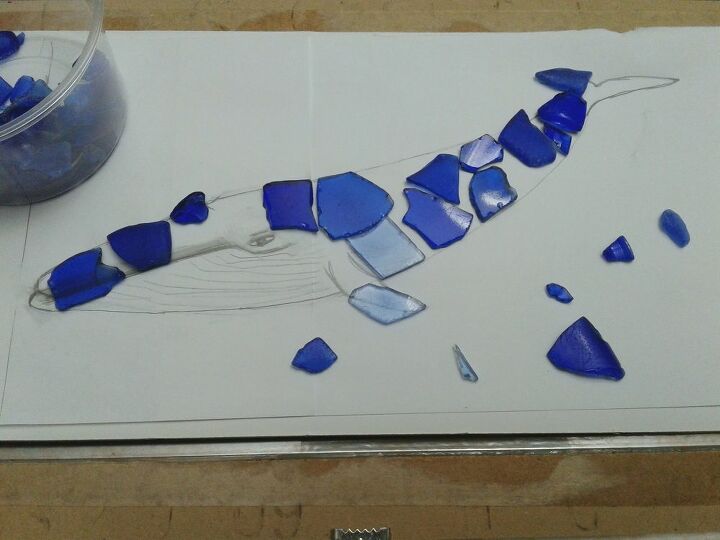
I would indeed put my own spin on this by using blue shards of seaglass to create a...wait for it....blue whale! Therefore I'd need an outline to replicate the shape, a quick image search on my computer gave me a suitable one.
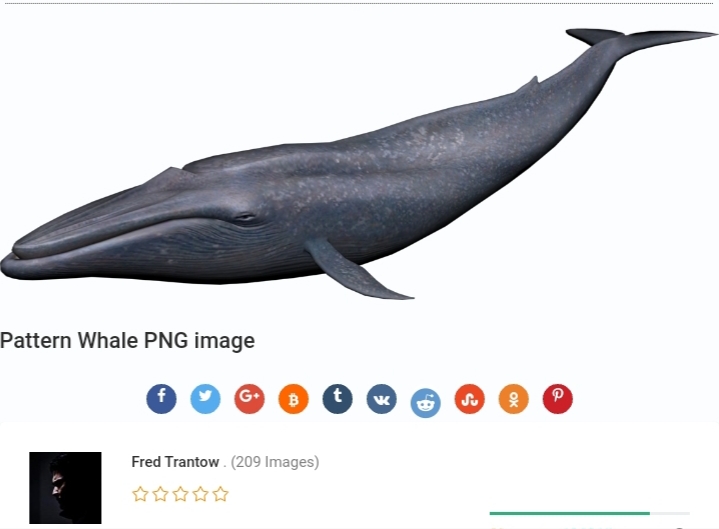
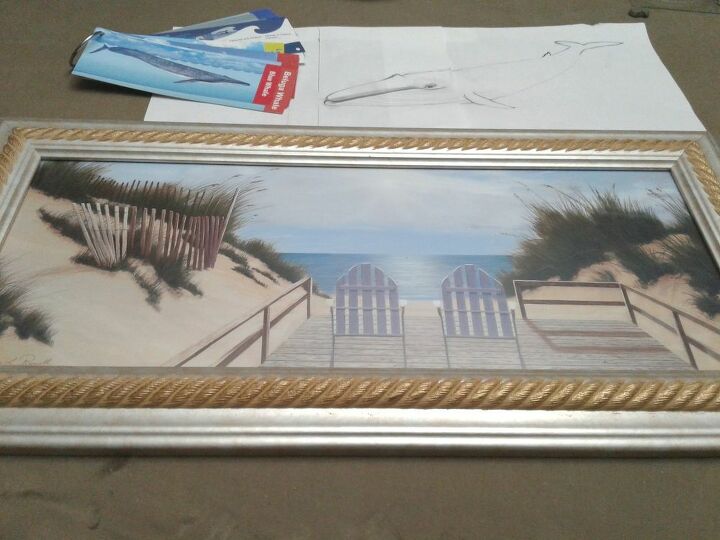
I traced and drew as best as I could the whale image onto two pieces of white paper that had been measured to fit the size of the frame. I am recycling a beach print picture frame for this project. I get tired of some decor items and this way I get to be creative and recycle at the same time.
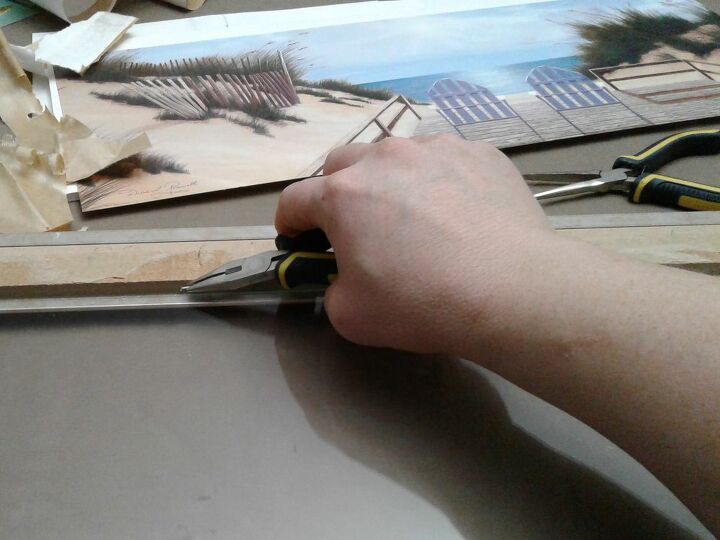
I removed the backing, the image print and all of the staples and tacks so I was left with just a glass insert and a bare frame.
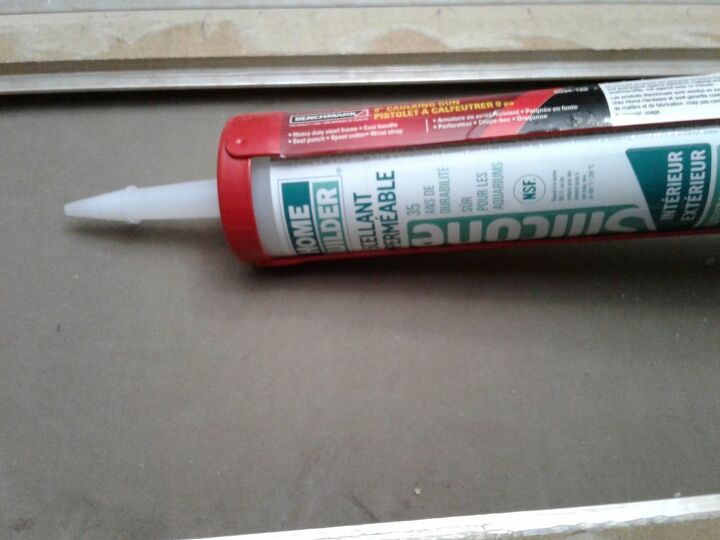
Next I glued the glass insert back inside the frame with silicone, I just ran a line of it all the way around the inside edge where the glass woukd rest. I left it to dry overnight to ensure it was stuck in place well, I added a little weight onto the glass to apply pressure on the glue seal.*Note: If you haven't used this product before it does have a little bit of an odour, I equated it to a very strong vinegar. I have sensitivities but yet it didn't bother me.
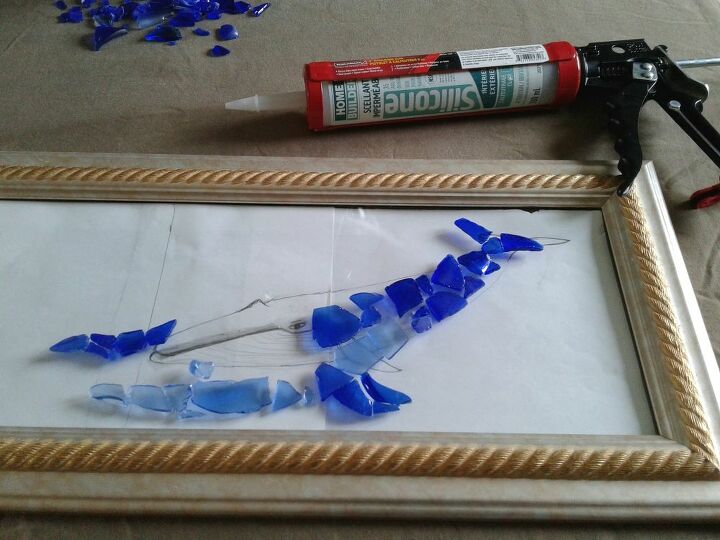
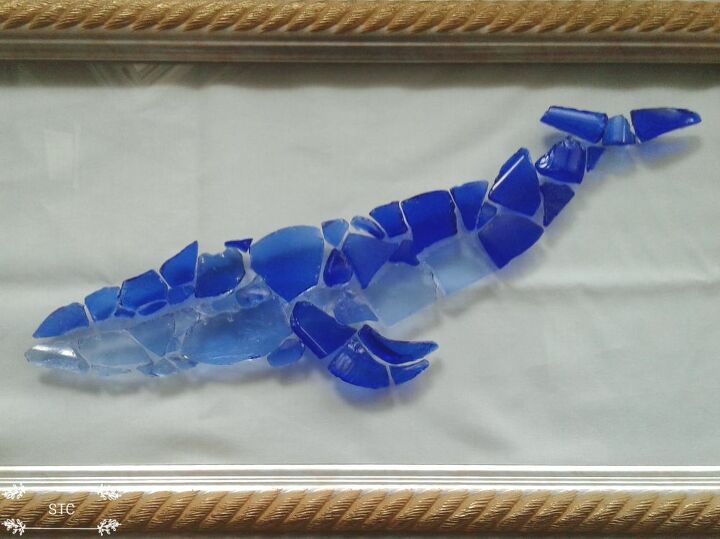
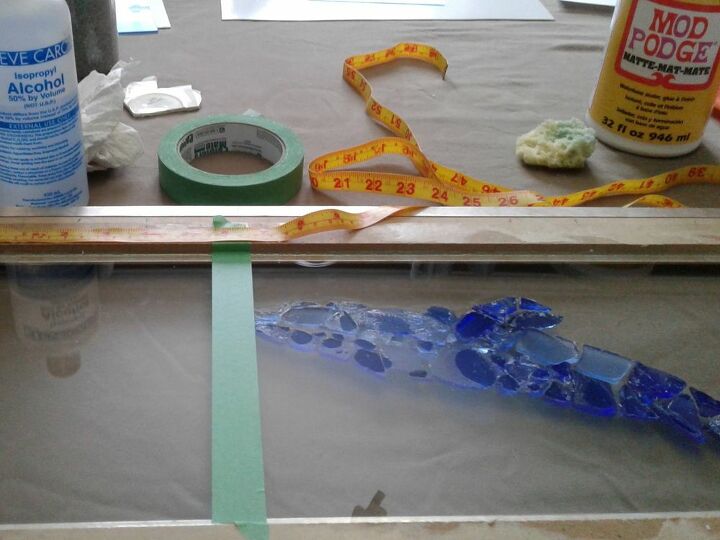
Next came the glass assembly, I fiddled with the glass first on the outline to estimate if I had enough product to complete it.
Once I realized I could carry out my plan I began to assemble the glass shards onto the front part of the glass frame with my whale outline in place on the back of the frame. All shards were given a dab of silicone to adhere them to the glass, less is best because you don't want any oozing out underneath.
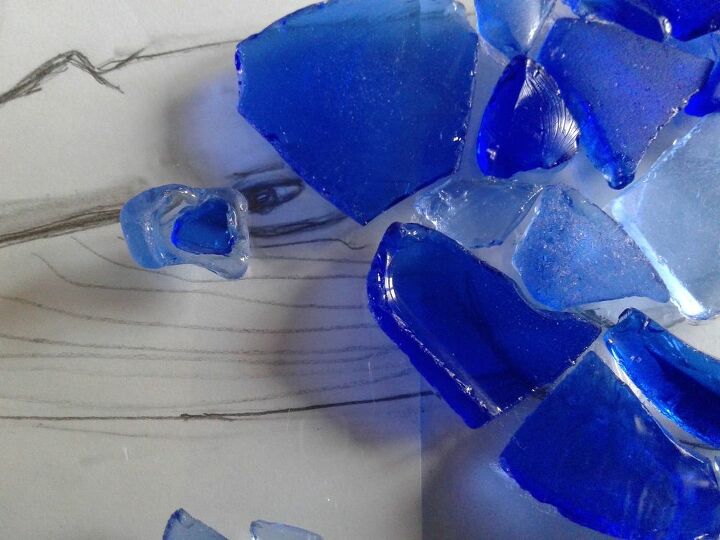
Its much like fitting together a puzzle only these do not form a perfect fit, I did my best to get them as close together as possible. I had a light blue raised piece that I chose for the eye. I stuck a smaller dark blue piece in the hollow behind to create the dark eye of the whale when it's flipped over.
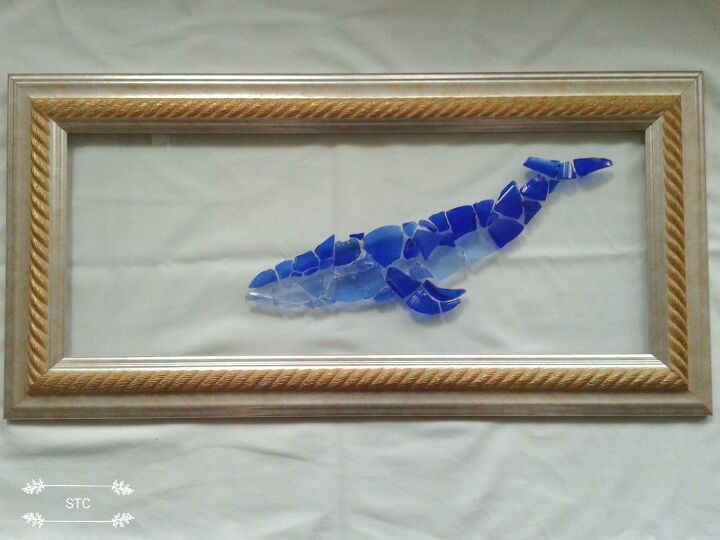
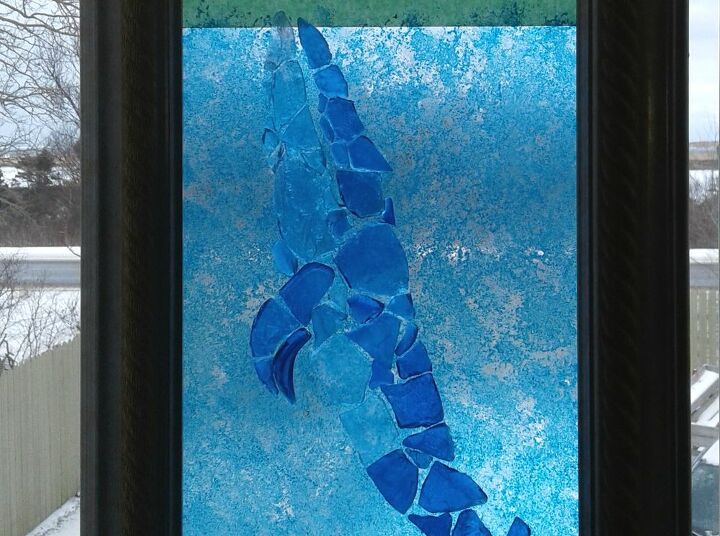
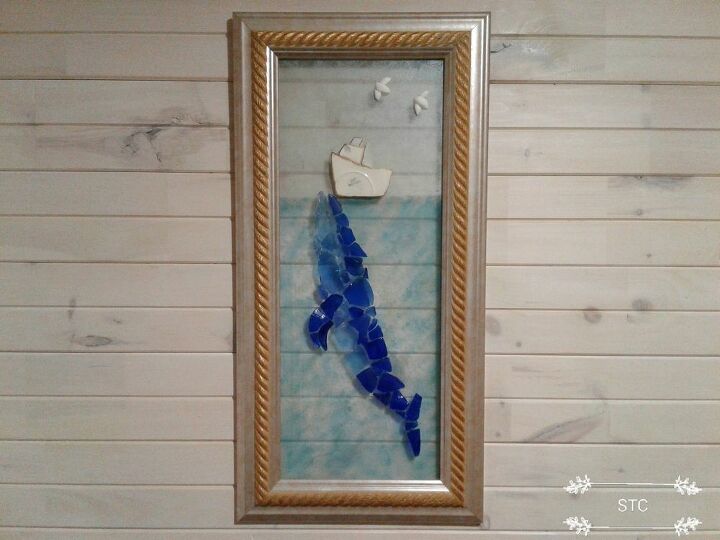
Here is the whale portion completed, looking so good so far!
Youll notice there's an empty space above, well that's 1/3 of the frame that I marked off to represent the sky part of the scene, 2/3 was the ocean.
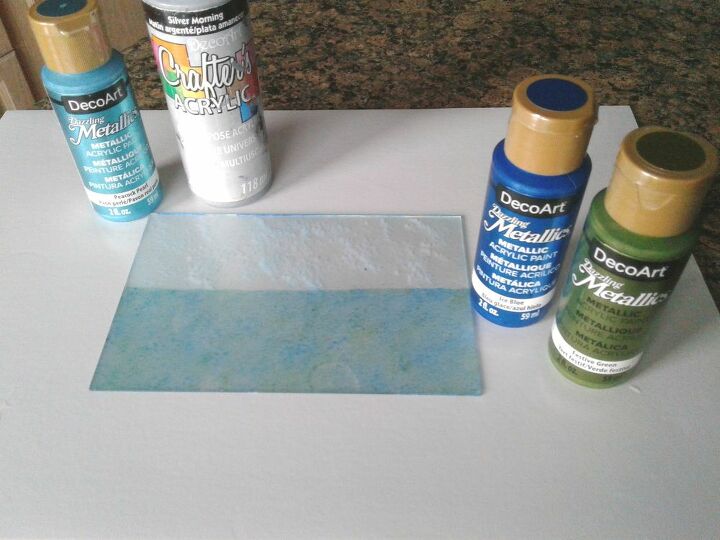
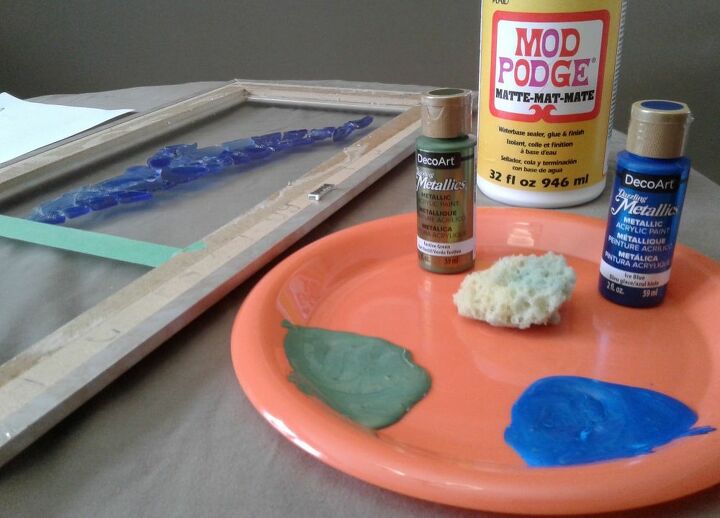
I was now very anxious to create the backdrop for my picture, I wasn't painting onto paper or canvas afterall it was glass. I purchased some blue and green metallic paints because I wanted shimmer to the ocean. The silver was all I had on hand to replicate a sky, or so I thought? I practiced on a scrap piece of glass and found that the two darker shades would become the ocean and the lighter shades the sky.
I mixed in mod podge with the metallic paints almost a 1:1 ratio, a little less glue. This is how some people create faux stained glass by mixing mod podge with paint and that's what gave me the idea. I mixed up small amounts with my measuring spoons and placed the mixtures onto a plastic plate.
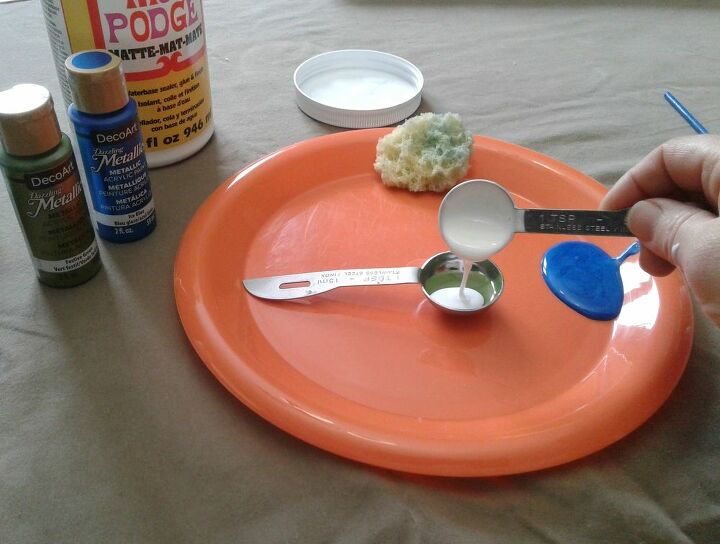
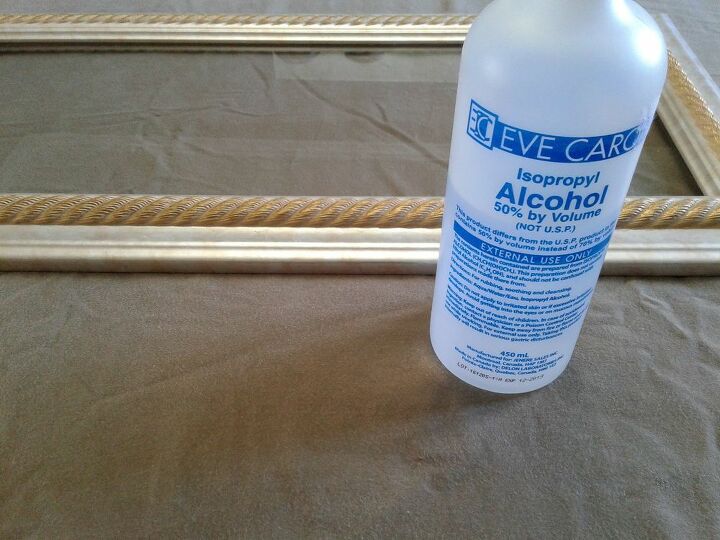
Before going any further I forgot to mention before I glue or paint anything onto glass I always wipe the surface over with a paper towel and alcohol to ensure dust, fingerprints, etc. are removed.
I marked off the sea and sky areas on the back of the glass frame with painters tape using the thirds rule that I mentioned earlier.
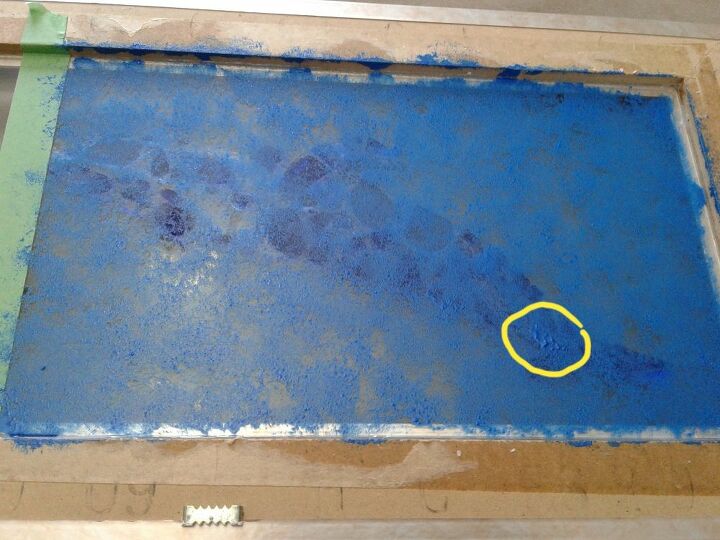
I then applied the paints one color at a time to the "back" of the glass frame using a small piece of sponge.
You'll want to cover your sponge with paint completely then blot first onto a paper towel. I learned this the hard way, see the highlighted spot? That was an area that I tapped on without blotting off on a paper towel first, that is a sign that you have too much paint loaded onto your sponge!
Here's how it looked when I held it up to my window with the outside light coming through. Pretty neat huh? It highlights the blue sea glass even more I think.
I followed the same process for the green paint mixture covering in the spaces I missed with the blue paint. I thought was a great plan, BUT it was just too much! There's hardly any outside light getting through now and the colors have no distinction from one another.
To be honest with you take one was a fail, take two was a fail, take three was the winner! Luckily the paint just washed off with a cloth and water so I was able to learn from my failures and move on to the next paint trial without any problems. I finally got the two colors showing distinctly and the light was still able to get through.
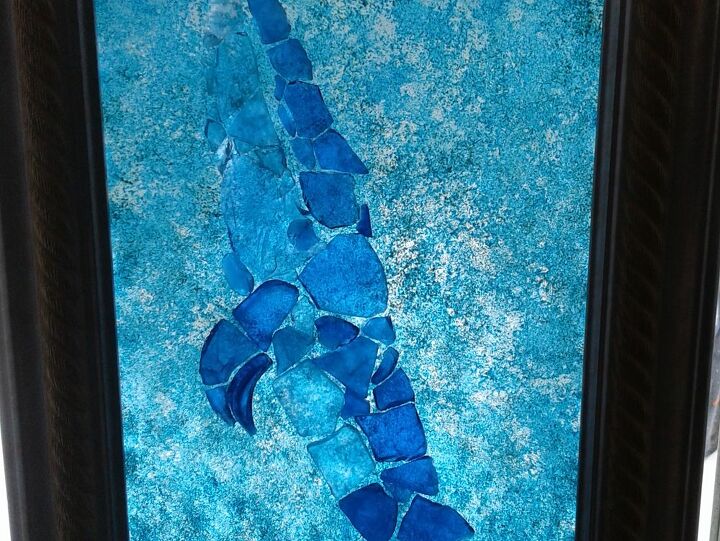
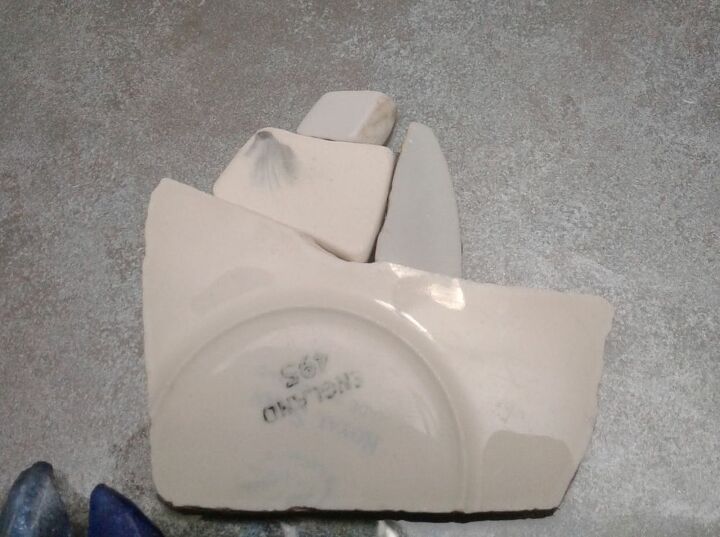
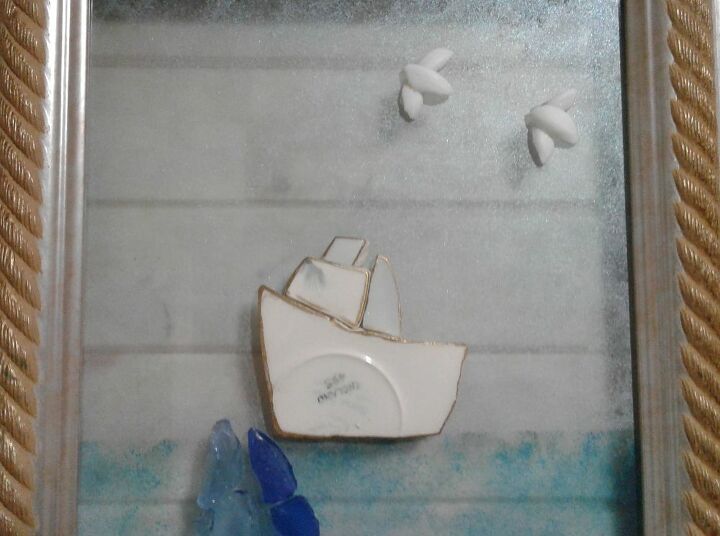
For the sky I did the same mod podge mixture with silver and turquoise and applied in the same light handed manner, allowing the first color to dry before adding the second color. See below a peek of the sky with an added new detail of a fishing boat created with dinnerware shards recovered from the beach. You'll notice the markings found at the bottom of a plate shard there that I made into the hull of the boat!
I also made a couple of seabirds using cod fish ear bones, known as otholiths that were collected from the beach. I outlined the fishing boat with a gold paint marker to make it stand out more against the sky and to tie in with the gold accents on the picture frame.
Drum roll please......dump, da, da,dump, dump, da I give you, "Big Blue Wants to Meet You!"
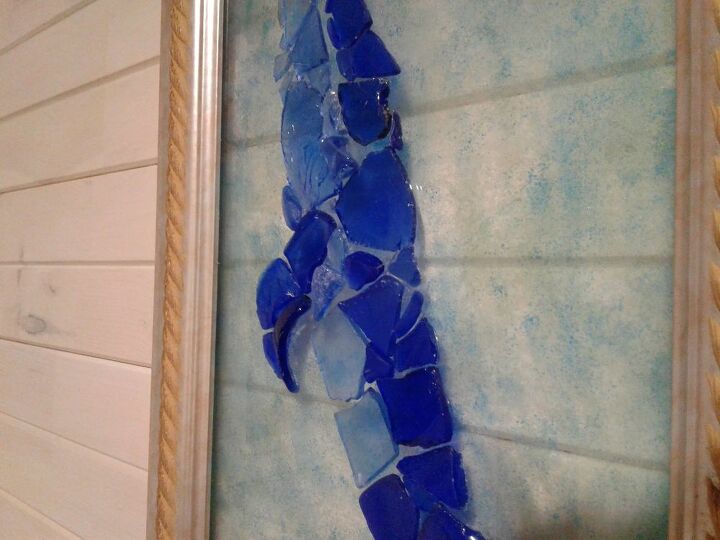
Above it's shown on a white washed wall which allows you to see the colors clearly but if I was to put it on a colored wall the colors weren't as true. My solution for this problem was to simply put the white foam board backing in the frame again and that worked perfect!
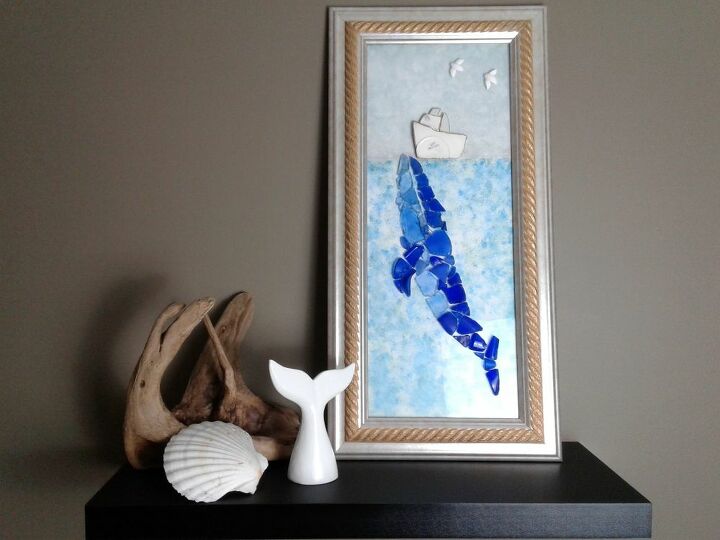
I couldn't be more pleased with the final results, yes there were trials, failures and bloopers but that's how I learned to get it just right! The response I've had here locally on this piece already has been rewarding enough. I am hoping it inspires you to try your hand at something new, accept the challenge, learn from the failures and succeed with determination! Get going...if you don't have sea glass, try assorted vase fillers like glass gems,pebbles, beads, macaroni or whatever you have access to! * Crafting is my Escape without having to Leave my House! 😊 Author Unknown
Resources for this project:
See all materials


Comments
Join the conversation
-
At first, my thought was don't know where this is going or if I liked it. Bingo! I love it! This might just be something I will try. Excellent crafting.
-
My Daughter n Law spent 6 yrs with her parents sailing. I think this would be a good gift for her Birthday. I am so looking forward to trying this. I have 6 months to perfect my take on your project.👵


Frequently asked questions
Have a question about this project?
This is so cool and beautiful. One question though, why didn't you put the boat right on top of the whale?
Inspired? It’s a whale of an idea!! I have seen people created with small pieces of stone to create scapes so why not use what the waters provide and use the jewels from the sea that we find during a serene walk with sand between our toes, sun caressing our skin and a slight breeze through our hair?
I’m looking forward to seeing your sea turtle scape too!