


Vintage Table Remodel

by
Lindsay Fay
2 Materials
$20
3 Hours
Easy
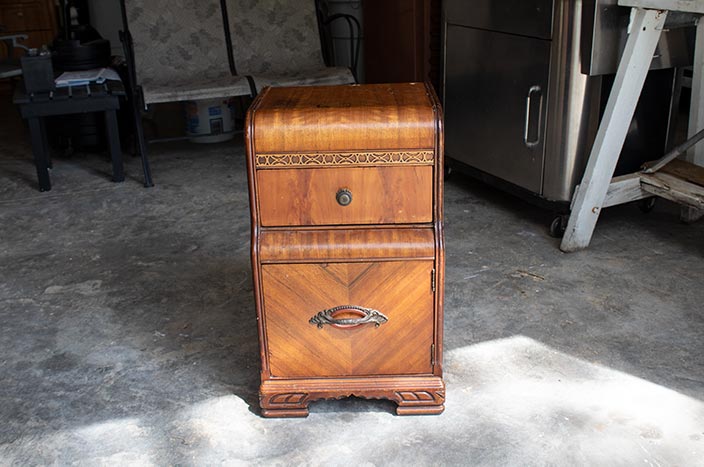
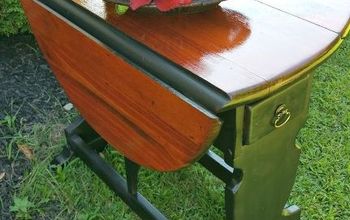
My mom picked up this little table at a flea market a few years back. It was cute, but with a significantly cracked veneer it needed a little work!
I started by heating the veneer with a heat gun, which melts the adhesive holding it to the piece. This makes it easier to pull off the veneer.
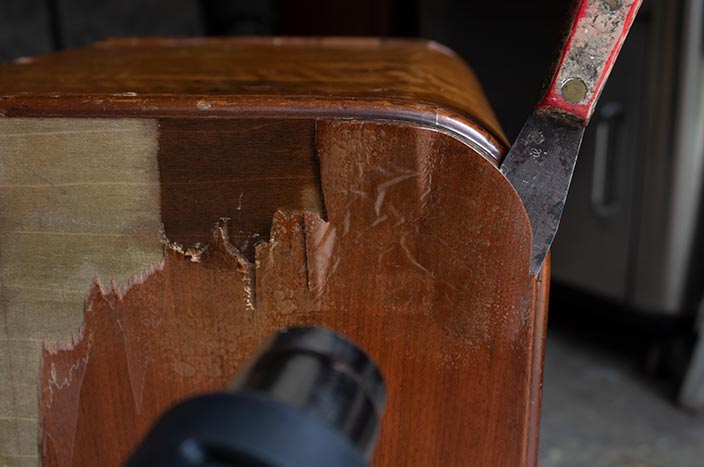
Then I used a putty knife to pull the veneer off of the piece.
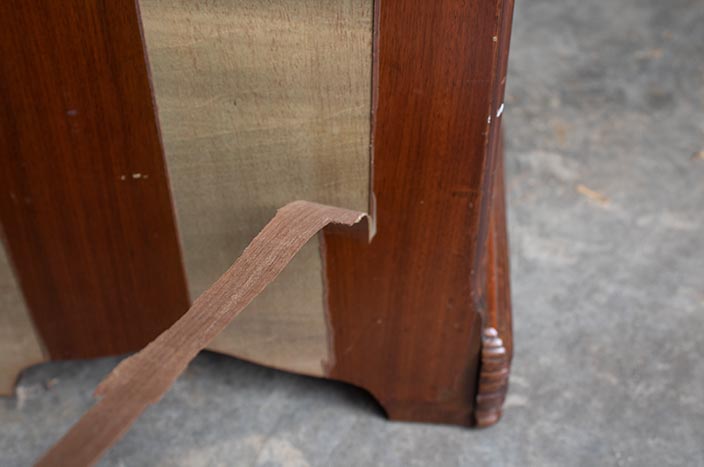
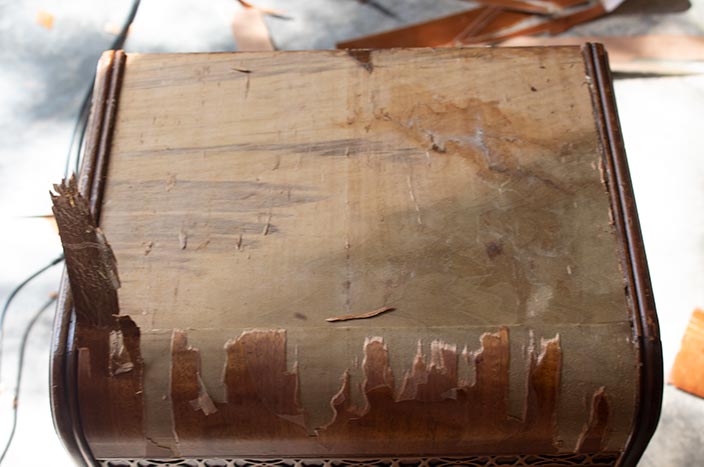
I repeated this until most of the veneer was removed. Once the veneer was gone, I sanded the area with my orbital sander to remove any remaining adhesive or veneer. The top in particular was a bit more stuck-on and needed the sanding.
Then I painted the places where I'd removed the veneer. I used a DIY Chalk paint made out of latex paint, water, and baking soda. No matter how much I mixed, the baking soda didn't fully dissolve, leading to a bumpy finish. I wouldn't recommend it.
And my nightstand was done! If you like how it turned out, or want to learn more about removing veneer, check out the full blog post!


Any price and availability information displayed on [relevant Amazon Site(s), as applicable] at the time of purchase will apply to the purchase of this product.
Hometalk may collect a small share of sales from the links on this page.More info
Want more details about this and other DIY projects? Check out my blog post!
Comments
Join the conversation
2 of 17 comments
-
You did an amazing job! Love it.


-
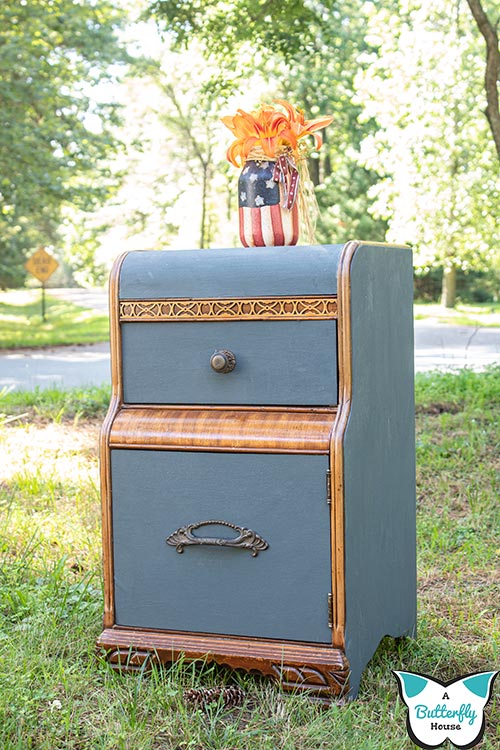
The drawer pulls are amazing on this piece especially the bottom one. The combination of the natural and the paint brings out the wood tones. Love it.


Frequently asked questions
Have a question about this project?
So what did you use instead of the baking soda...or did you sand it off or use milk/chalk paint???
Makes you wonder why some pieces were veneered. I like the wood on other area between the drawer and the door. Or was that wood different from the part under the old veneer?