


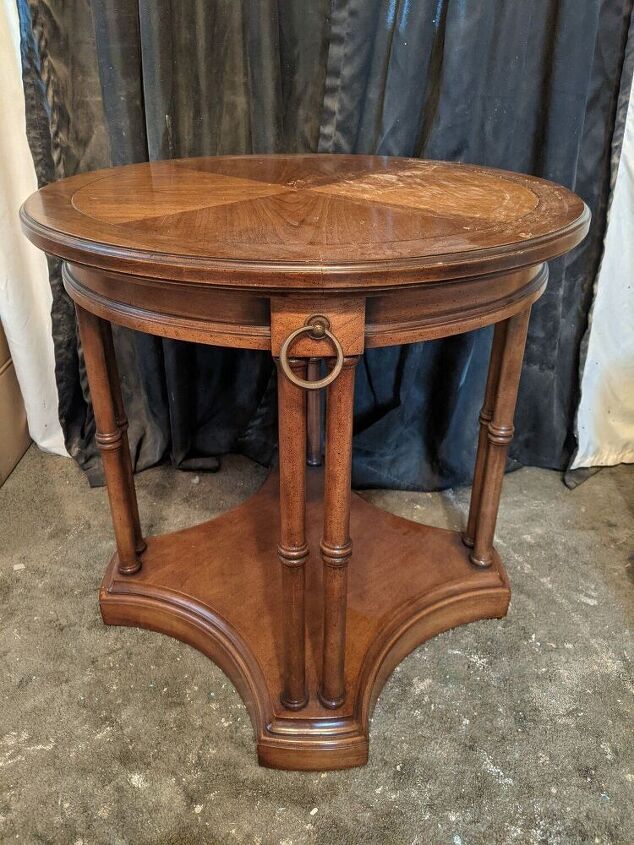
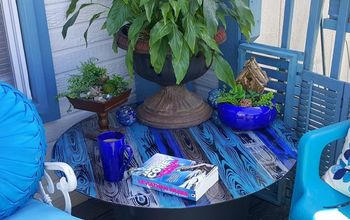
Updating A Vintage Round Accent Table Using Paint And Resin Appliques

These large round accent tables are unique, they're a bit too large for an end table, but too tall to be a coffee table..this makes them perfect for the center of a large entryway or in between 2 beautiful chairs to form a sitting area.
I wanted to go elegant with this update and I knew just the products to use.....
*Listed time does not include dry time, it's work time only
*Listed price is for the amount of product used, not for the initial cost of the product
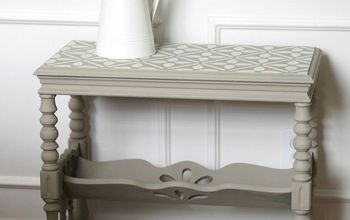
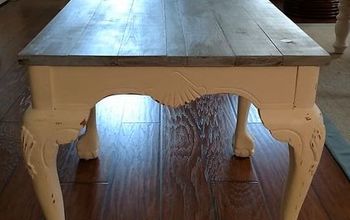
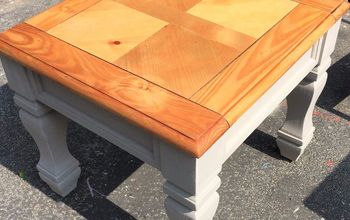
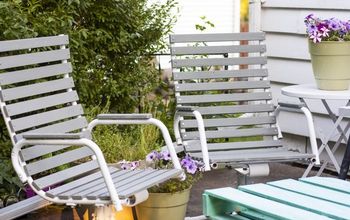
Hometalk Recommends!
First things first ....
Come with a vision.
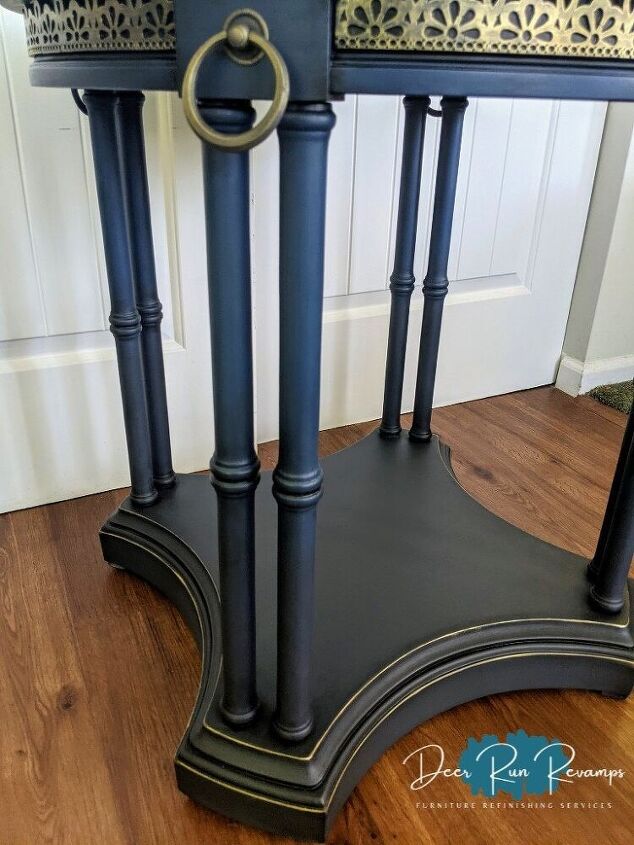
For this piece, I wanted the top to be wood and paint the base with 2 different shades of navy and add gold accents.
Prep is very important. If there's dirt, grease, furniture polish ECT on the surface, the paint won't adhere correctly and your finish will scratch.
Clean the piece really well with a degreaser, then wipe with plain water. Scuff sand everywhere you'll be painting with 220 grit sandpaper, wipe with water again.
I started with the wood top first....
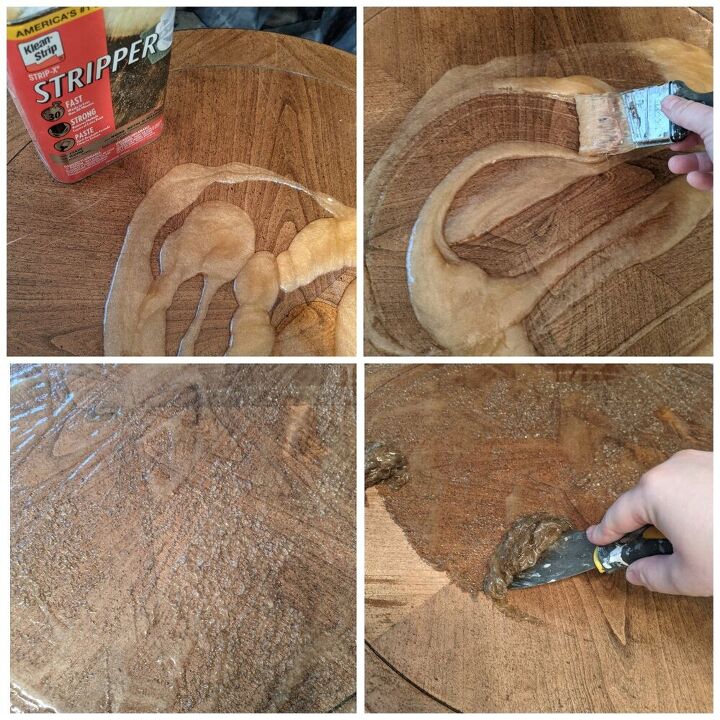
I prefer to use a stripper first before any sanding. Apply a good amount of stripper to the table top and spread it around into a thick even layer. Allow to penetrate the varnish (or whatever you're stripping off) until you see it start to look bubbly.
Then take a scraper and begin to scrape off the gunk until the entire too has been stripped.
If you have any leftover gunk, use mineral spirits to remove it.
*Tip
I find it easiest to lay an open trash bag down under or next to the piece so that I can scrape the gunk right off the edge and into the trash bag.
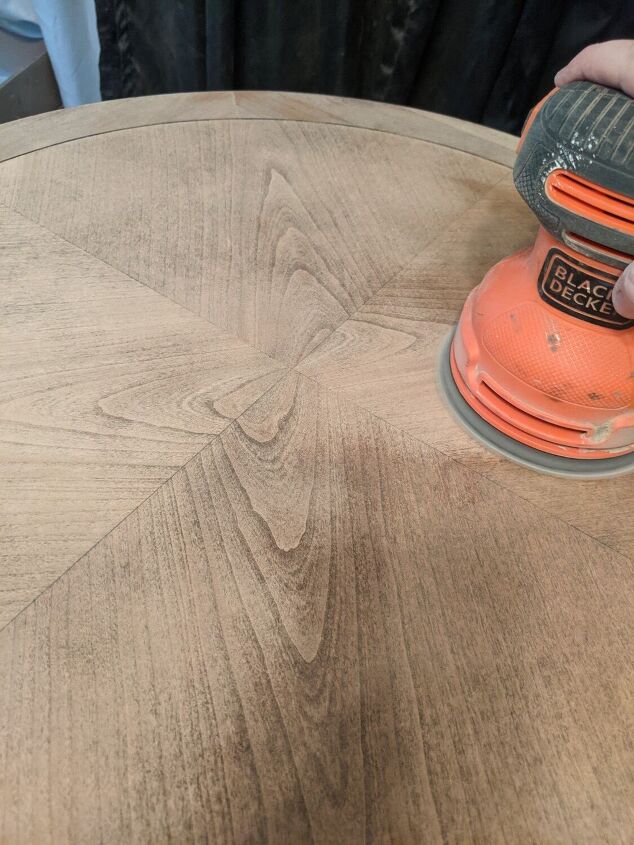
Using a random orbit sander, start with 120 grit sandpaper for solid wood, 150 grit sandpaper for veneer, and sand off all most of the stain. Then switch to 180 grit to smooth it out and remove any remaining stain. Finally, use 220 grit for a smooth, even, natural wood finish.
*Tip
When sanding, keep the sander flat and do not apply a lot of pressure. Allow the sander to do the job for you. When you apply pressure or use the edge of the sander, you'll likely get swirl marks or an uneven surface. So it's very important to allow the sander to do the work for you.
If sanding veneer, be extra careful to not sand through it. Don't go over the same area too many times and move quickly over edges where the veneer is it's thinnest.
Don't go over 220 grit. Doing so will close the wood grain which will cause the wood to soak up the stain unevenly.
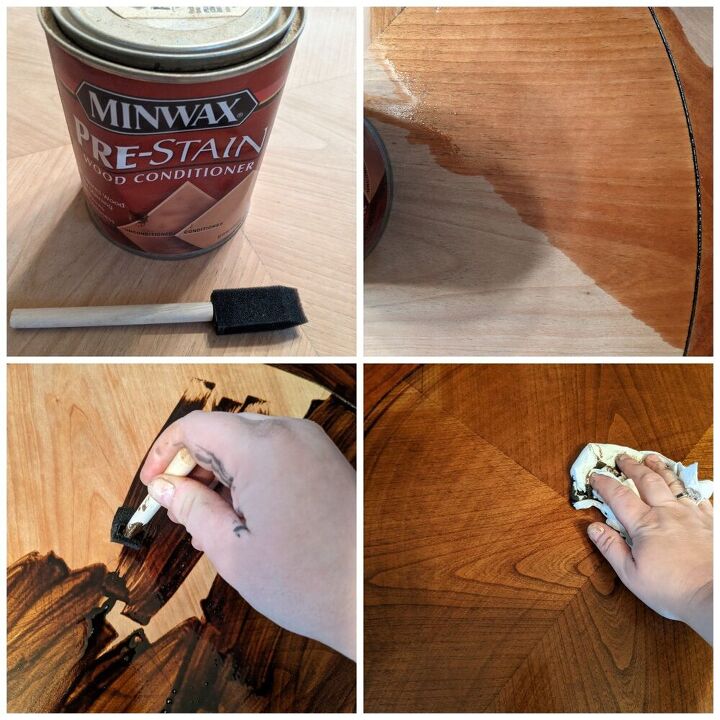
Apply a coat of prestain over the wood top. Leave for 5 minutes and then wipe away any excess.
Then apply a wood stain of your choice, immediately wiping away excess.
Now, paint the body.
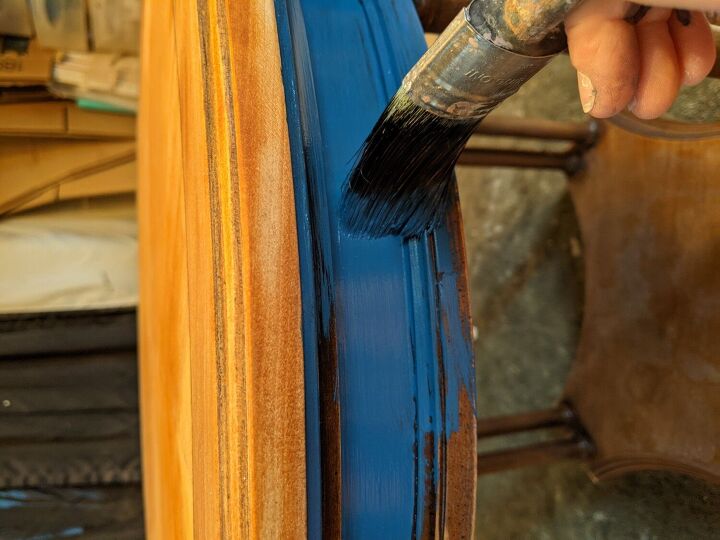
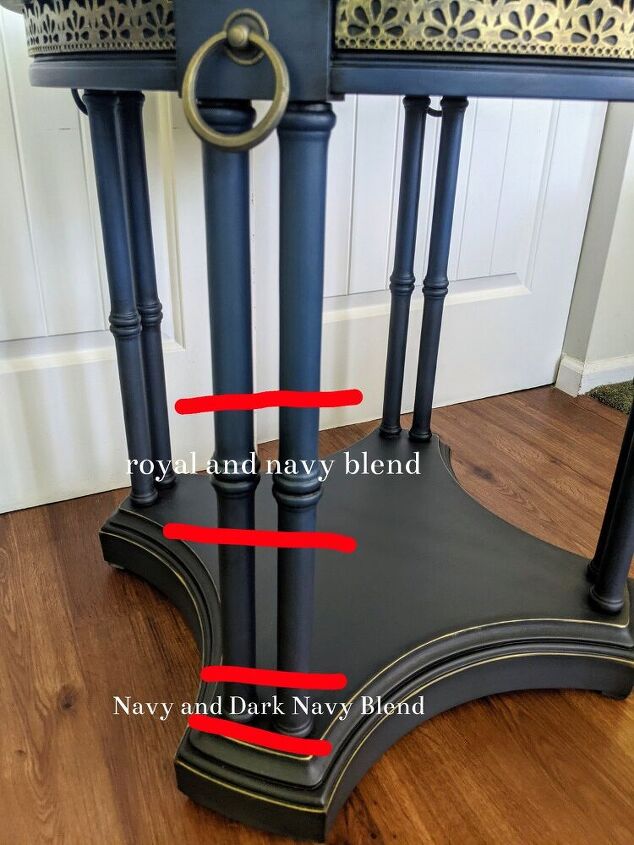
For this piece, I used 3 shades of custom mixed blues..
A royal blue for the top section, navy blue for the middle and a dark navy for the bottom. I applied one coat of each color to their sections and allowed to dry. Then applied another coat working in small sections, starting with the royal blue, then immediately applied the navy and blending the two, and immediately applying the dark navy and blending that into the navy.
*Tip
Use a water mister to help blend the colors and keep the paint wet. Mist the surface as well as the paintbrush. If you go over paint that is drying, you will leave brush marks. Always keep the paint wet and the brush gliding smoothly
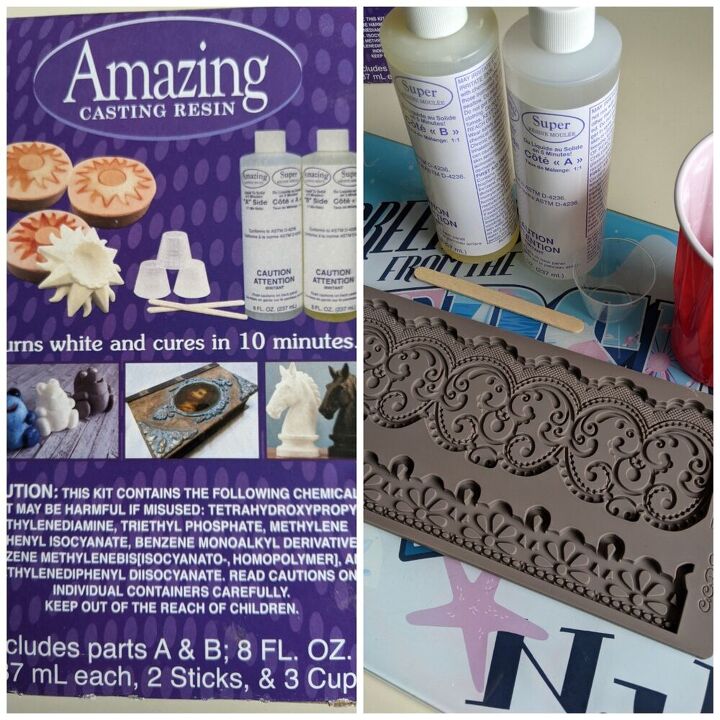
Now, make the appliques.
I used Redesign With Prima's Border Lace Decor Mould for this design, along with amazing resin that cures white in just 10 minutes.
The smaller lace design takes exactly 30ml of resin.
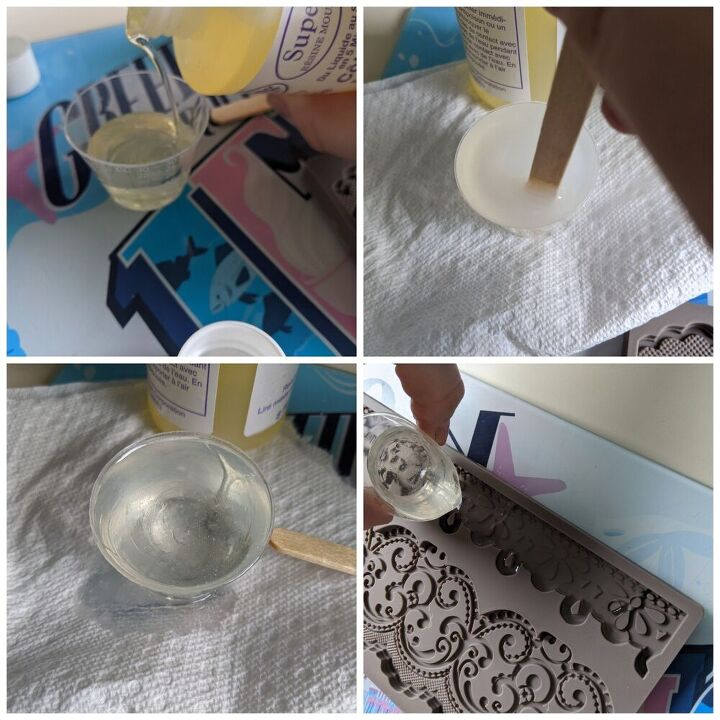
Mix equal parts of part A & B in the 30ml mixing cup included in your amazing resin package, or use a larger cup that you can throw away.
When you first add both parts, the resin will be cloudy and yellow. Mix until completely clear. Then pour into the silicone mould

You can see how it begins to turn white as it cures. Once you can separate an edge form the silicone mould, remove it from the mould. You want it to still be pliable when working curved surfaces, so don't let it cure for too long before attaching it to the piece.
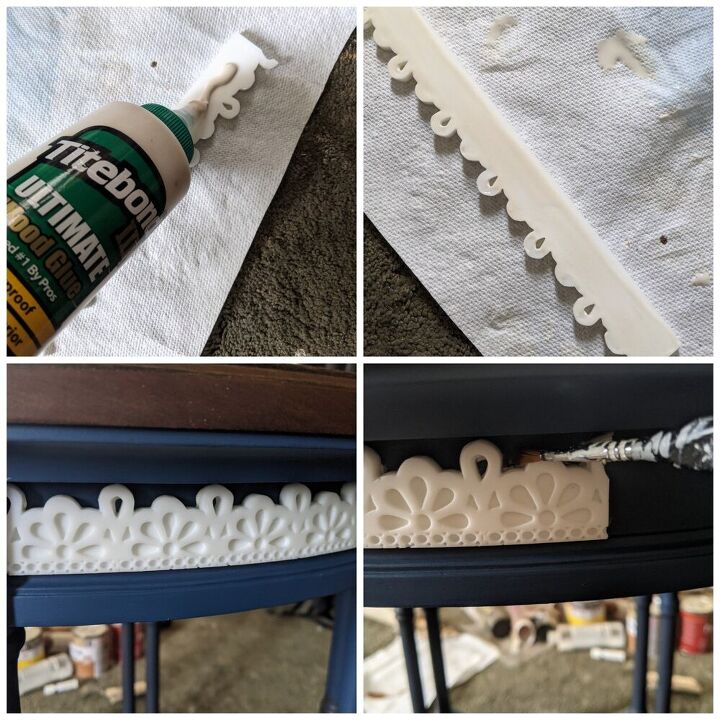
Apply wood glue to the back of the applique and spread it around evenly. Then press it down onto the surface. If it slides off, apply a piece of painters tape over it to hold it in place. If glue oozes out the edges, use a paintbrush to brush it off.
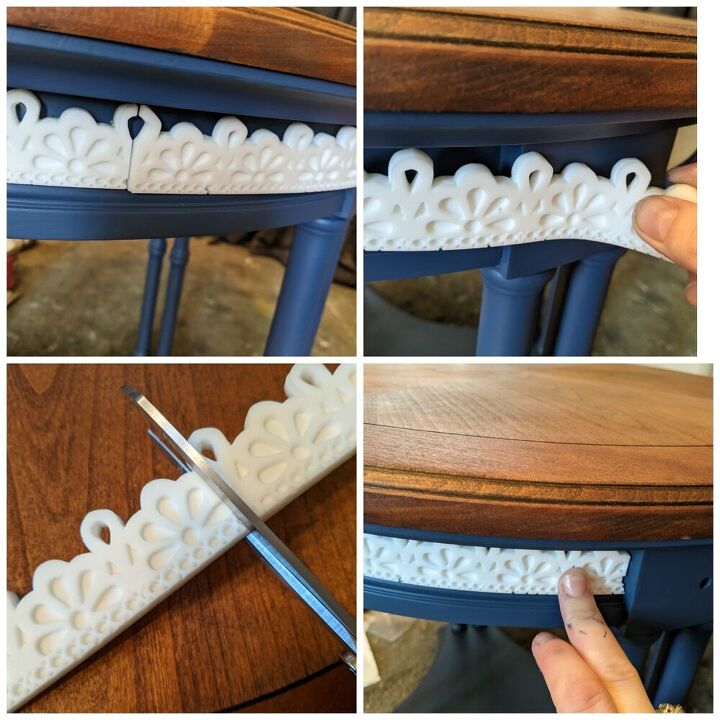
I do all four sides with the one full piece of applique. Then for the second piece, I needed to cut the applique down so that it would fit in the space.
I measured where the applique needed to be cut, and using a sharp pair of scissors, it cut easily. Then attach just as before.
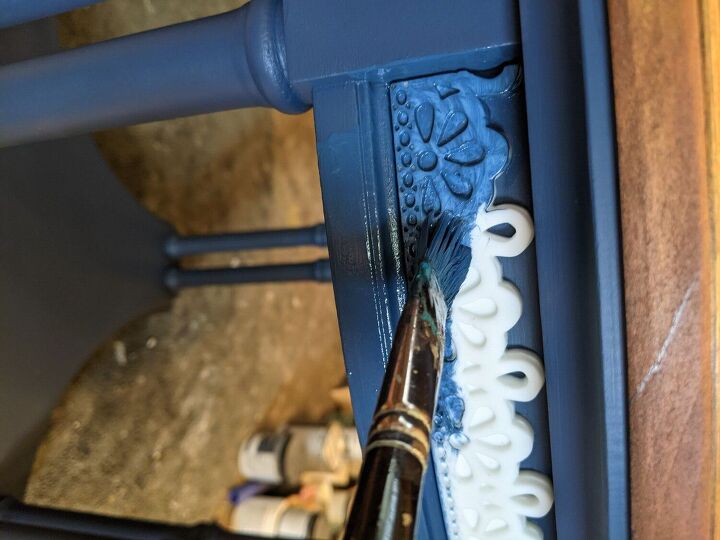
Paint the appliques with the royal blue. It will take a few coats to cover the white
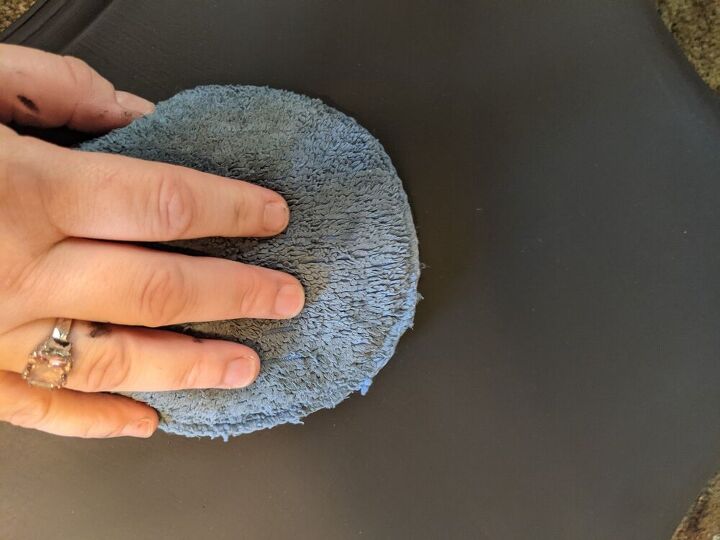
I then applied a layer of clear wax over the entire painted body using car wax sponges from Amazon.
I used CrystaLac premium topcoat in satin and a foam sponge to seal the wood top.
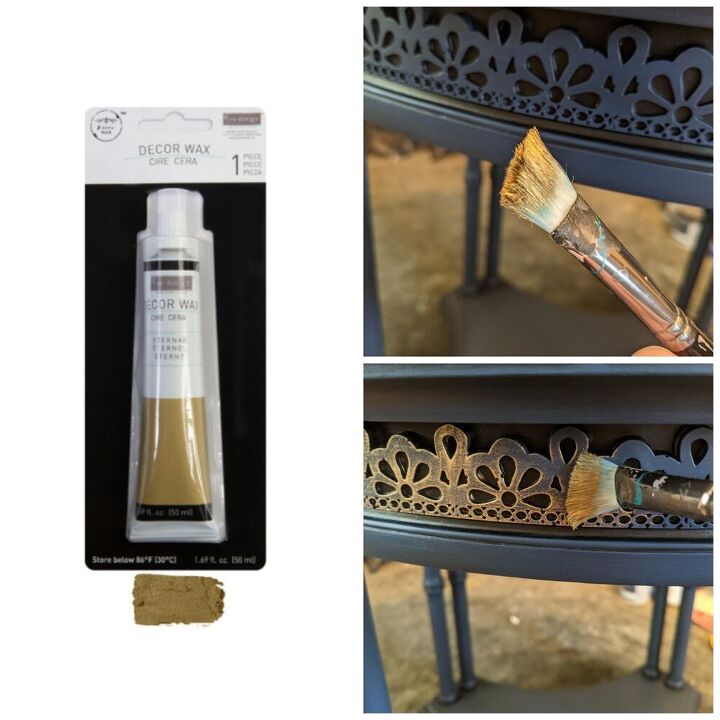
I then applied a light coat of Redesign With Prima's Eternal Decor Wax over the appliques.
I also put a very small dab of the decor wax on my finger and ran it across the edges of the bottom
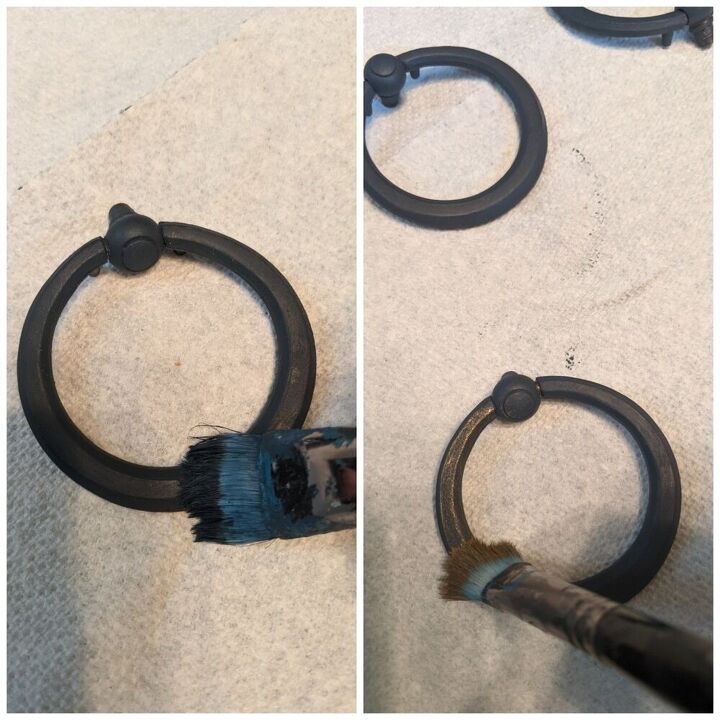
I painted the ring pulls in the navy color, applied a coat of clear wax, and then dusted them with Eternal Decor Wax.
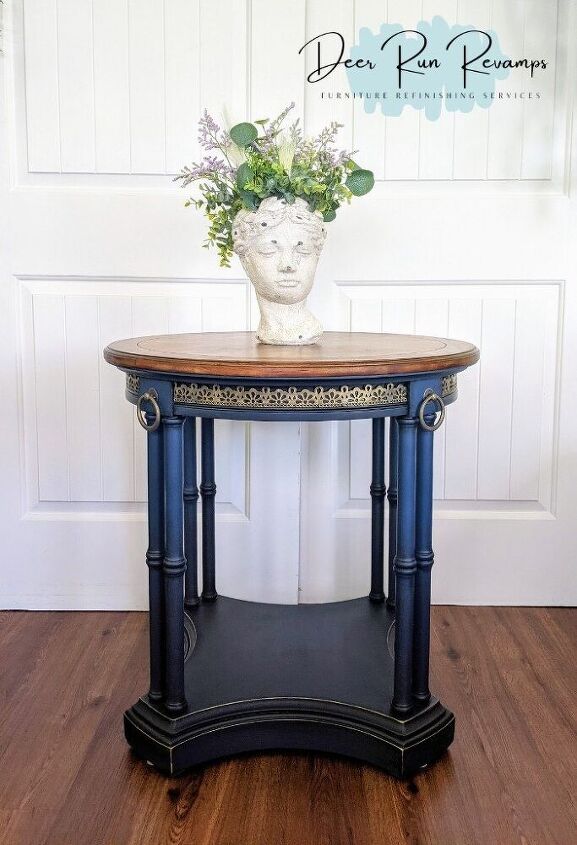
Now, sit back and enjoy the piece that you created ♥️
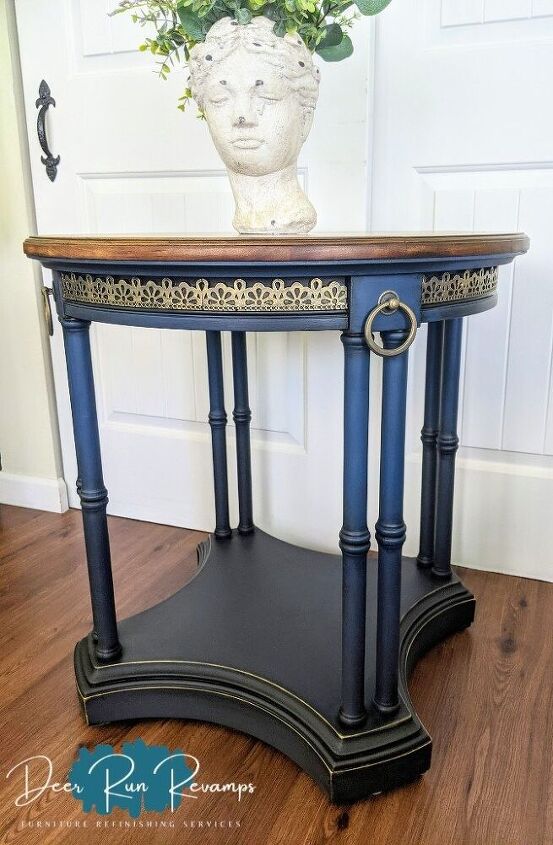
The appliques really add a focal point to the piece
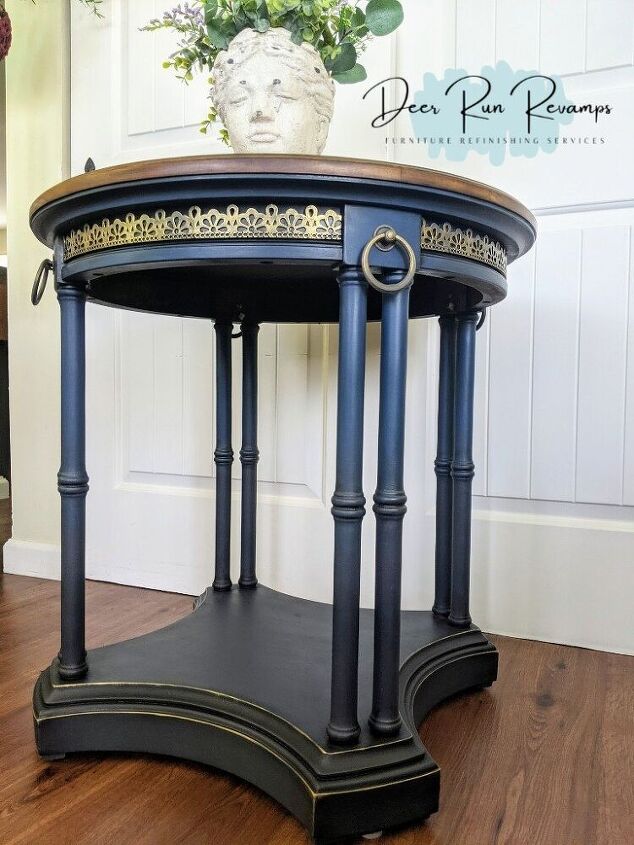
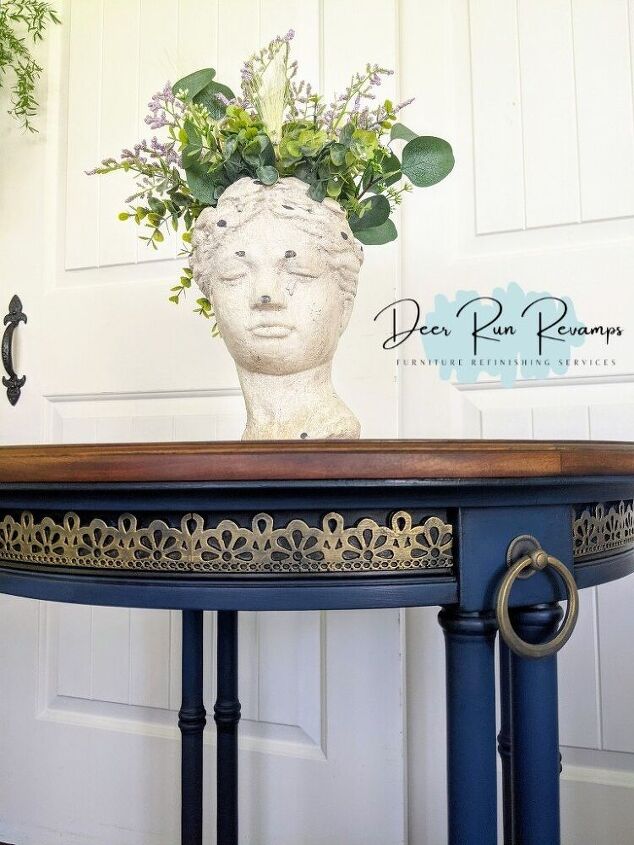
Navy blue and gold is one of my favorite combinations

You can find Redesign With Prima products including the Border Lace mold used in this project, Cling On paintbrushes (my absolute favorite), Chalk Paints, Retique It Liquid Wood and so much more in our Etsy shop

I hope you've enjoyed this tutorial ♥️
If you'd like to follow me and be the first to see the pieces that I create, visit my Facebook page
Resources for this project:
See all materials


Comments
Join the conversation
-
Just gorgeous!
-
Breathtaking. The ideas are flowing. Thank you!


Frequently asked questions
Have a question about this project?
Absolutely gorgeous!