


Newbie DIY Subway Tile Backsplash

Well, here's to new adventures!  I have always been intimidated by tiling - I've never used any of the tools, have never worked with the materials and have definitely never attempted a tiling project. But, with the kitchen renovation, I took a deep breath and dove right into installing a tile backsplash! And you know what? It wasn't that bad. I messed up a lot of tiles, but it turned out fabulous and I really love the way it looks... even with the existing back splash from the counter tops. Just before I took on this project, I wrapped up my counter top refinishing project, leaving my counters a nice white color. In an ideal world, I would have replaced my counter tops completely, eliminating the back splash that came with the existing counters. However, my bank account does not live in an ideal world just yet. So, my solution was to choose something that would hopefully blend in with the counter tops, bringing the eye up away from that lip and to the clean tiles above it. Once you've seen the after pictures, you tell me - do you think it worked? First up, I had to tackle the situation of my walls. You need a flat surface for the tile adhesive to go onto, so I had to work with my break down texture (sort of like orange peel). At first, I attempted to sand my walls down. I QUICKLY changed my mind on that when a 1 square foot area coated my entire house in dust. I am not really a fan of huge prep work, so I opted to learn how to skim coat instead!

The first step was to prime the walls with, ideally, a drywall primer - I used an all purpose primer and it seemed to work just fine.
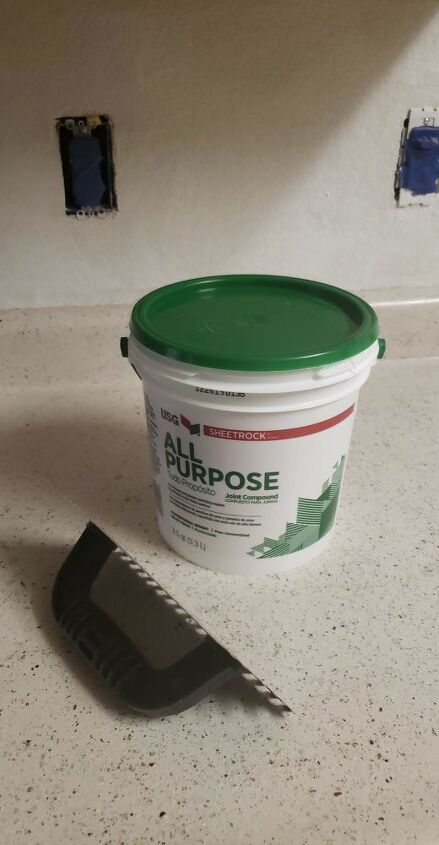
Once your walls are primed, you can move into the preparation of the drywall joint compound for your skim coating! I added some water to thin it out and mixed it up with a nice drill attachment (like a whisk!). From there, I was able to roll it onto the wall and use a squeegee to pass over it a few times and create a flat surface.I will have to write a separate article for skim coating so watch for that! It's really pretty easy to tackle as well!
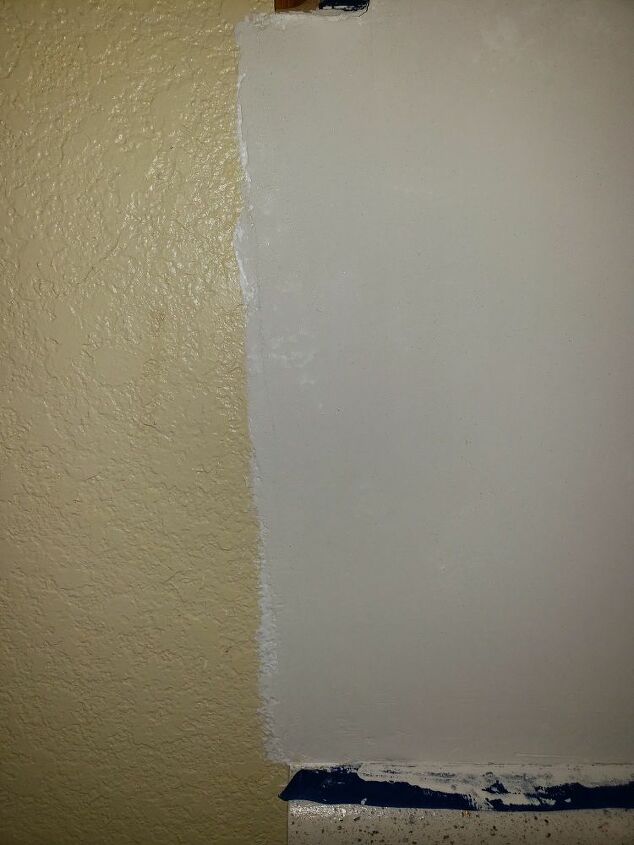
You can see the difference between the textured side and the skim coated side.Now that you have prepped your wall, you are ready to move on with your tile work!

There are two items I would HIGHLY recommend getting for this project - a wet tile saw and tile clippers. This tile saw made awkward outlet cuts a breeze compared to a tile snapper setup!I have never used one of these, so to see a blade with no teeth was wild. But, I just followed the assembly instructions to the tee and cut a few tiles to get me more familiar with how it works and I felt pretty comfortable with it.
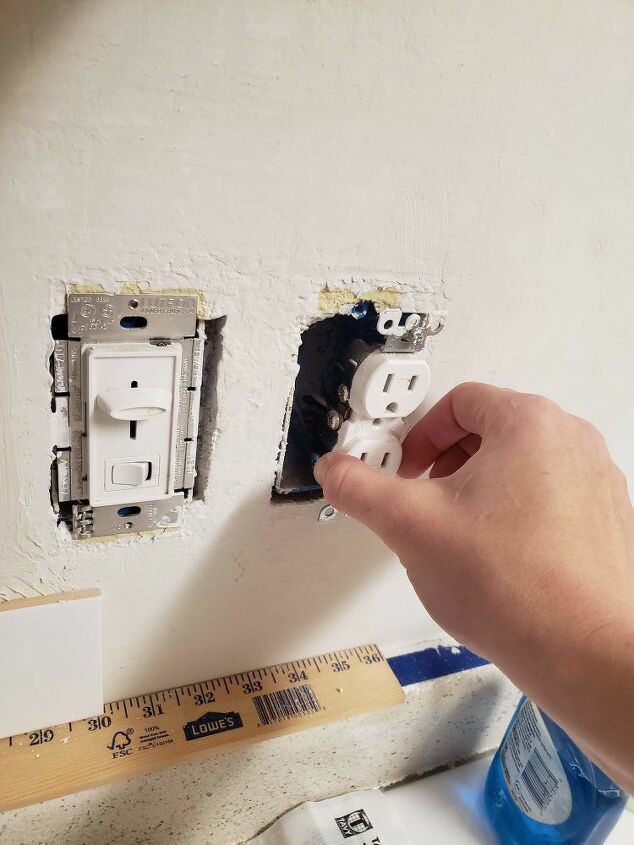
Step 1: Prepare your work area.Turn the power off to any outlets you have on the wall you will be tiling and remove the outlet covers. Take a screwdriver and unscrew the actual outlet boxes - they will need to be moved forward so that the outlet covers can be set on top of the tiles. Any light switches will also need to be moved forward.

Step 2: Pick one side to start on and decide how you are going to start/end your edges.I started on the left and made my way right across the wall. On the edges, I chose to go with trim pieces that "boxed" in the subway tile. For that, I needed to go with a mitered corner - which just means an angled cut. In this case, 45 degrees.Step 3: Cut your trim - if you are using trim.I used the tile saw, which came with a handy angle guide. I set it up at 45 degrees and cut my angles first, making sure they lined up nicely at the corner.After your corner is nicely cut and lined up, you can use a measuring tape to measure out the remaining trim pieces needed.
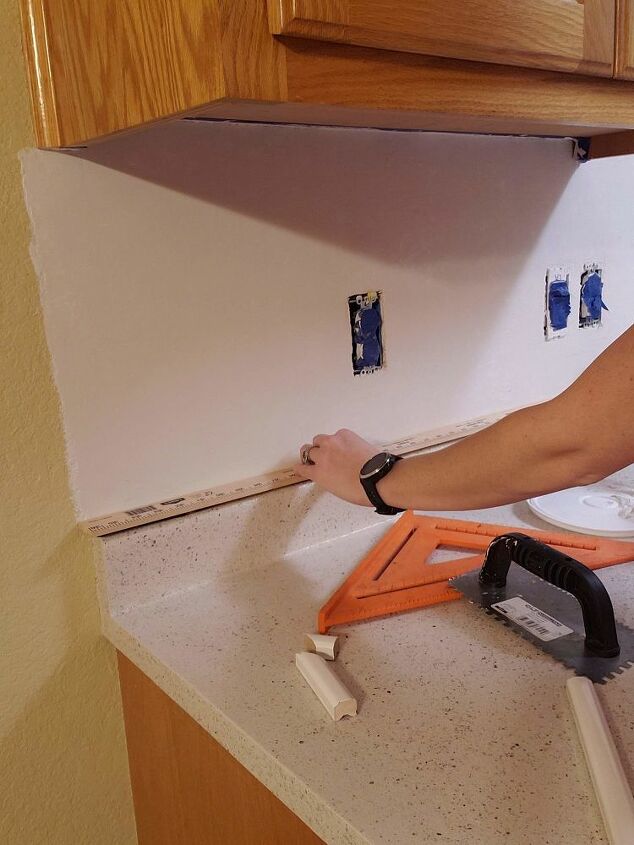
Step 4: Prepare to install.I used a yard stick running alongside the bottom to provide the spacing needed (I will end up caulking that space with caulk that matches the grout color).Step 5: Apply your tile adhesive and get started with the trim.I started at the yard stick and made my way up. For these pieces at the edge, I applied the tile adhesive with the trowel directly on to the trim pieces and stuck them on the wall, using a long level to make sure it was straight with both the lower and upper cabinet edges.Once your trim is in place, you can start moving left to right with the subway tiles.
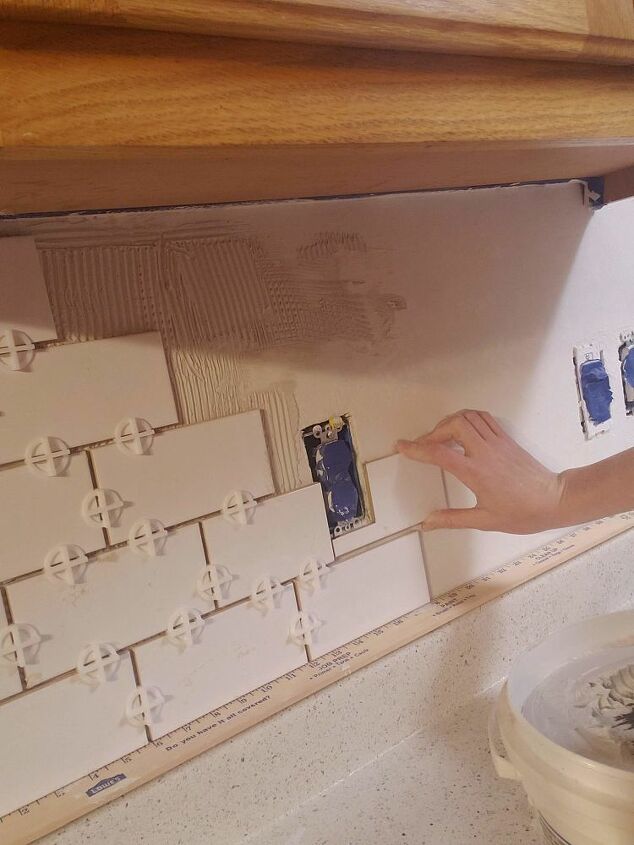
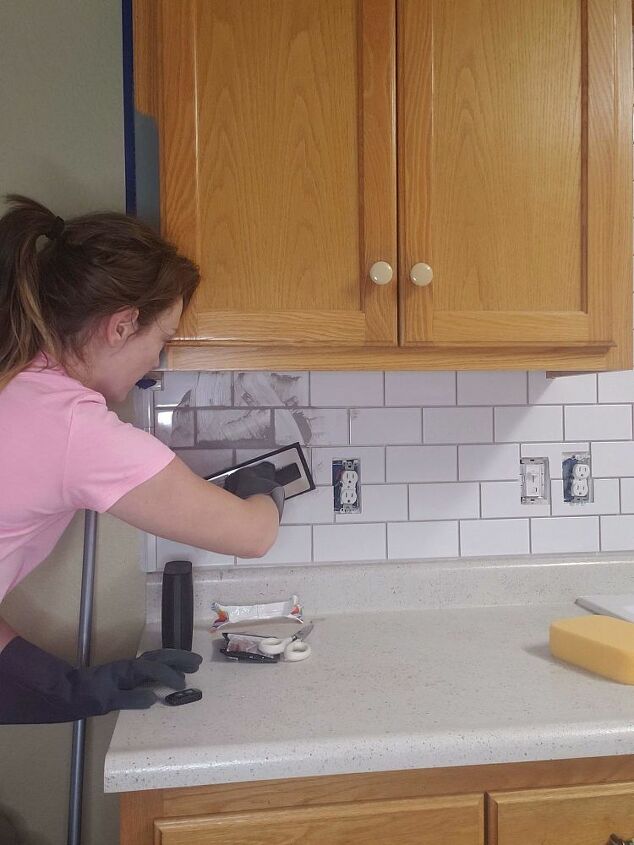
Step 6: Cut some subway tiles in half for the starting edge.I cut several tiles in half so that I could start a solid column of tile and work my way to the right. The tile setting I went with is the traditional subway tile pattern - each new row has the tiles meeting at the halfway point of the tiles on the row below them.After each tile placement, I inserted about 3 spacers (on average) - one on the vertical line and two on the horizontal line. The spacers I used also helped to keep the tiles flush with each other upon application! Thanks for the tip, Lowe's!Step 7: Cut the tiles to fit around your outlets.You will want to keep your pattern straight, continuing the full tile look. So, sometimes it requires some special cuts on more than one tile. If you have to cut an entire hole out of one tile, use the tile saw to make a series of straight cuts through the section that will be going away. Then, use your tile clipper to carefully clip away those small strips, leaving you with a perfect outlet hole!I always aimed for where the wall was ending at each outlet to plan the cuts and marked that line with a permanent marker. With the tile glaze, permanent marker wipes right off!
First mark your cut lines (I put an x on the piece I didn't want anymore).

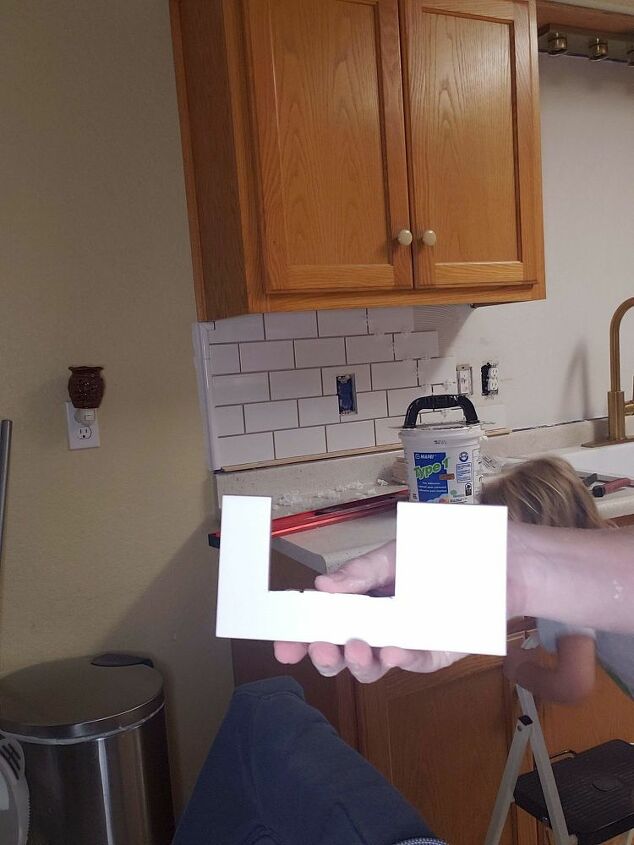
Clip out the small strips.
Voila!
While you dry fit the tiles into that outlet area, you can always use the cover to test the fit and coverage.
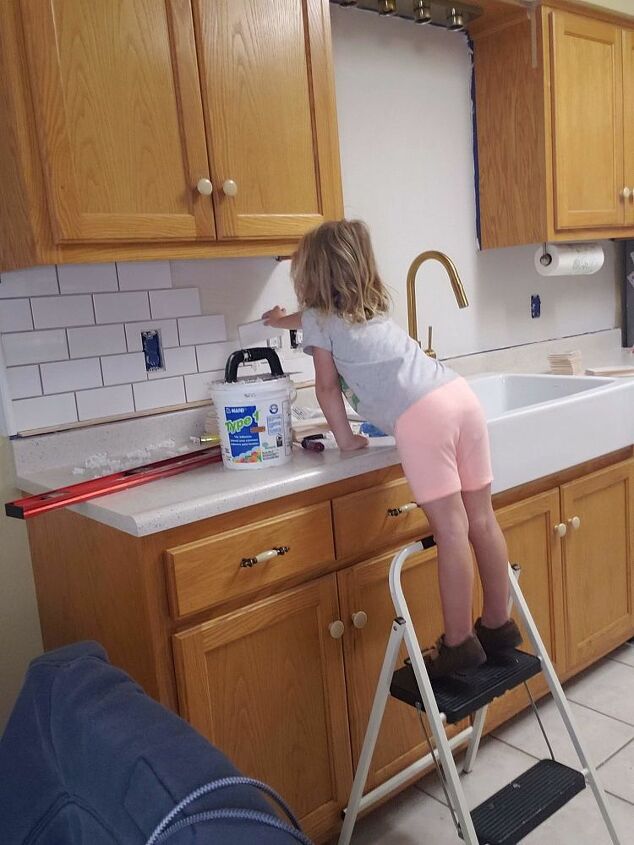
And yes, she did learn how to tile that weekend! At least parts of it - despite multiple requests I didn't let her use my tile saw - but she was able to observe! 
As you get to tiling around the cabinets, just use your permanent marker to help mark where the cuts need to be and it will help keep that alignment straight.When you get to your finishing edge, follow the same steps you did for the starting trim. Ensure your trim piece ends where your cabinets end (unless you are going for something completely different).
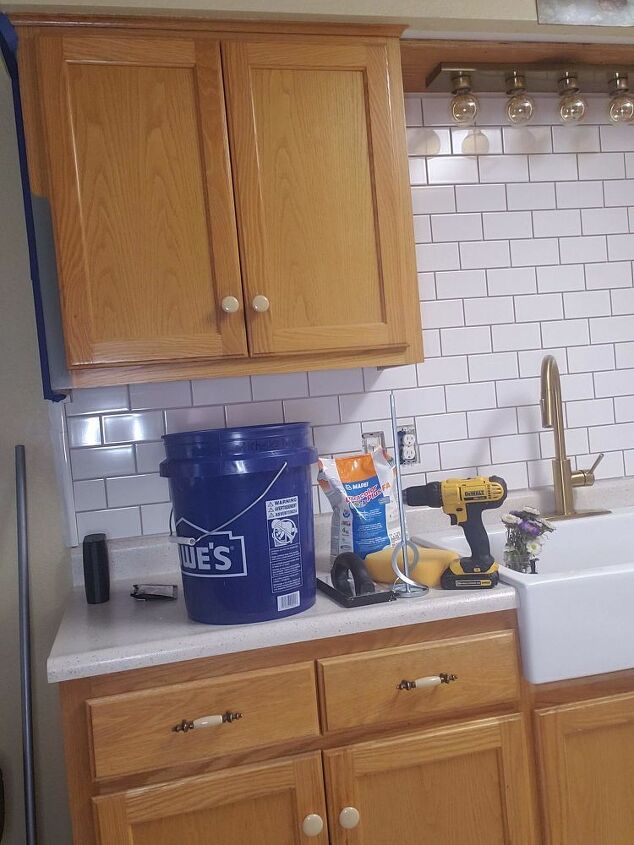
Step 8: Let Tiles Set and Start to GroutAllow 24-48 hours for the tiles to set into the adhesive. For this step, you will need a mixing bucket, grout mix, a tile sponge and a tile float - the tool you use to spread the grout.I mixed about half of the bag for the first side of the kitchen. Following the instructions on the bag, I mixed it with my drill attachment and started to spread it onto the tile.
You apply with the tile float flat at first, pushing the grout into the cracks at a 45 degree angle. Then, you scrape the excess away at that 45 degree angle again. For tiny cracks that you can't get to easily with that float, I used my fingers (with gloves on) and then smoothed it down with the float if possible.Finally, you follow it up with the damp tile sponge (wring it out so you don't have it dripping down your wall).
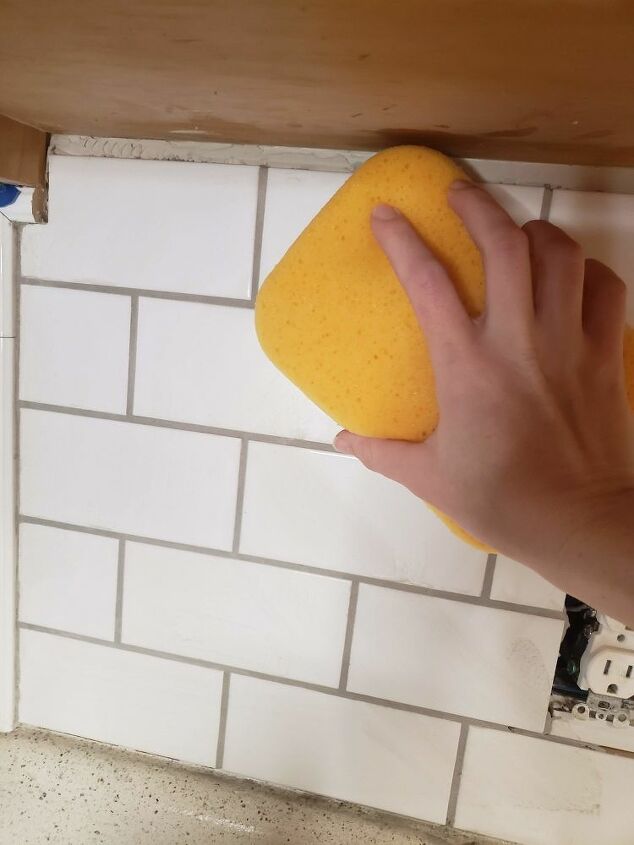
This part is extremely messy! But it was thoroughly enjoyable to see the sponge leaving perfect little grout lines in its path.
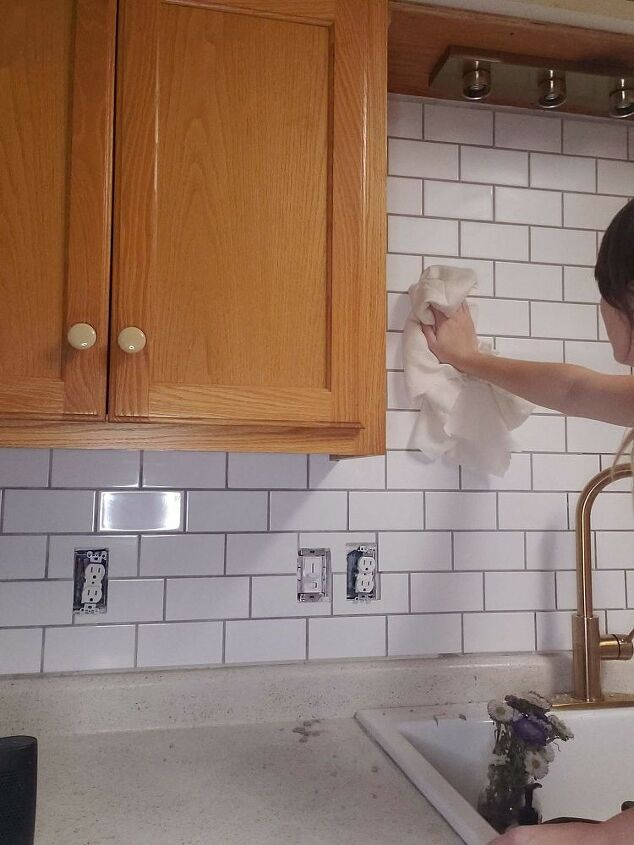
The final step after your sponge work is to use a cloth to remove the haze that is left over from the sponge.
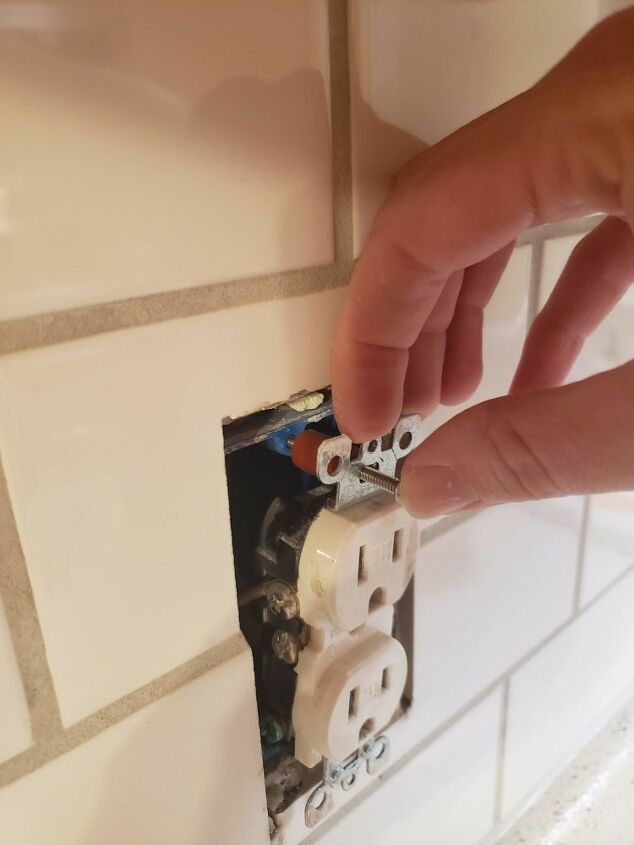
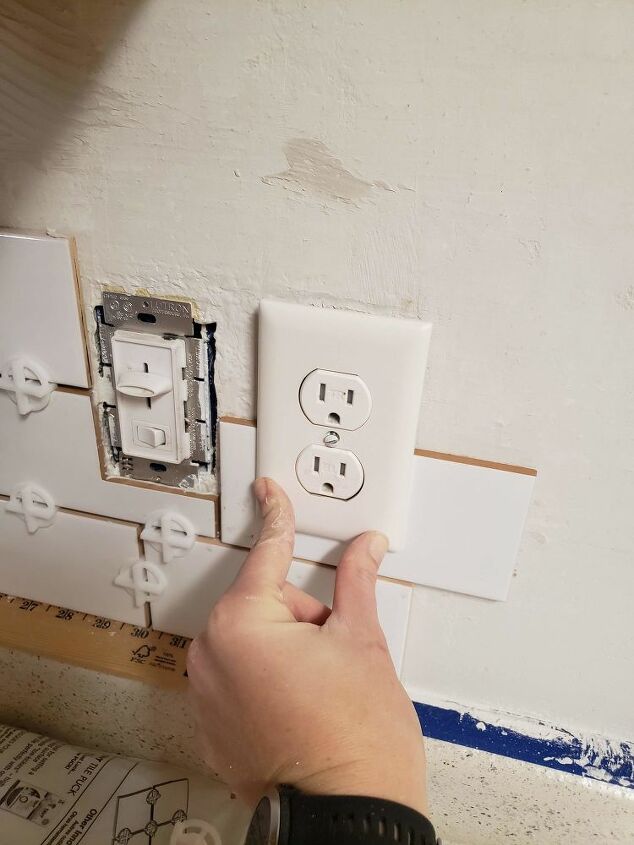
Finally you are on to the last few steps! I bought inexpensive outlet spacers on Amazon and cut them with my scissors to bring the outlet boxes out flush with the tile (turn off your power here). It comes with longer screws as well, so it was really easy to put them back into place. The screw goes through the outlet face (wings?) and into the spacer before going into the blue box.
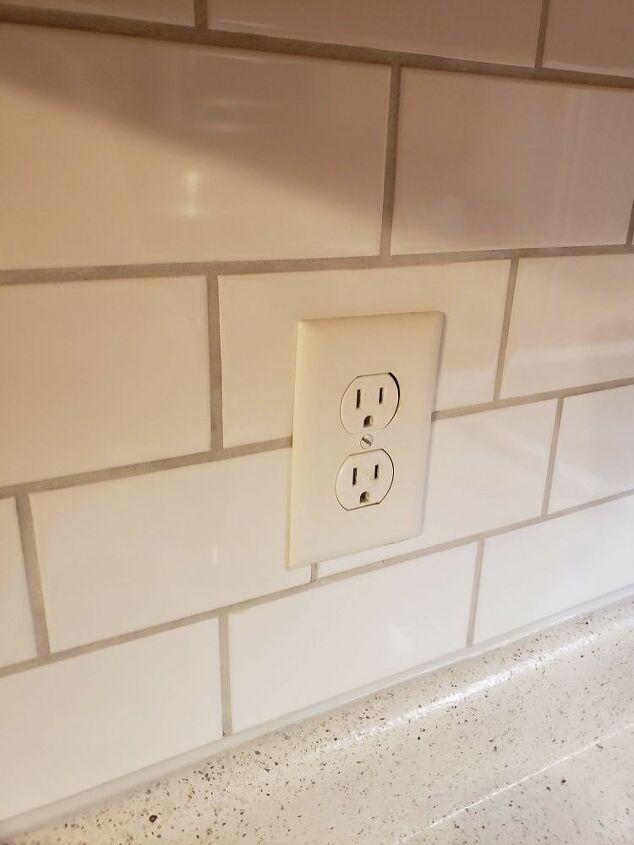
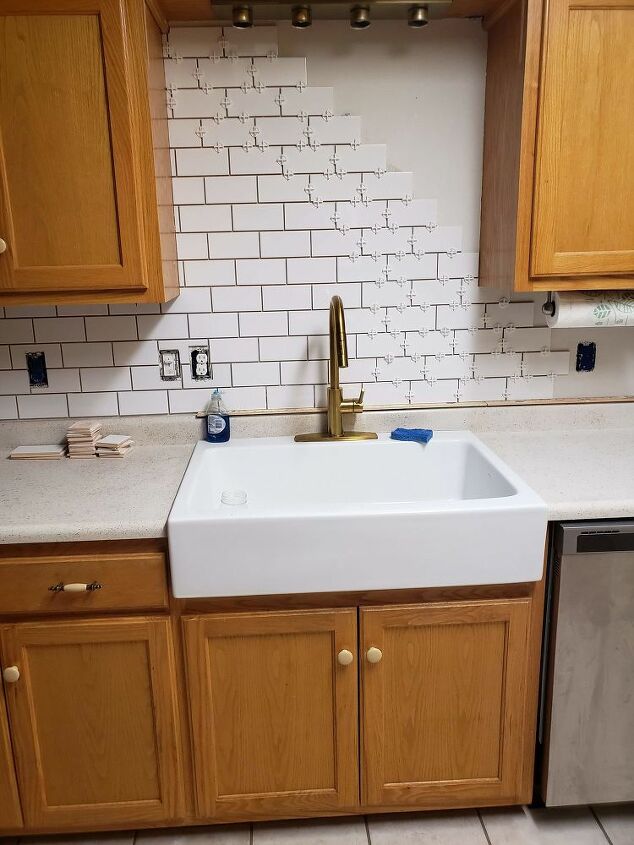
It leaves your outlet covers sitting nicely on top of the tile!The final step is to caulk the bottom of your tile - there was a space where the yard stick had been. They sell caulk that is the exact same color of your grout in the tiling area. This picture shows the grout still wet, so it is slightly darker than how it turned out in the end.
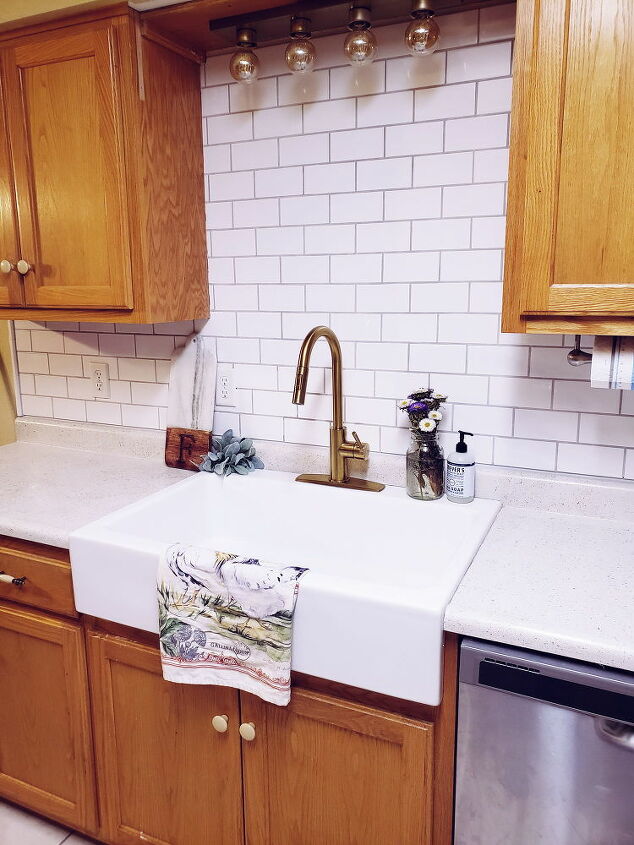
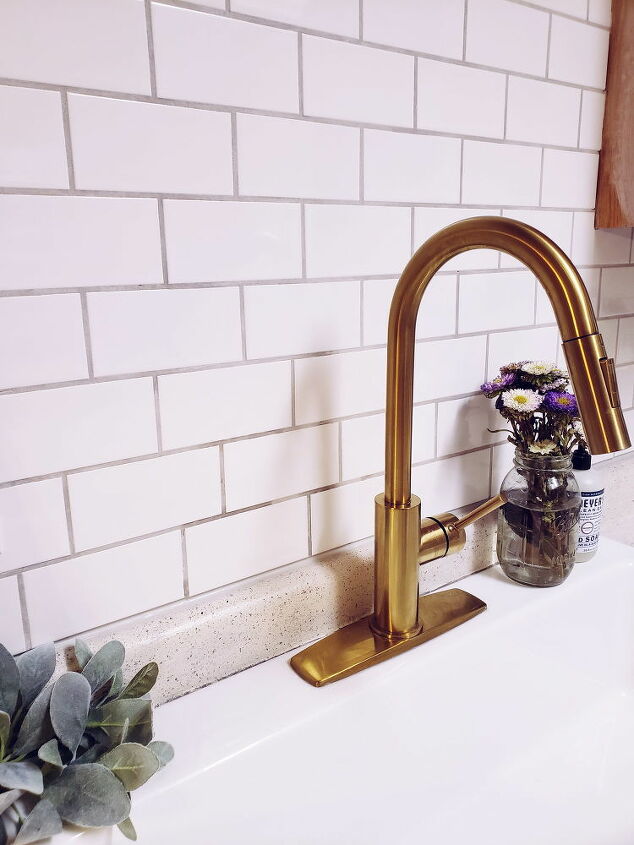
I am so happy with how it turned out! It has completely brightened up our kitchen and taken it to the next LEVEL! How much do you think it would have cost to hire someone to do this for me?
Resources for this project:
See all materials


Comments
Join the conversation
-
It looks great! Kudos to you!
-
Enjoy the little things!


Frequently asked questions
Have a question about this project?
Where did you purchase the subway tiles
What did you use to cut the tiles?
Do you know where I might RENT a wet tile saw?
I do have a tile cutter, but the tiling I'm looking at now will need some right angle cuts