


Making Pillow Shams
How hard can it be to make pillow shams? Being an eternal optimist, I decided to tackle this project myself. The goal was to make two 24" pillow shams. I don't sew a lot but know how use a sewing machine. I've never made pillow shams before.
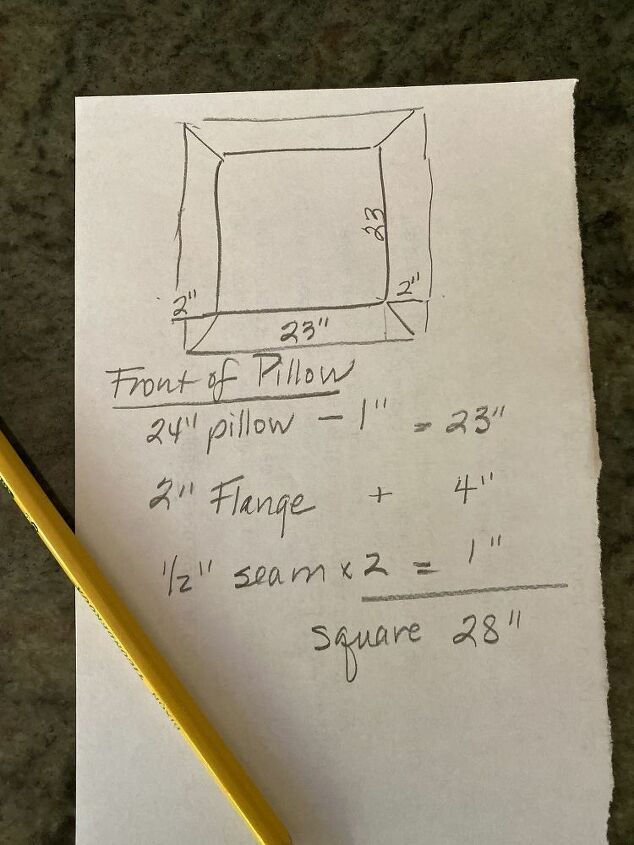
First, I sketched the dimensions, allowing for a 2" flange and a 1/2" seam allowance. In order to get a plump look, I reduced the actual center measurement by 1". I laid out my fabric and began cutting.
Typically I don't buy expensive fabric, but I had loved this one so much I decided it was worth it. After receiving a sample in the mail, I purchased 3 yards of Blue Radish linen by Sarah Richardson.
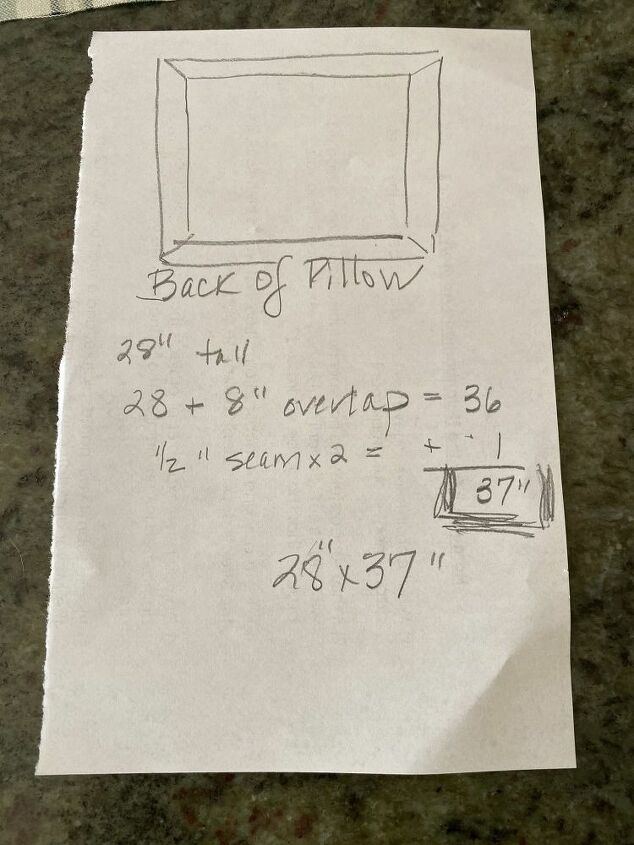
In determining the back dimensions, I was surprised to learn that due to the width of the fabric, I didn't have enough. I could have jury rigged it by cutting and sewing smaller pieces together, however, I didn't want to do that to this expensive fabric.
Fortunately I found a blue striped fabric that was leftover from another project and made the back of the pillows out of that. However, the weight and thickness were less than the Blue Radish linen.
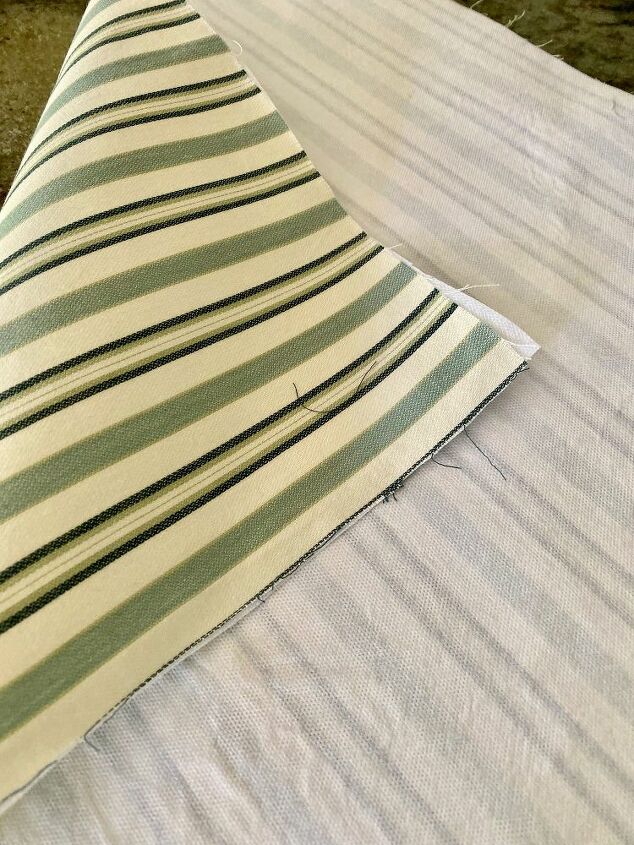
This problem was solved by adding a fusible interfacing to the back of the striped fabric. It ironed on easily and then I cut it to the proper dimensions. I was pleased with the additional weight it provided.
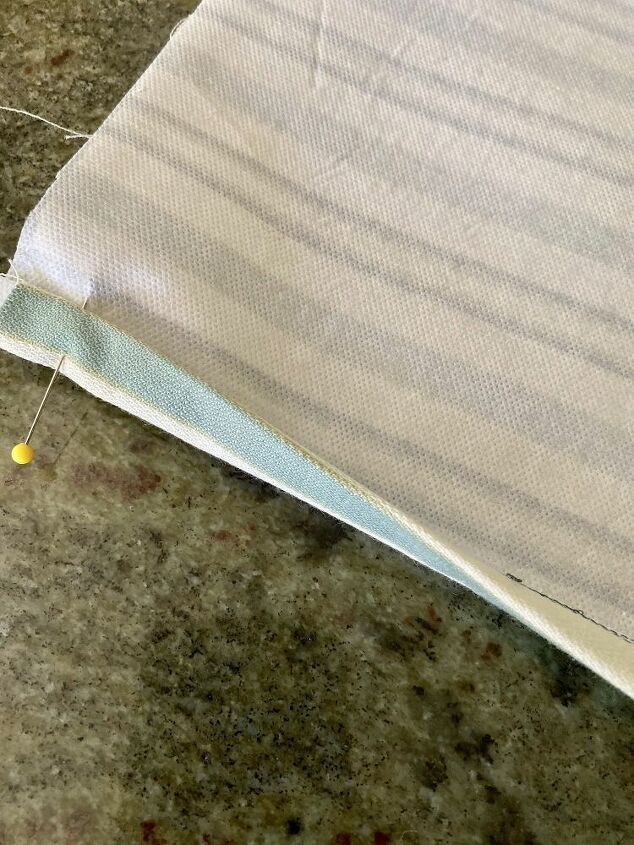
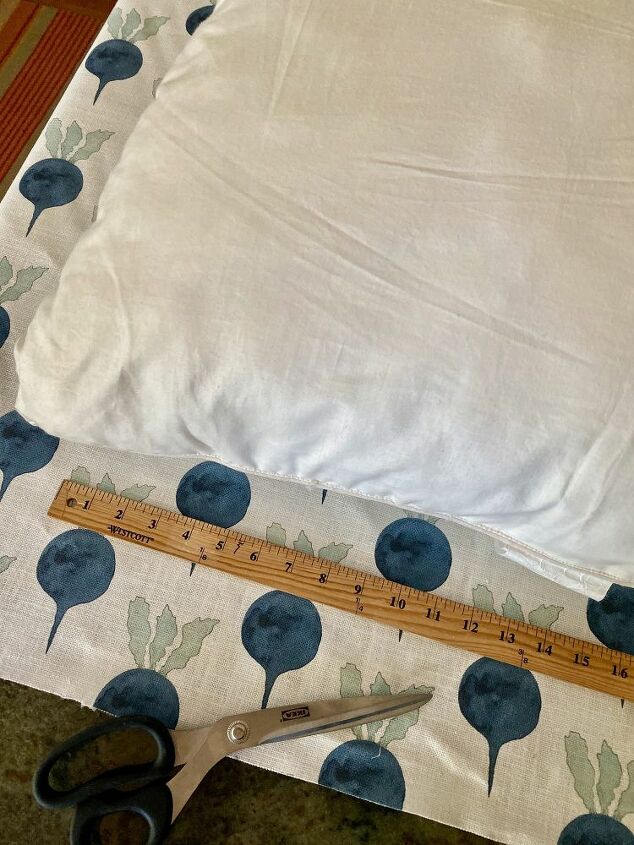
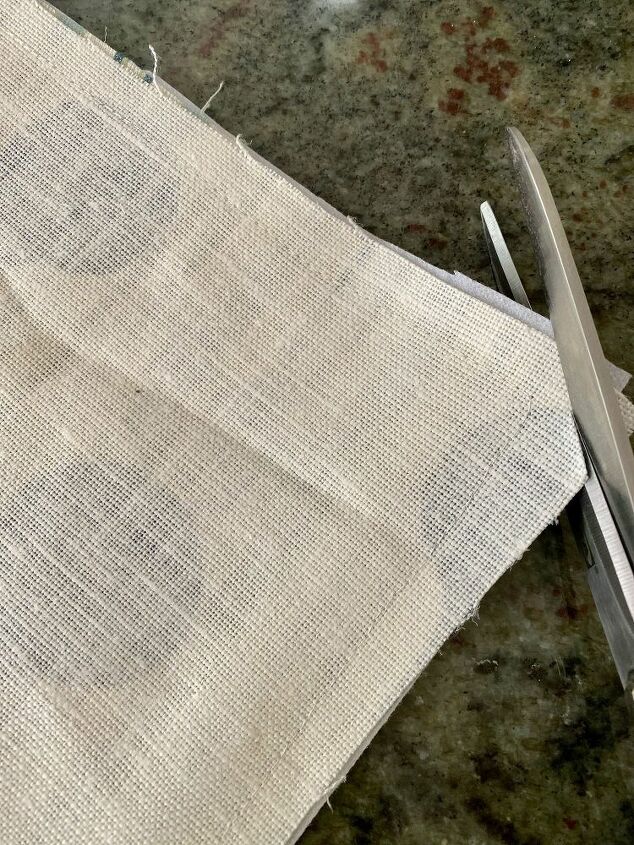
Since the back of the sham has overlapping panels to allow stuffing the pillow inside, I rolled the edge of the striped fabric once and then again and pinned it.
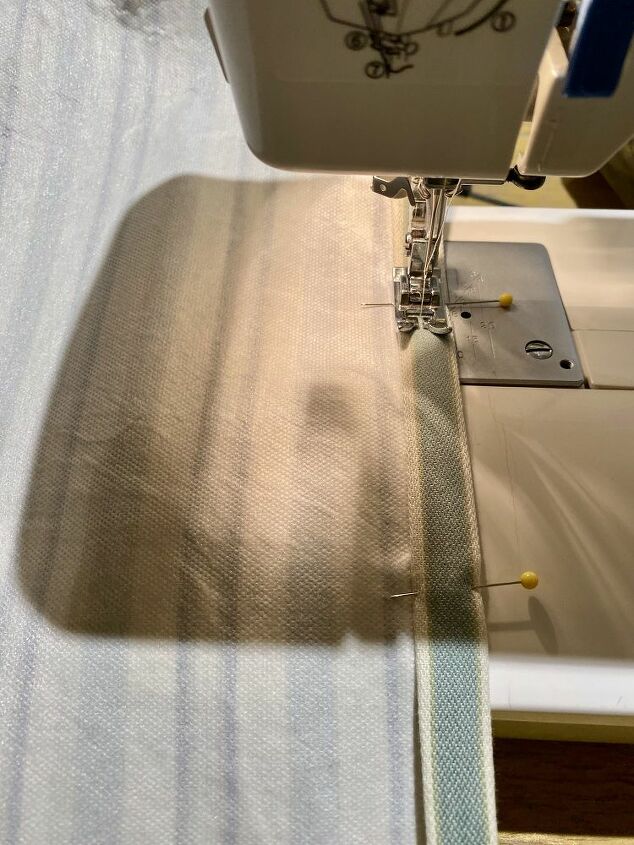
A quick and easy straight stitch finished the edges on both back overlapping panels.
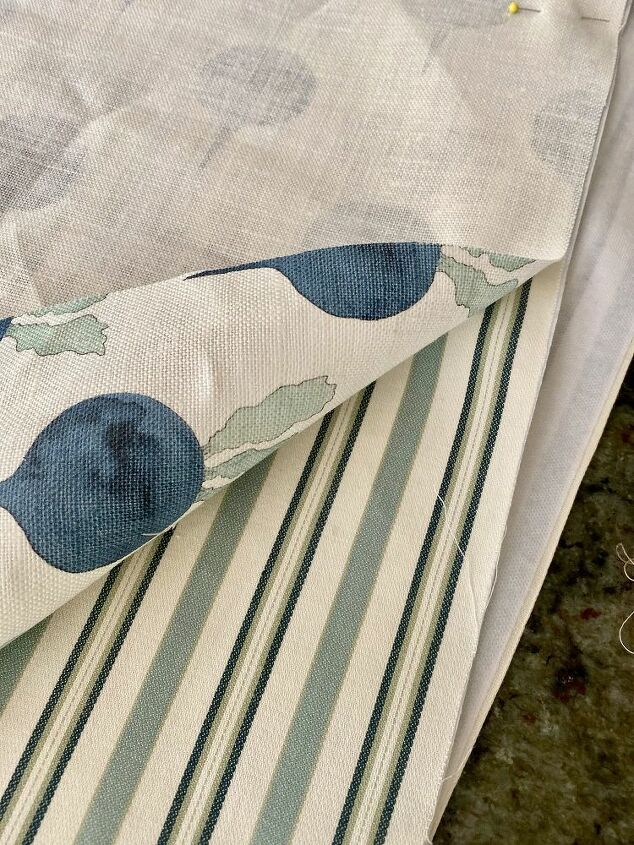
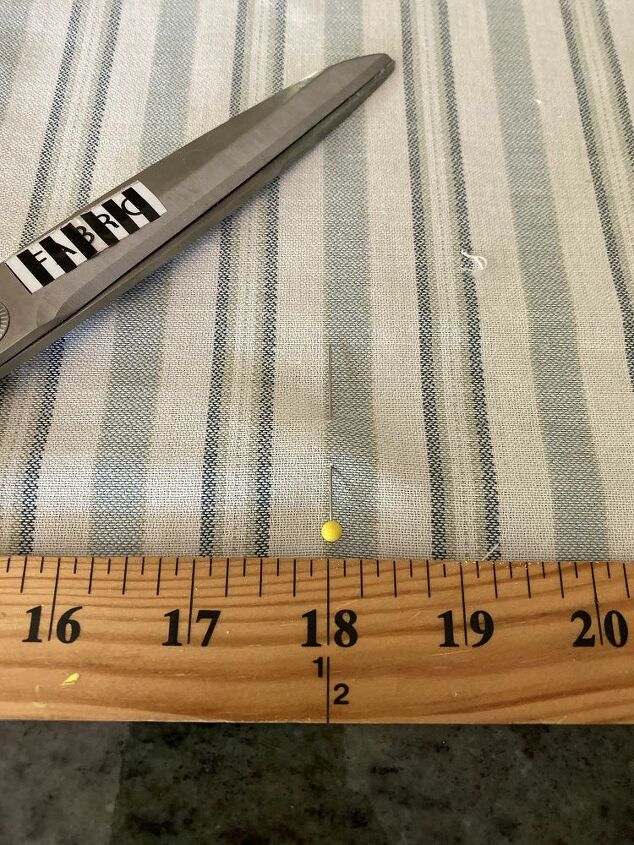
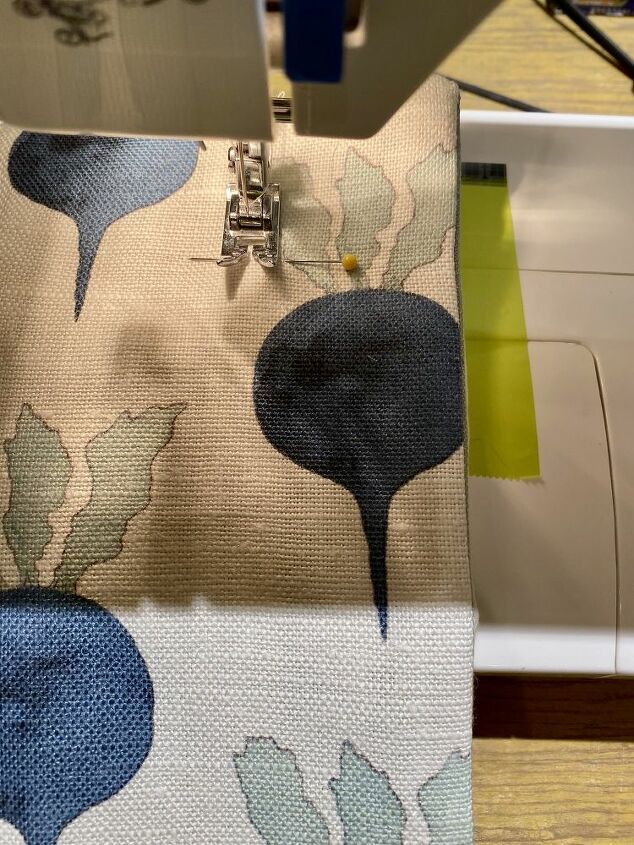
After laying the right sides of the fabric together, I secured it with pins. All four sides were stitched 1/2" from the edge.
With scissors, I clipped the corners and turned the pillow sham inside out. This technique makes for nice sharp corners.
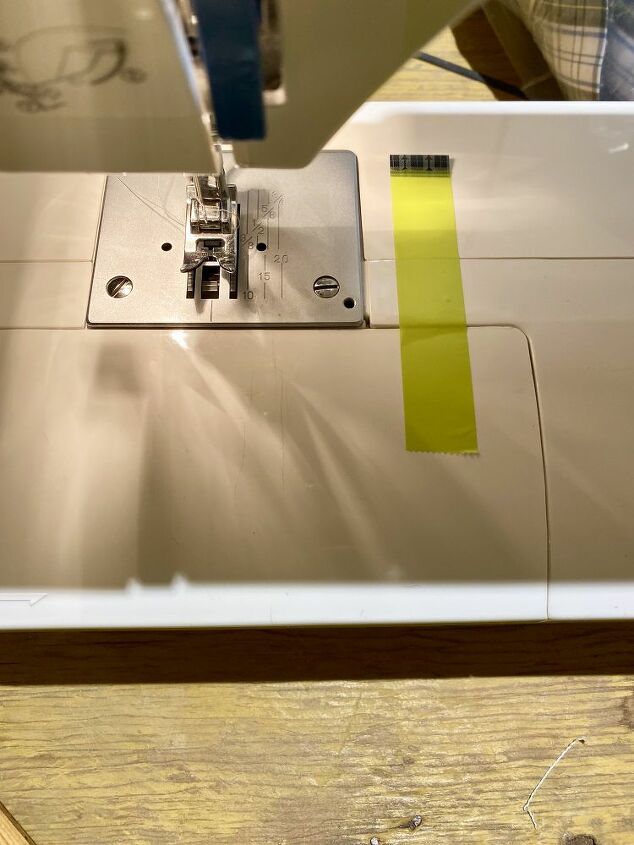
In making my 2" flange, I used a colorful tape (Scotch Expressions) as a guideline, measuring 2" from the sewing machine needle.
I continued to sew all four sides of the sham, laying the edge of the fabric along the tape line. I did pin the front of the sham to the back of the sham, so the fabric wouldn't slip while I was sewing the flange. Iron the pillow shams if needed.

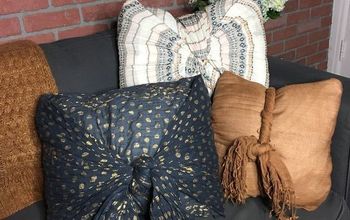
Here is how the front of the pillow looks.
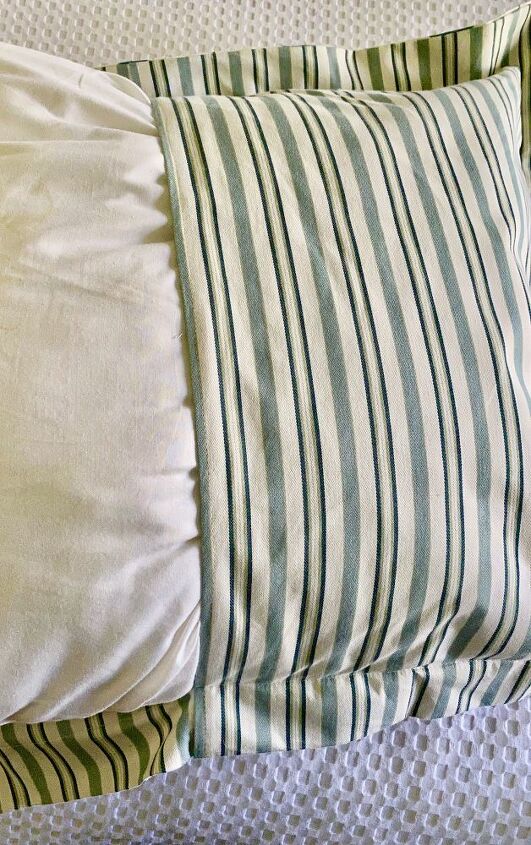
The back of the pillow has a generous opening for your pillow form. Since the fabric overlaps you cannot see the pillow.

I was very pleased with the final product. Some tips: Make sure you have enough fabric. Use fabrics with the same weight and thickness. Measure twice. Cut once. Happy sewing! To see the full project, please link to my blog, Life at Bella Terra. Click here to link to https://lifeatbellaterra.com/2019/11/the-not-so-simple-pillow-shams/

Comments
Join the conversation
-
Yes. Very nice! You chose a lovely fabric. I do sew and used to make ‘everything.’ This was an excellent tutorial with the added tips on fabric weight etc. Thank you so much. I have a lot of fabric stored. Im encouraged to do this.
-
Thank you so much. I tend to buy lesser expensive fabrics, just because I was raised to be frugal. But I LOVED this fabric so much. It was well worth the splurge. I don't sew a lot but was happy to have the experience in doing this. The whole goal is to keep learning, right? Good luck with your future projects.


Frequently asked questions
Have a question about this project?