


Painting the Piano
Have you ever painted a piano? Me either!!! But I decided to paint ours and the result is amazing - I love it!
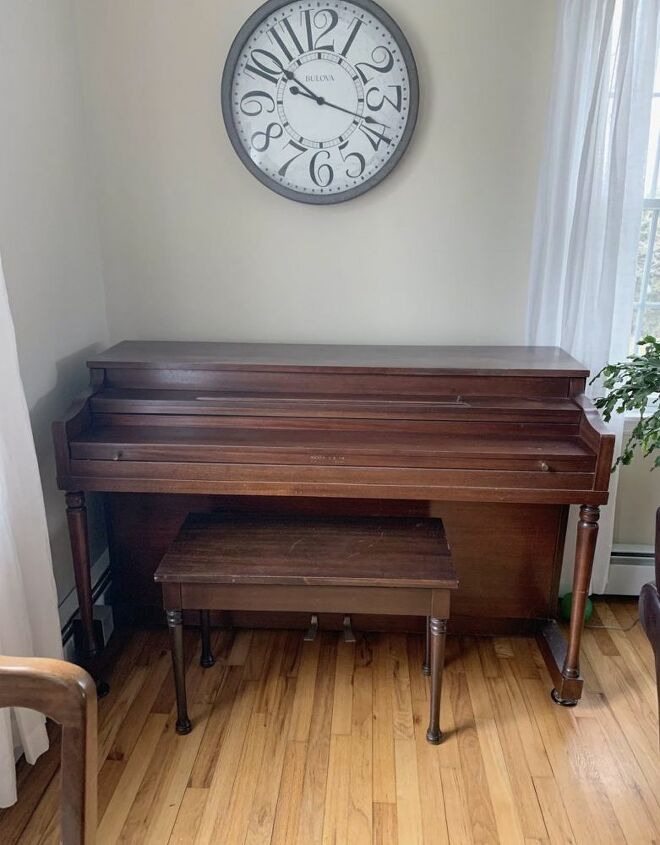
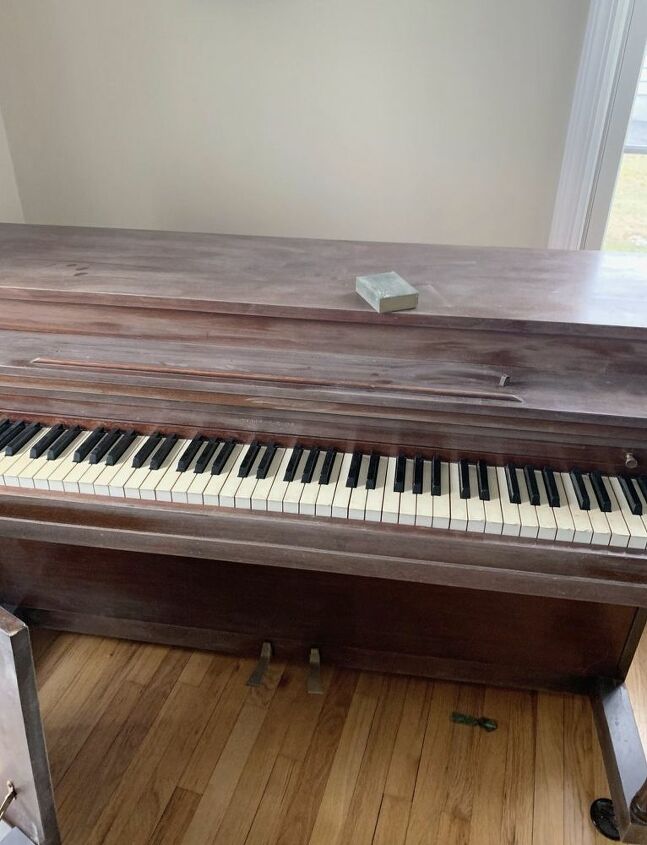
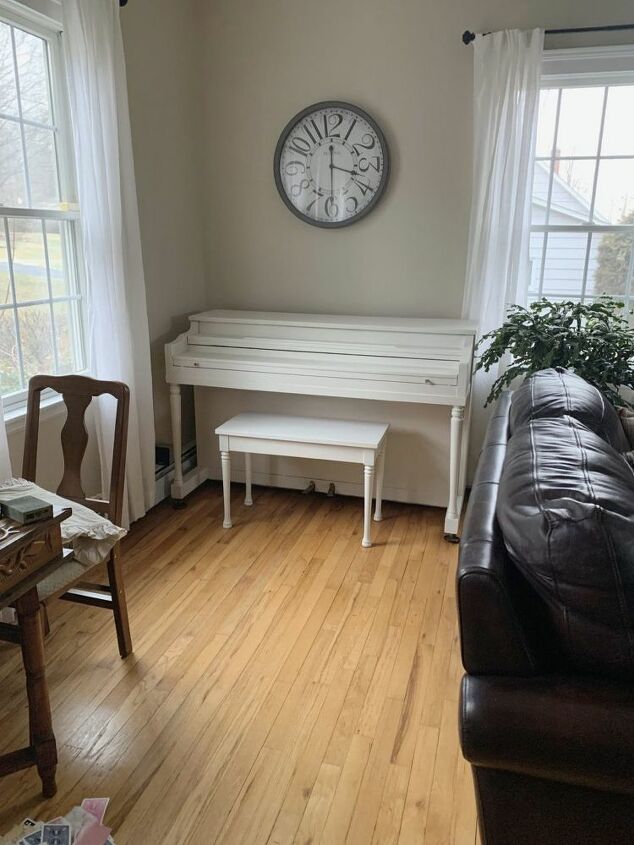
The finish on our piano is really dark and pretty damaged. There are knicks and scratches all over it. Plus, it’s missing pieces, the sheet music rack is broken and it is time to do something about it.
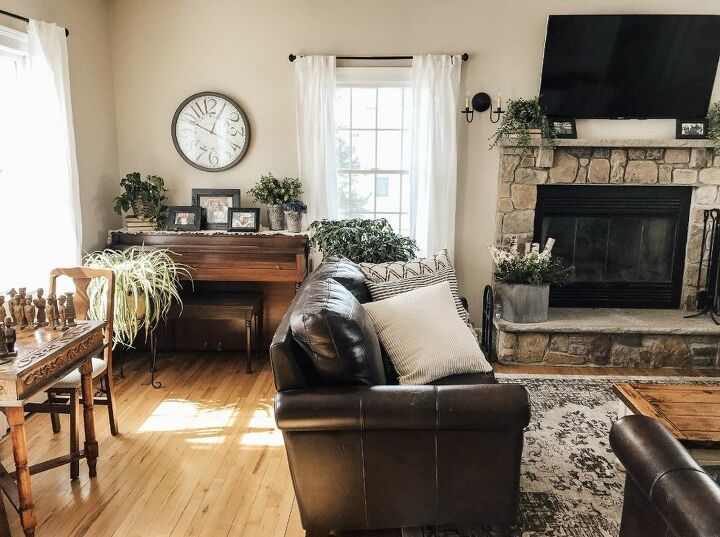
Our piano is located in my living room with my dark brown leather couches. Because the sofas are so dark, the piano looks too heavy for the space. Given the damage it has accumulated through the years, I started researching how to refinish the piano.
Researching How to Refinish the Piano
Most inspo pics showed pianos refinished with chalk paint. And I seriously considered using that. However, I decided to try Fusion Mineral Paint because it’s suppose to be even easier than chalk paint. Say what?
It’s true! Fusion Mineral Paint does not need a piece to be pre-sanded AND it has a top coat built in. How cool is that? Ideally, I prefer to try new techniques on smaller projects, but decided to go all in on the piano.
Supplies Needed to Paint the Piano
Whether you refinish a piano with chalk paint or fusion mineral paint, it is a personal preference. Both work really well and minimize the amount of work needed to complete the job.
What You Need
- Chalk Paint or Fusion Mineral Paint (I used the color Raw Silk)
- Paint Brush
- Painter’s Tape (to tape off any areas you want to avoid painting
- Finishing Wax (if you refinish with Chalk Paint)
- Sanding Block
- Dry rag to wipe down after sanding
- Wax brush or old sock to apply wax
- Piece of cardboard to help paint around the keys.
- Drop cloth
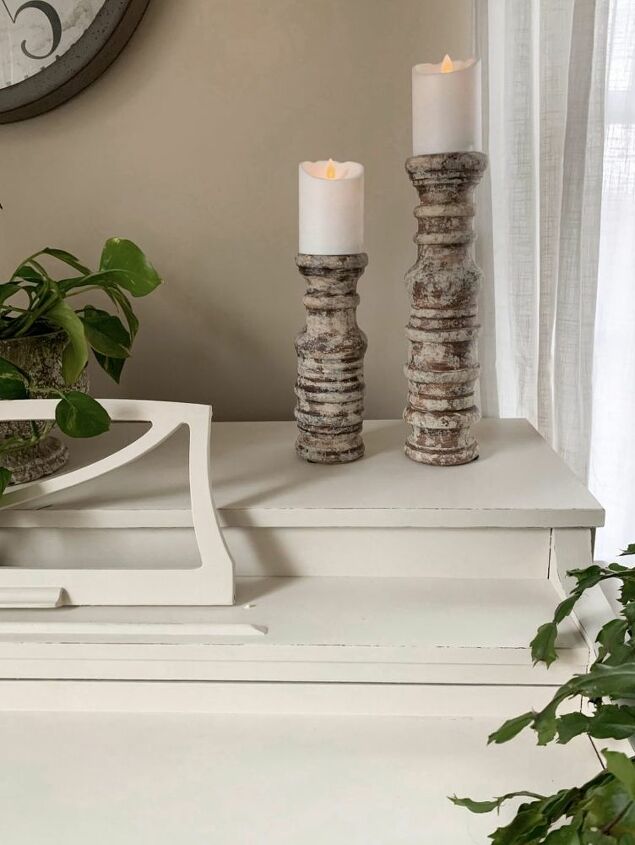
- Antique Glaze to help age the piece (if desired)
How to Paint the Piano
- Remove all hardware if you don’t want to get paint on them.
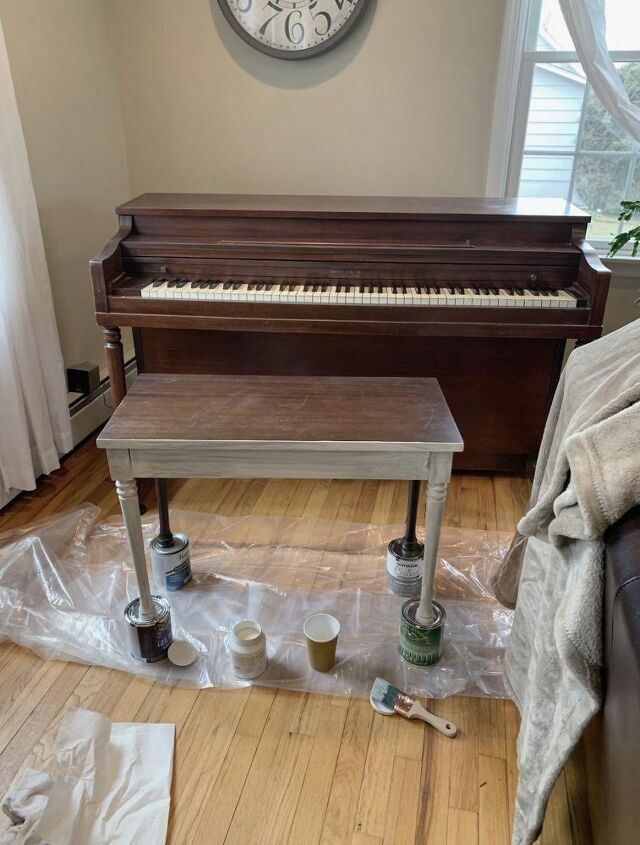
- Lift bench off the ground to make it easier to paint the legs. I set mine on paint cans that are the same size.
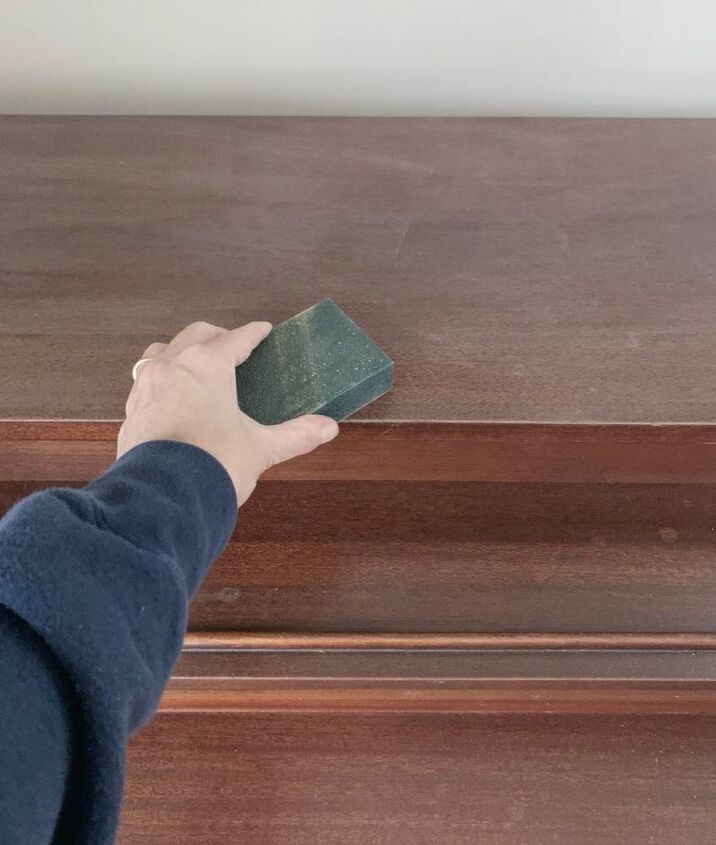
- Lightly sand the surface to scuff it up.
- Wipe down whole piece to clean it up with dry rag.
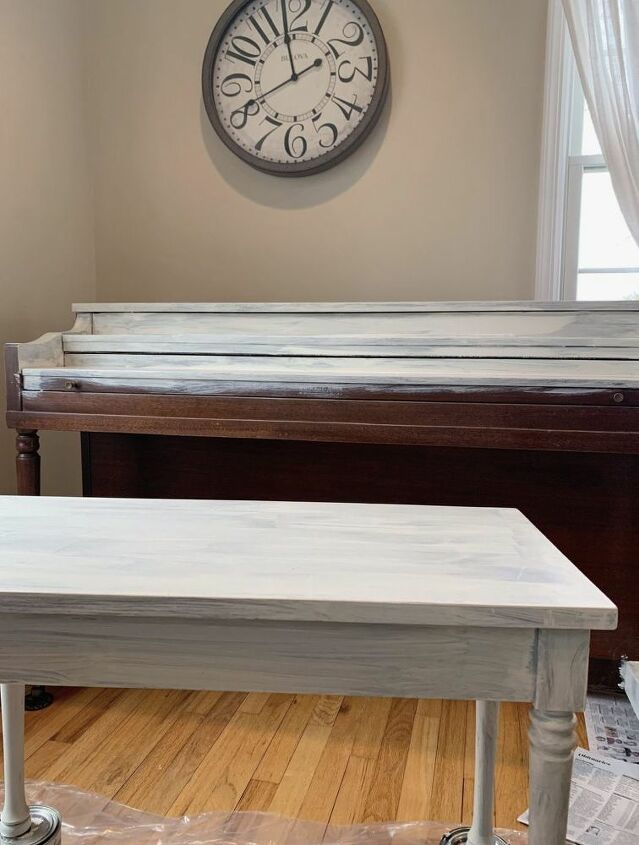
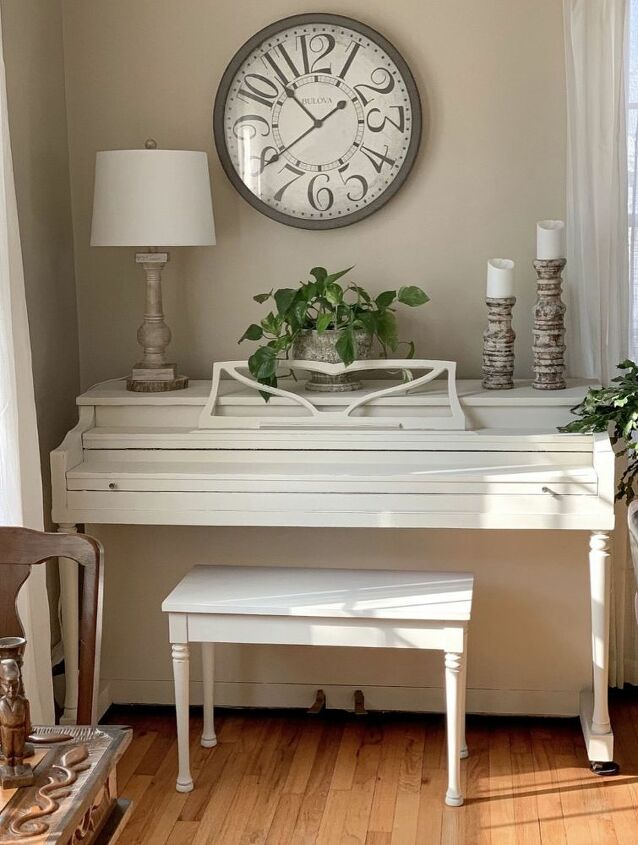
- Start painting! Allow the piece to dry in between coats. Since my piano has such a dark finish, I needed to use three coats of Fusion Mineral Paint.
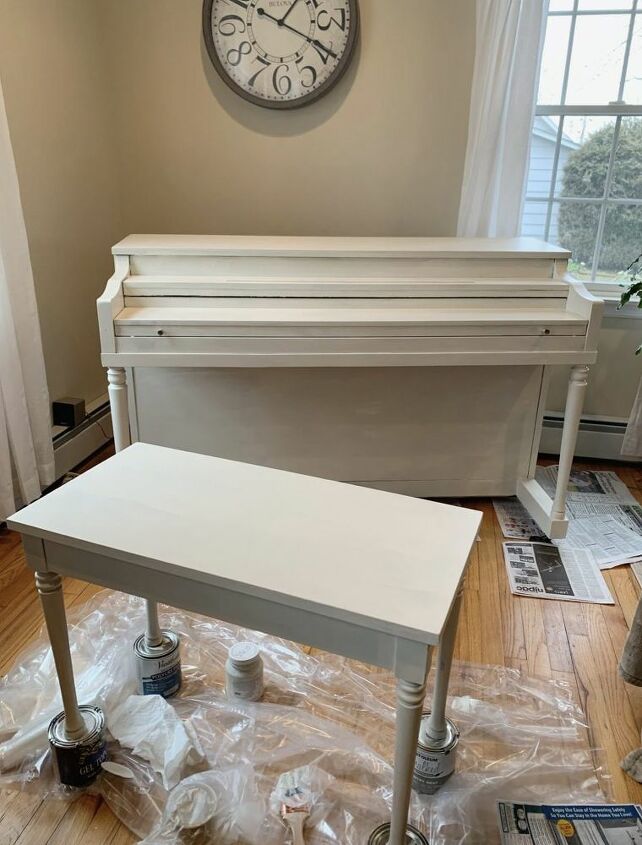
- When piece is dry, open it up to expose the keys. Lightly sand down any areas or drip marks. Then finish painting. I used a piece of corrugated cardboard paper that I had laying around to help paint around the keys.
- Allow to dry for a few days. Then lightly sand the edges to give it a distressed look.
- Clean the surface with a dry rag or cloth.
- Then use a damp cloth or damp brush to lightly apply the glaze and wipe off to give it an aged appearance.
- Allow to dry.
- If you finish the piano with chalk paint, use a finishing wax to seal it.
I’m not sure whether I want to use a glaze on the edges of the piano or not yet. Instead of doing it right away, I am going to live with the piece for a little while. If I decided to use the glaze, I would apply it with a damp cloth, then wipe it off with a damp cloth so it is very light and not heavily glazed.
What Do You Think?
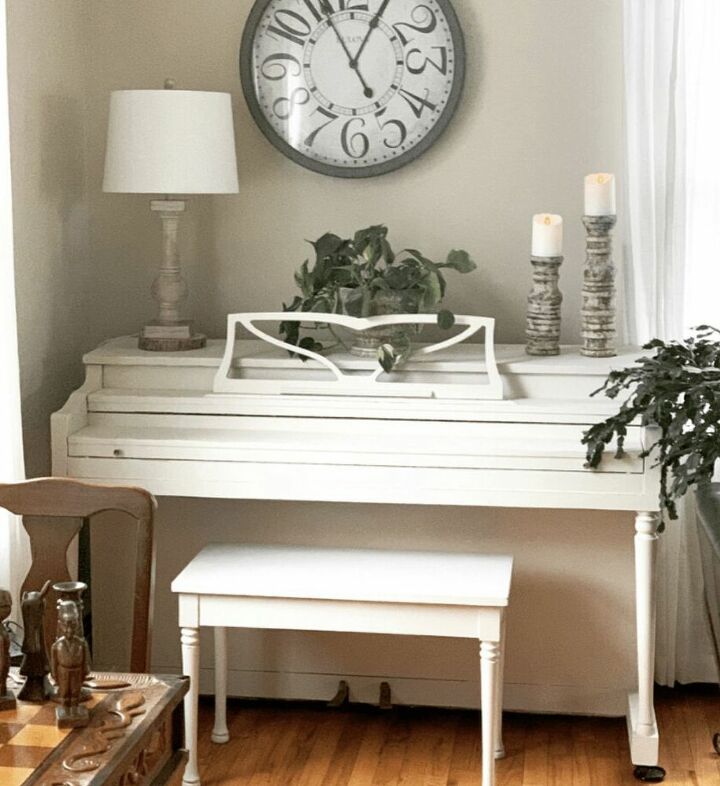
And that’s it! What a transformation! I love how it turned out. Painting the piano was not very difficult but it was a little more time consuming than I expected.
For more DIY tips, tricks and cool project ideas, click here.
Resources for this project:
See all materials


Comments
Join the conversation
-
I am going to paint mine and hope it turns out as beautiful as yours thanks
-
OMG! I wish I had the guts to redo mine. Chipped black lacquer. Looking kind of shabby. Beautiful job.


Frequently asked questions
Have a question about this project?
This looks wonderful! Does anyone play the piano? Does painting it change or ruin the sound? Thanks! 😎
I was so happy to find your article! I am about to paint my piano too..thank you for all the tips!!
Side note...love that chess table..can you share where that came from??
Coloring a piano is cool, but I'd like to buy myself a piano first so I can paint it :) Does anyone know a place where you can order it?