


How to Repurpose Old Windows as Wall Decor
My favorite DIY projects fall into two categories: inexpensive and makes a big statement. Who doesn’t love these type of projects?! Well, here’s a good one for you: Repurposing old windows to use as wall decor. It’s simple. It’s inexpensive. It makes a big statement in your home. Here’s how to do it in a few easy steps.
If you're looking for more easy DIY projects, head over to my blog at http://www.thehandcraftedhaven.com/.
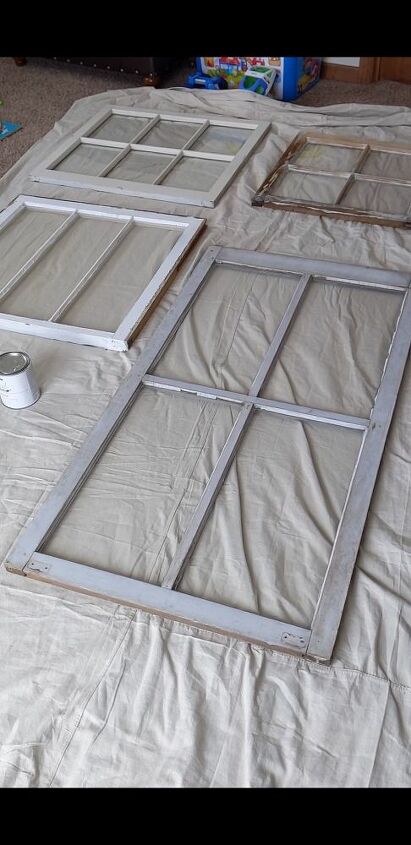
Step 1: Buy or find old windows. Good places to look for these are Facebook Marketplace and Craigslist. You can get them for $5-10, even the larger ones! Here is a picture of my old windows before I started working on them.
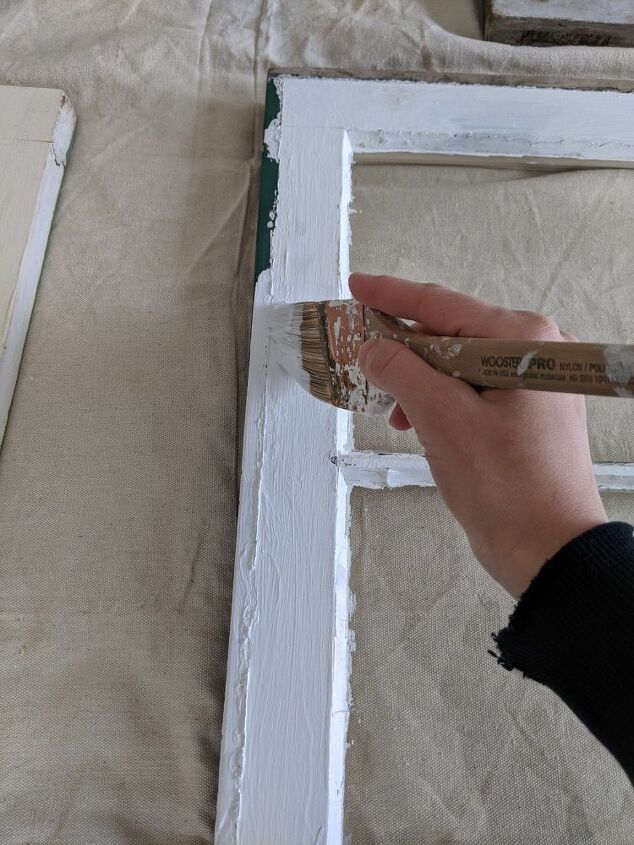
Step 2: Paint the windows with Rust-Oleum Ultra Matte Interior Chalked Paint. Before painting them, I cleaned them off with soap and water, letting them dry before applying paint. I chose to paint them using a chalk paint that could be easily distressed. Also, I preferred a matte finish since I wanted them to keep their old, used look.
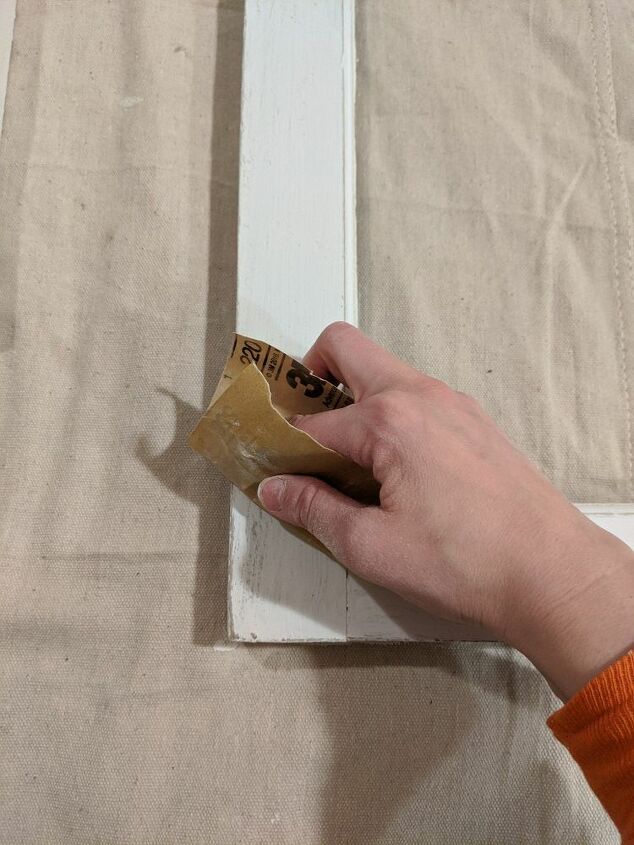
Step 3: Use 220 grit sand paper to distress the windows. Focus your distressing on the edges and corners to give them a naturally distressed look. Vary the amount of distressing across the windows.
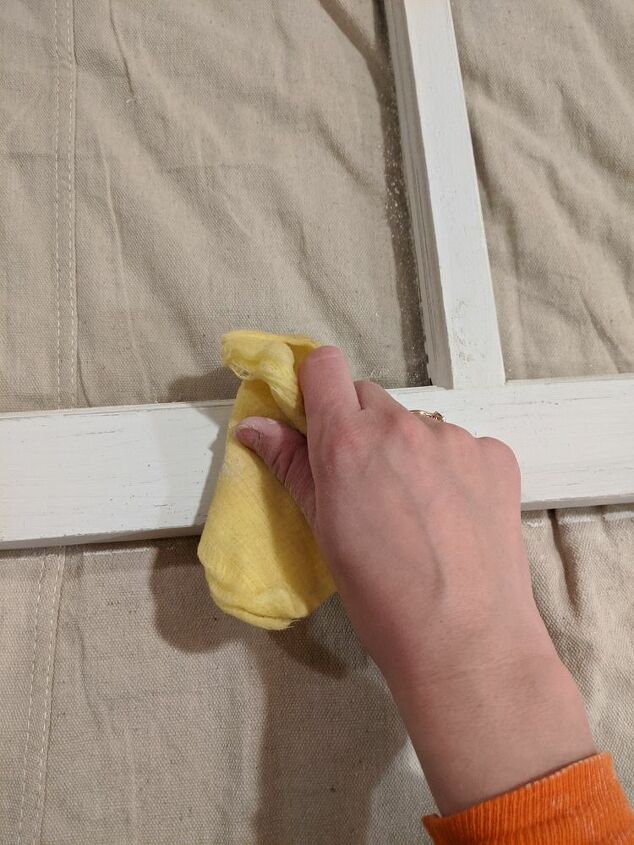
Step 4: Use a tack cloth to remove all dust from the windows. I also washed the glass on the windows.
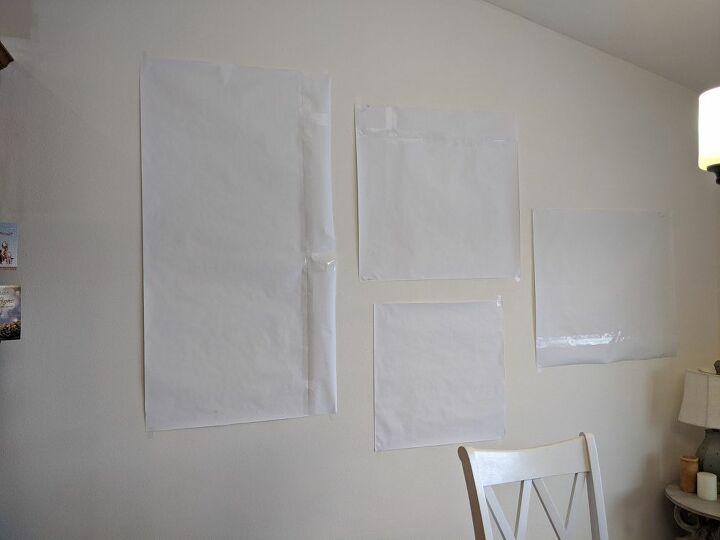
Step 5: Make paper templates to help you decide on the window layout on your wall. Since these windows are so large and we were going to screw them directly into the studs, I wanted to make sure that I knew the exact layout of them before we started putting them on the wall. I measured the size of each window and then cut paper from a large roll to match each size.
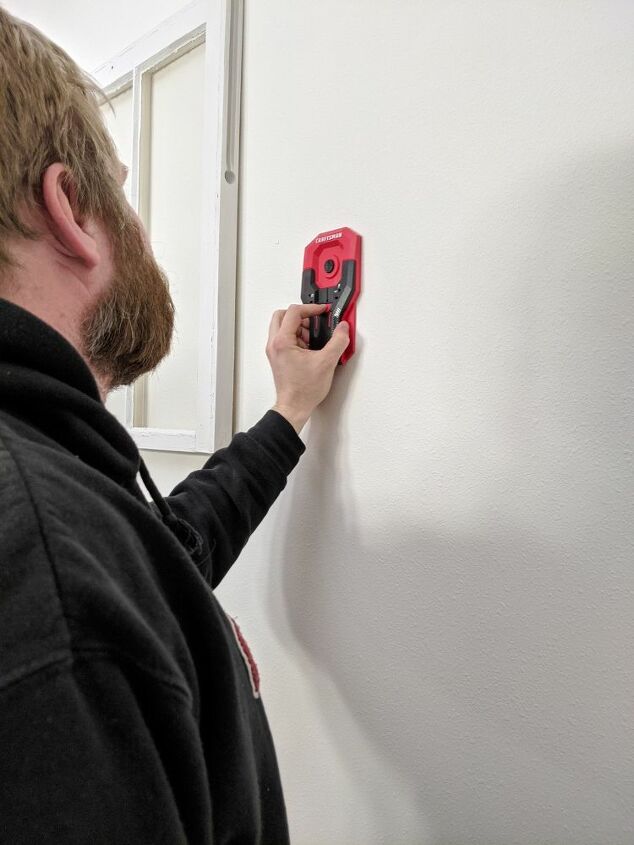
Step 6: Hang the windows on the wall. Since these windows can get pretty heavy, we chose to screw the windows directly into studs using deck screws. First find the studs in the wall using a stud finder. Use a level to make sure that your windows are level.
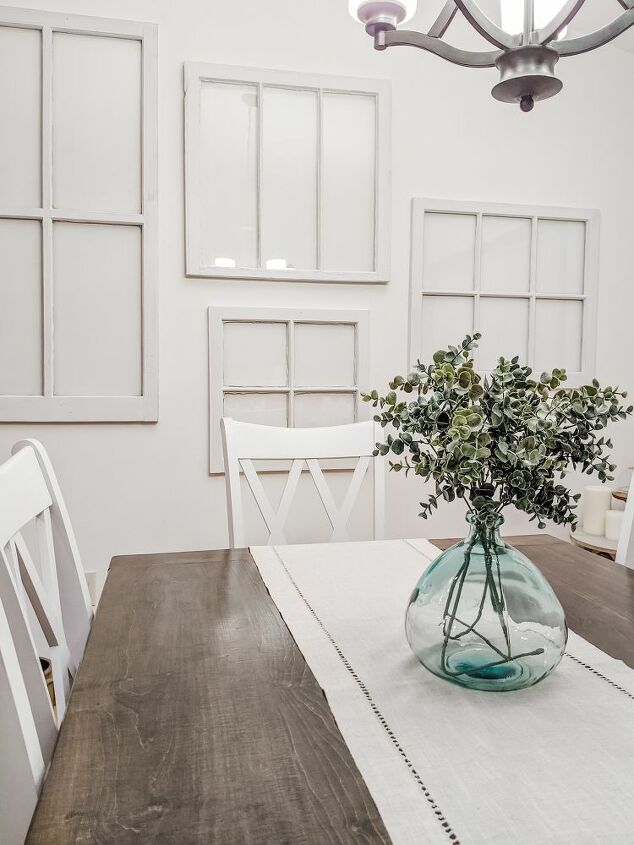
Now you will have a beautiful wall of windows!
If you are looking for other DIY wall decor ideas, check out this rustic farmhouse-style coat rack tutorial ( http://www.thehandcraftedhaven.com/diy-rustic-wood-coat-key-rack/) or this tutorial on how to install removable wallpaper ( http://www.thehandcraftedhaven.com/how-to-transform-a-room-with-removable-wallpaper/). Happy DIY-ing!
Resources for this project:
See all materials


Comments
Join the conversation
-
Very pretty!!
-
I love this. Simple and elegant.


Frequently asked questions
Have a question about this project?
How do you frost the windows??? Sounds interesting^^
Can you tell me more about how you used screws to secure them to the wall? What type and how long were the screws and where did you place them on the windows? I have all shiplap walls so I can place them anywhere.
Hi, thanks for sharing this! Question- with old windows the issue around lead paint can occur, as it was only outlawed in the 1970’s. Have you encountered this and if so what did you do or learn about making the windows useable yet safe? We are renovating an old building on our farm and I haven’t yet tested the old farmhouse windows I want to use in the reconstruction of the one wall that is deteriorated. I have read, but not much, about it and think there is a clear encapsulating formula of paint/varnish that will totally work. Of course stripping it is not desirable as it must be done by a professional due to the toxicity of the paint. Thanks again and stay safe!