


How to Make Your Own Personalized Wooden Lantern Lamp

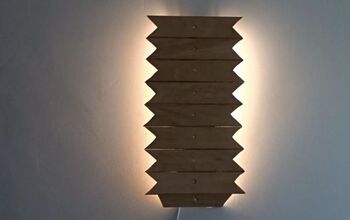
Rustic wooden lanterns are hot right now. Whether you are looking to decorate in a farmhouse or boho style, they fit! This personalized wooden lantern lamp mounts to the ceiling for a stylish source of overhead lighting. It’s very simple to construct and the wood can be stained or burned in any pattern you like. Start right now and you can build a brand new one of a kind lamp in just a few hours!
Tools and Materials
- Wood slats
- Square wood base
- Square wood top
- Hanging light socket kit
- Wood burning tool
- Measuring stick
- Saw
- Drill
- Wood planer
- Sander
- Clamps
- Drop cloth
- Mask
- Eye protection
- Gloves
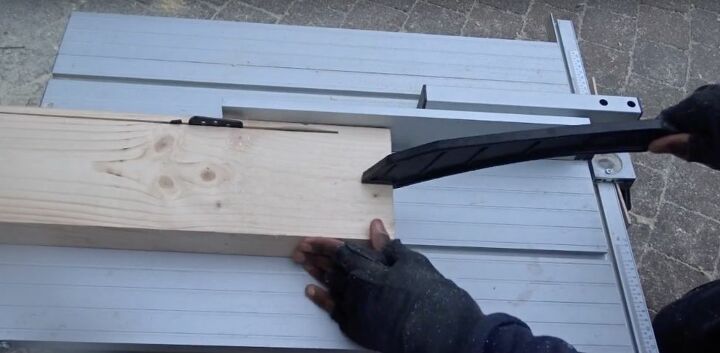
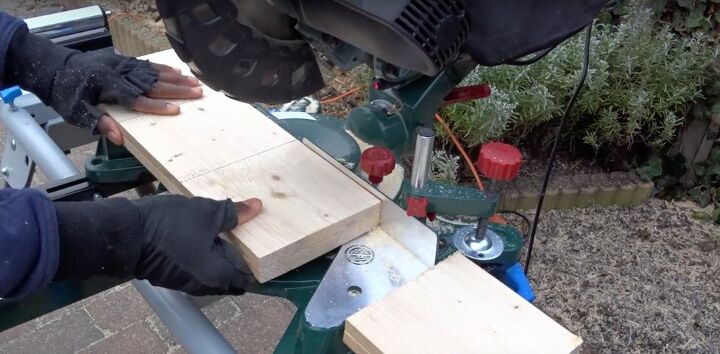
I started by taking an old board and cutting it into thin vertical slats for the sides of my lamp. Then I cut those slats horizontally to make them the height I desired. You can make these wooden lantern lamps in any size you choose. Just cut your wood into slats that look appropriate for the height of the lamp. Keep in mind that it will hang from the ceiling when planning the size.
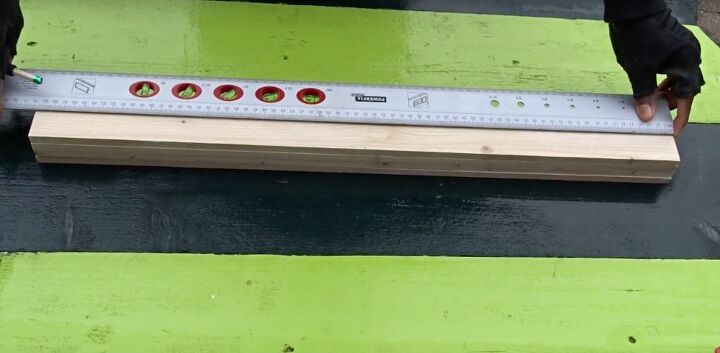
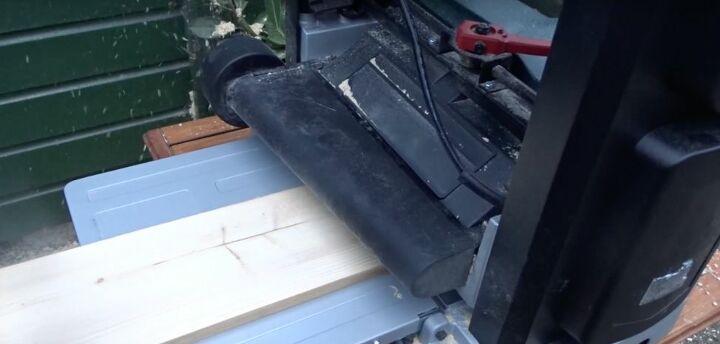
Once the side pieces were cut, I moved on to create the base and top squares. I used the same piece of board I cut the slats from, but first I ran it through the planer to make sure that both sides were flat. Then, I measured out my squares, marked my wood and cut it with my saw.

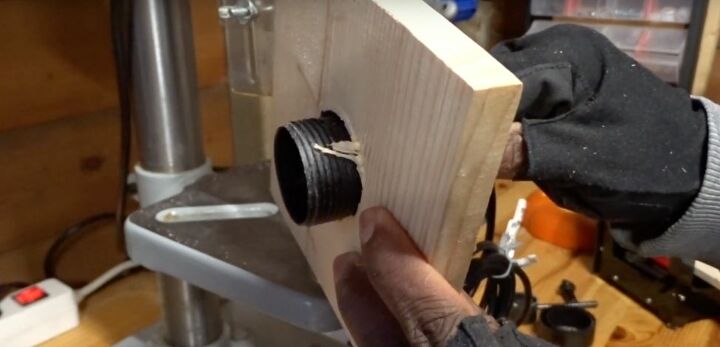
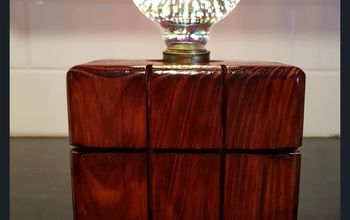
Once I had my squares in hand, I cut a hole in the top one to accommodate the light bulb. To do this, I measured how big I needed the hole to be based on my light kit and marked my wood. Then I simply drilled a hole in the center of the board, just big enough for the socket to fit. I clamped my wood in place so it wouldn't move, and my hole would be exactly where I needed it.
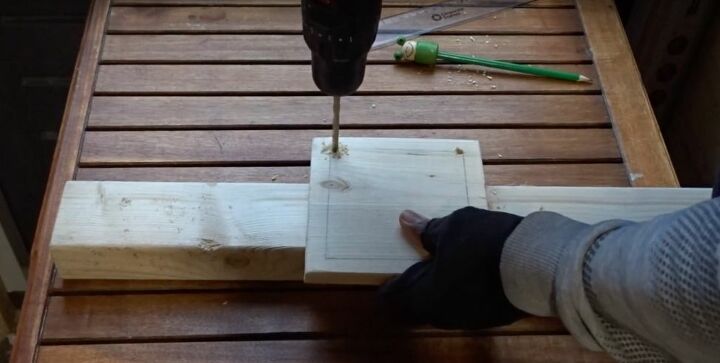
In order to allow the light to show through the bottom of the lamp, I cut out the center of the base. To do this, I measured out a smaller square shape in the center of the wood. Then I drilled four holes, one in each corner to start the hole. I used a saw to remove the rest of the wood.
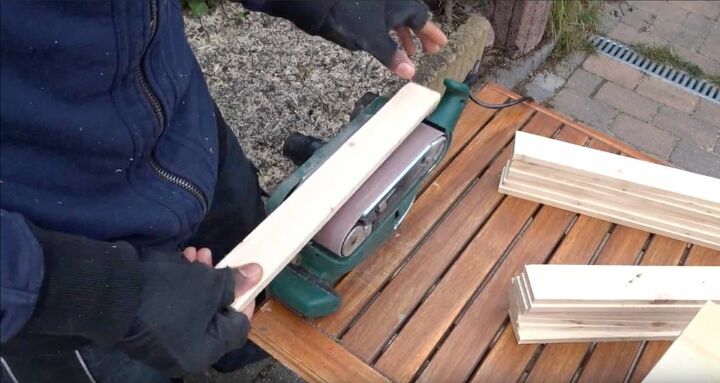
When all of the wood was cut, I started sanding. I sanded each piece of the lamp, side slats, base and top, until they were completely smooth. I didn’t want any jagged edges or rough spots on my lamp. I used a power sander, but you can do this by hand if you don’t have one.
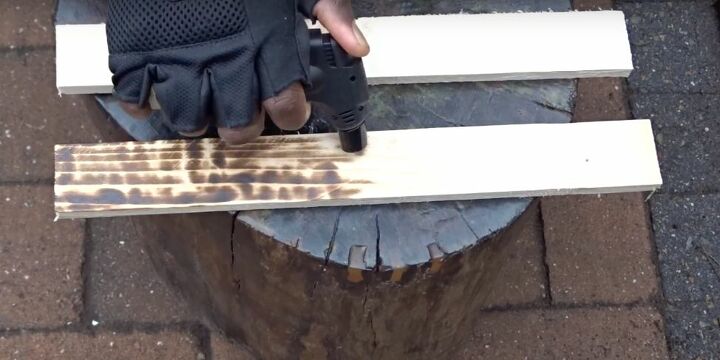
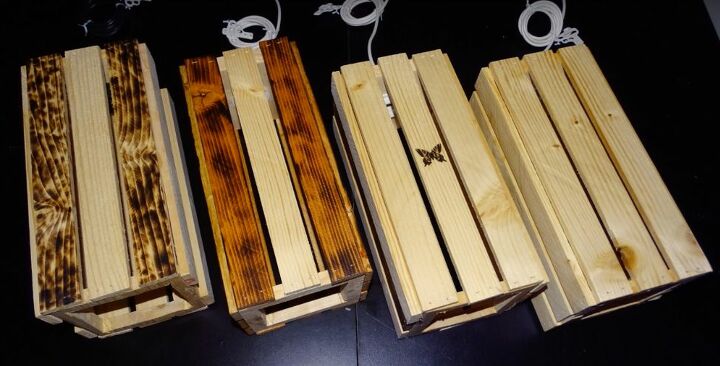
To add some interest to my lamp, I took out my small torch and created a pattern on a few slats. I also used a stencil to burn my name and a small butterfly on other slats. There are burning tools created for this use. The tool and the accessories can be purchased at most craft stores. If you’re not comfortable with a burning tool, you can get the same look using stain or paint and a stencil. The personalization choices are truly endless.
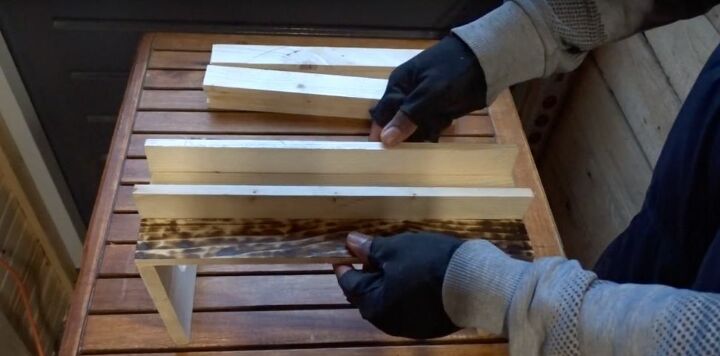
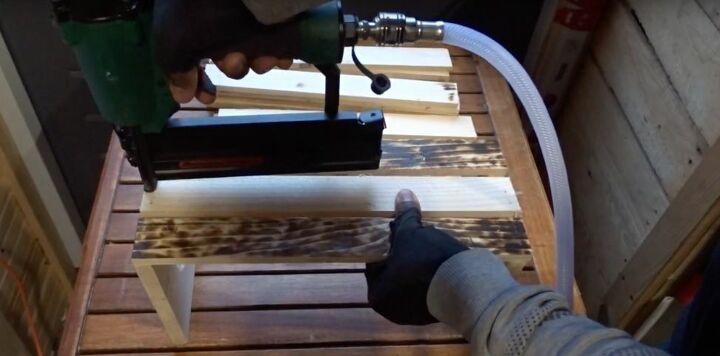
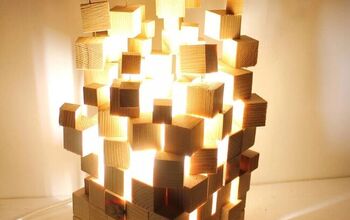
When the wood was cool and ready to go, I assembled the lamp. I started by spacing my slats out on the base and top. I placed slats sideways, in between the flat slats, to ensure that the spacing was even. Then I nailed the slats into place. I put three slats on two sides and two slats on the remaining two sides, but you can find a pattern that pleases you. To attach the lamp kit, I placed the bulb socket in the hole, screwed on the cover piece, which locked it into place.
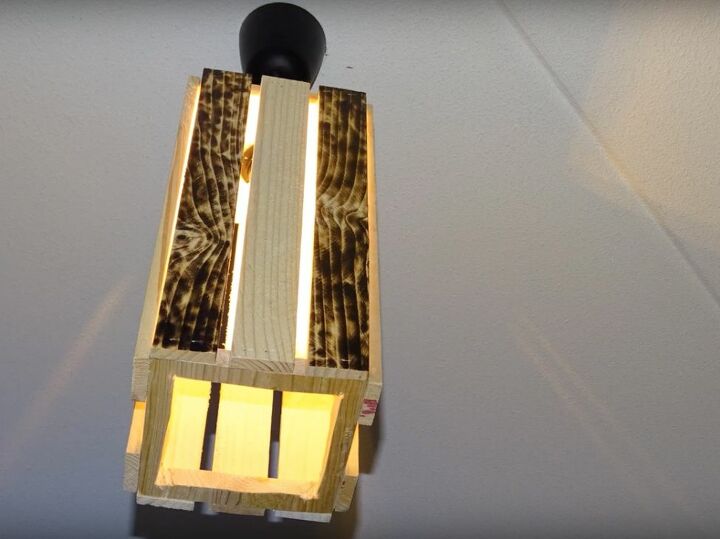
In about two hours, and for less than $30, I had a stylish and modern personalized wooden lantern lamp that looked great. It didn’t require any fancy tools to construct and I was able to make it my own with a decorative burning tool. I think this lantern lamp would look perfect in a farmhouse living room or a boho bedroom or even in pairs, in a rustic kitchen hanging over an island.
Where will you put your own personalized wooden lantern lamp and how will you make it your own? Let me know in the comments!


Comments
Join the conversation
-
You always have the most beautiful projects to share. I haven’t found one that I didn’t love. I’ve tried a few but I’m not nearly as talented as you but I’m going to keep trying!!!! Thank you for sharing.
-
Super cool dude! I’m going to do this what a phenomenal idea!


Frequently asked questions
Have a question about this project?
Nice looking result but did you go thru the process of getting a UL Label for this light fixture? Or did you use an LED lamp? If this construct can be blamed, should there be a house fire, the insurance company will likely not pay any claim.