


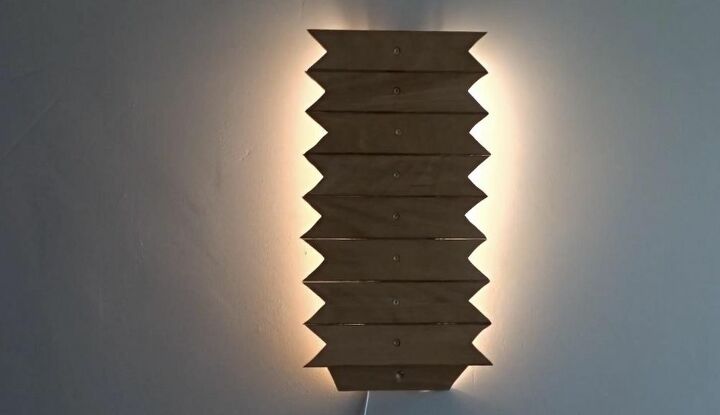
DIY Lamp From Wooden Bed Slats

I love to use recycled materials in my building projects and find a new use for things no longer needed. Living in a rental home limits the options for installing light fixtures to change the style and decor of our home and spending a lot of money to upgrade a rental home isn’t practical so I designed and created a custom light fixture by recycling wooden bed slats! I was able to create unique and inexpensive custom lighting using only my drill and a few other hand tools.
You Will Need:
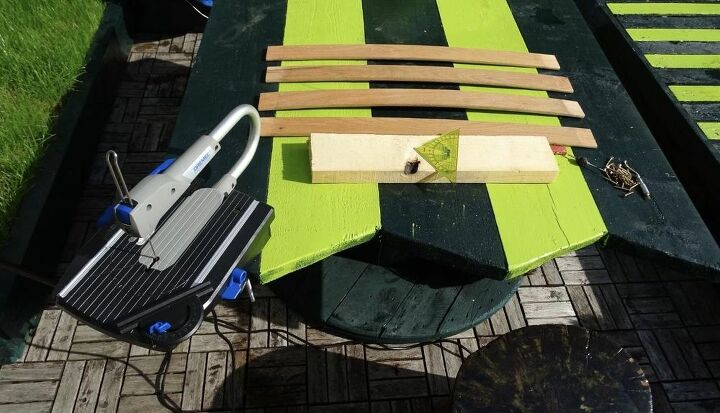
- Bed slat wood
- Set square and ruler
- LED light kit
- Drill
- Screws
- Scrap 2x4 (piece)
- Dremel saw
- Hand sander
- Stain
- LED light strip kit
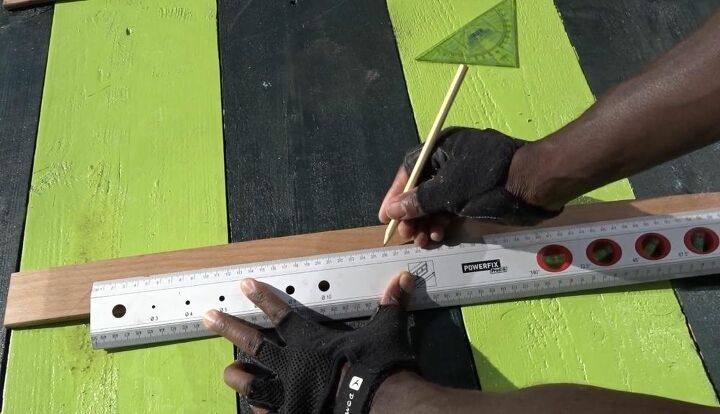
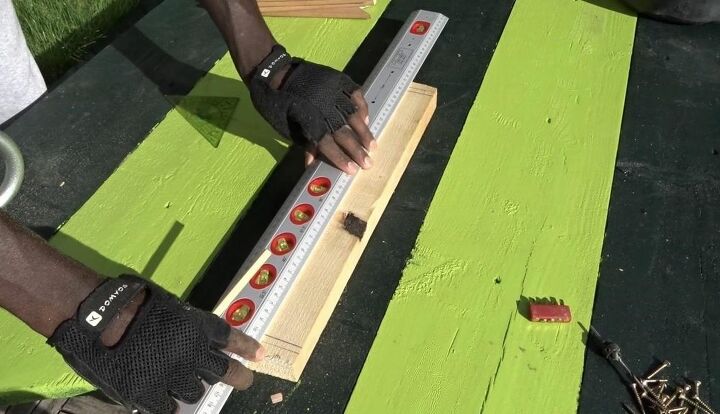
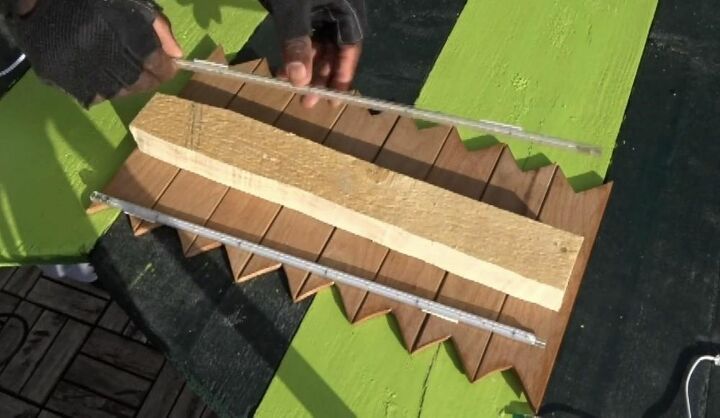
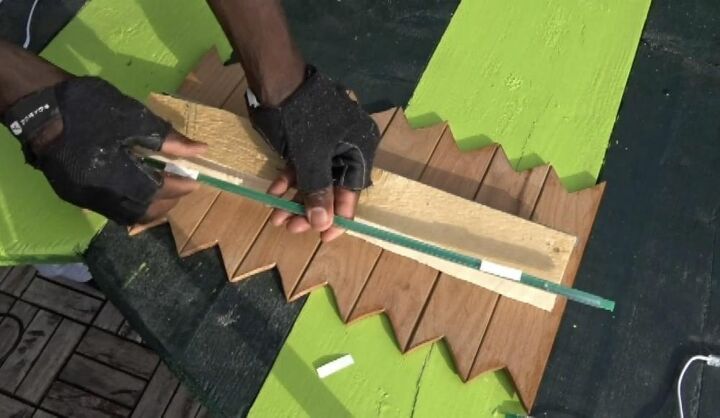
I used a set square and a long ruler to measure and mark the bed slats for cutting my design pattern out. I marked angles onto the wood slats to enable easy cutting of the pattern for my wall light design.
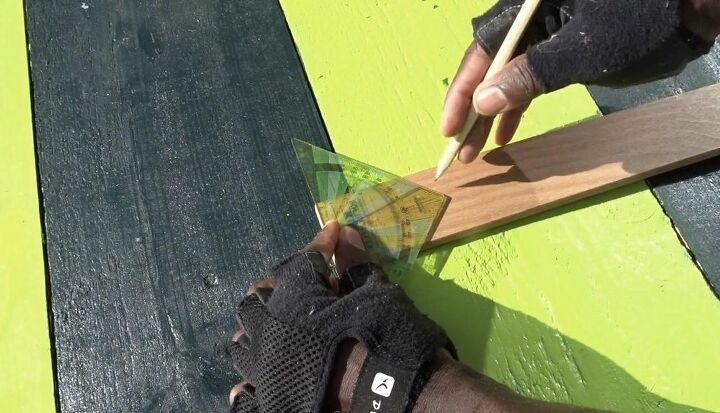
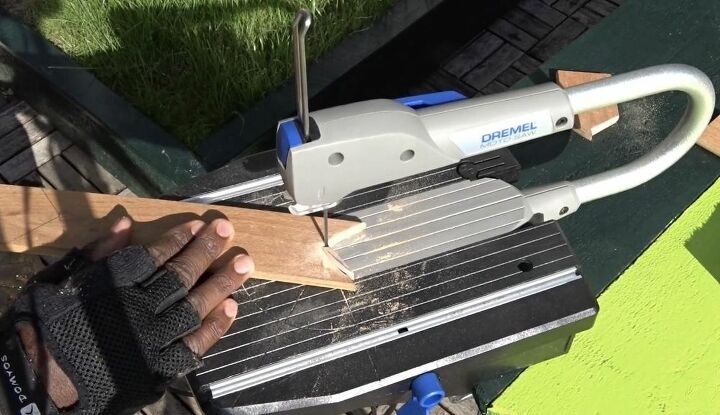
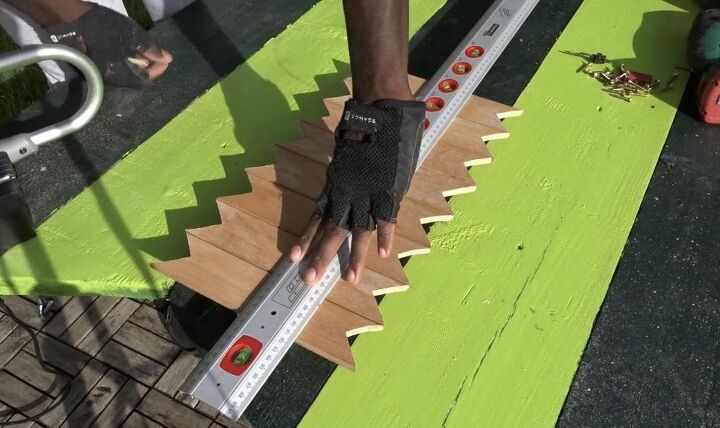
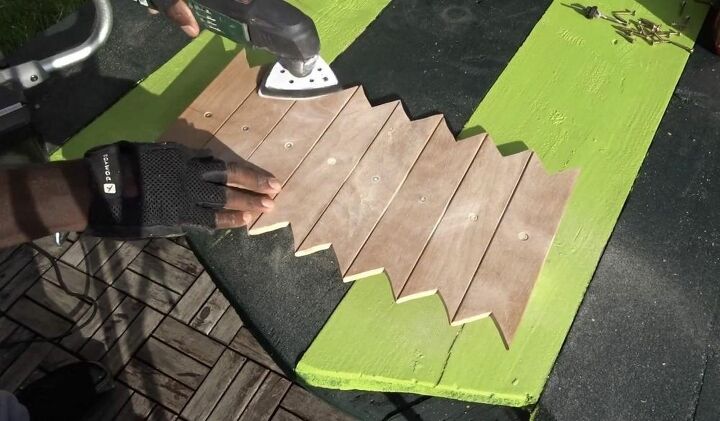
I used a Dremel Moto-Saw to cut a forked shape on both ends of eight wooden bed slats to create the pieces for the design and face of my light fixture.

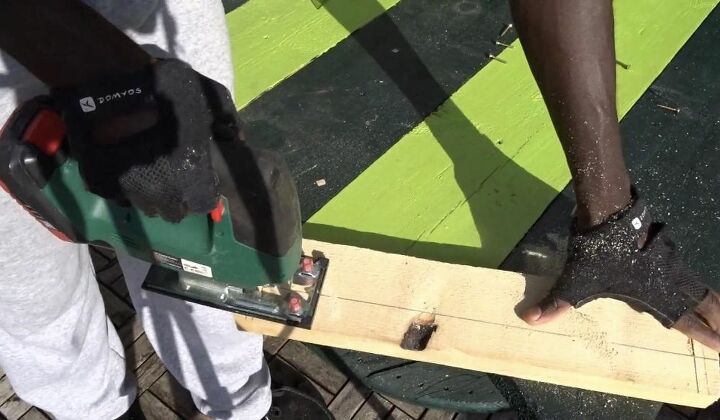
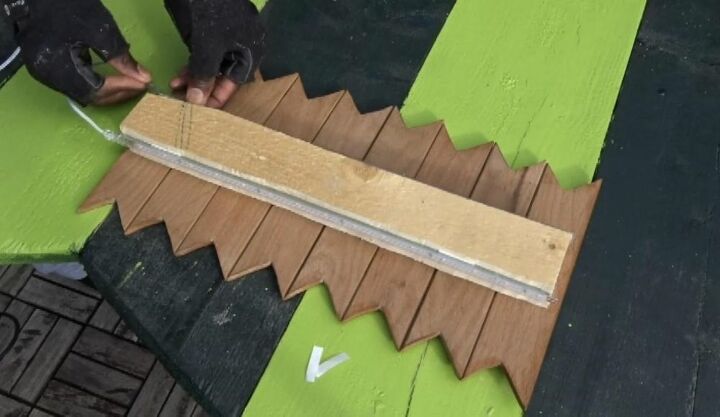
I cut a piece of scrap 2”x 4” wood with a handheld jigsaw to a length and width that would hold the slats but not be visible from the front. This board allows the slats to appear to be floating in front of the wall with light glowing from behind them when installed.

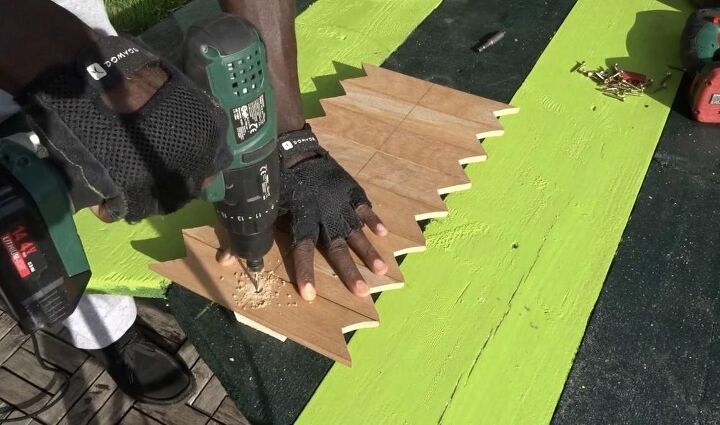
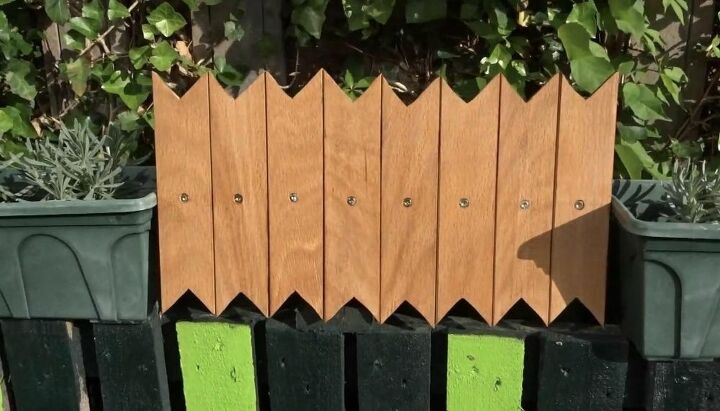
I arranged the cut slats from the top to the bottom of the backboard. I drew a center-line down the eight slats using a pencil and a long straight edge then pre-drilled holes along the pencil line through the slats into the backboard.
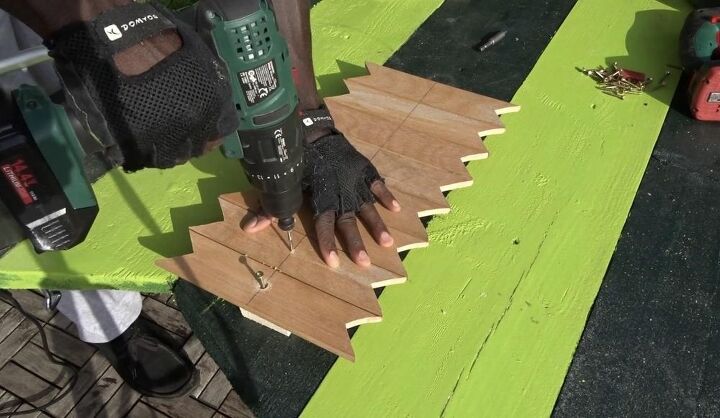
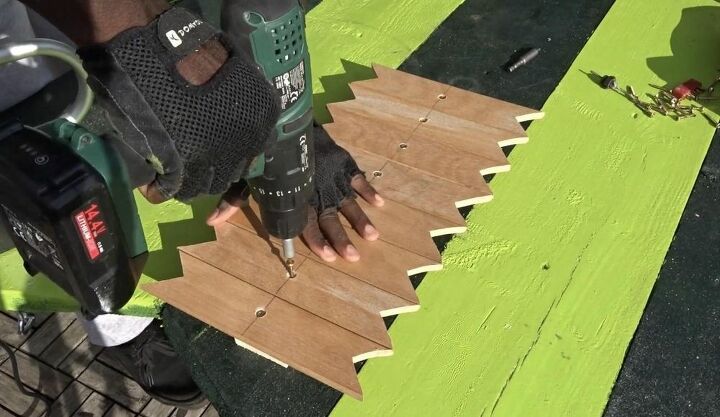
I attached the slats to the backboard with screws. I started by fastening the bottom slat to the board and then continued from the top down. Insert screws in the pre-drilled holes and attach slats securely to the board.
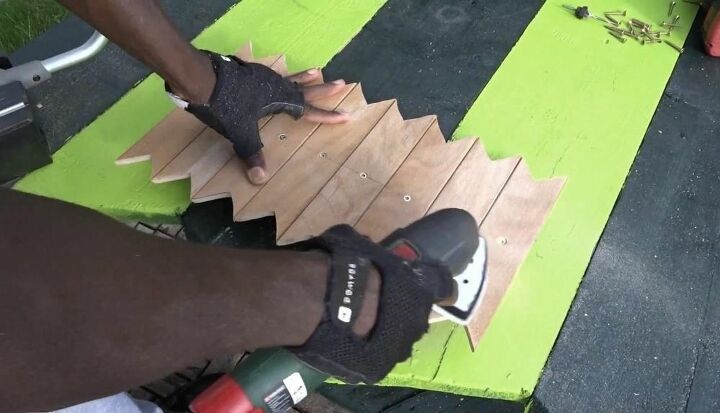
I sanded the slats with a hand-sander to remove any finish or residue from the wood. Pay particular attention to sanding the area around the screws to ensure a smooth finish.
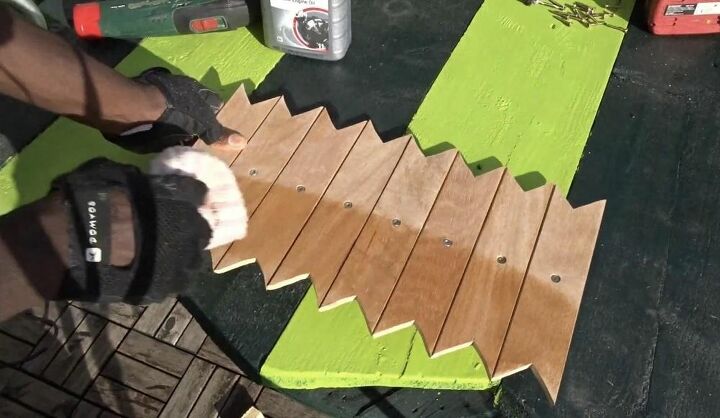
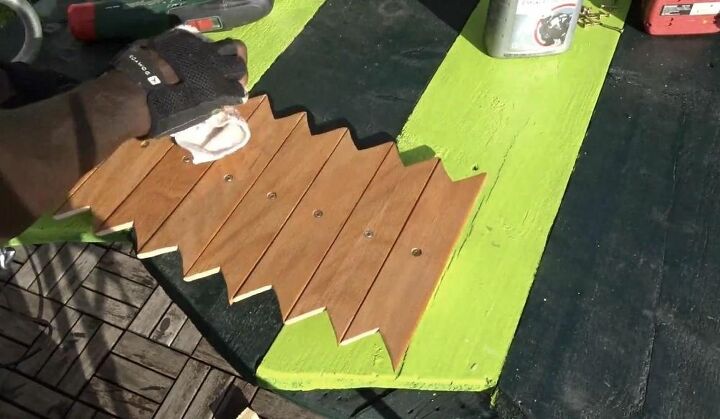
I applied a golden-toned stain with a cloth to the bed slat lamp face to give the light fixture face a warm finish. I chose a honey-colored stain for my finish but you can choose any tone that complements your home decor. Apply coats of stain until you achieve your desired finish and depth of color.
I attached an LED light strip to either side of the backboard using the provided adhesive strips. I applied the light strips to each outer facing side of my backboard and connected them with the included power cords.
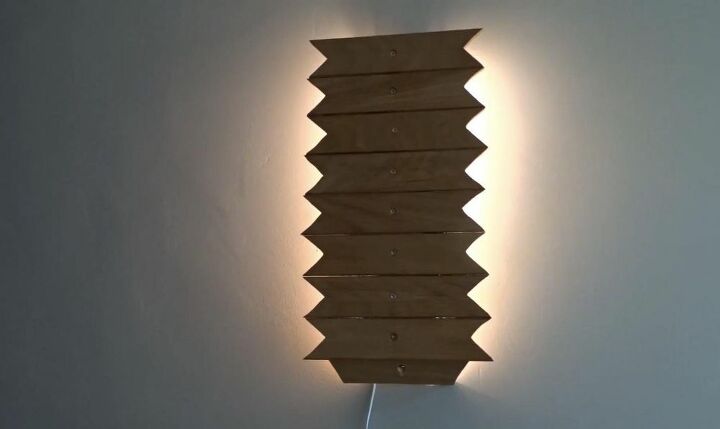
I attached a hanging bracket to the back of my 2x4 and mounted the light to the wall. Choose an area that lacks pleasant ambient lighting and try to mount the light in a way that some of the power cord can be concealed by furniture and will be less obtrusive.
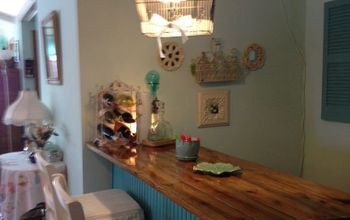
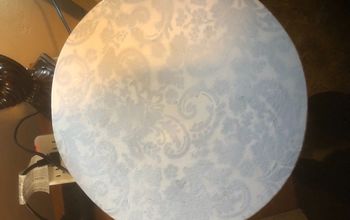
We are so pleased with the improvement our DIY light fixture made to our living space. As a renter with limited options for enhancing the ambient lighting in our home, this custom light creates a beautiful glow and pleasant upgrade without permanently altering the home or spending a great deal of money. I’m thrilled that I was able to use recycled materials to create a custom light fixture that we will enjoy in our home and be able to take with us if we ever move to a new home. Instead of tossing bed slats out and sending them to a landfill, recycle the wood into a home lighting DIY projects or find a way to repurpose them to improve your home!


Comments
Join the conversation
-
I am impressed with your creative design talent and your amazing detail work. Very cool idea!
-
How awesome is this!! Love this idea!


Frequently asked questions
Have a question about this project?