


DIY Menu Board Upcycling Project

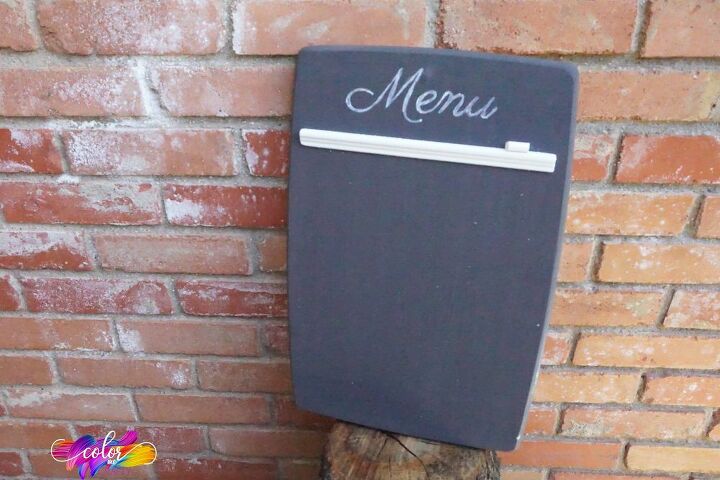
These menu chalk boards are one of my favorite DIY projects for the kitchen. And it looks so much nicer than those dry erase menu boards you can buy at the store and who wants to be writing with a dry erase marker when you can use chalk?!
And whether you have farmhouse kitchen decor thing going on or if you have a modern decor, this is perfect.
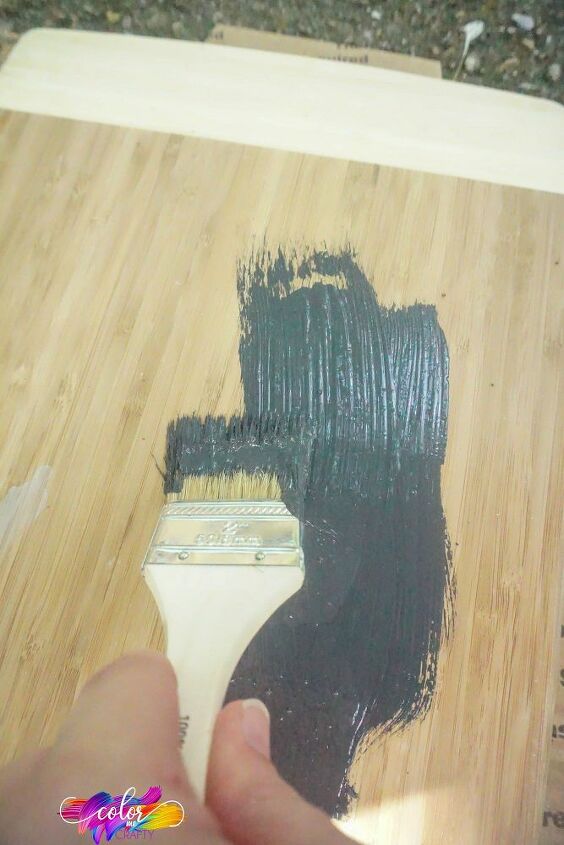
Paint your old cutting board. You may have to paint on a couple of coats, drying in between each coat to get it covered fully.
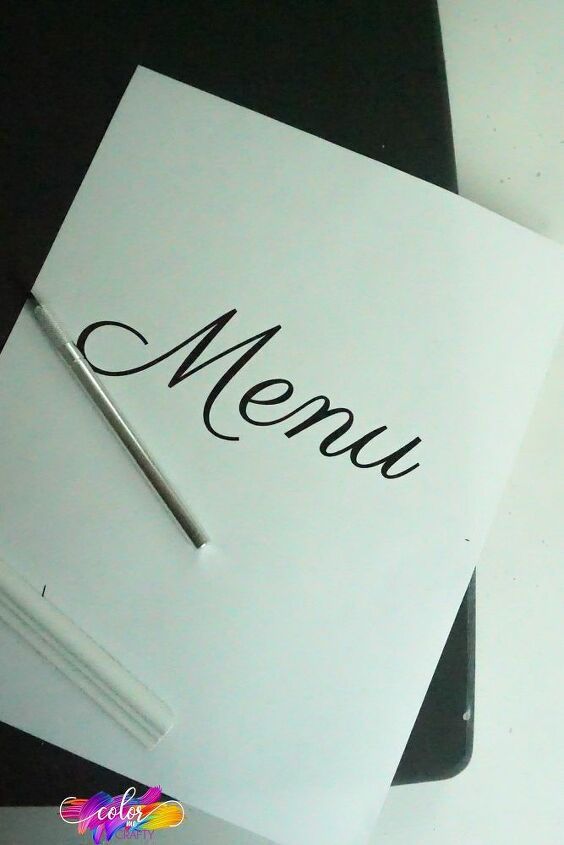
Print out your lettering that you will paint on the cutting board. You can choose to make it say whatever you want but this is a menu board so that is what I chose, the word menu.
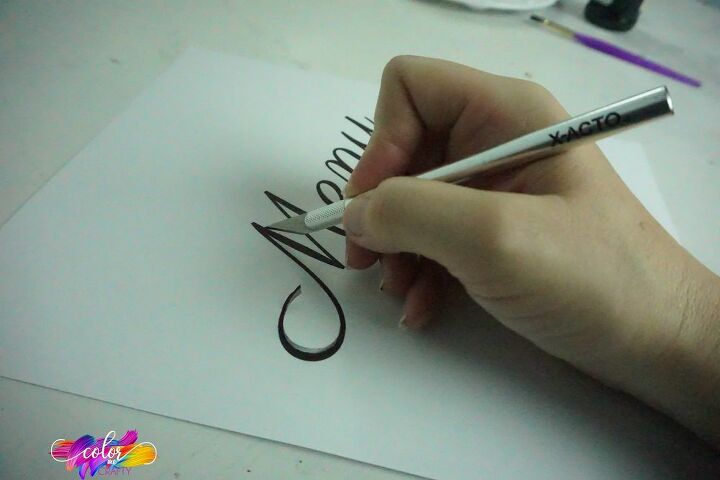
While the paint is drying on the cutting board, using the Xacto knife, cut out the lettering from the printed sheet.
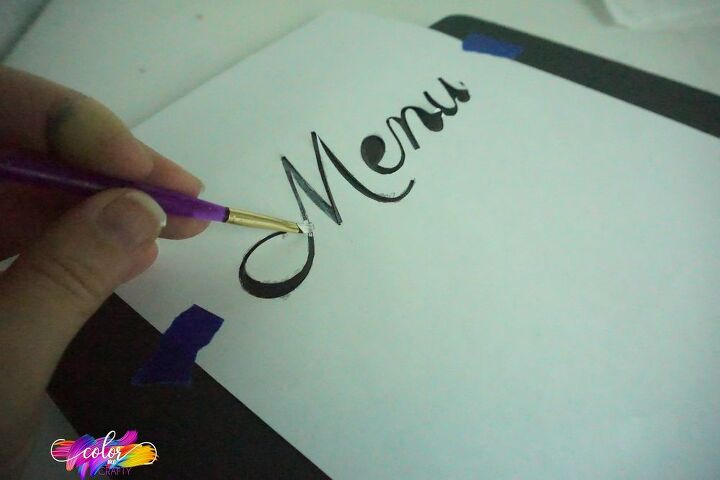
Tape the paper to the board and paint inside the lettering.
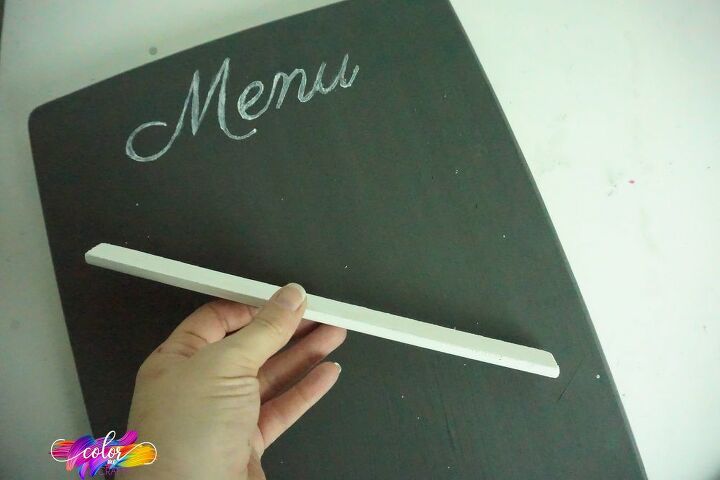
Hot glue the trim piece onto the cutting board, just below the "menu".
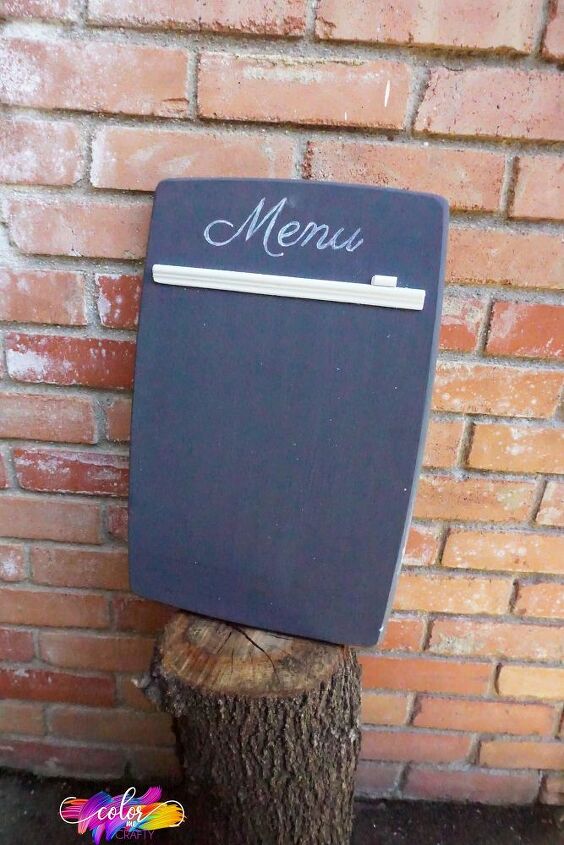
Now you can hang it using command trips and putting it on the wall, with a piece of chalk on the trim or even add some magnets to hang directly onto the fridge.
Resources for this project:
See all materials


Comments
Join the conversation
-
Great upcycle! Thanks for sharing!


Frequently asked questions
Have a question about this project?