


DIY Faux Topiaries
If you don't have a green thumb, you can make a faux topiary! The trick is to make one that looks realistic and doesn’t scream FAUX. See below on how to make your own topiaries.
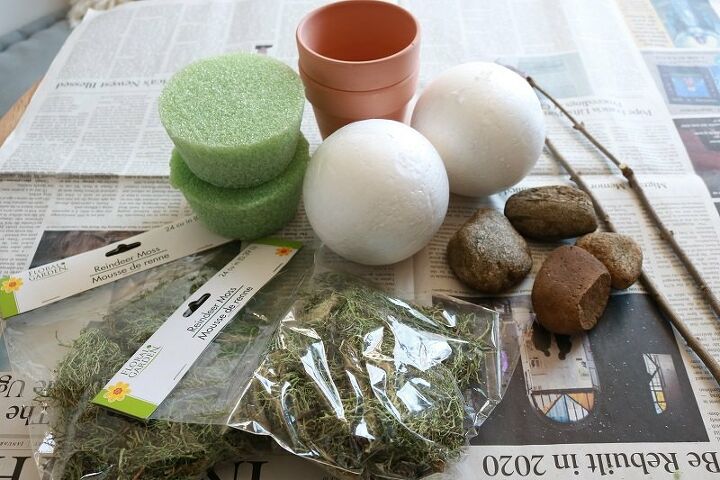
- pair of clay pots (mine were the small size with 3.5″ diameter)
- 2 small floral foam pieces (I got 3.8″ by 2.8″ by 1.9″, but they’re too big)
- a pair of styrofoam balls, 4″ diameter
- 2 bags of Reindeer Moss, 24 cu in.
- handful of Spanish moss
- 2 sticks from the yard, approx. 12-15″ long each
- handful of pebbles or rocks from the yard
- hot glue gun & glue sticks, pen/pencil or screwdriver
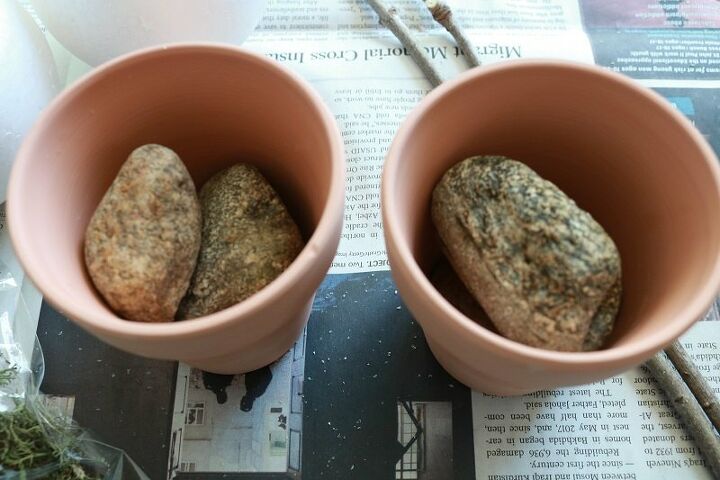
First you’ll want to put rocks or pebbles inside your clay pot. This will help anchor the pot and keep it from toppling over with the weight of the ball.
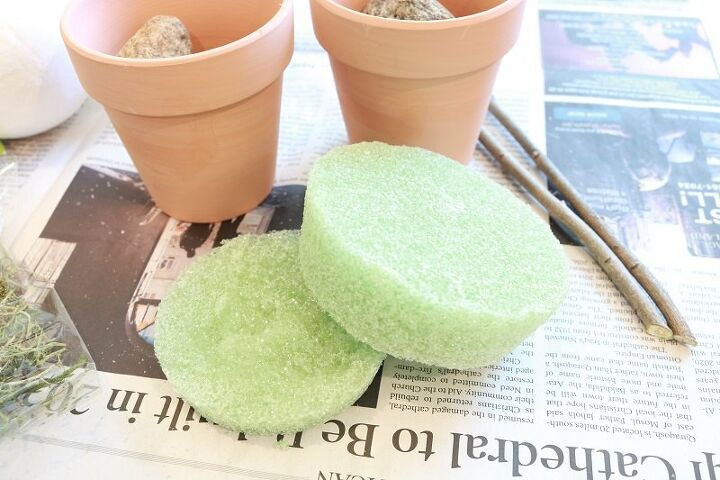
Next, you’ll need to place the floral foam piece inside the pot. Since my clay pots were pretty small, I had to trim my floral foam piece to fit inside. I used a serrated knife to do this.
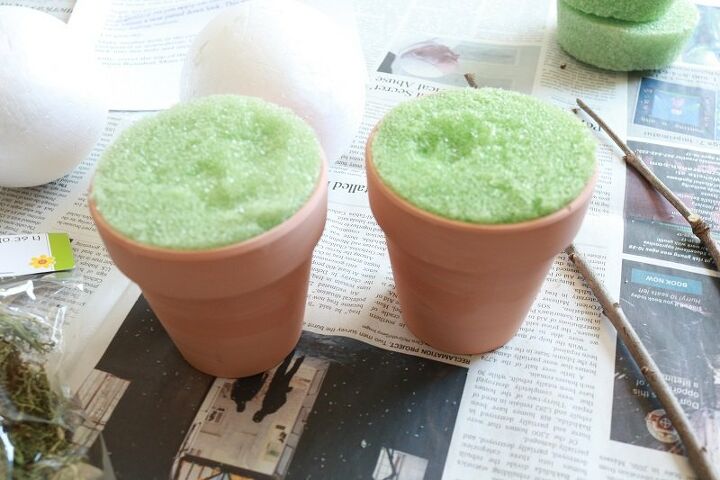
Secure the floral foam inside the pot with hot glue so that it stays put. Allow time for glue to dry.
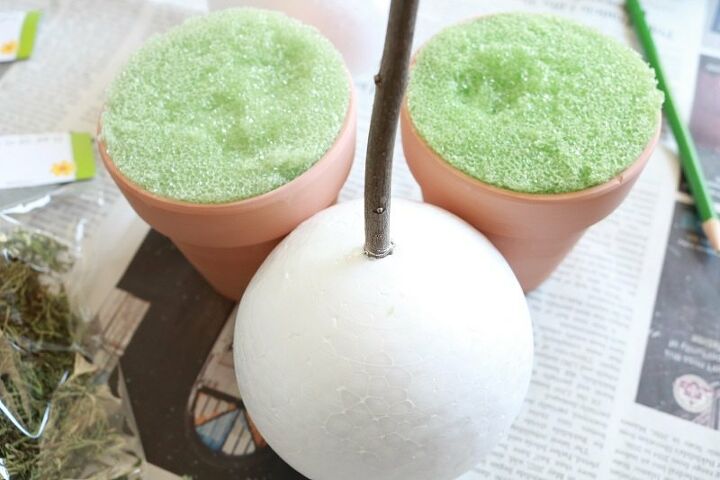
Meanwhile, make a hole in the styrofoam ball using a sharp pen, pencil or screwdriver. Insert one end of the stick into this hole and secure with hot glue.
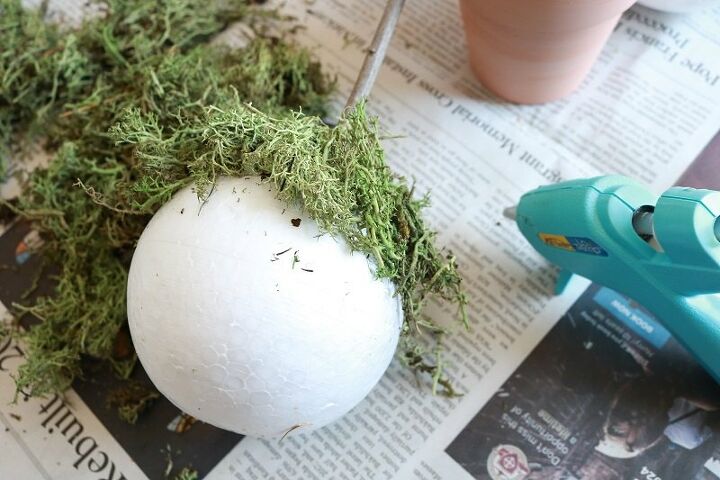
Apply hot glue on the ball in sections, and wrap Reindeer Moss on it to secure (be careful not to burn your fingers – apply the moss gently!). As you apply the moss, try to give it a ‘wilder’ look versus a neat patted down look. This will help keep the faux topiary feeling realistic.
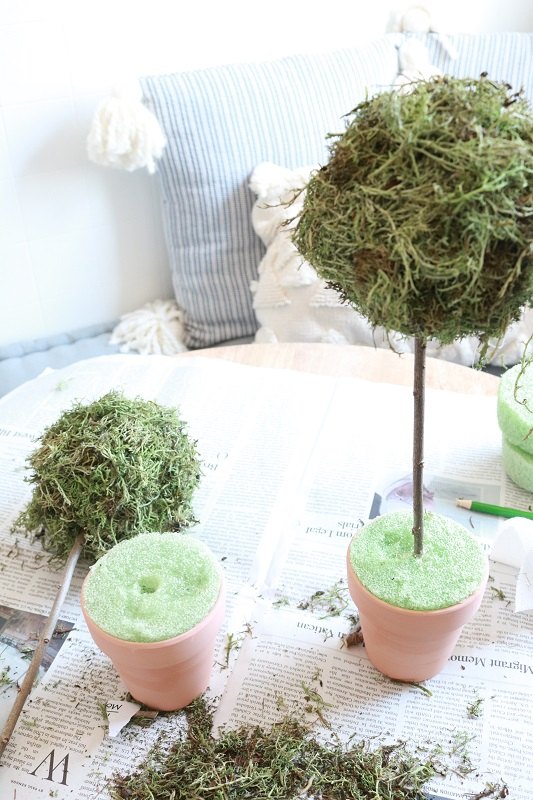
After glue dries, make another hole in the center of the floral foam using the pen/pencil or screwdriver. Trim your stick to the desired length if necessary (you don’t want the faux topiary too tall so that it topples over). Next, gently insert the bottom end of your stick into this hole and secure with hot glue.
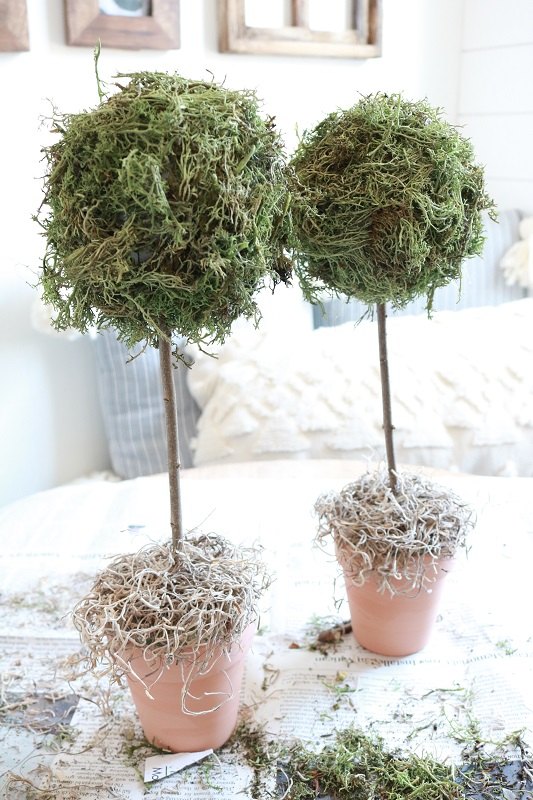
Lastly, cover the top of the floral foam piece with Spanish moss (or more Reindeer Moss if you prefer), securing with hot glue.
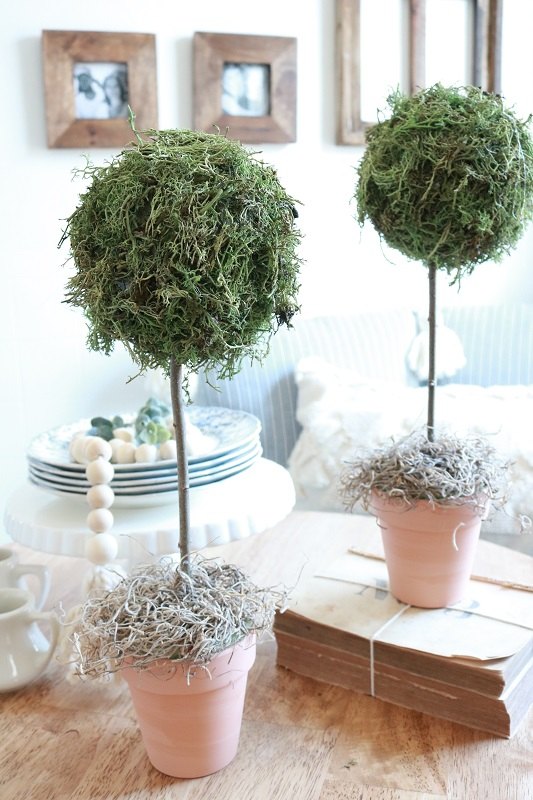
You’re ready to showcase these faux topiaries for spring!
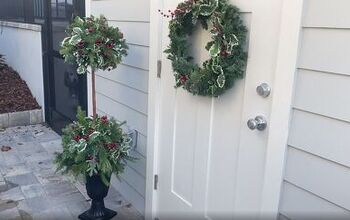
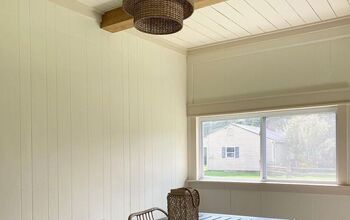
If you liked this craft, you may like these similar DIY projects at my blog.
And be sure to visit my blog for ' A Year of Farmhouse Crafts' free guide!
Resources for this project:
See all materials


Comments
Join the conversation
-
Thank you for sharing
-
I love this idea!! Great tutorial!


Frequently asked questions
Have a question about this project?