


Bathroom Vanity Upgrade
As we head into our 4th week of being at home, here's me best attempt to distract myself and feel productive. This is the second post on our masterbath update, check out masterbath tub upgrade for the initial post.
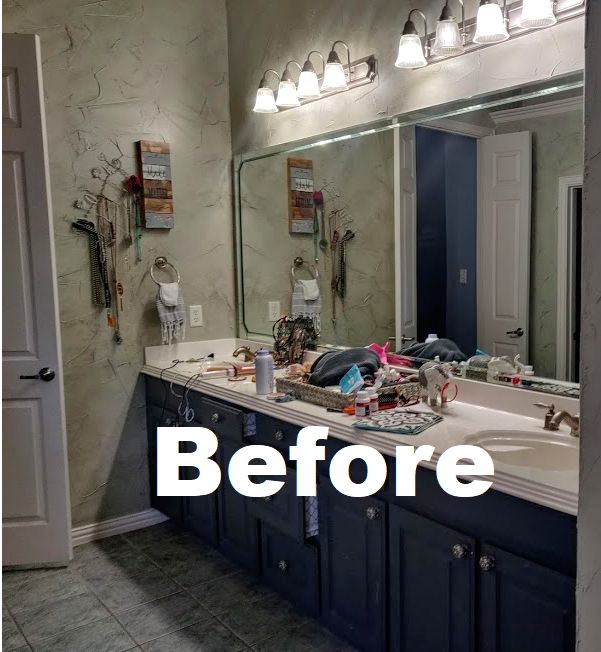
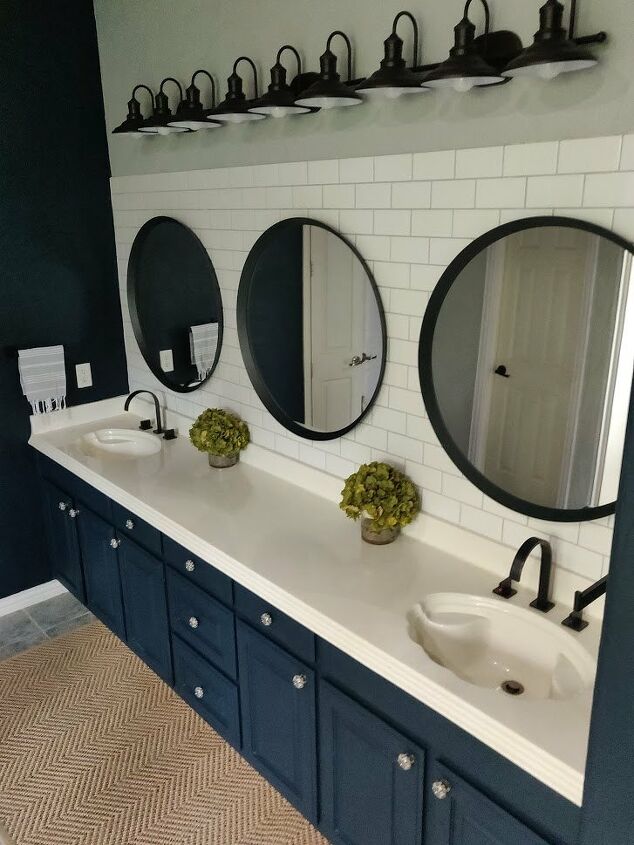
I wanted an updated clean look without a full rip and replace.
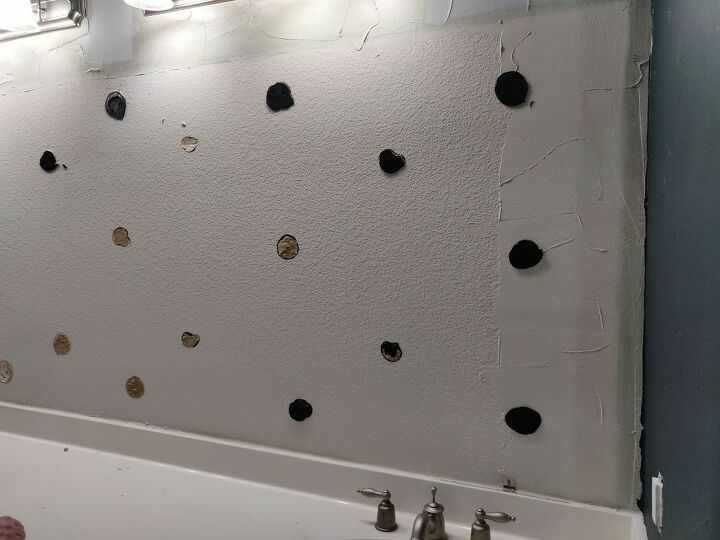
This was a delicate step because we didn't want to break the mirror. This 12 foot long miror would be saved for the master closet update, hopefully completed in the next few weeks. We used a long metal stick behind the mirror to gauge where the adhesive had been applied. Then we used a crowbar to gently pry the mirror off. After the mirror is removed, you can chip off the old adhesive with a putty knife. We also changed out the light fixtures at this point because we went from two fixtures to three, so there was some drywall repair and painting required.
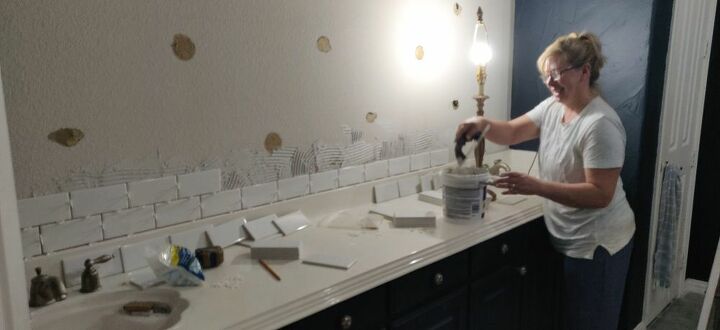
Once the wall was cleaned and prepped, it was time to tile. We started at the bottom, because the existing vanity made it easy to keep the tiles straight and don't forget to use spacers to have the tiles exact. If you need more help on tile installation, see slate tile patio.

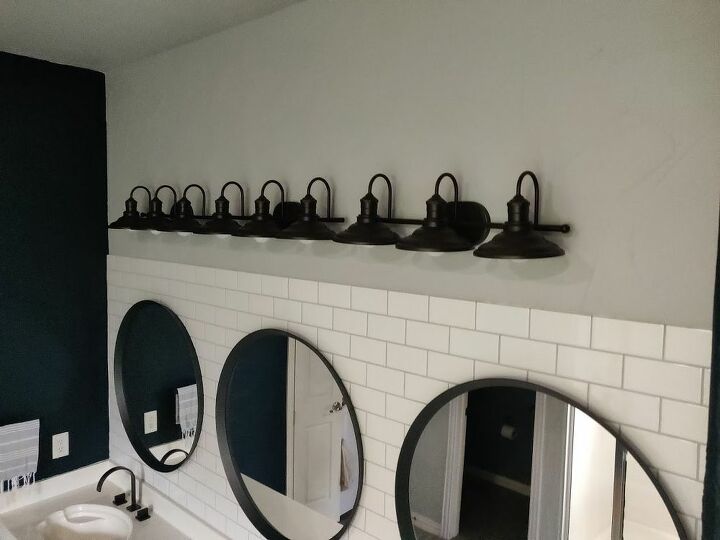
The new light fixtures came from Lowe's, the new mirrors from Ikea and the facets came from Amazon.

For additional project details, go to www.flawlesschaos.com
Resources for this project:
See all materials


Comments
Join the conversation
-
I Love It!!!! Hard work paid off on this project!!!!👍️🤩
-
Really like the third mirror, makes for a nice balance!


Frequently asked questions
Have a question about this project?
This is Beautiful....I scrolled down and I was real impressed with this..Great job! :)
How did you use the crowbar without chipping or breaking the mirror?
But now where do you keep your medicines, make-up, etc?