


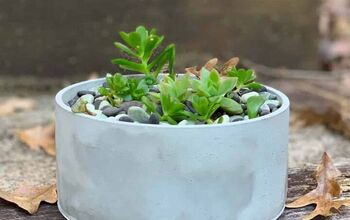
Cement Succulent Multi-Planter -From A Dollar Tree Mold
Make an easy homemade succulent planter from cement. Here’s a written and video tutorial for this fun DIY.
If you read my cement bird bath tutorial post or watched the video version of the tutorial, then you’ll see that this flower-shaped succulent planter is strongly inspired by that. While making the bird bath, I thought of another way to utilize the cool Dollar Tree chip and dip tray -make a multi-compartment succulent planter!
I thought it would be so nice to see a larger selection of succulents in one place. I guess you could call it a chip and dip tray re-purposed to a bird bath mould, re-purposed again.
The hardest thing about this for me was figuring out what type of succulent to plant where. I’m so not good at arranging plants. I had a decent assortment of succulents on hand to choose from, but creating the right layout was a challenge. Keep in mind I’m a kitchen designer by day- so these things shouldn’t be so hard? Ha!

Homemade Cement Succulent Planter Video Tutorial
** If you like making things with cement, then you may want to check out my article on how I tested all the different cement mixes, as well as tested sealers and more. There you'll be able to download my free Pocket Guide To Concrete & Cement mixes. 
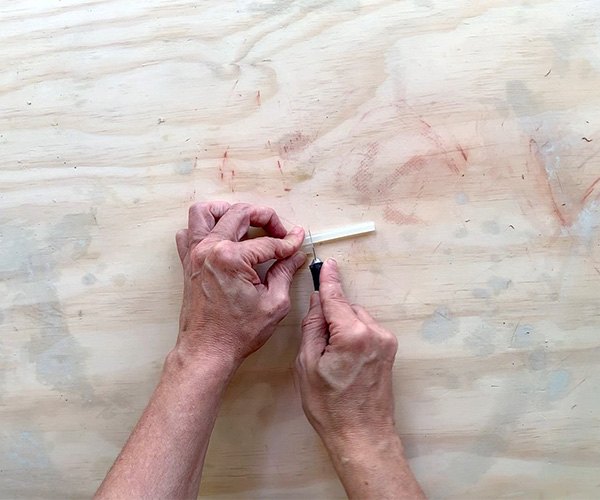
First heat up the glue gun. While that’s heating up, take the glue stick and measure out one piece, somewhere between 5/8 and 3/4″.
Then use that piece as your template for the rest of the pieces. You will need 14 of them, so take the X-acto and trim each piece.
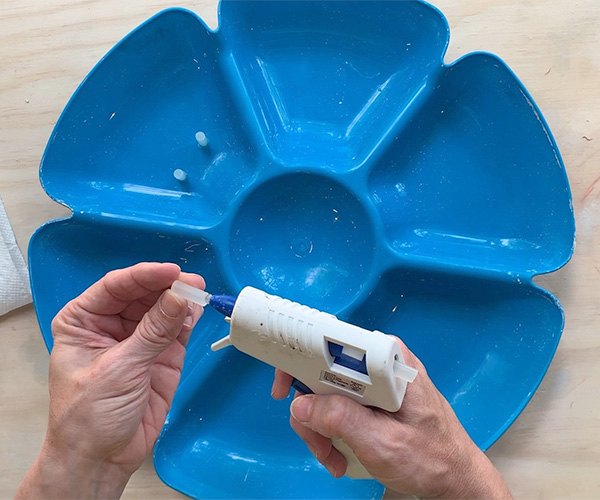
Sounds weird, huh? Yep, in order to create drainage holes for your cement planter, you’ll want to hot glue each of your glue sticks to the bottom of the plastic petal mould. I glued 2 pieces in each petal and the center.
UPDATE ** Since I originally created this post, I stopped using glue sticks for the drainage. Instead I use pieces of a drinking straw and hot glue those to the form, as well as put a dab of glue in the open end.
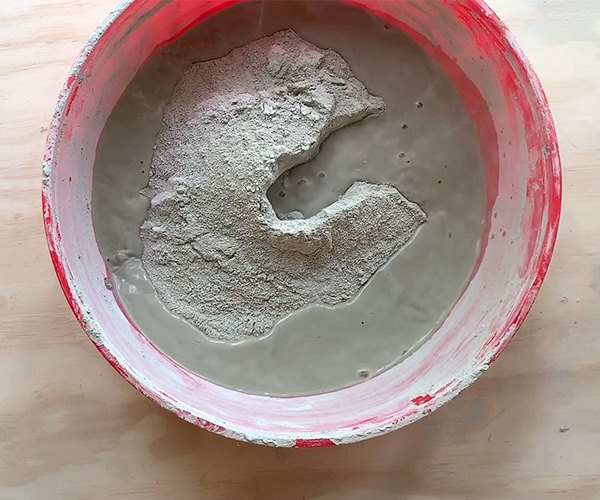
With the disposable plastic cup and disposable measuring cup, pour in the dry cement and some water. Start mixing slowly, be sure to wear gloves, and when each batch has no lumps, then add another scoop and more water. It’s important to mix the cement in batches to keep the consistency smooth.
All together I added about 6 cups of mix, so my bowl was about 3/4″ of the way full. You need enough cement so that when you add the second plastic mould, the cement will spill over the sides.
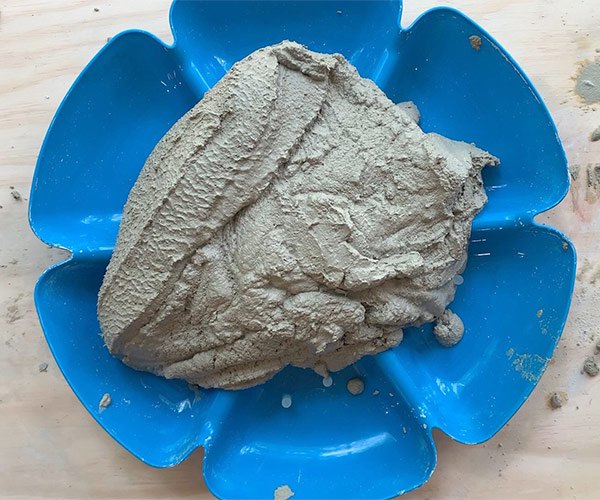
So now that the cement is fully mixed, you can pour it into the mould that has the glued hot glue sticks. You’ll know that you made enough cement mix if the mould is nearly full.
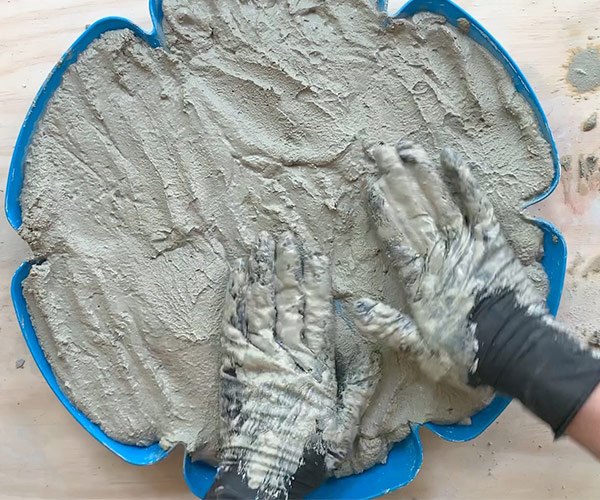
Pat the cement down into the petals and shake the cement mould until you have the cement level in each petal, and if air bubbles rise, pop them and shake until most of the air bubbles are gone and everything looks even.
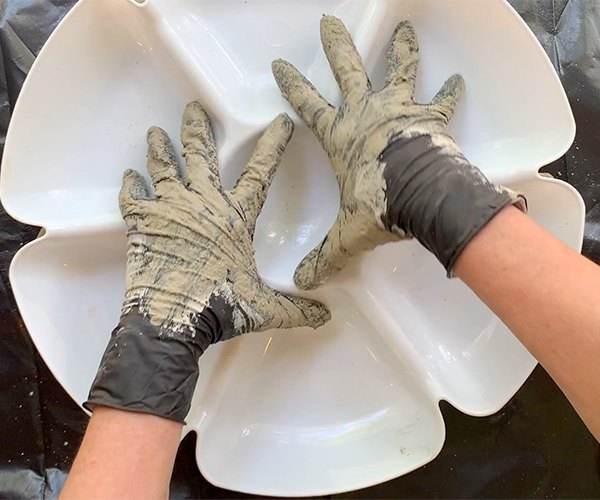
This next step gets a bit messy, so take a plastic garbage bag and place it underneath the take the 2nd mould piece and push it down on top of the one with the concrete and press firmly, using some body weight for pressure.
There will be resistance once you hit the glue sticks, and it’s okay to keep applying some pressure on them.
You will have excess cement coming out of the moulds, this is good- it means you probably have enough cement in there. Just wipe off the excess so that you don’t end up with undercuts that will make removing the cement difficult.
Now let it cure for at least 2-3 hours. If it is still warm to the touch, then wait until there is no heat coming off of it.
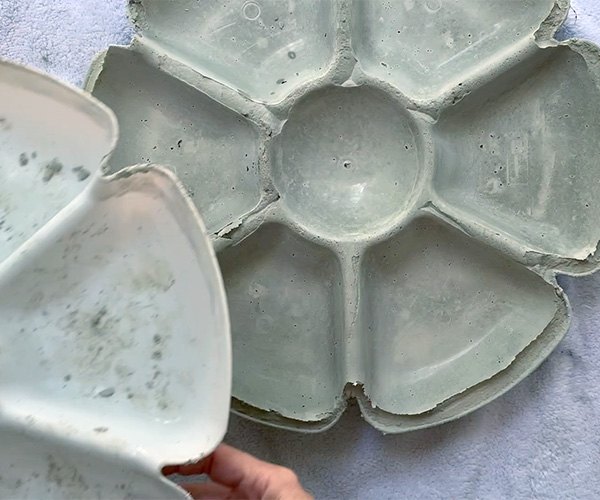
Take off the top mould and then place an old towel underneath and remove the cement from the bottom mould and if it is sticking, just carefully work the plastic away from the cement.
UPDATE ** Since I originally created this post, I stopped using glue sticks for the drainage. Instead I use pieces of a drinking straw and hot glue those to the form, as well as put a dab of glue in the open end. You may have to drill some of them out still but they do come out easily.
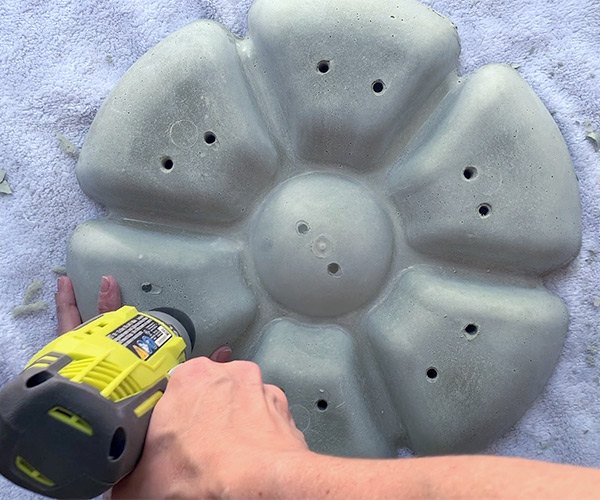
Next, keep the towel underneath and remove the glue sticks from the cement planter by using the power dill. This step took a little bit of time to do- probably 15-20 minutes.
Take the drill carefully and drill out the pieces of the glue stick from the bottom of the succulent planter, most of which should be visible from underneath.
You may need to pull the drill in and out to get the pieces out. Be careful to drill only the glue and the cement so that you don’t accidentally crack it.
**For another interesting planter project you may be interested in, check out the Cement Fabric Flower Pot on my blog.
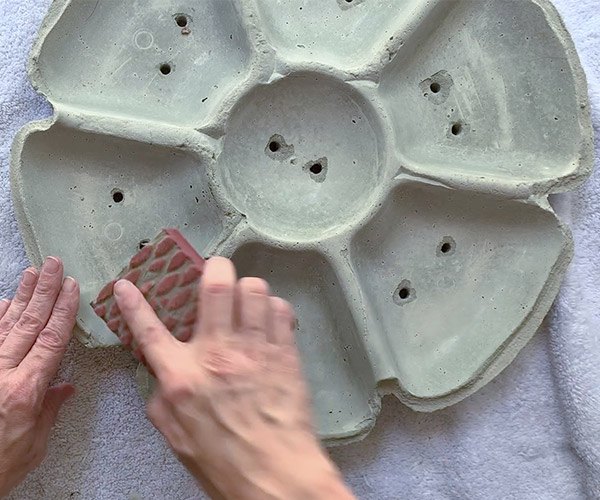
The cement planter is ready for finishing. You can file or chisel the rough edges and sand. I used a chisel and took down the sharp edges to make it look and feel smoother. After that, I used the sanding block to finish it up- though it really didn’t need much sanding.
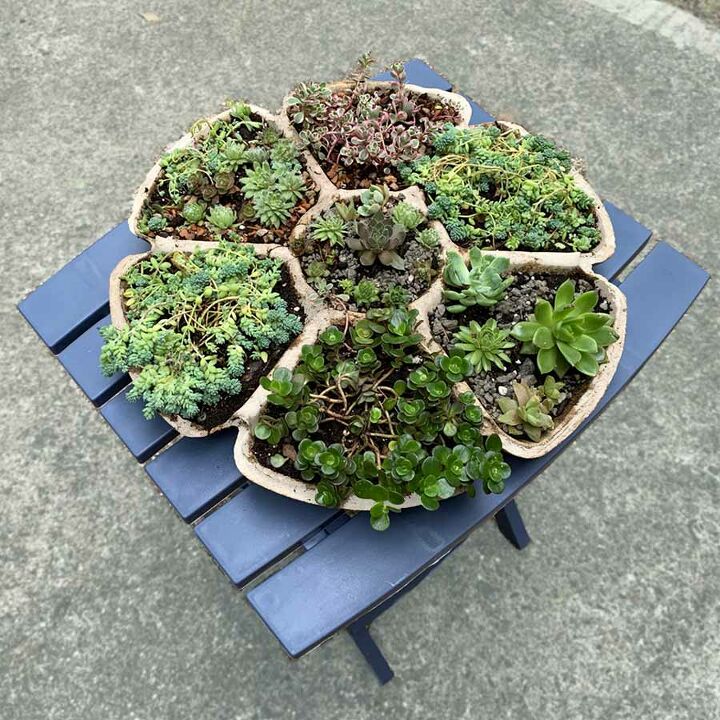
Finally, it’s time for planting. Fill it with soil and add the plants to your homemade cement succulent planter. Let me know how you would arrange yours!
Resources for this project:
See all materials


Comments
Join the conversation
-
I'm inspired!! Beautiful.
-
To Artsy;
Can’t wait to see your steppingstones 🙃


Frequently asked questions
Have a question about this project?
I live in an apartment and concrete doesn't really work. Does anyone have any idea about a substitute material?
I am sure I can just paint this with some concrete paint; but isn't there some type of dye that can be used in the concrete to make this a colorful pot?
Why can’t holes be drilled with a cement bit when it’s hard instead of using the glue sticks?