


How to Make the Cutest Outdoor Dollar Tree Fence Basket
If you're looking to add some life to an outdoor space, then grab some fencing from the dollar store to create this cute summer basket.
This post was transcribed by a member of the Hometalk editorial team from the original HometalkTV episode.
Watch the video for more details!

1. Gather materials
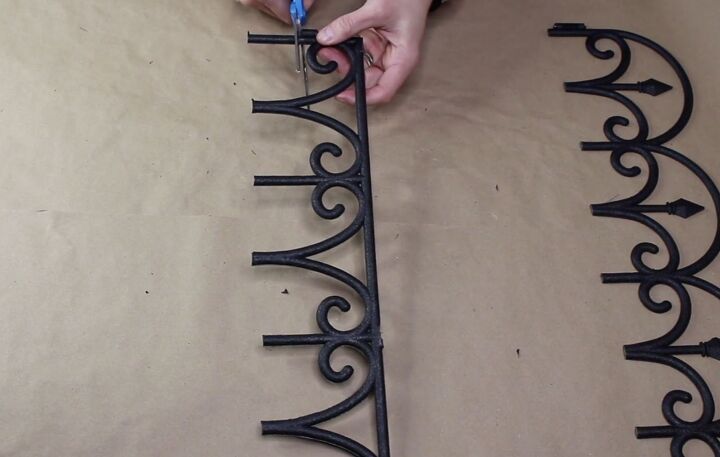
For this project, I am going to start with some flexible plastic garden fences that I picked up at Dollar Tree.
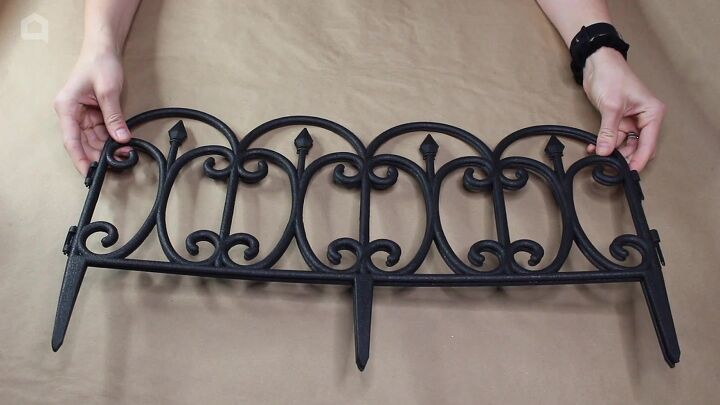
You will need four of them.
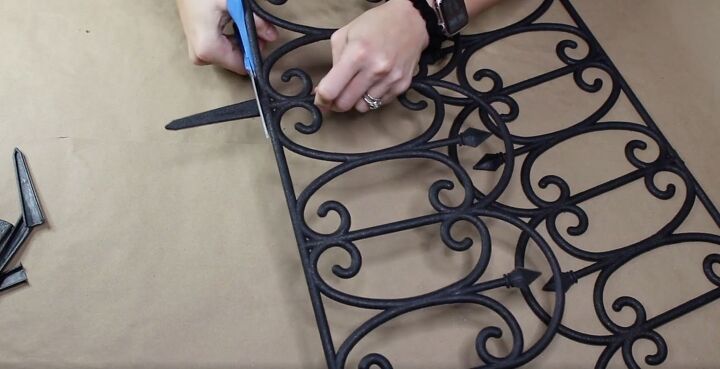
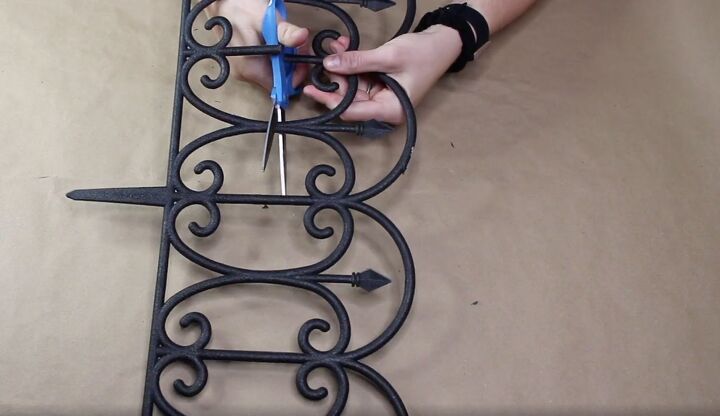
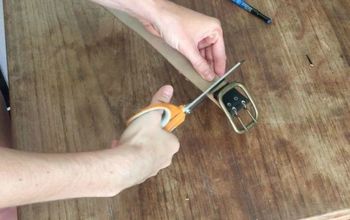
2. Cut the fencing
To start, I am going to take two of them and cut the bottoms off. I used regular scissors for this part and I was able to cut them easily.
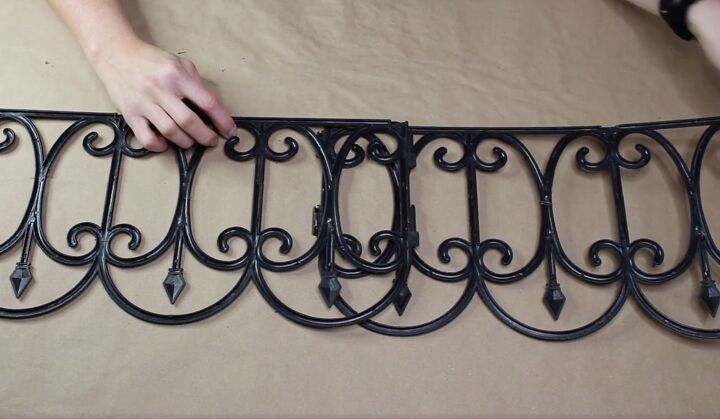
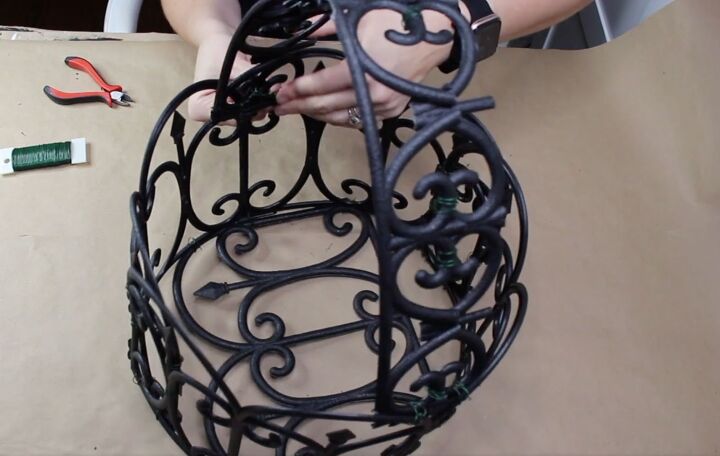
3. Create the sides of the garden basket
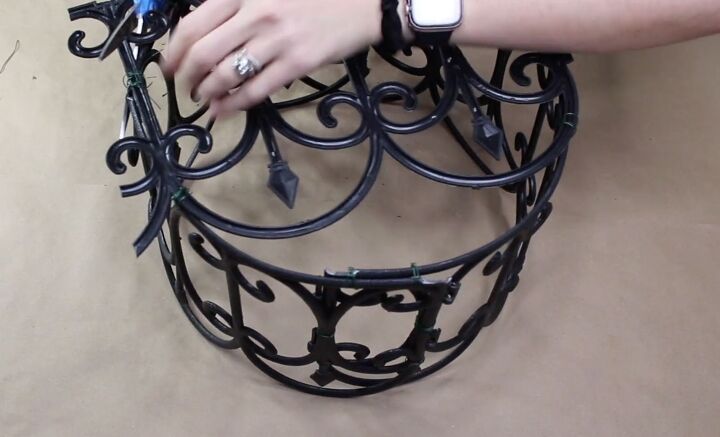
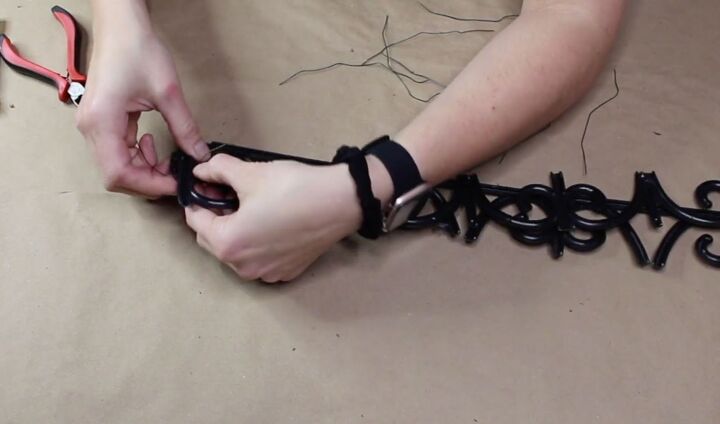
Once the bases were cut off, I laid the two pieces down and overlapped them a little.
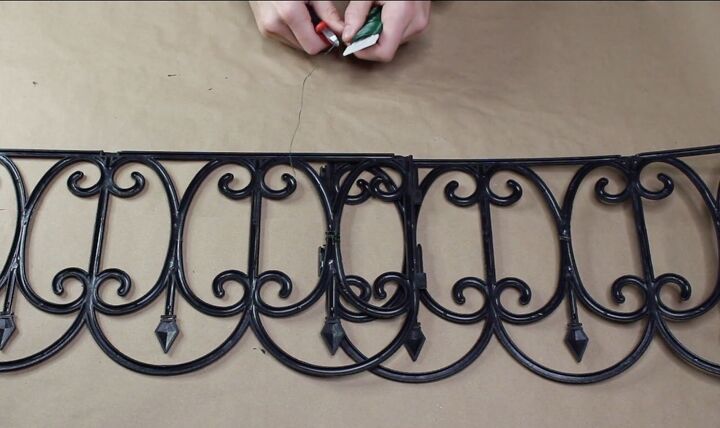
To secure the two pieces together, I cut little lengths of floral wire and wrapped them around both pieces of fencing.
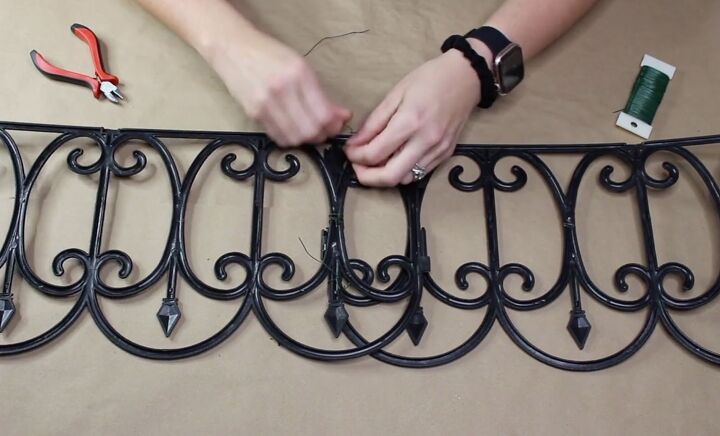
I secured the fences in several different spots so that they wouldn't wiggle too much.
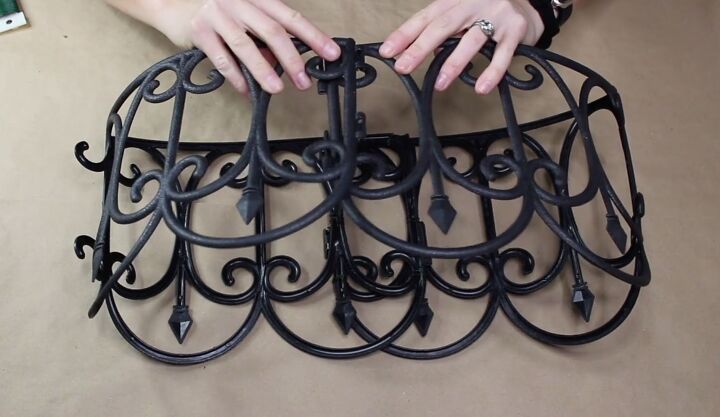
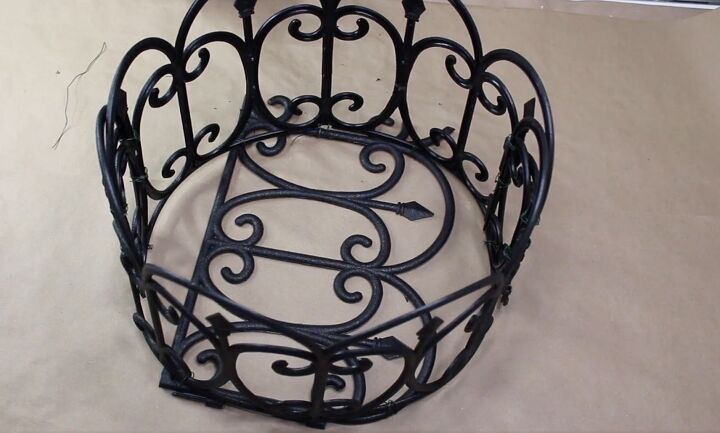
Next, I wrapped them into a circle.
I wanted the pieces to maintain that round shape so I overlapped the pieces a little bit again and then secured them with more floral wire.
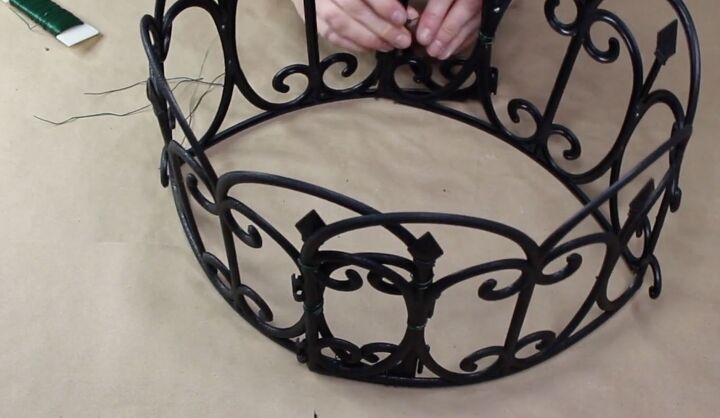
4. Create a base
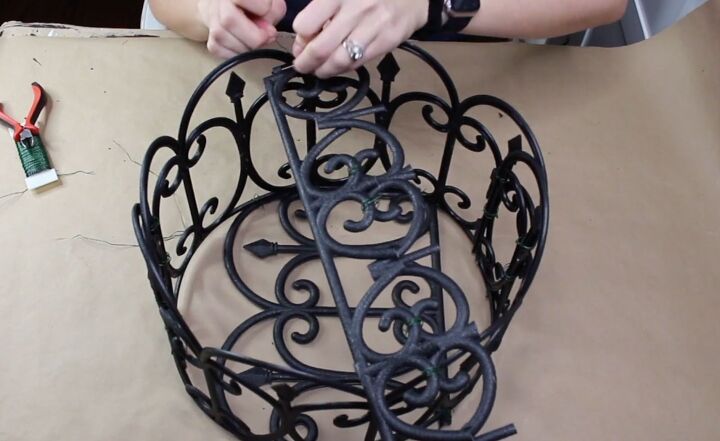
With the circle created, I laid it over top of another piece of fencing.
I made note of where the circle fell on the flat piece and trimmed the excess off and then secured it to the circle with the floral wire. I started by tying the four corners to the circle and then did a few more places so that it kept the shape I wanted.
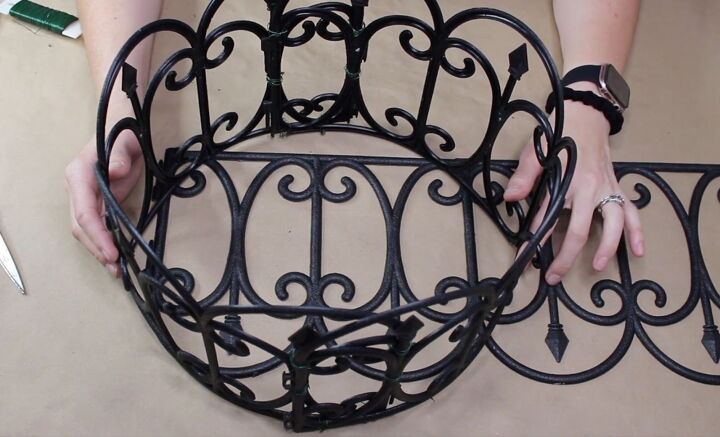
After the bottom was secured to the circle. I went ahead and cut off the excess that was sticking out.
5. Create a handle
Next, I wanted to create a handle for the basket. I started by taking the last piece of fencing and cutting it in half.
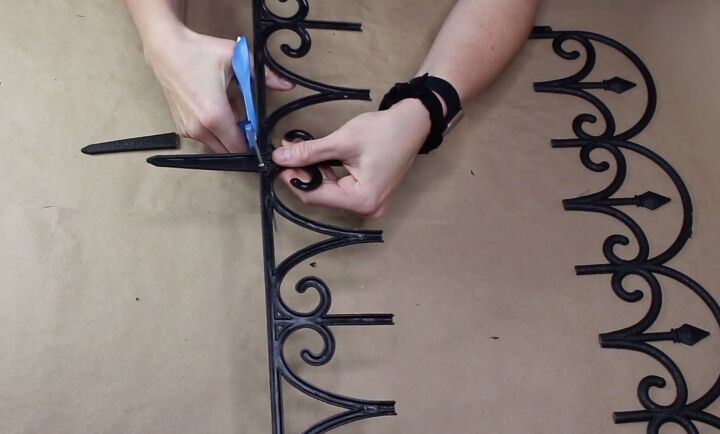
With the piece cut in half, I wanted to trim down the two pieces until they were a shape I liked. On the bottom piece, I cut off the spikes.
I also trimmed off some of the high pieces.
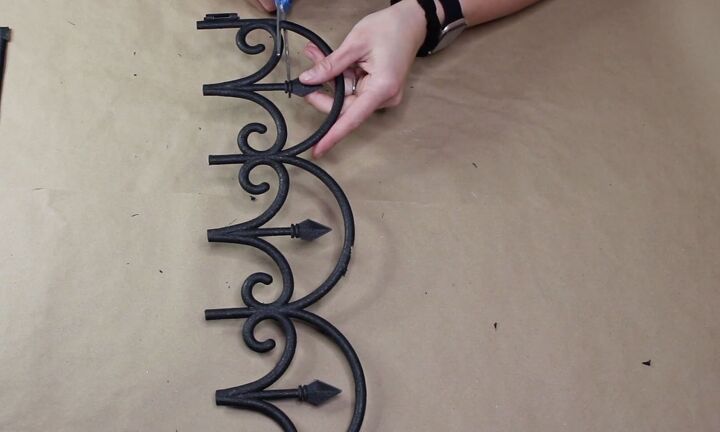
On the top piece, I trimmed off the hoops and the points.
I secured the two pieces together with the floral wire, one over top of the other to create the handle.
Once they were secured together, I needed to attach them to the basket. I started on one side and held the end of the handle on the inside of the basket and tied it in place with the wire.
Then I bent the hand and tied the other side in place as well.
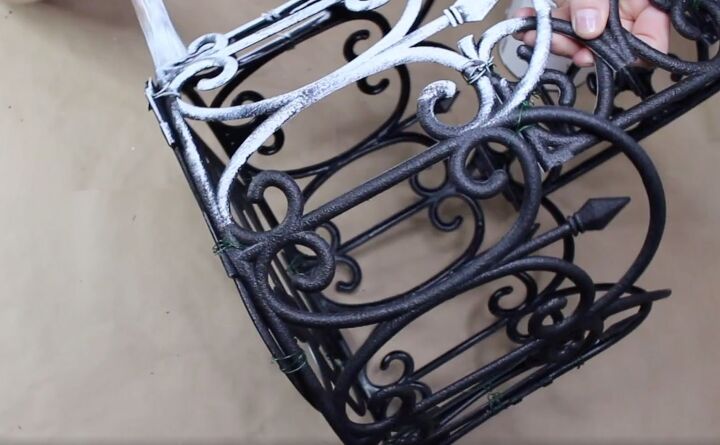
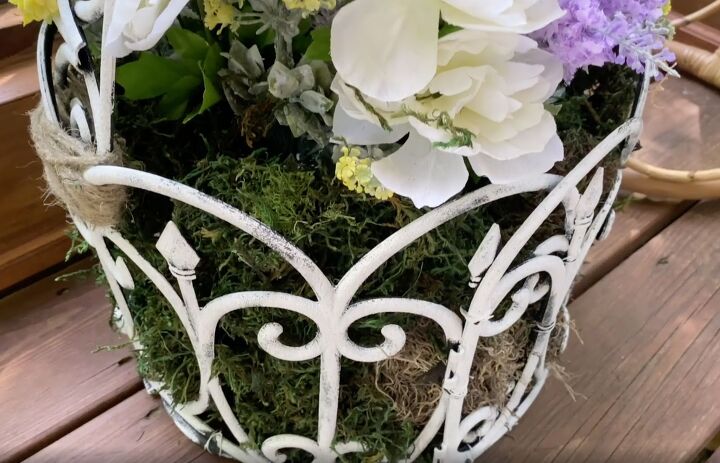
To give the basket a beautiful rustic vibe, I used some Rustoleum paint to paint it white.
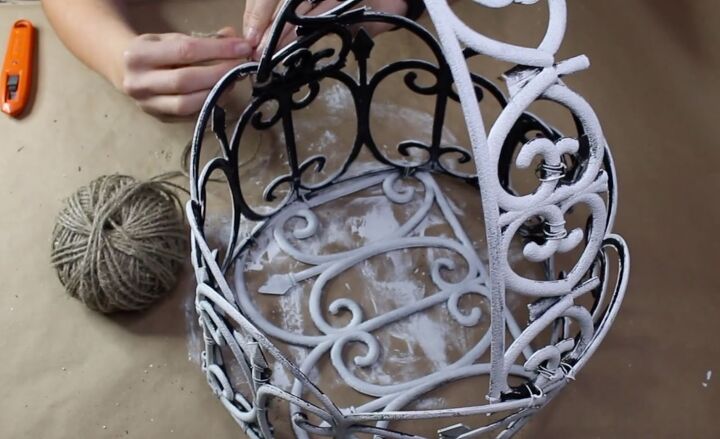
6. Finishing touches
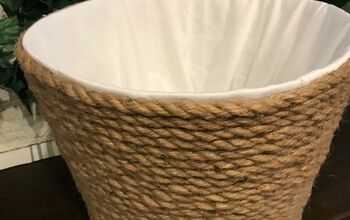
To finish off the basket, I wanted to add some twine to the handles to give it a nice decorative feel. The twine also helped to secure the handles in place.
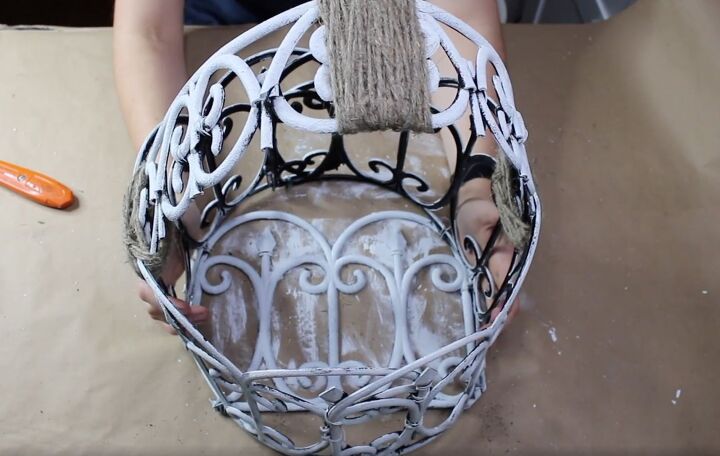
I wrapped twine all around both ends of the handles and some in the middle of the handle as well.
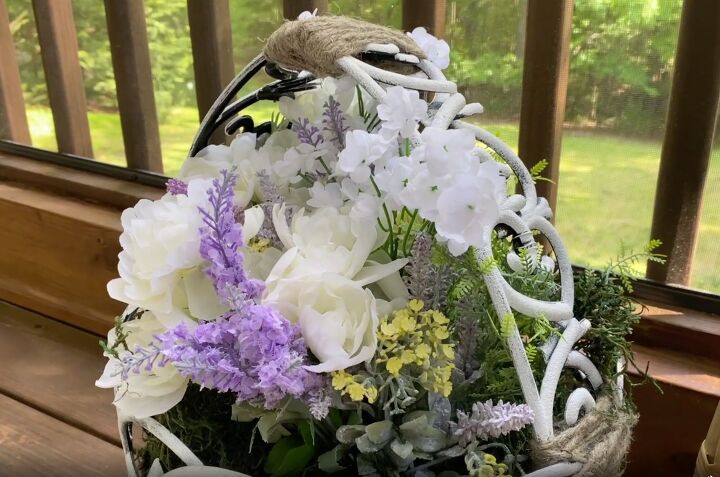
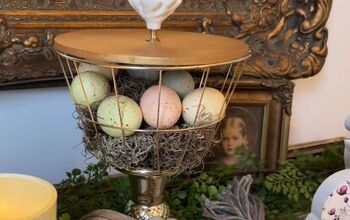
And here is the final piece, isn't it gorgeous?
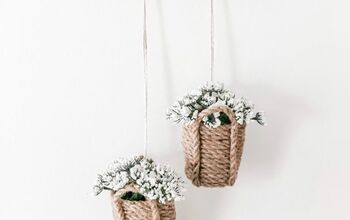
More Outdoor Ideas
Dollar Tree fence basket tutorial
I love how this basket turned out and it only cost a few dollars. I filled it with flowers and moss and placed it on my screened-in porch.
Let me know what you think and if you decide to make one, I would love to see your creations in the comments
Resources for this project:
See all materials


Comments
Join the conversation
-
I love this idea! Great video! I will be making these for my daughter in law for her beautiful new home for Mothers Day. I will use small tie wraps instead of the wire so it will be rust free during the rainy weather days!
-
Great idea to use as table decorations for graduation parties or weddings!


Frequently asked questions
Have a question about this project?
Good morning - just a thought after seeing the wonderful creation you made....I wonder if you could make "fake" porch trim like what you see on Victorian house porches?
That's adorable! Is it sturdy enough to actually lift by the handle, or is the handle just decorative?
Very clever! It reminds me of old wrought iron. Thanks for sharing.🥰👍