


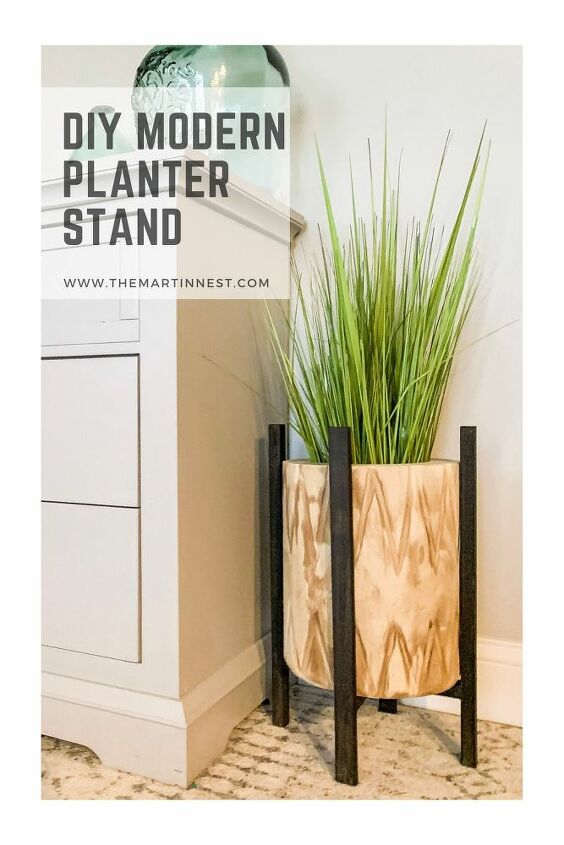
DIY Modern Planter Stand From Scrap Wood
If you’re looking for a way to use up some scrap wood and elevate your planters to a new level then this DIY modern planter stand is a quick and easy project. With the right tools on hand, you can have this scrap wood planter stand finished in about an hour.
I’m providing my measurements as a guide, but be sure to adjust your measurements according to your own planter size and preferred height(s).
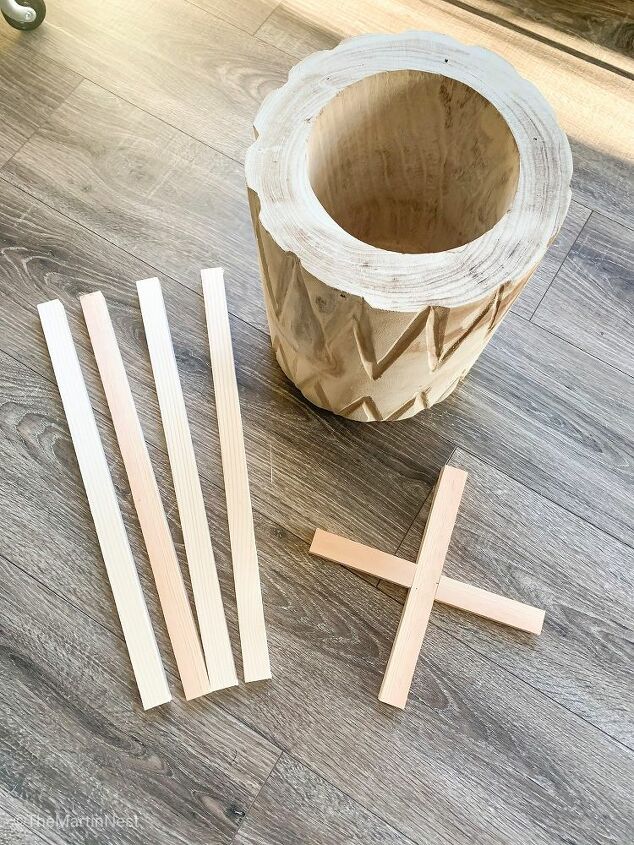
Measure the size of your planter. My planter was 10.25” in diameter at it’s widest point and 12.25” in height. I knew that I wanted mine to be elevated about 5” off of the ground with roughly two” of overhang at the top so I calculated my leg lengths at around 19.25”.
To calculate your cross piece lengths you will make one cut the same length as your planter’s diameter. So in my case, 10.25” For the opposing cross pieces, you will make two separate cuts. You have to make sure to subtract the width of your first cross piece cut to accommodate for space. My wood was 1” in width.
If you need additional help with calculating your measurements I have some simple formulas on the blog post to help!
Step 2: Make your Cuts
Use the appropriate safety gear and make your cuts on a miter saw. If you don’t have a miter saw, most smaller cuts of wood can easily be made with a hand saw and miter box to ensure straight cuts.
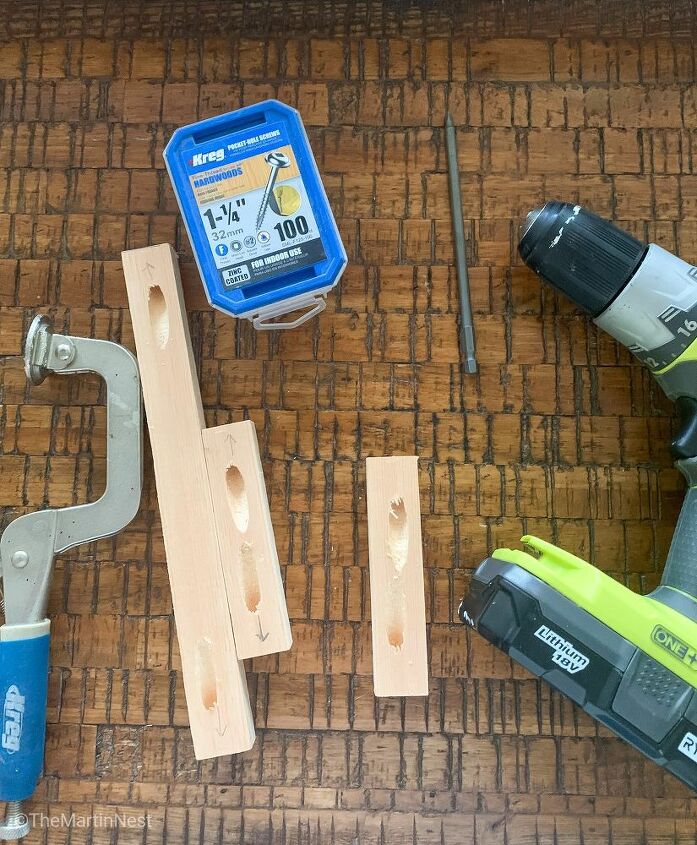
I used my Kreg Jig K4 (link) to attach my cross pieces. There are multiple ways you could attach this joint but at the time of this project we were deep into COVID-19 shelter-at-home orders so I used what I had on hand.
Other options could include dowel joinery or half lap joints.
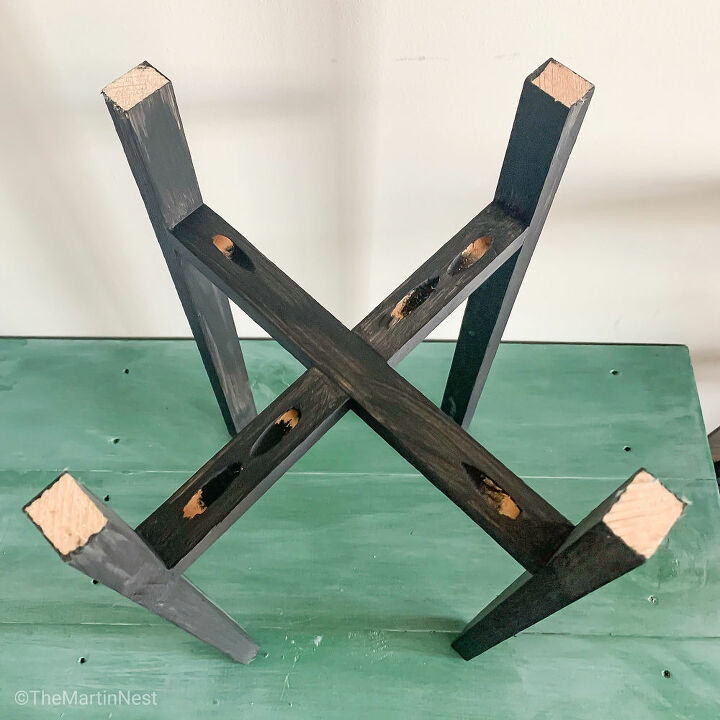
If using a Kreg Jig, be sure to adjust your Jig Settings and drill bit collar to the appropriate depths. I drilled one pocket hole into both ends of each of the cross cut pieces.
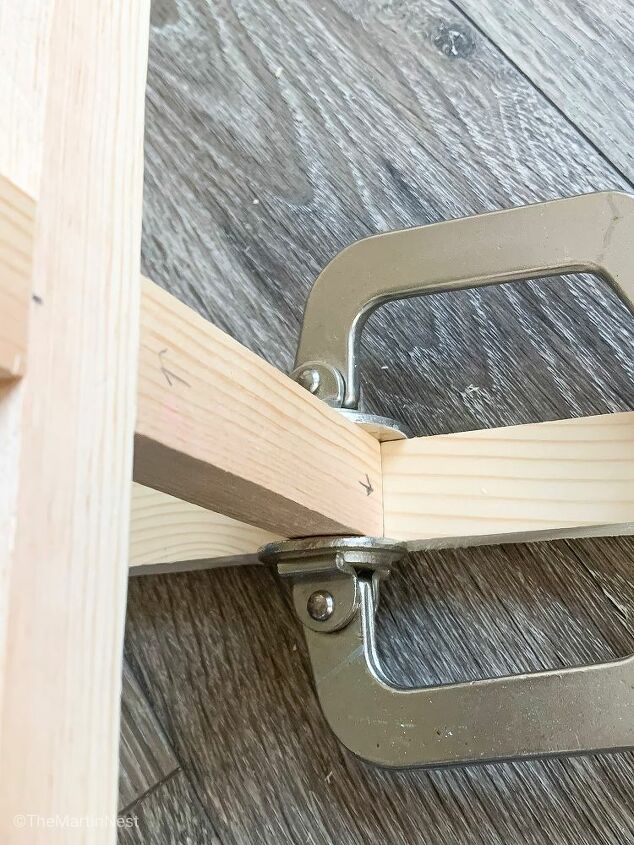
Using some wood glue and clamps I attached my 3 cross pieces together.
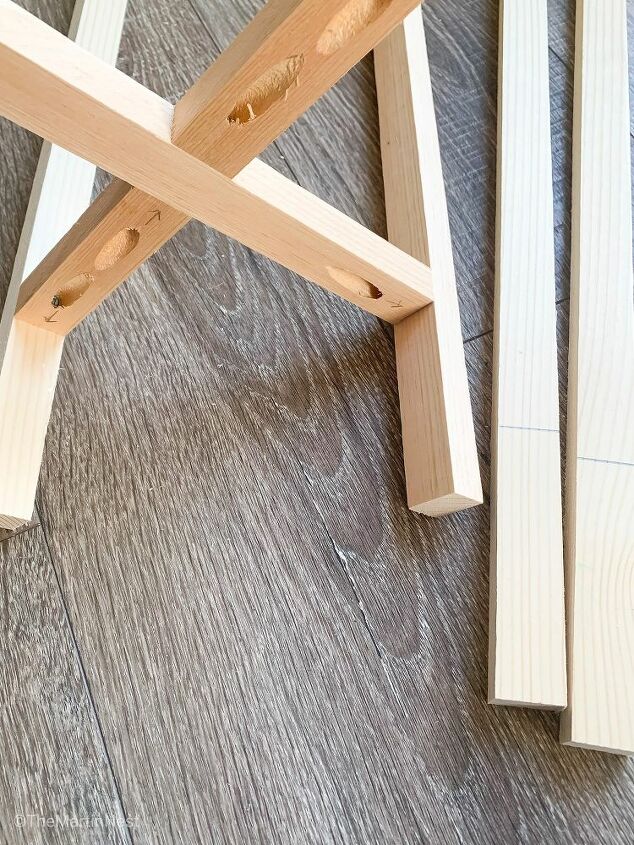
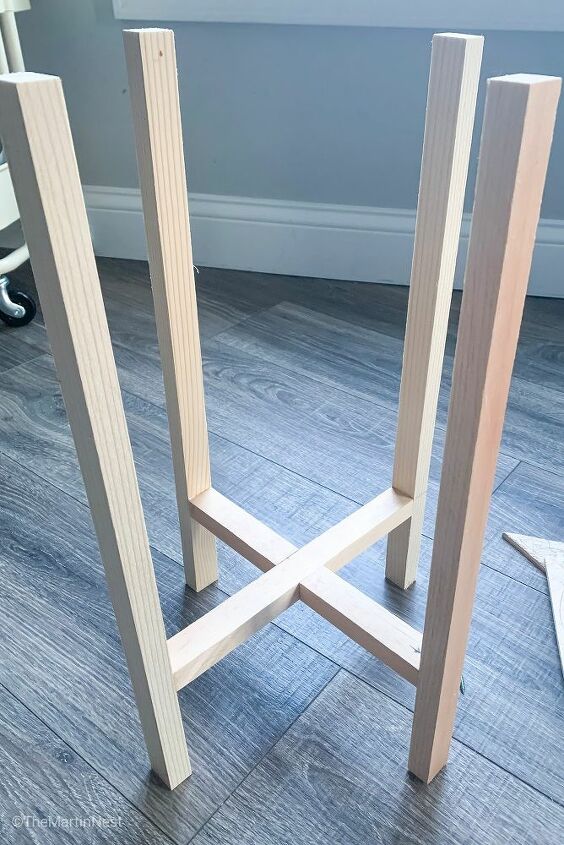
Then I lined all four of my legs up together and used my speed triangle to make a straight line across all 4 pieces at the 5” mark (remember this is how much height I wanted my planter to have from the ground).
This line will be your guide for where to attach your cross pieces.
Attach all 4 legs using wood glue and clamps as well. It can get a little tricky keeping everything lined up and straight, so if you have someone to give you a hand it helps.
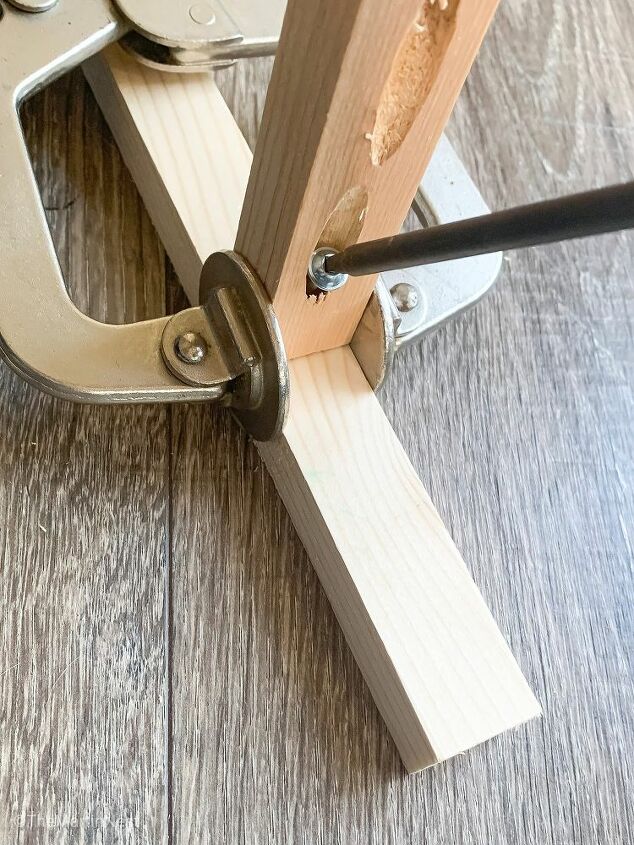
Full disclosure, my planter felt a little wobbly at first. Most likely because I was only able to get one screw into each joint due to the width. But after the glue dried it seems much sturdier.
If you’re using wood that’s wide enough to accommodate two pocket holes on each end and/or another type of joint I would recommend that. You could also use a nail gun to put a nail through the outside of each leg into the cross pieces for added stability if you choose (I did not)
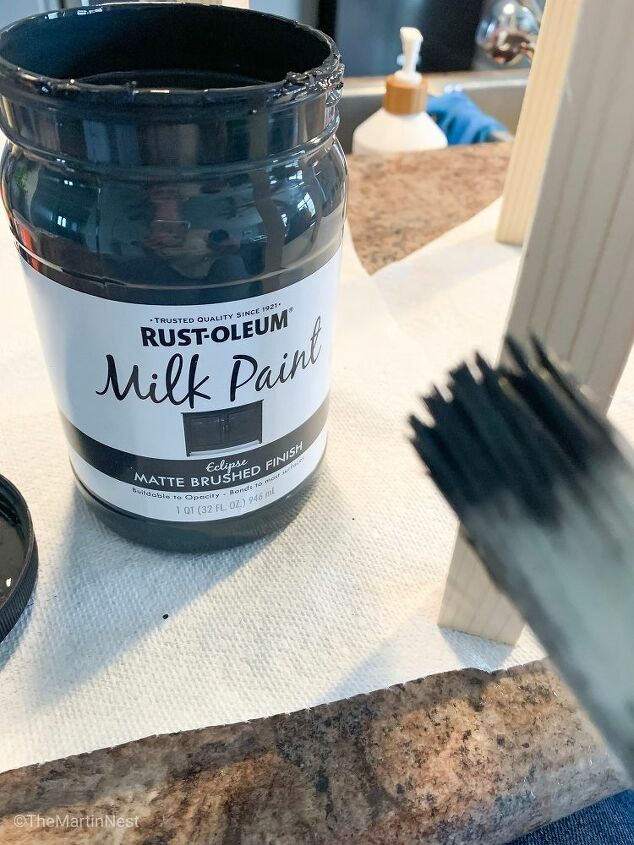
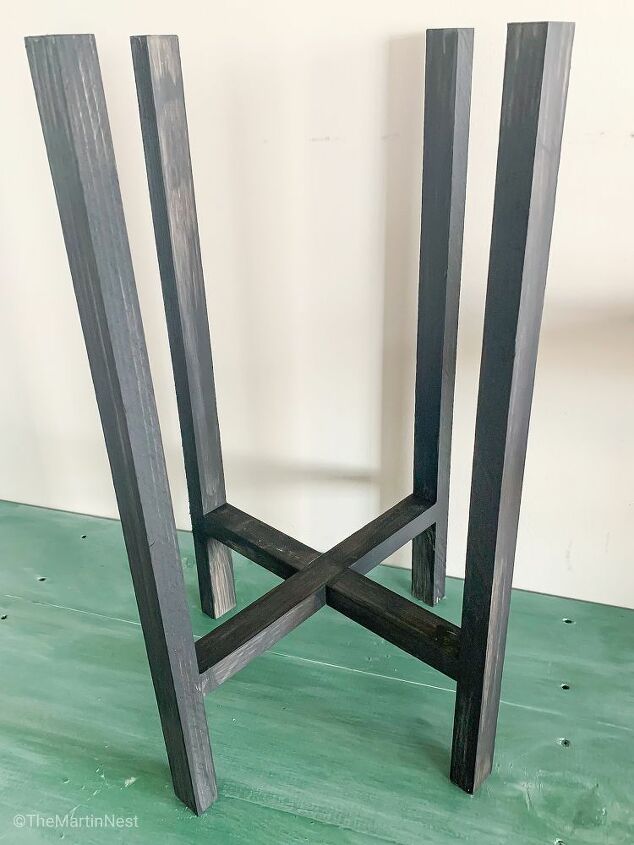
Depending on the look you’re going for you could leave the planter as is. Since my planter was natural wood already, I chose to paint mine black. I used this milk paint that goes on with a brushed look after one coat but darkens up with additional coats.
And there you have it! A DIY modern planter stand from scrap wood! Stands like these can come with an insane price tag in the store, and you can make your own for pennies! Not to mention the ability to customize them for your own planter shapes and sizes.
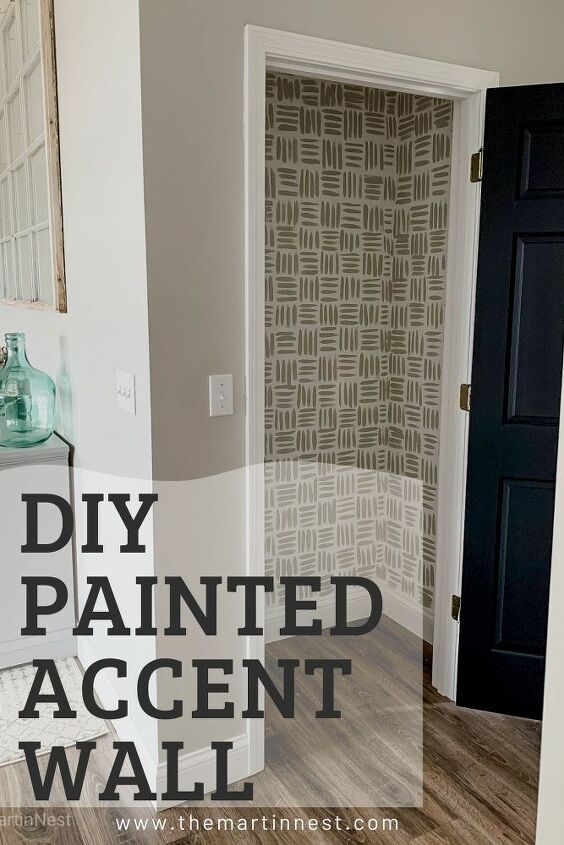
If you're looking for more Easy DIY projects to do while you're hanging at home check out this DIY Wallpaper I created using leftover paint

Resources for this project:
See all materials


Comments
Join the conversation
-
Love the plant stand, but LOVE the wood shim art!
-
This project is AWESOME! I love it. Thanks for sharing!


Frequently asked questions
Have a question about this project?