


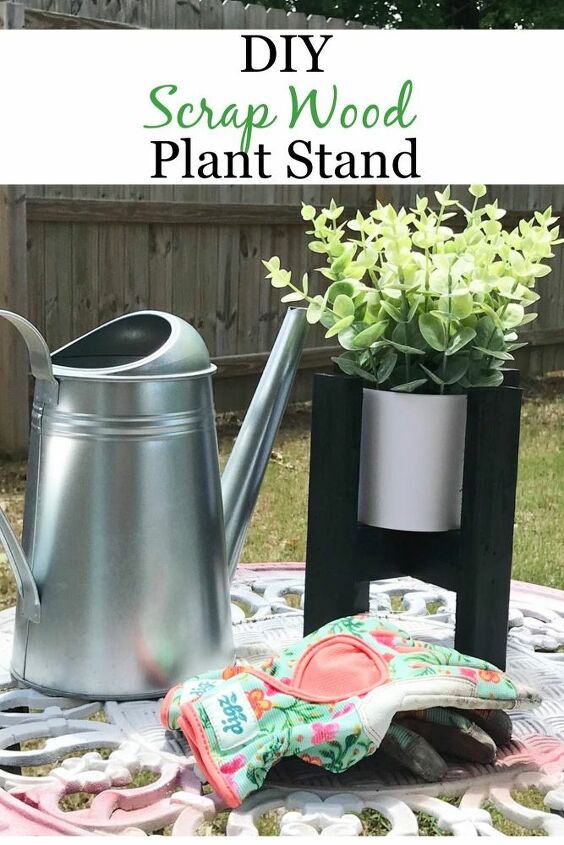
DIY Modern Planter Stand
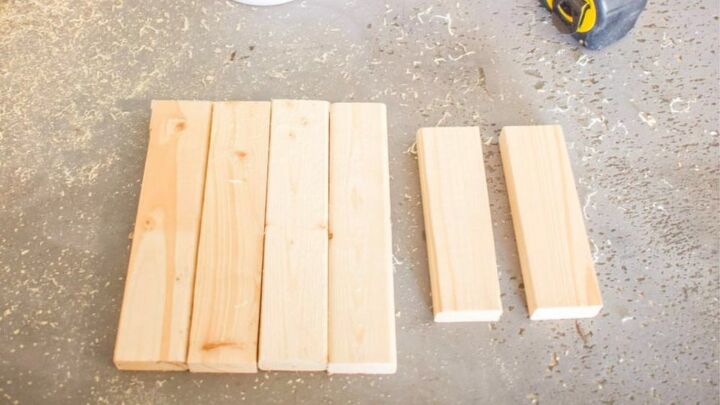
- Start by deciding how tall you want your stand to be, mine is about 7in tall because that's how tall my scrap wood pieces were. Cut (4) legs to your desired height & (2) pieces to your desired width. Mine ended up being 4in pieces.
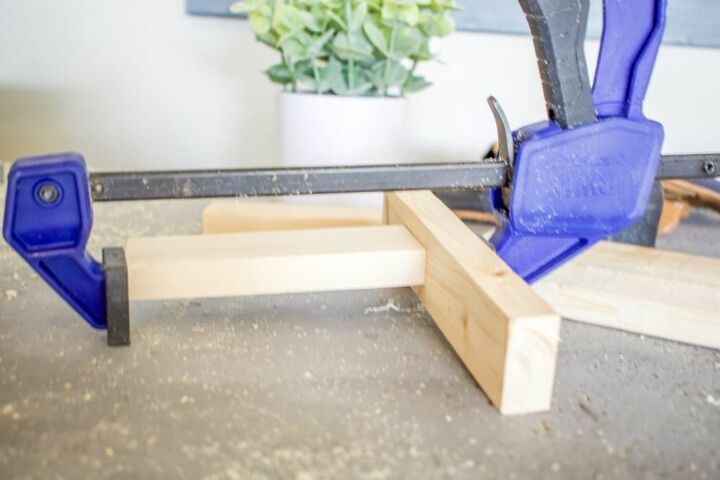
2. Next, I attached one of my 4in pieces to one 7in leg using Gorilla Glue & a clamp. I put this piece 2in from the bottom of the leg piece. Once it was clamped it was easy to use my nail gun to shoot in two small nails from the outside.
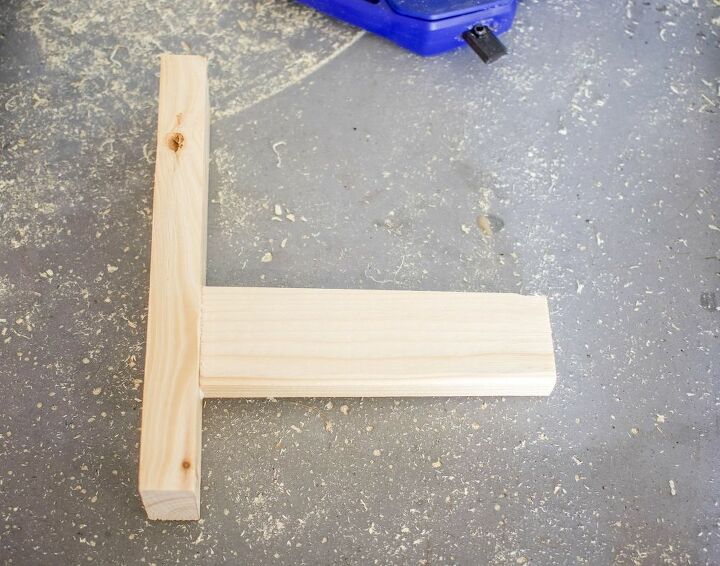
3. Once the first leg is attached its time to add another leg on the other side using the same method.
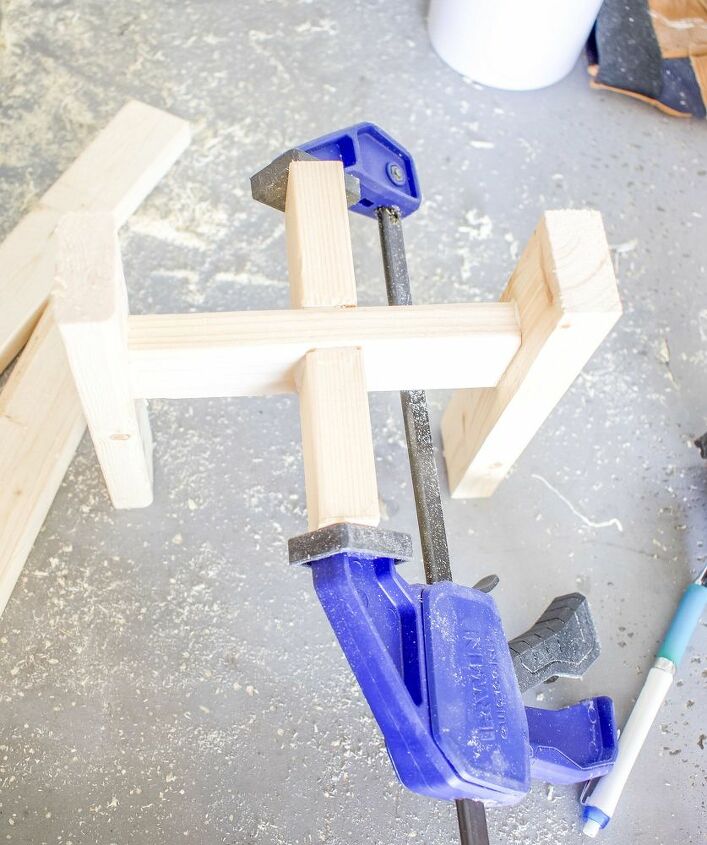
4. Now that we have both legs attached its time to add our second smaller middle piece. To get the size for this second middle piece I just held it up to the other middle piece & marked the thickness with a pencil on each side & cut my two pieces. Sure you could have just done some math but this was the easy way & I like easy. Attach them to the other middle piece using glue & angled nails,
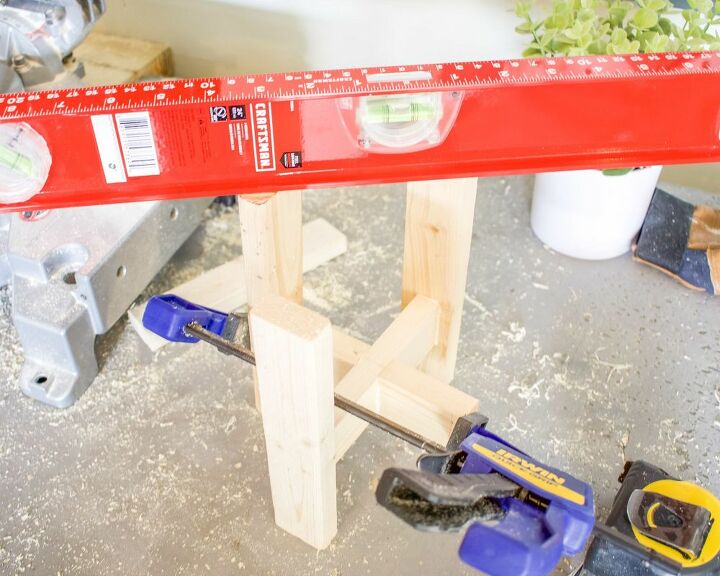
5. Once the middle pieces are attached its time to add the last 2 legs the same way. Use a level when attaching each leg to make sure the stand doesn't end up all wobbly.

6. Finally, its time to paint! You can paint or stain the stand any color you want but I wanted it the same flat black color as the large outside planters boxes I just made.
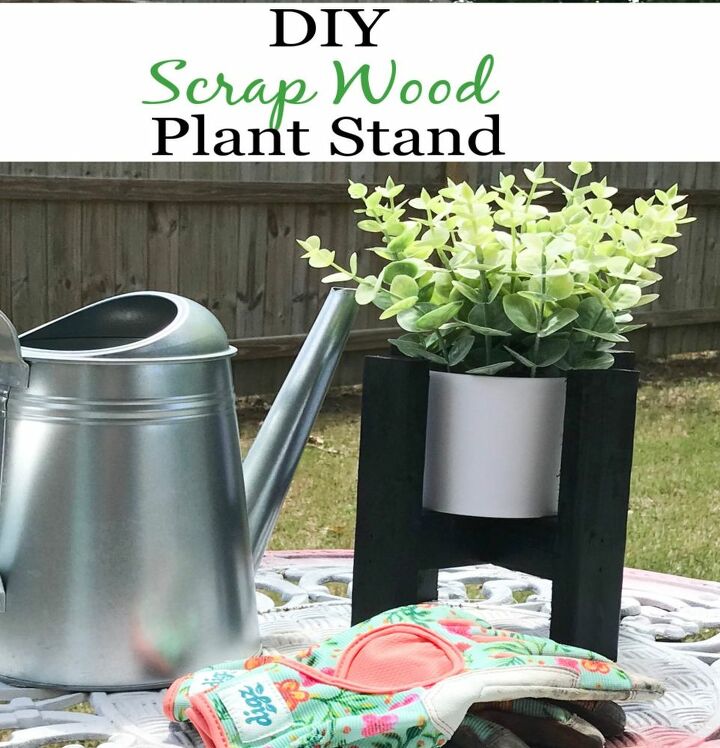
How cute is this little scrap wood planter stand y'all? I couldn't be happier with how it turned out. It fits my little faux plant perfectly & adds a little life to my decor! Let me know what you think & if you are team faux plants or real deal.
Resources for this project:
See all materials


Frequently asked questions
Have a question about this project?