


Hanging Kitchen Shelves & Styling Tips

We wanted some extra storage for our kitchen that matched better than the free standing shelf we had before!
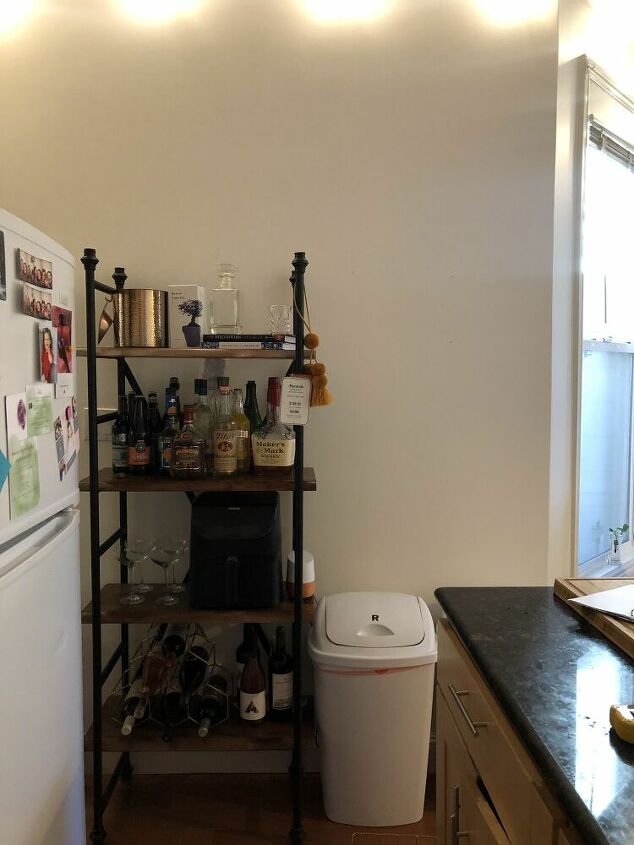
Here's the shelf we were using before. It was Okay, but not great.
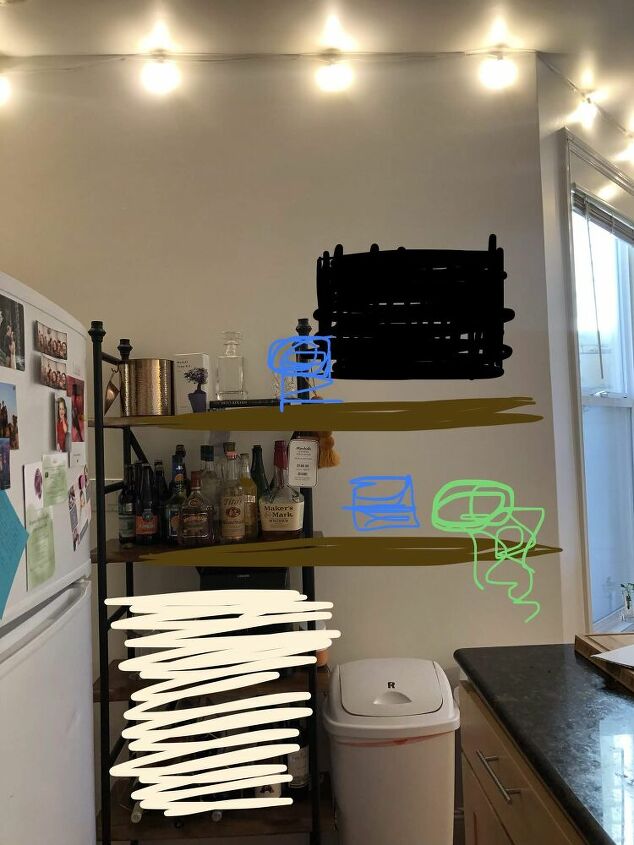
I drew this in the paint app on my phone. I just wanted to estimate what kind of design I was thinking about before I researched the pieces.
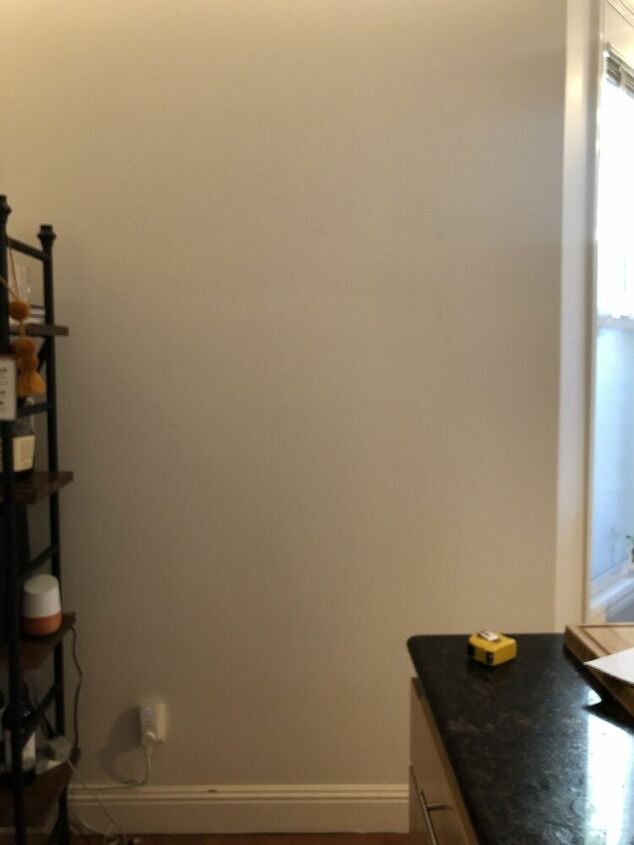
Here's the wall without anything on it.
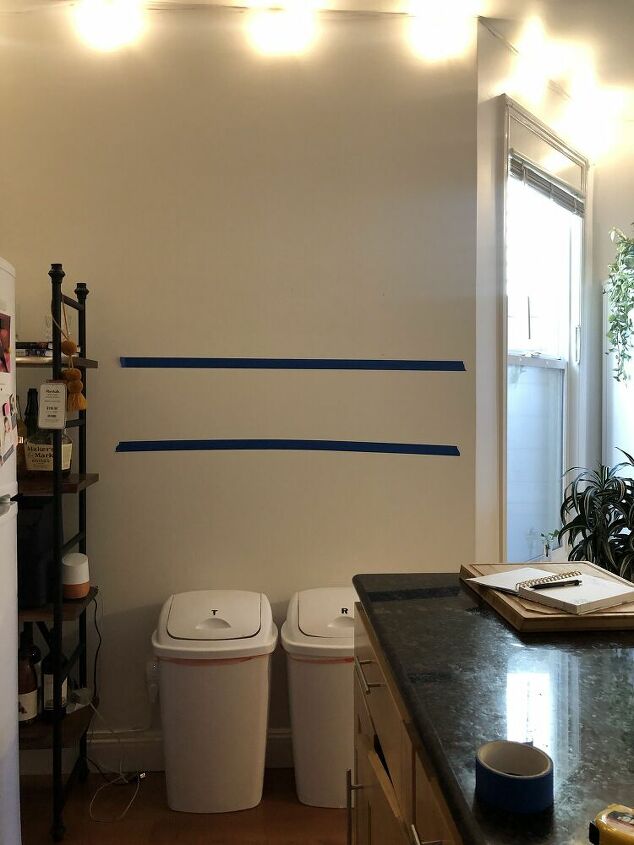
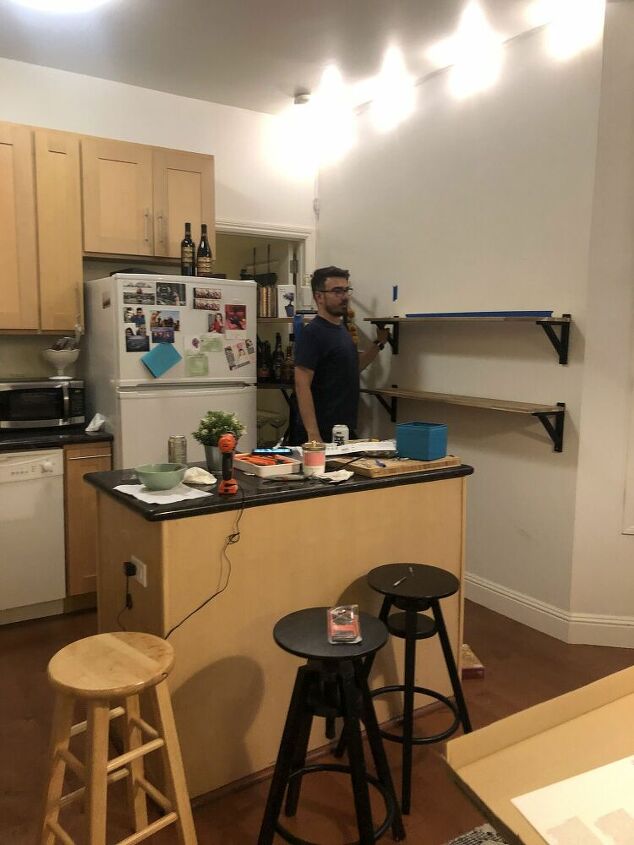
We used Painter's tape to mark off the height of the shelves and how long we might want them to be. This allows us to get the maximum length so I can research shelves that are available for purchase.
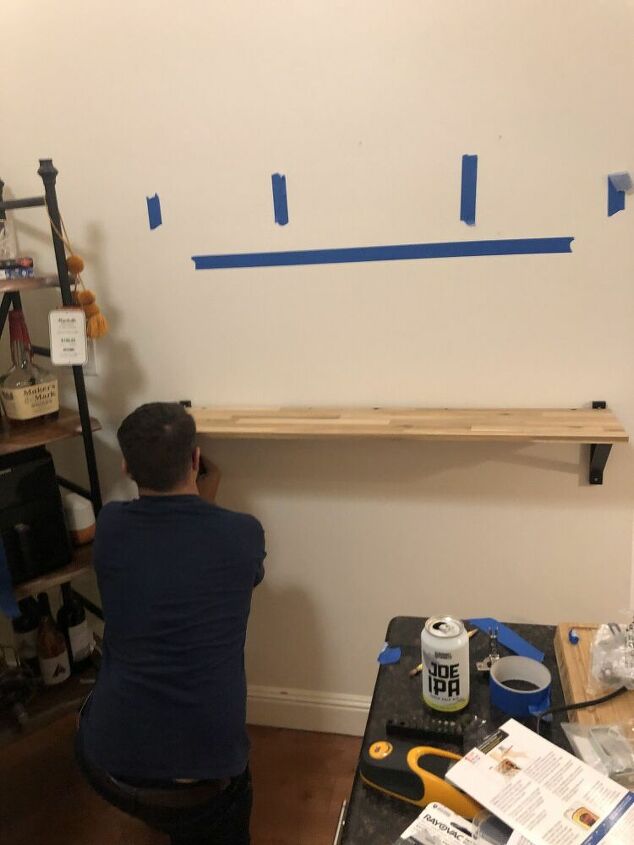
The four lines at the top are where the studs are. So those were the best places to put the screws and the brackets.
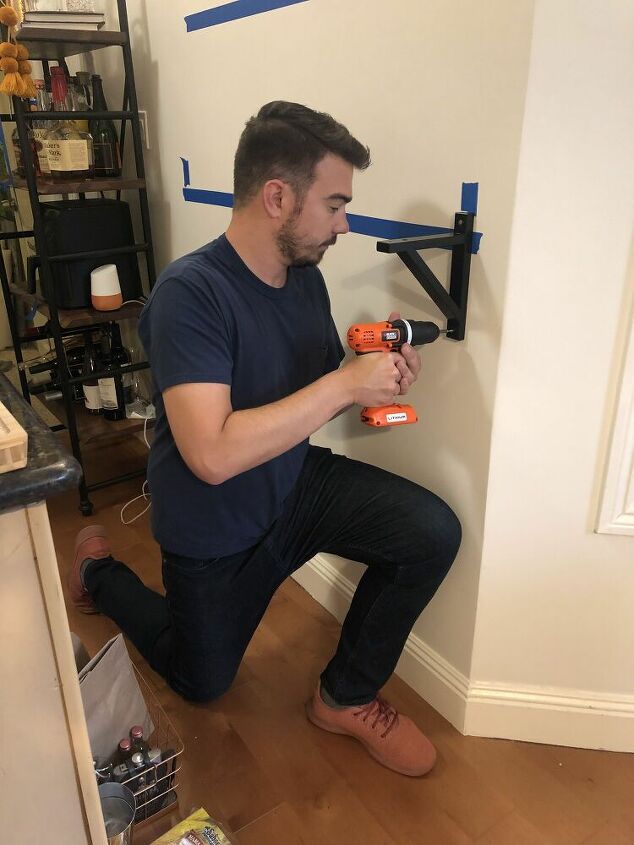
We chose to use the studs on the outer most part of the shelves.
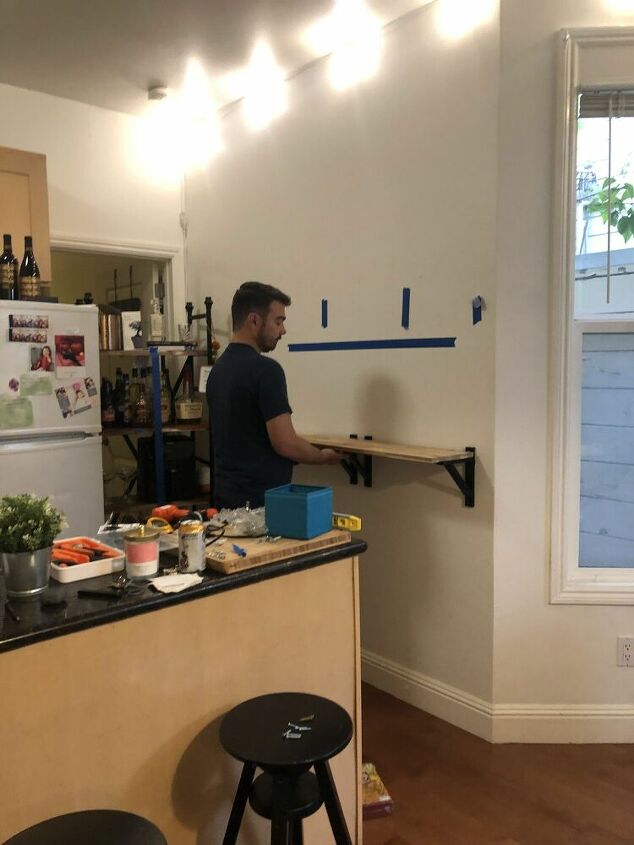
We had enough brackets to do four on each shelf so here we were holding them up so we can check it out. I ended up not liking it as much.
Can you put the things you need on the bottom shelf with the height of the shelf above it? Don't put it too low and find out that nothing is short enough to fit. Here we also decided not to use the middle brackets.
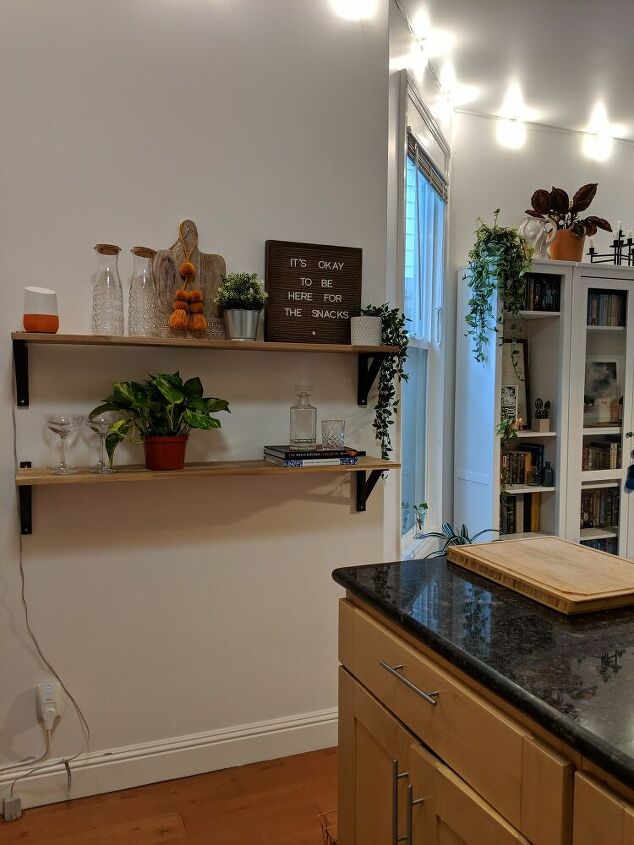
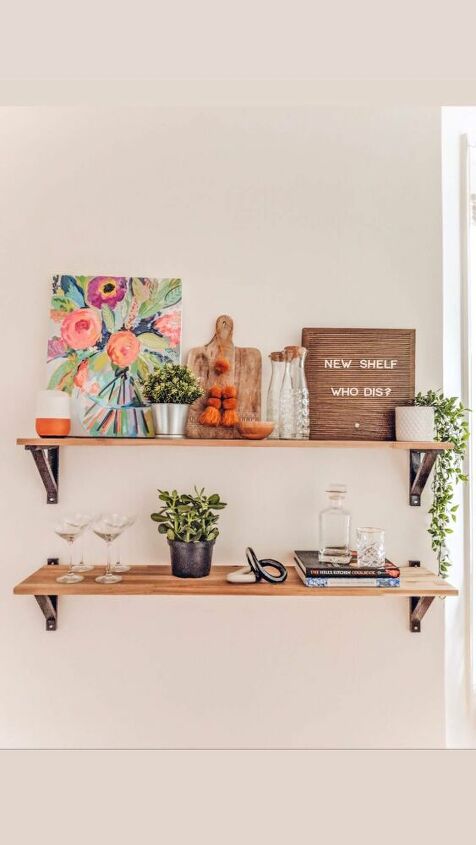
Here's the finished product with some items on the shelves!
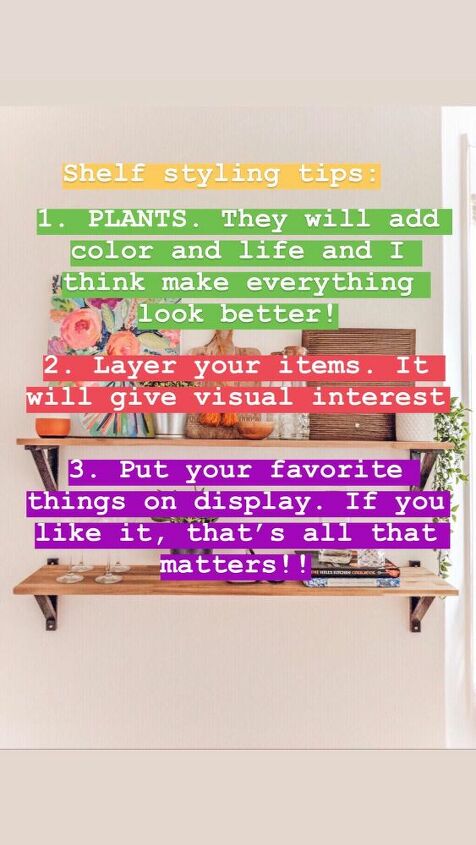
- Add PLANTS to your shelf, 2. LAYER your items, 3. Make it PERSONAL!!!


Comments
Join the conversation
-
1st & foremost, the easiest, no cost, absolute best way to improve that space is to get rid of that garbage can!
-
Looked like all alcohol. Put it away and displayed kitcheny things. Looks much neater. Great job


Frequently asked questions
Have a question about this project?
Looks great. But what did you do with all the things that were stored on the original shelf?
I thought you needed extra storage. This is very nice, but where is all the items you were storing on the shelves?
What type of wood did you use for the shelf?