


DIY Extra Large Modern Picnic Table

This DIY Extra Large Modern Picnic Table is perfect for large families and for entertaining. It's great for beginners and can be done in one afternoon. It's just $90 in materials and can seat 10 people. No angles or special tools required.
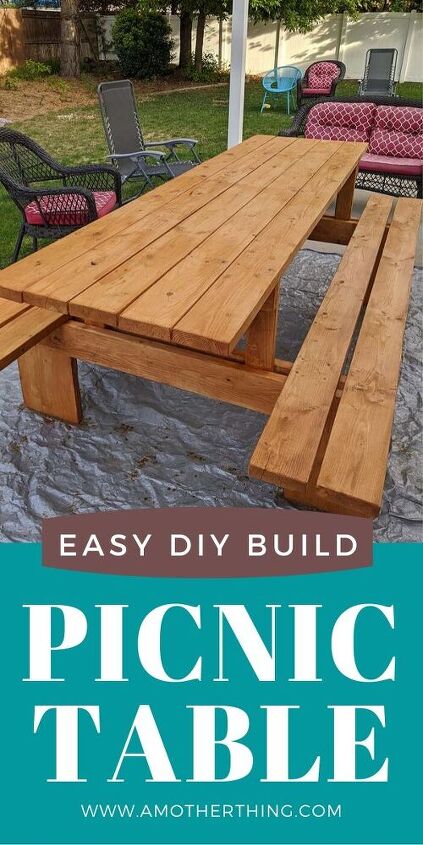
This table was so necessary for our family. After years of searching for the perfect table that could actually fit our large family AND give us extra seating for guests but wouldn't break our budget, I finally decided to make one instead.
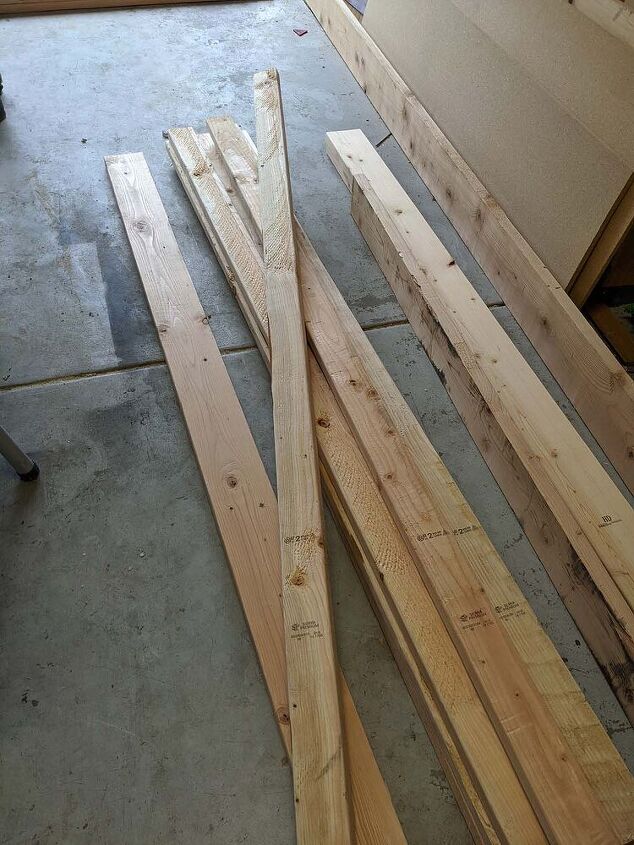
I started with 14 - 2x6s, 5 - 2x4s and 1 - 2x12 which I had in my scrap pile.
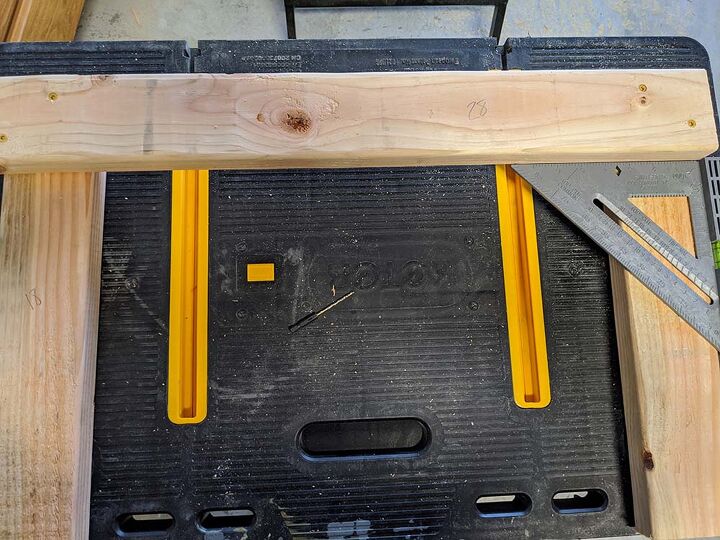
I knew I wanted this to be a super easy project, and since I am not great at angles, and I have very few tools, I kept it to all straight cuts.
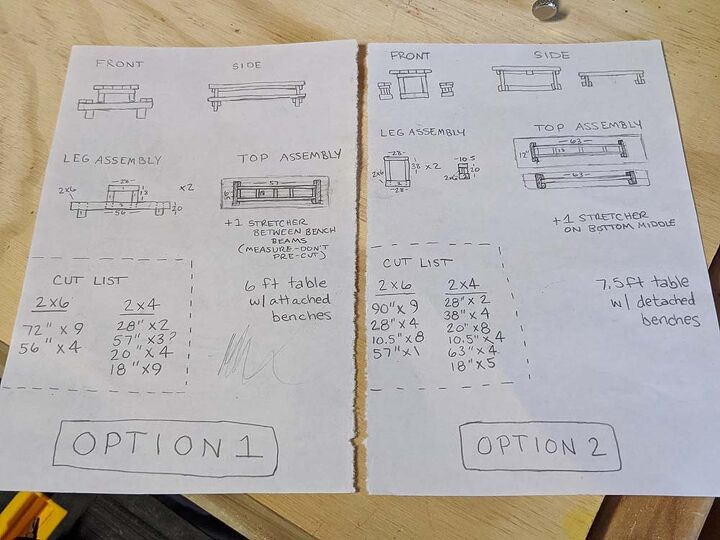
I started by sketching out a couple of different plans. One was for a table with benches attached, and the other included a standalone table with benches that were separate.
Because I have young children, I dreaded the idea of the benches tipping over, so I went with the attached version.
I also decided to change the dimensions, so in the end the table ended up being 8 feet long instead of 6 feet.
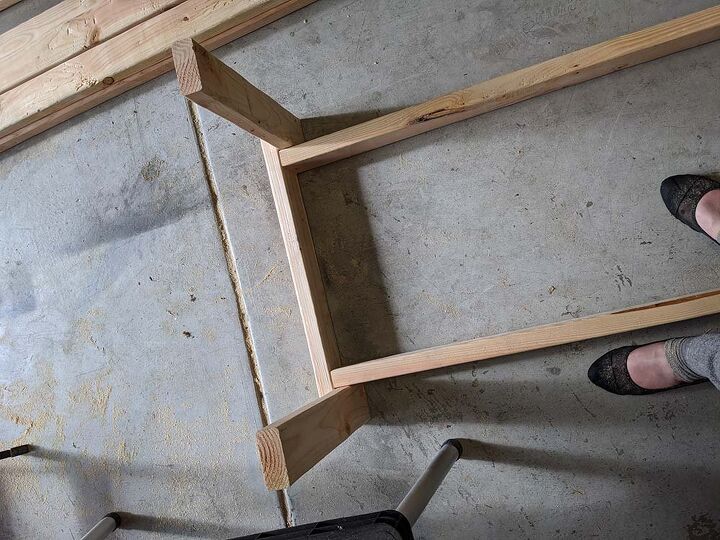
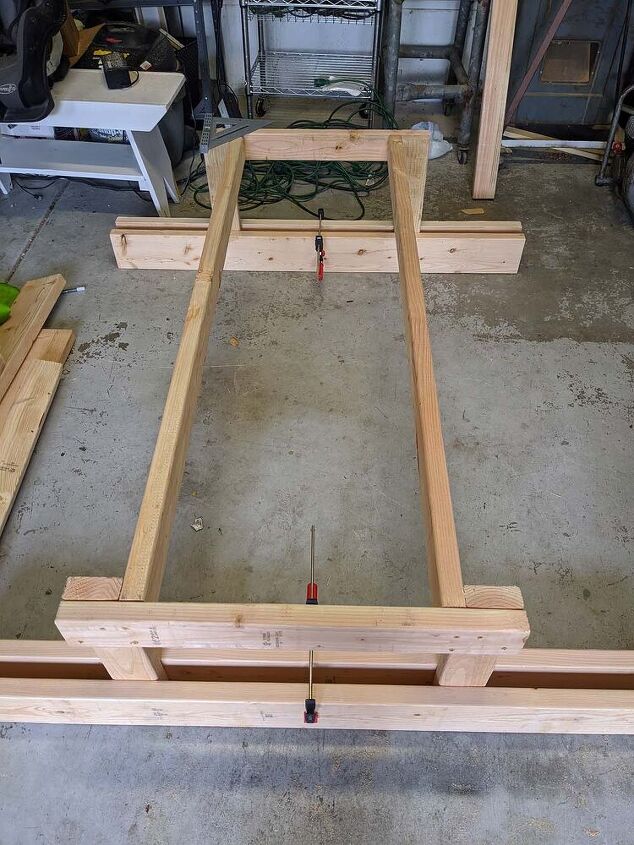
I began by creating the tabletop assembly, attaching two vertical 2x4 uprights to a horizontal joist to create a sort of horseshoe shape. There were two of these pieces.
I connected these pieces with two long stretchers, eventually adding a center support joist in the middle for extra support of the table top.
The benches are supported by two 2x6 joists on each side, attached to the uprights. A center stretcher is also attached (I had to remove the outside bench joist to add it later, so be sure to learn from my mistake and add the inside joists first, then the stretcher, then the outside joists.
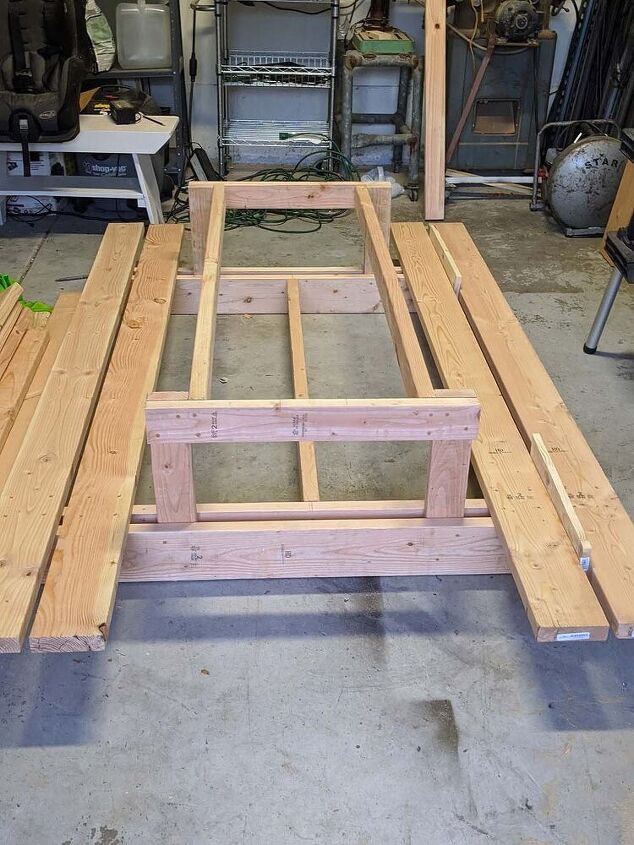
The benches are simply two 2x6 planks screwed into the joists at each end. I used a 3/4 inch spacer to make sure they were uniform.
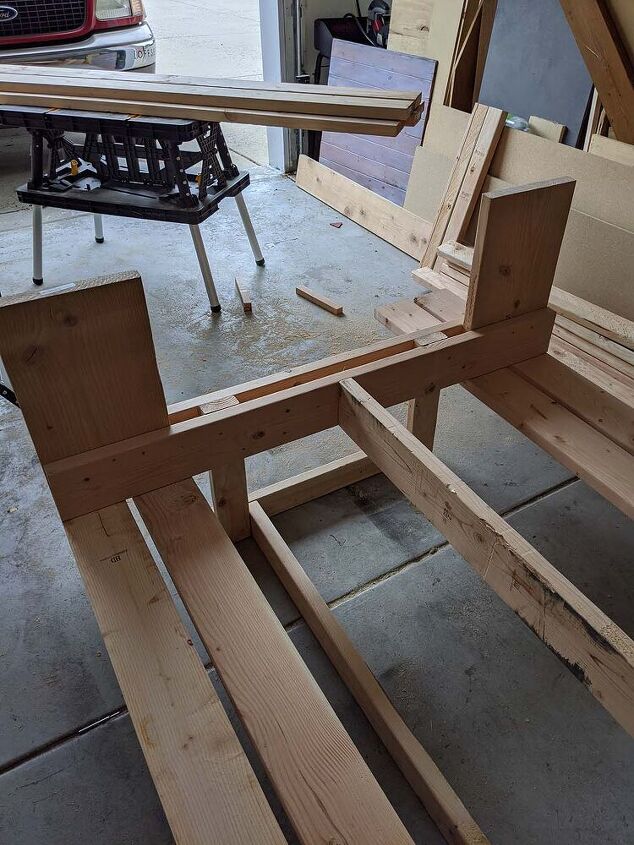
I used 2x12s cut at 20 inches (standard is 18 inches, but I wanted mine a little bigger) for the legs. I had to turn the whole thing upside down to attach them under the benches and between the joists, securing from the sides.
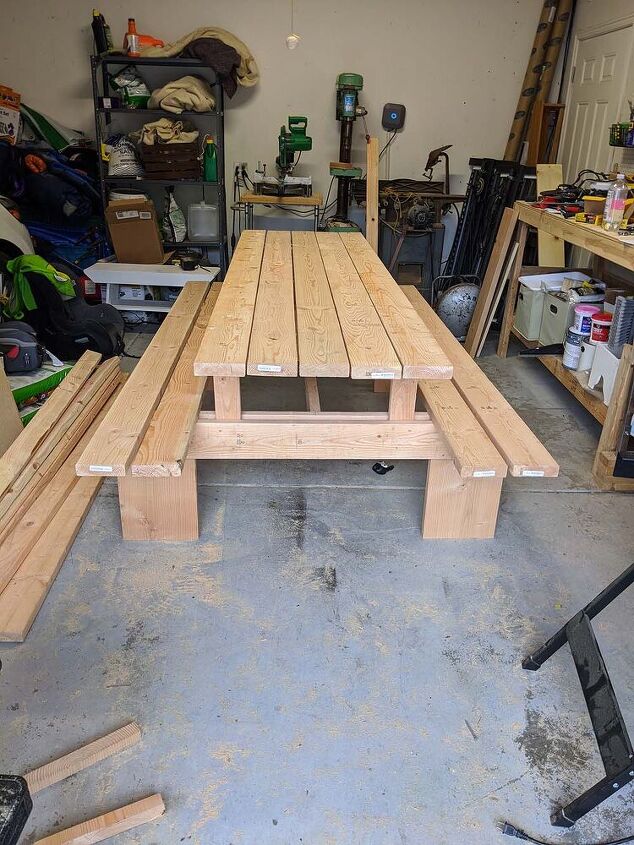
Finally, the whole thing was turned right side up, and I secured the planks for the table top. I secured the center plank first, then the end planks, and then I could attach the two final planks, eyeballing them for spacing.
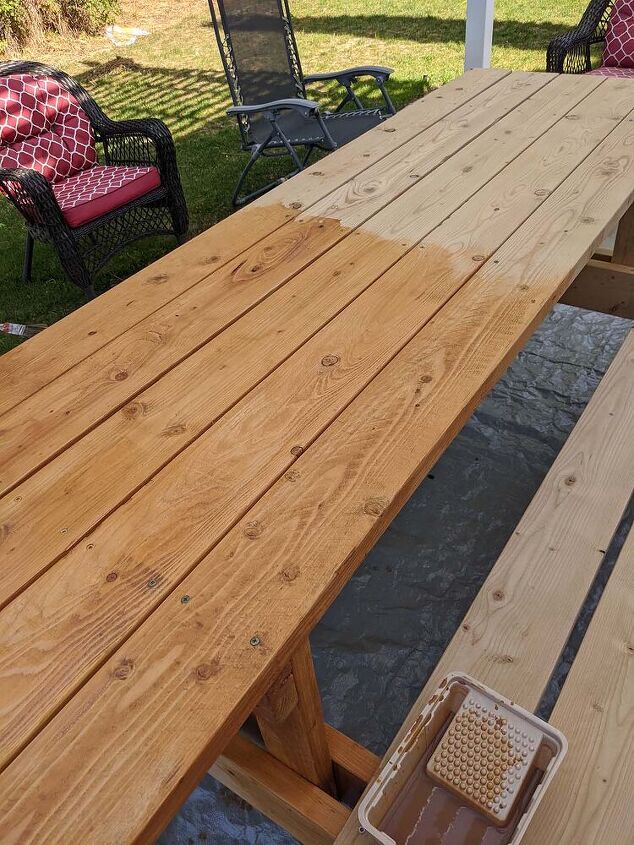
The last step was staining and sealing. I waited a while to make sure the wood was dry enough, and then I used a good weatherproofing stain to seal it up for outdoors.
I love how it turned out!
Check out my blog for full instructions, cut list, and step by step instructions.


Comments
Join the conversation
-
Yes! Sent it to my sister and two co workers!


Frequently asked questions
Have a question about this project?