


DIY Charcuterie Board!
How to create a rustic Charcuterie board with handles with just a few simple materials!
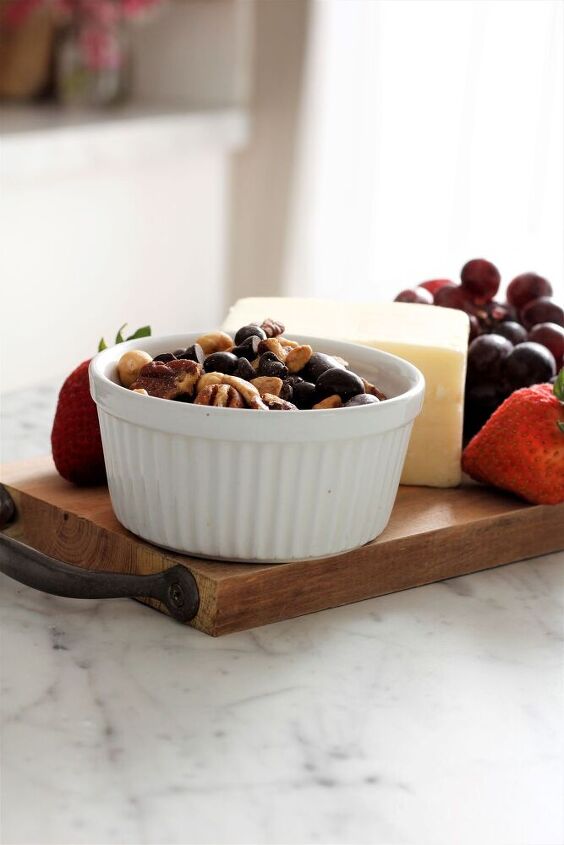
When I first saw this simple rustic Charcuterie board online I just knew I had to try and make one on my own.
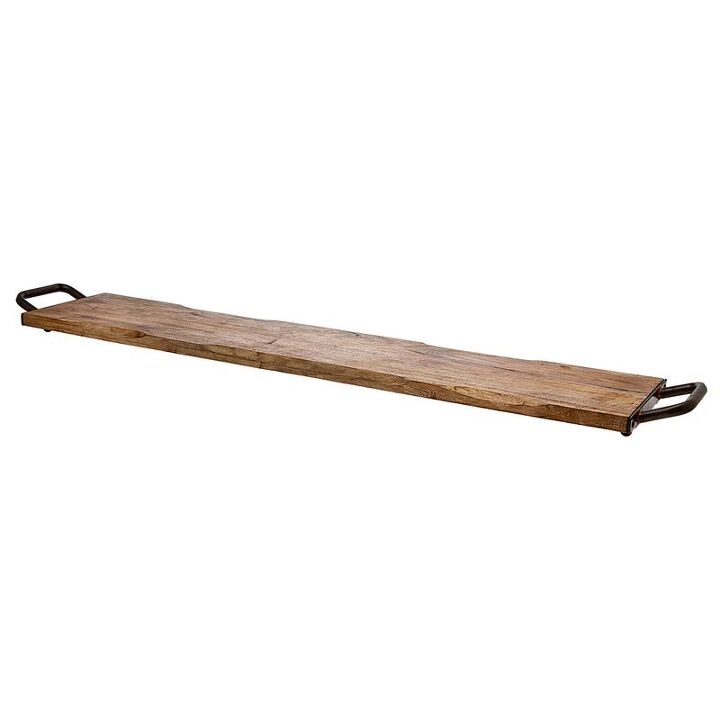
It looked easy enough to re-create this serving board but before I could even get started I had to do some research on the wood I wanted to use and what products were available to protect the wood that would be safe. Because of course we would be placing food on this board. The wood I would use needed to be untreated so I started looking in our stash pile to see if we had any pieces that were in good shape.
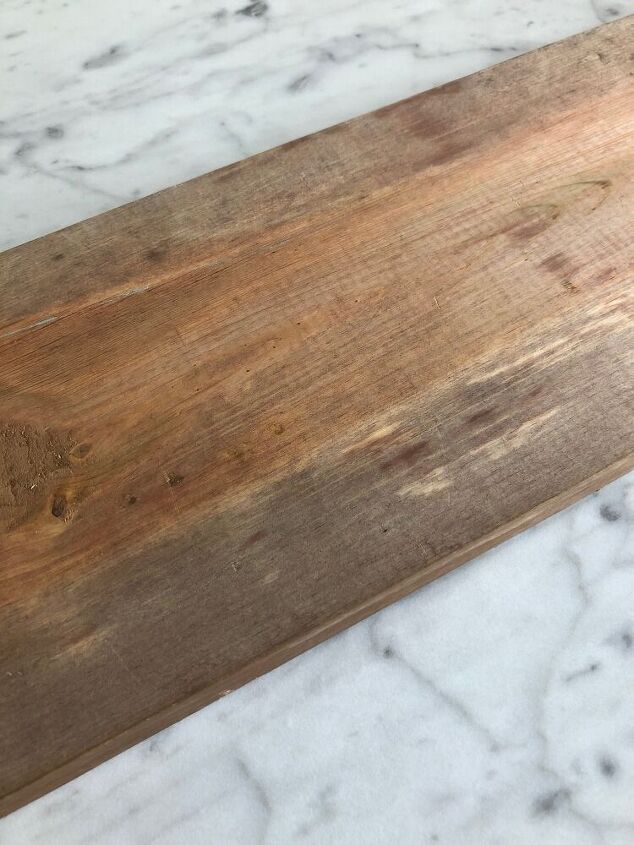
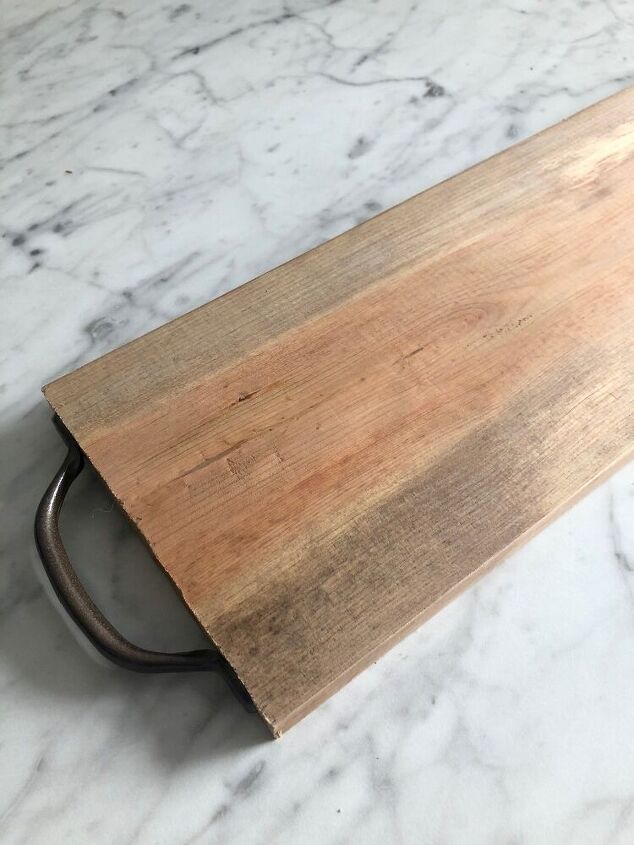
This 1"x6"x5 1/2' piece of red cedar caught my eye because I just loved the warm red tones and thankfully it still had a tag so I could verify it was untreated. This would was kiln dried so no chemicals were involved in it's drying process.
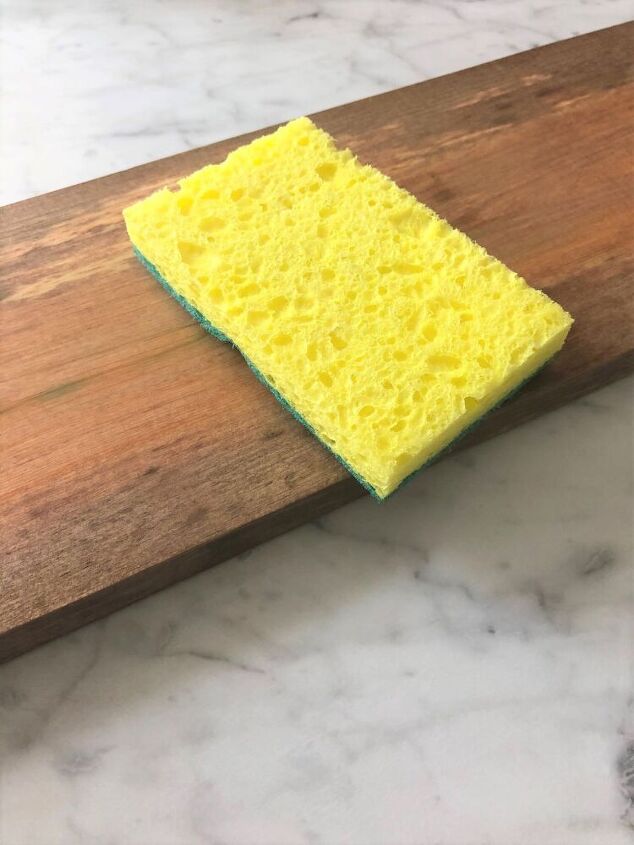
To clean the wood thoroughly I used a solution of water and vinegar and a good scrub brush. Then I let it dry in the sun for a couple of hours.
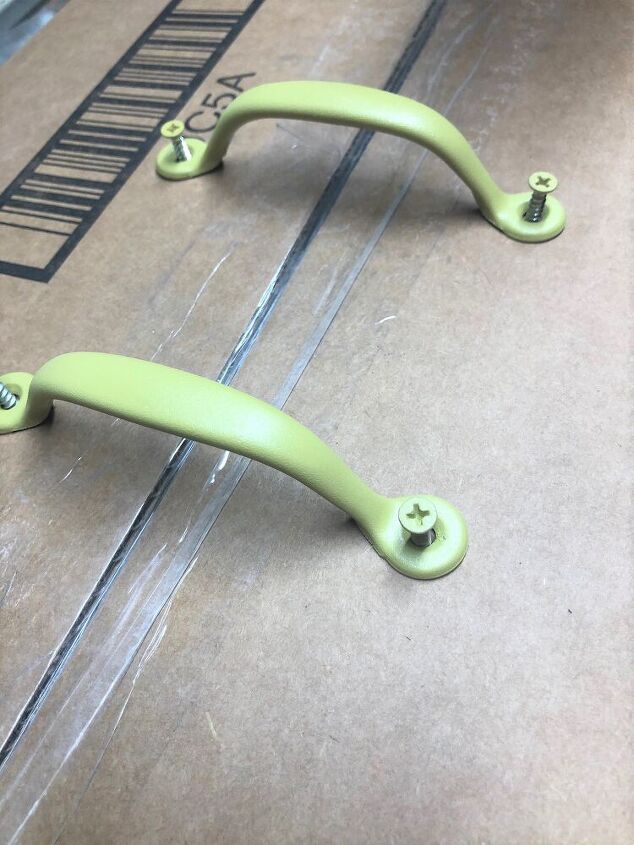
I already had these drawer pulls on hand. Unfortunately they weren't exactly the color I needed so I did have to give them a couple of coats of paint.
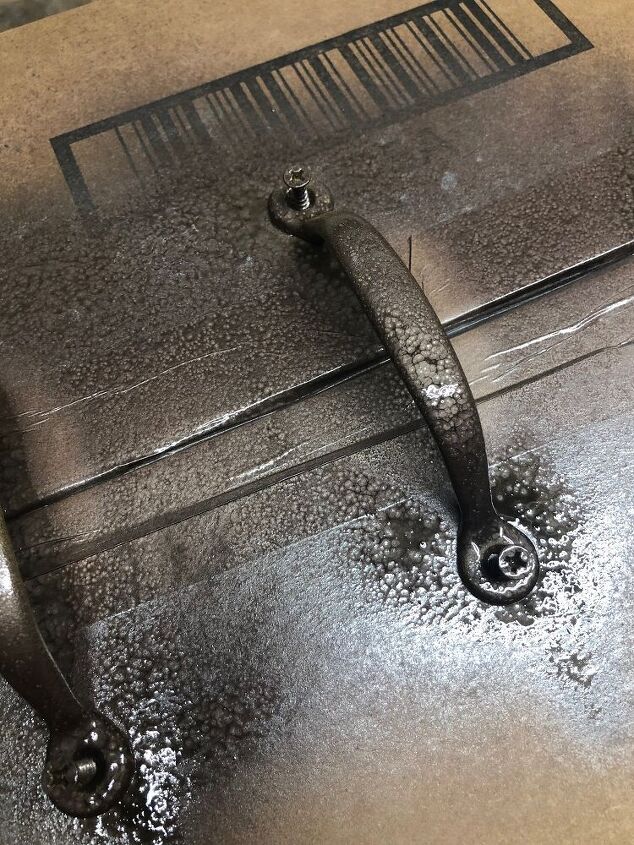
I chose Hammered Bronze because I liked the rustic look and thought it would go well with the red cedar. It took 2 light coats to cover. (1 hour drying time in between coats.)
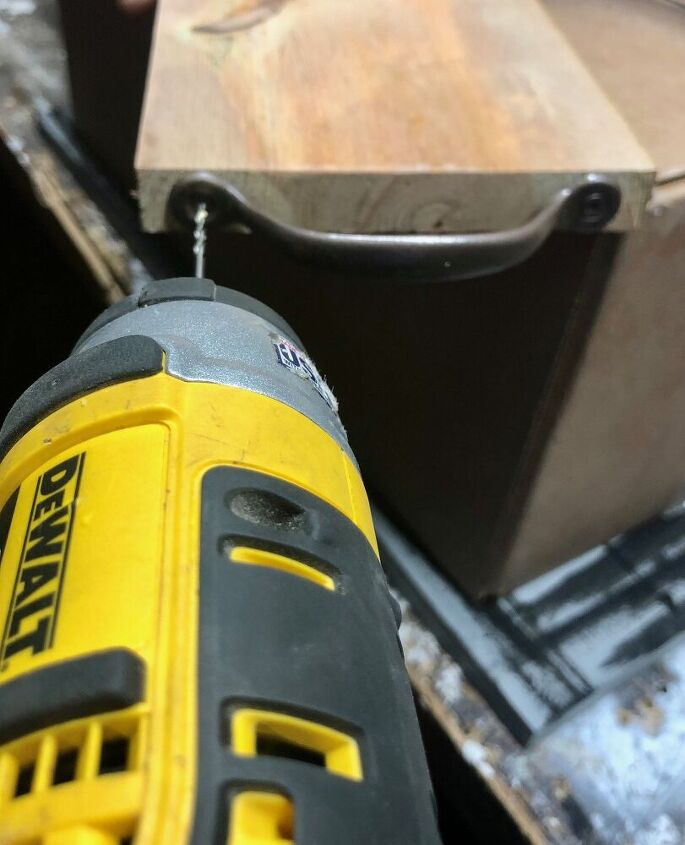
To attach the hardware I first found the center on each end and marked it. Then I pre-drilled holes to ensure I wouldn't split the wood. Lastly, I just screwed the drawer pulls onto each end of the board.
After doing a TON of research I chose Butcher Block Oil to seal and protect my piece of wood. There are several other options like Shellac, Tung Oil, and Mineral Oil that are also food safe when dry. Like these the Butcher Block Oil required a few days of drying time before I could use the Charcuterie Board.
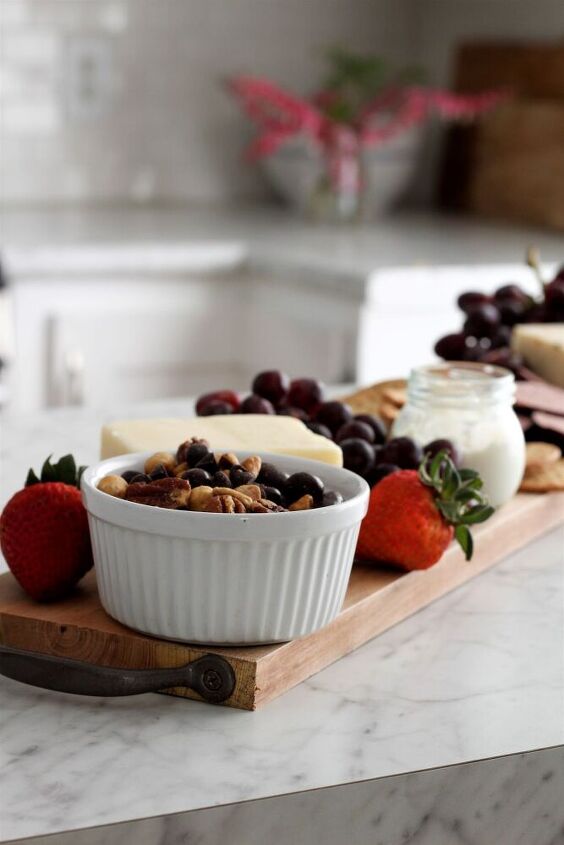
It ended up being the perfect size for those 'appetizer for dinner' nights we enjoy having! You can find the full detailed tutorial on my blog.


Comments
Join the conversation
-
This came out great! I love your cover photo too; it’s a scroll stopper!


Frequently asked questions
Have a question about this project?