


How to Update a Framed Print With a Stencil
(This post was written in collaboration with Prima Marketing but all thoughts and opinions are my own.)
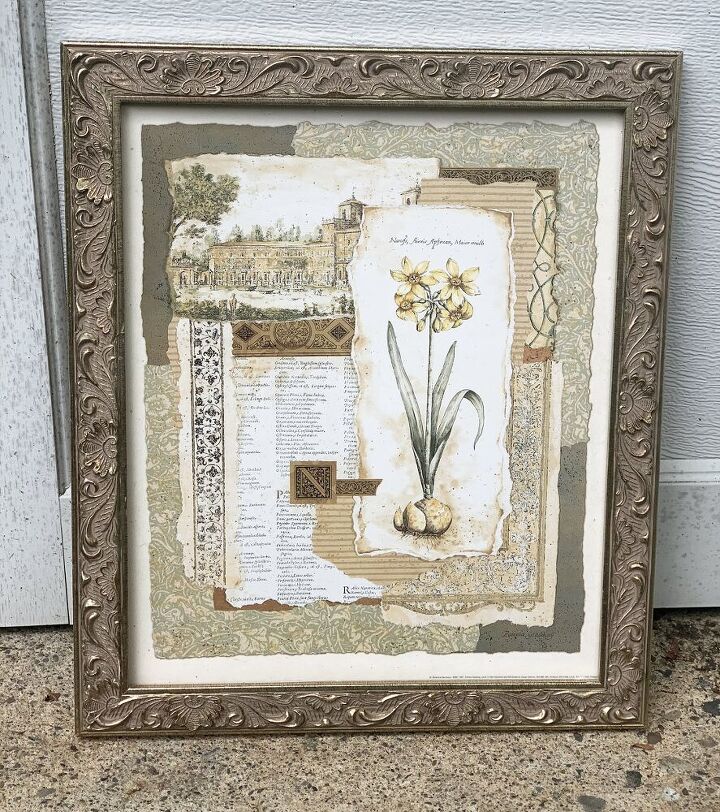
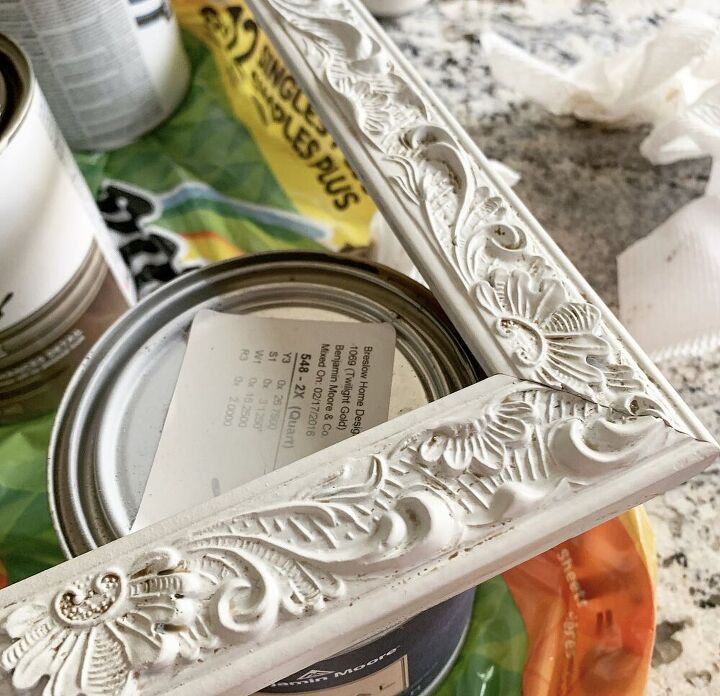
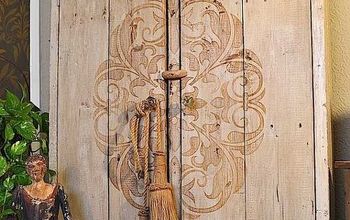
I bought this framed print a while ago and it's been sitting in storage for years. The frame has a lot of gorgeous detail though, so even though the artwork does not match my decor anymore, I wanted to upcycle it to use with my home decor. Do you have anything laying around like this that needs a quick refresh?
Lately, I am on serious DIY project binge! I have so many items laying around that I intended to work on but haven't had the chance to yet. With all this extra time at home, I am banging these projects out!
Which is a good thing too, because they are clogging up my garage and storage areas. So it is time to use them or ditch them. Is it just me or do you have stuff like this too?
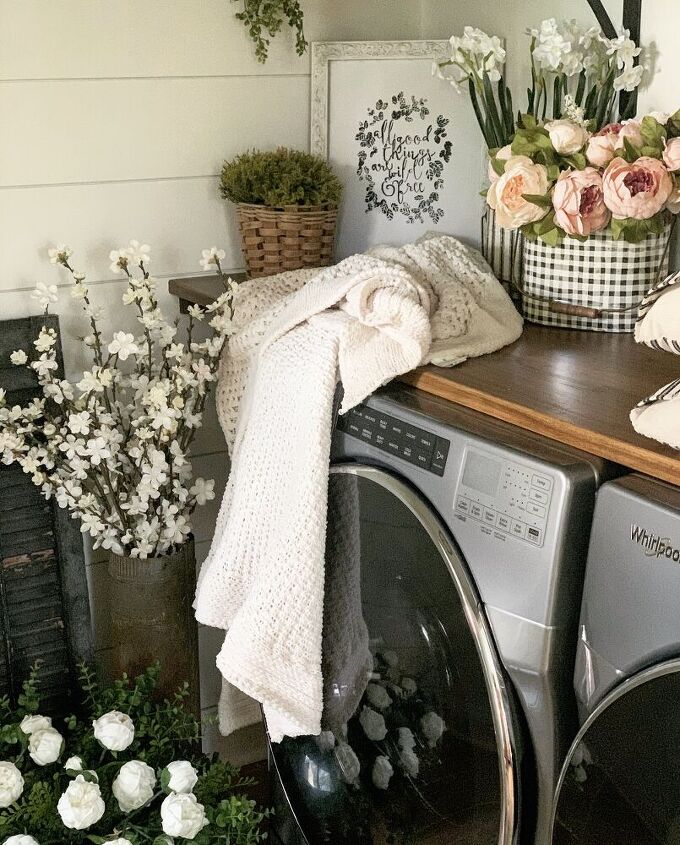
This framed print used to match my home decor well over fifteen years ago. Having gone through several decor changes since originally purchasing it, I've had no place to use it. Since I love the pretty frame details, I decided to spruce it up with some chalk paint and change the art with a beautiful stencil from Prima Marketing to make a beautiful sign.
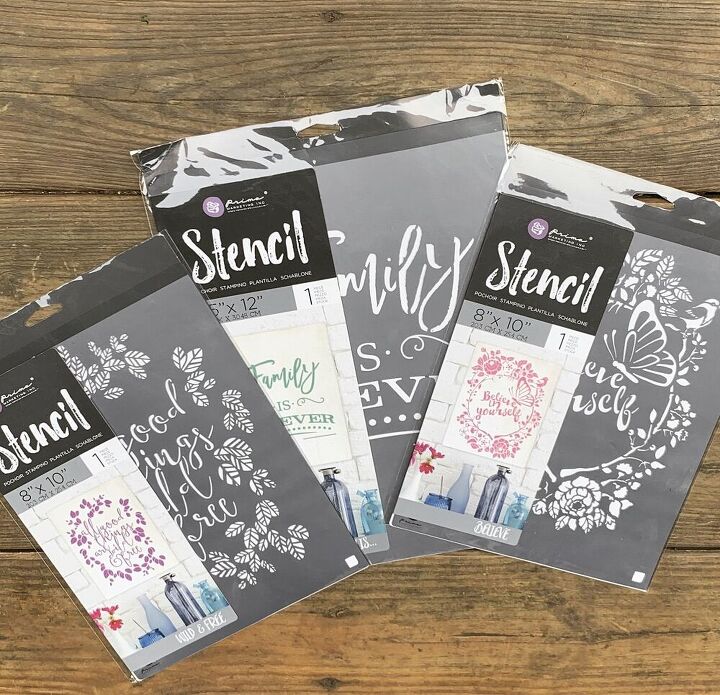
Have you heard of Prima Marketing? They have an array of art products online and offer a great variety of stenciled designs. The stencils are pretty sturdy too. Have you ever worked with those flimsy ones?
These stencils are not flimsy at all and have just the right amount of give and weight to design a pretty piece of art. Inspired by some really cool framed stencil designs I found online, I upcycled this frame print with one of my Prima stencils to create a beautiful sign.And here's how I did it...
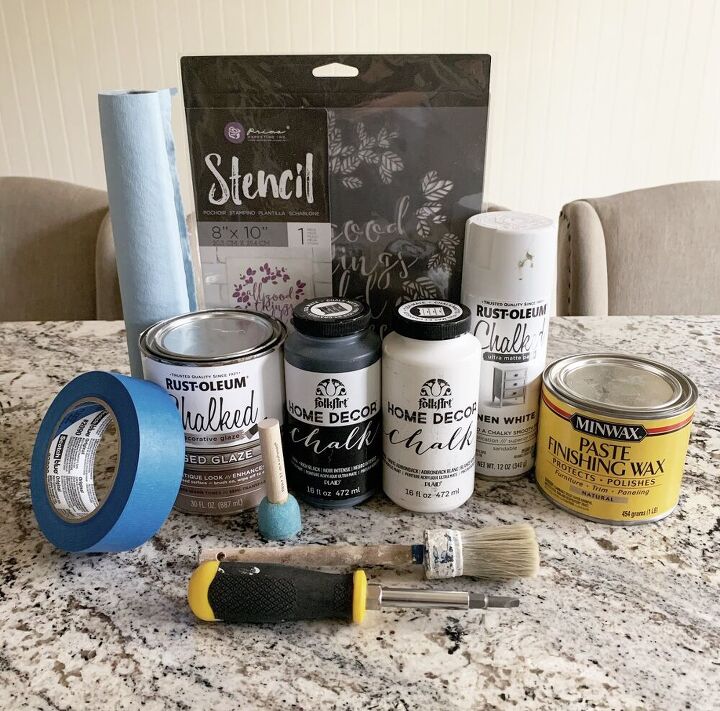
Supplies Needed
- Chalk Paint or Spray Chalk Paint for Frame and Cardboard Backing
- Chalk Paint for Stencil Design
- Prima Marketing Stencil
- Sanding Block or Sandpaper
- Drop Cloth
- Round Paint Brush
- Rohttps://amzn.to/2UrJa0pund Sponge Brush
- Aged Glaze
- Paper Towels
- Screwdriver
- Paste Wax
- Old Sock or Rag
- Painters Tape
- Thin Paint Brush to Touch Up Any Mistakes
- Gather supplies.
- Clean the surface with soap and water. Allow to dry.
- Remove the backing of the framed print. Use a screwdriver to remove staples if they do not lift out easily. Set cardboard backing aside if you are stenciling that instead of a wall.
- Although chalk paint does not need to be pre-sanded, it is an optional step. I did not pre-sand before painting this frame. Sometimes, I like to do a very light sanding but don't spend too much time on it.
- Lift the piece up on a few paint cans or something similar so it is raised off the table. It is much easier to work on this way. Plus, you can paint the bottom without having to flip the whole piece over.
- Decide whether you are stenciling directly to the wall or using the cardboard backing that came with the frame. I debated this for a while. Since I want to have the ability to move it around, I am stenciling the cardboard backing.

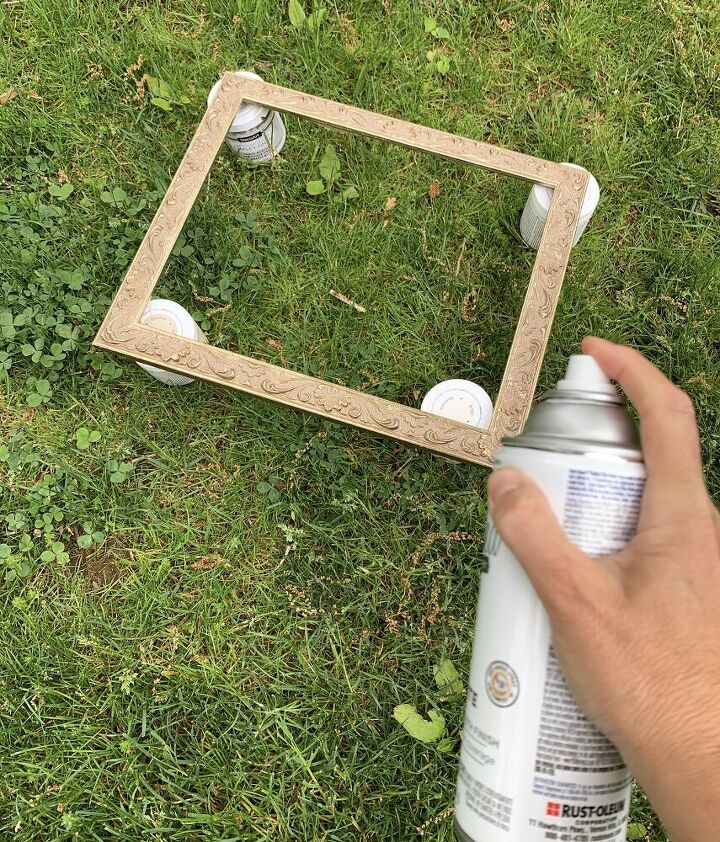
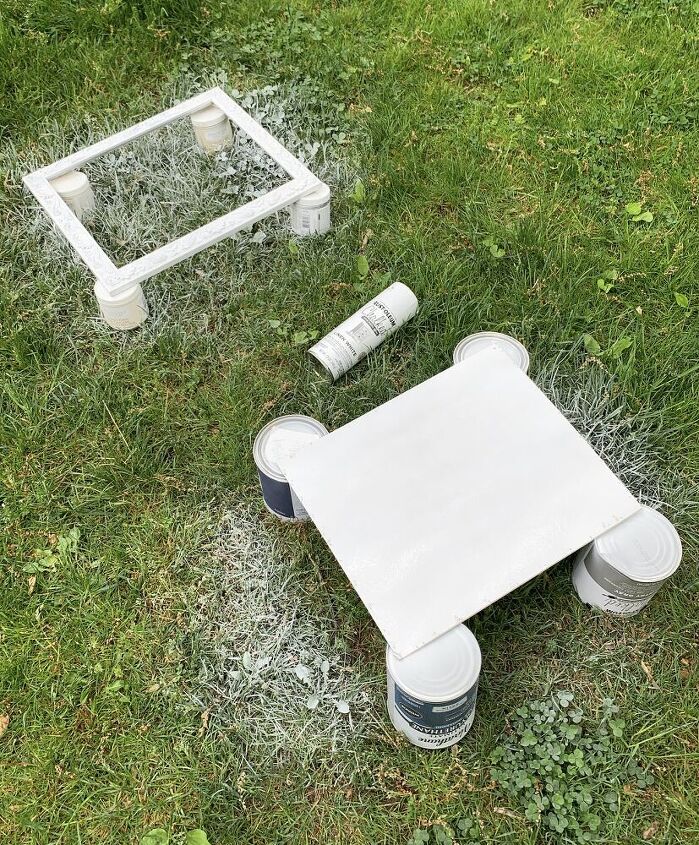
- Paint the frame and cardboard backing with chalk paint. I happened to have a spray chalk paint on hand, so I used that to paint the frame and cardboard backing. I applied one coat of chalk paint then allowed time to dry.
- Next, I applied a second coat.
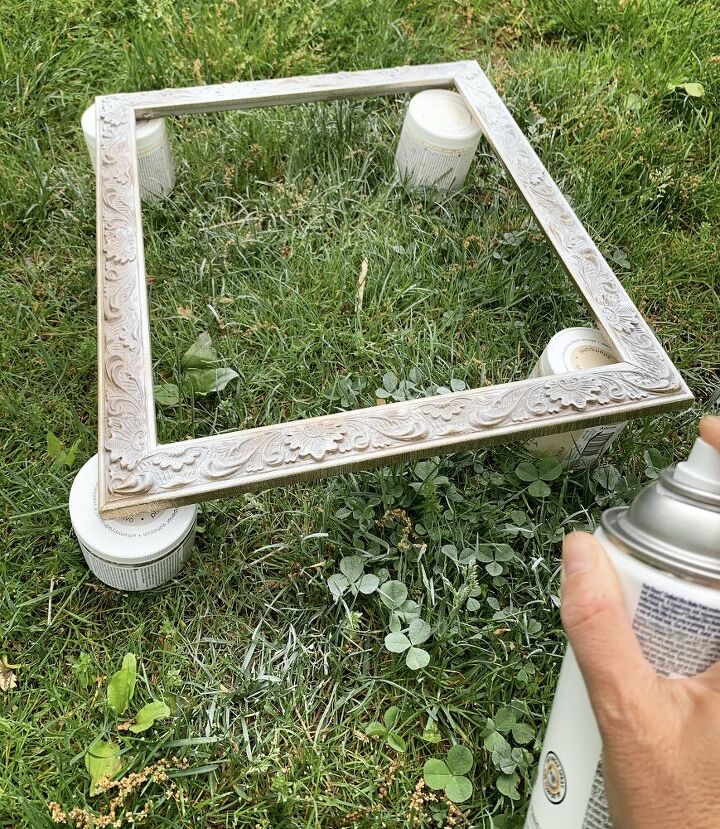
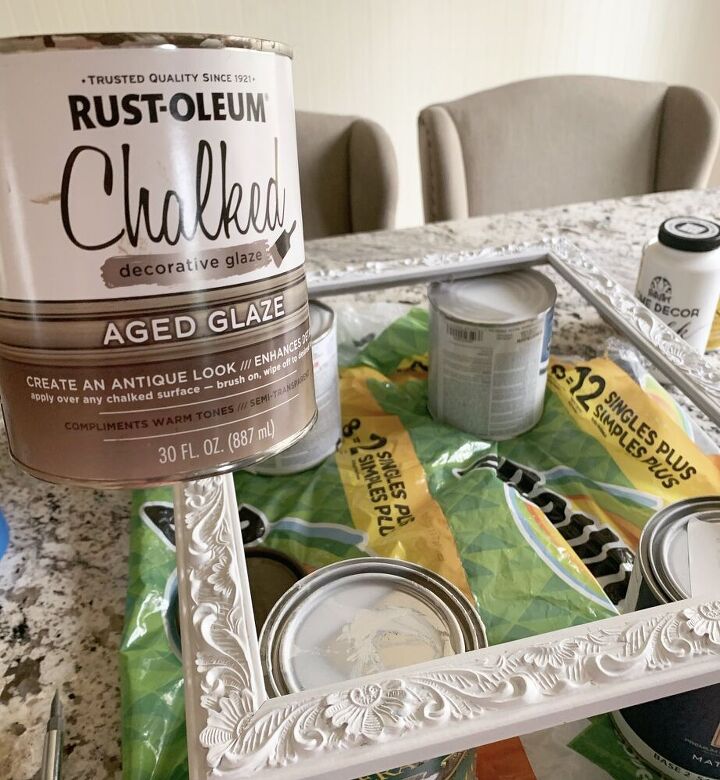
- I applied glaze with a very light hand to the detail of the frame only. I used a damp paper towel, dipped it into the glaze, applied it to a section, then used another damp paper towel to wipe most of it off. If you want a heavier glazed look, don't wipe as much off. Use a dry paper towel to get off any excess spots that you want to thin out.
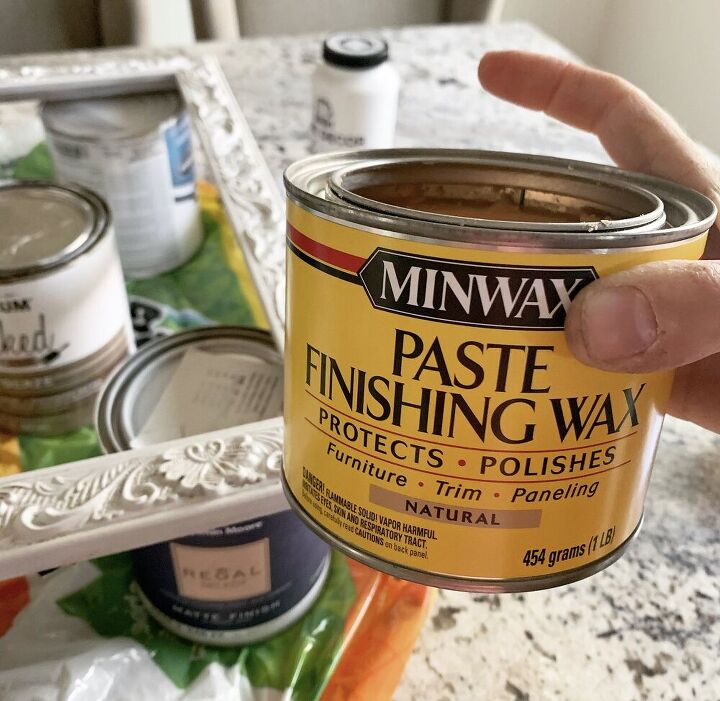
- Allow everything to fully dry for 24 hours before applying the finishing wax to the frame. While some prefer to skip this step, the wax protects the color and piece from damage.
- Use an old sock or rag to apply the wax. Work it onto the piece, then wipe off the excess. Allow to cure for two weeks. Since this is a frame, I will put it wherever I want it and let it cure there.
- After waxing, I started stenciling the cardboard backing.
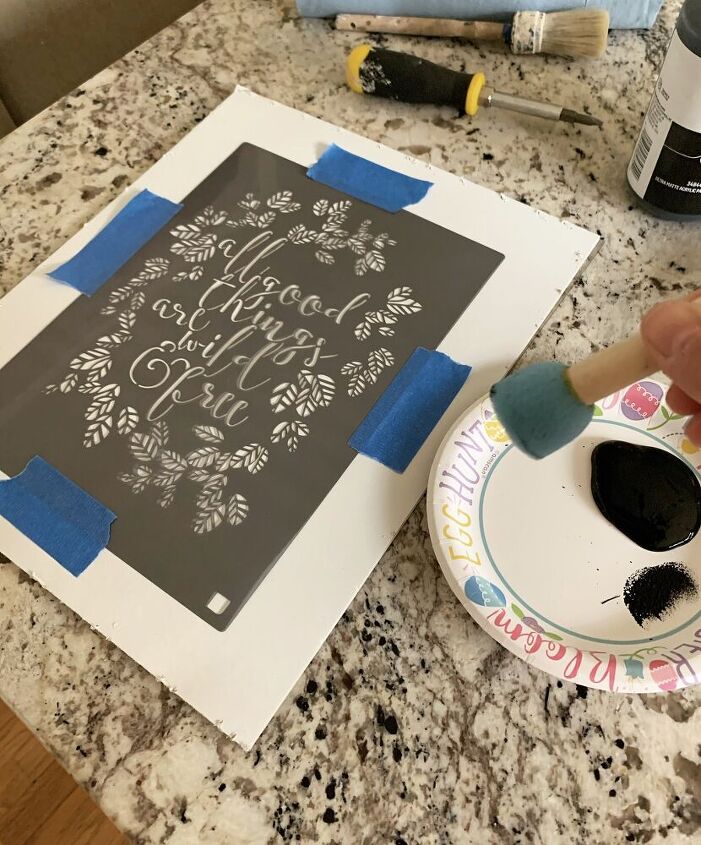
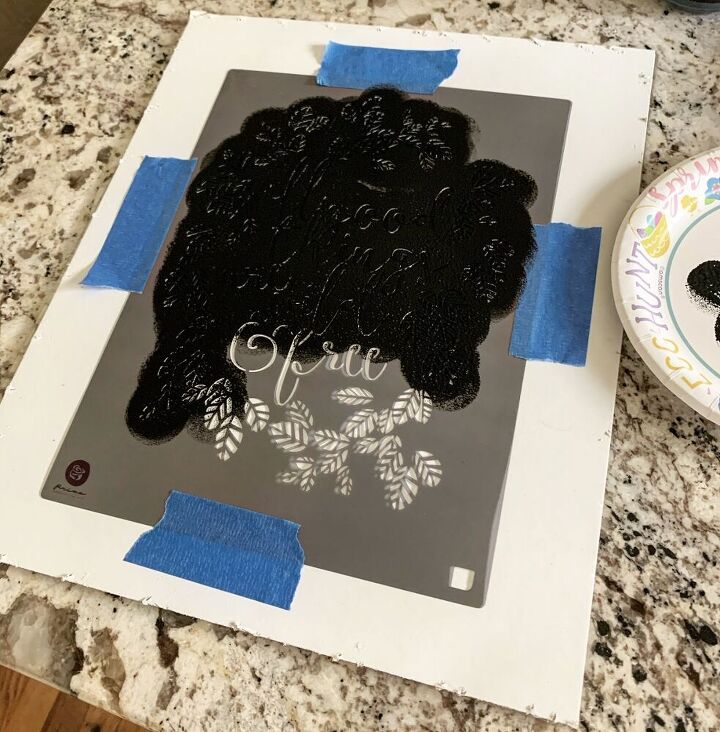
- Set the stencil down with blue painters tape so it does not move while stenciling. If you are stenciling directly on the wall, attach the stencil to the wall where you want it with painter’s tape to hold it in place.
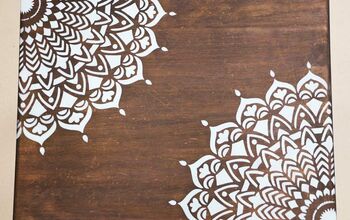
- Once the stencil is secure, I used a round sponge brush and stippled chalk paint on the design. When dipping it in the paint, I stipple some of it off onto a paper plate or piece of paper so the brush isn’t totally saturated.
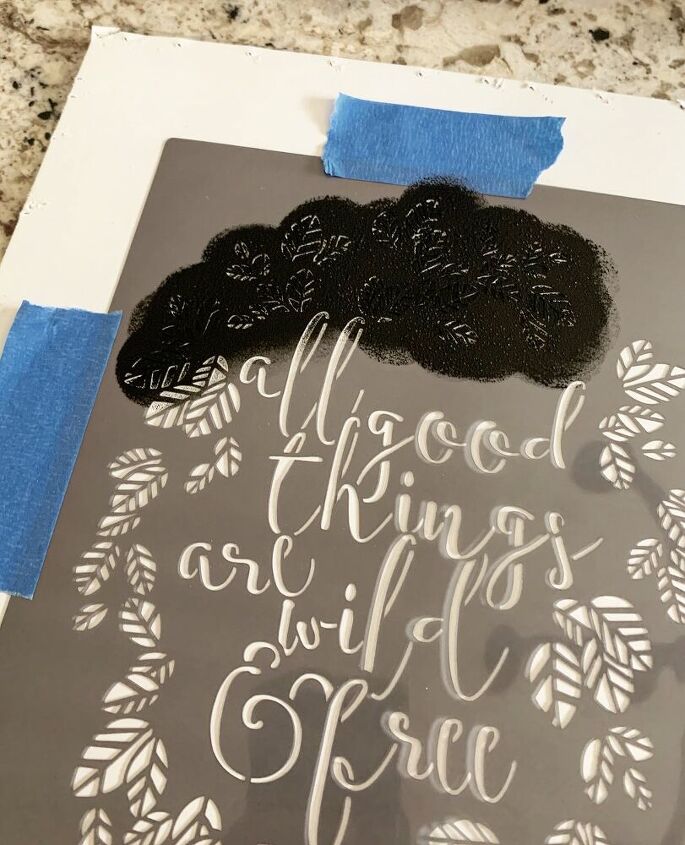
- Start at the top of the design and work your way down. I press and hold down the stencil as I move down the design.
- Do not apply too much paint on the sponge brush or you’ll get a lot of bleed. Use a light hand when dipping in the paint and stippling the design.
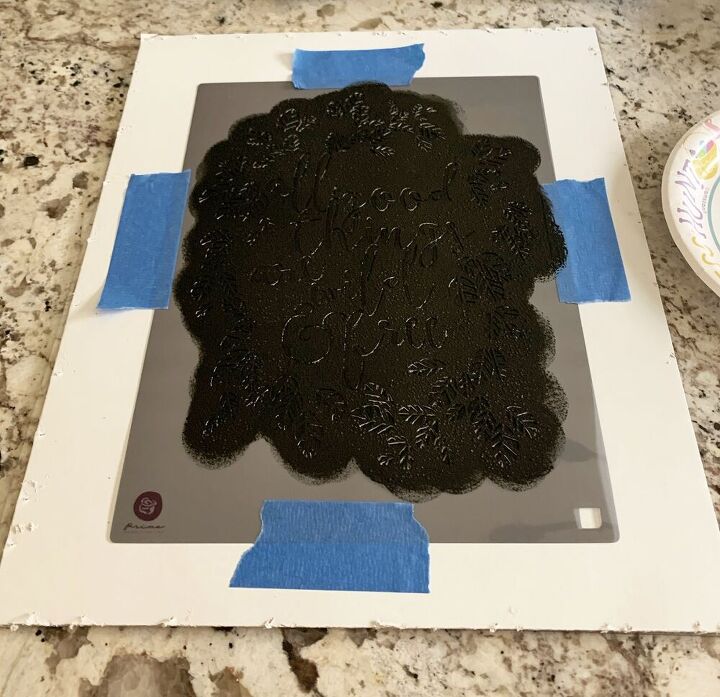
- Allow the paint to dry, then remove the stencil.
- After removing the stencil from the wall, insert the cardboard backing in the frame or hang the frame around stenciled design on the wall.
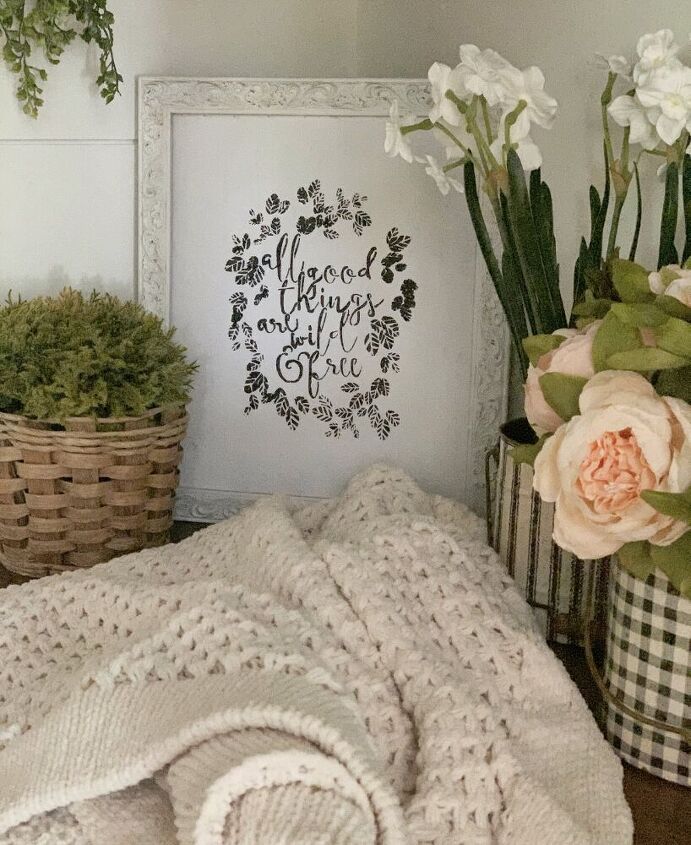
What Do You Think?
And that’s it! Signs can be so expensive when you buy them from someone else. It’s so much easier and less expensive to make them yourself using things you already have on hand. Doesn’t it look so much better than it did before?
What I would do differently next time:
- Practice with the stencil on a scrap piece of paper first so I get a better feel for how to do it. I went a little thicker on the paint than I should have and needed to touch up more after.
For more DIY tips, tricks and cool project ideas, click here.
Resources for this project:
See all materials


Comments
Join the conversation
-
This is a great way to use an old picture frame. Something like this would make a nice hostess gift as well as for yourself.
-
Love this!


Frequently asked questions
Have a question about this project?
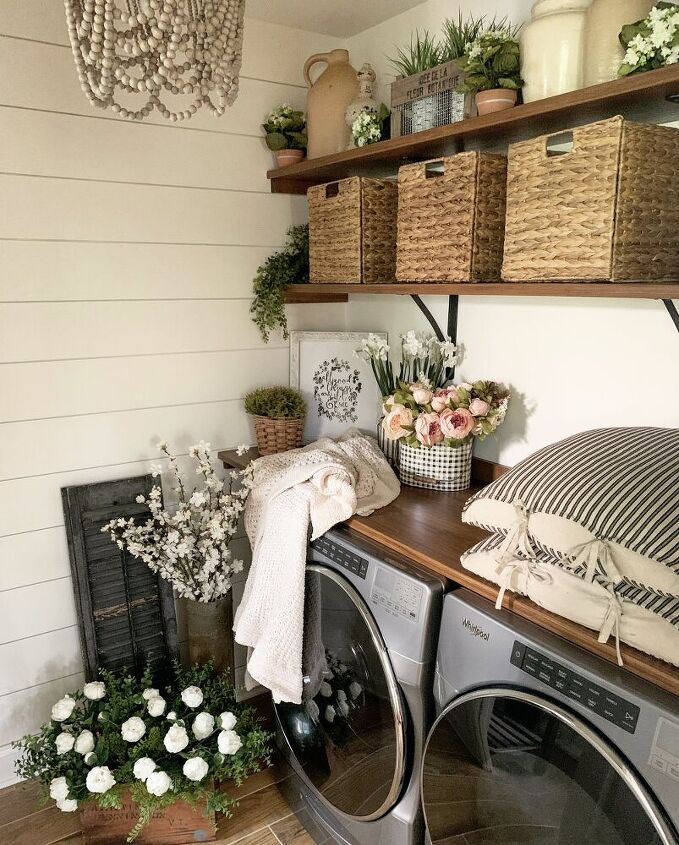
Okay, those are beautiful transformed art pieces and you put it all very nicely together like for a magazine photo layout but realistically, is that how your laundry room looks all the time? Flowers? Where do you fold clothes?