


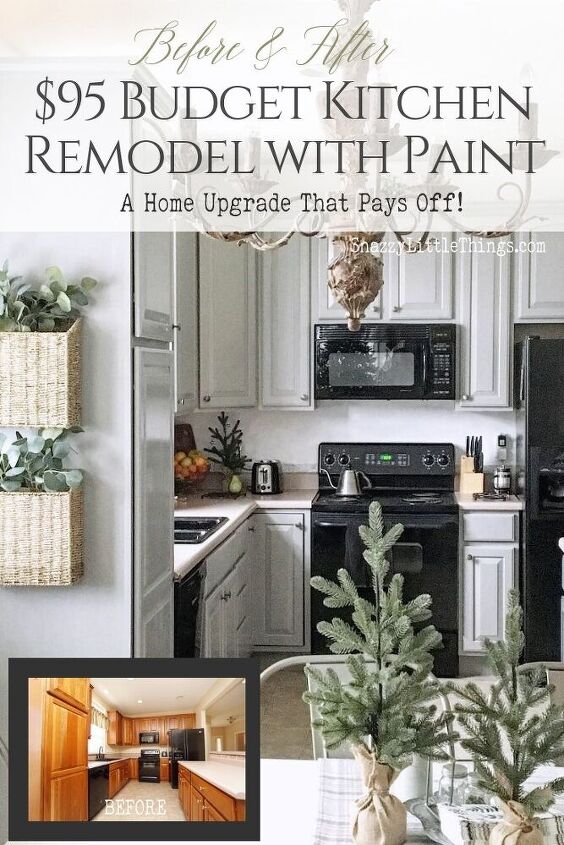
Spruce Up Your Kitchen Cabinets With This Painting Tutorial
I’m on a mission to upgrade my kitchen, but for now we can only afford paint. Painting kitchen cabinets seems like a daunting task to many. There is a lot of work involved, and in order to get it just right there are a few steps you need to take before you paint. I'm on my 5th painted cabinet project. In our previous house our painted kitchen increased its marketability in a busy real estate market, and our realtor agreed it added value to the bottom line. Painting your kitchen may seem like it’s a never-ending project, but this shouldn’t stop you from taking it on as the results will be absolutely stunning! Today I’ll show you how to properly paint your kitchen cabinets to last for years to come
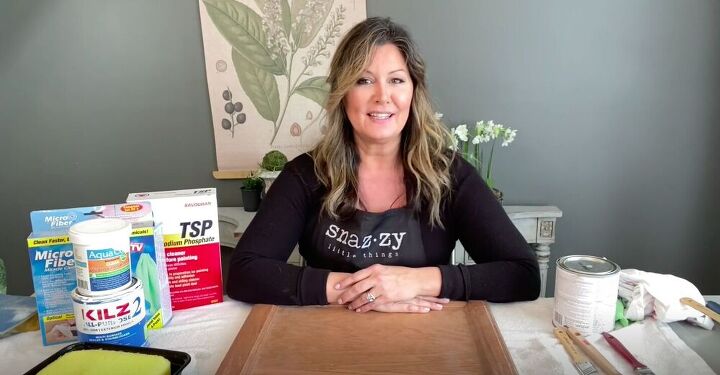
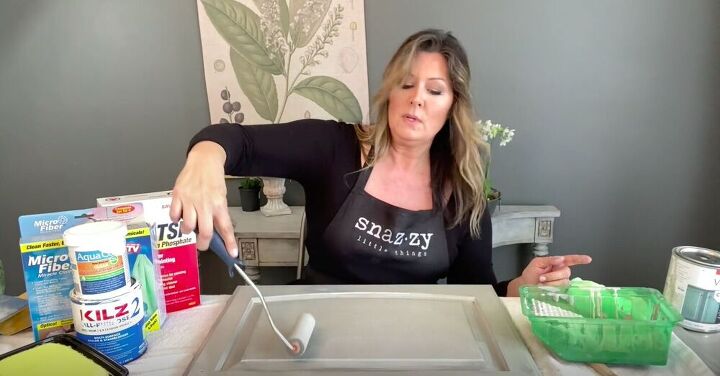
Tools and Materials:
- Paint brushes
- Foam roller
- Sanding sponge
- Electric sander
- Primer
- Wood filler
- Paint

Depending on the material your cabinets are made of, and the look you’re going for, this step may vary in how long it takes. In my previous kitchen I had oak cabinets. Our current kitchen (they gray) is a smooth grain.
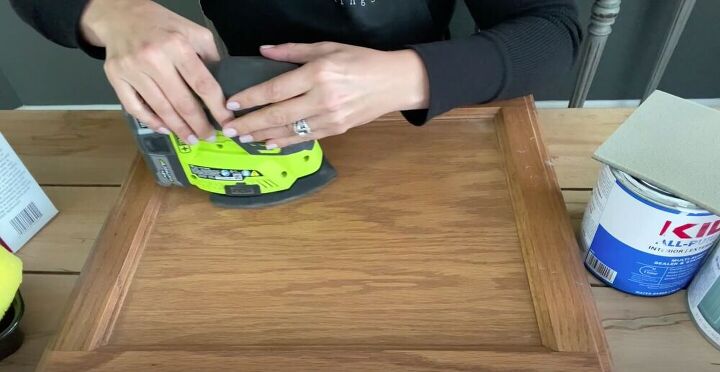
My cabinets were made of oak and I wanted to not only remove the previous stain, but I also wanted to cover up the open grain of the wood. For open grain, I started by sanding with an electric sander. My goal was not to sand through the veneer, but rather to take the grain down a notch to make it easier to fill in the next step.
If you have smooth grain, I simply hand sand just to rough up the surface.
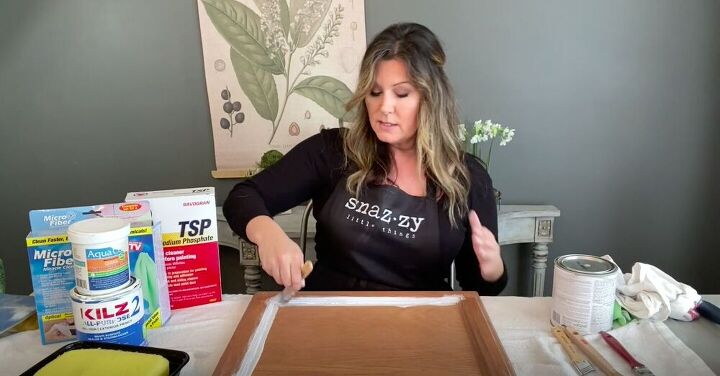
Once I had fully sanded, I primed my cabinet. I like to prime before I use wood filler to be able to better see what grain needs more wood filler than others.
Priming is a very important step because it also blocks tannins from seeping through and yellowing your paint. Even if a paint says "no prime needed" I think it is so important for kitchen cabinets.
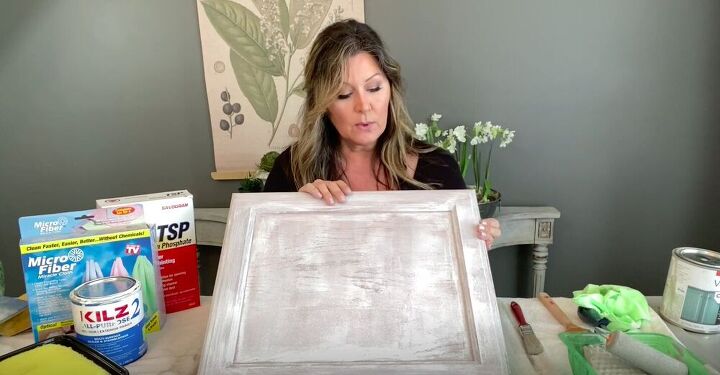
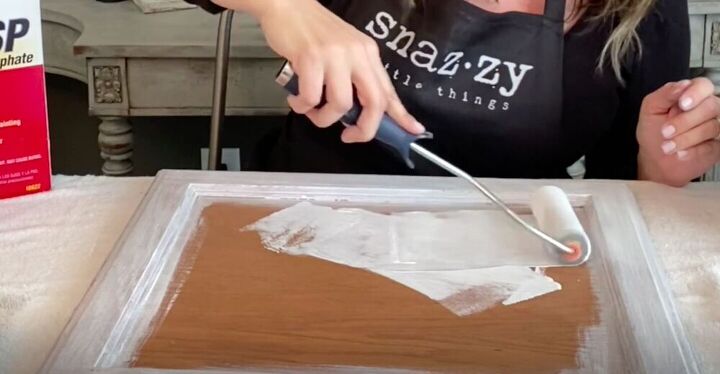
As you can see the primer has emphasized where I need to add wood filler, making it easier to add it only where needed. Alternatively you could just add layers and layers of primer until the wood grain is fully filled.
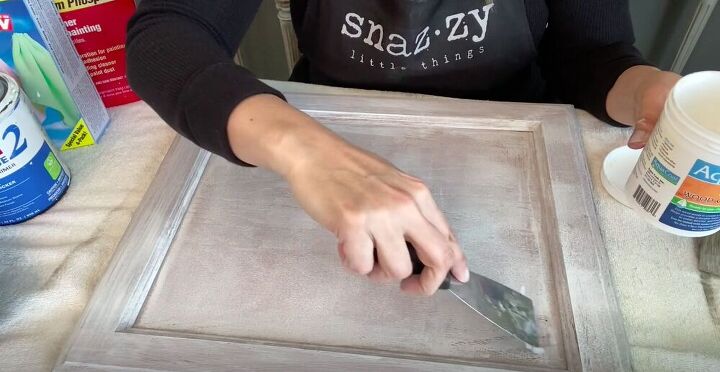
Working with a clear wood filler, I spread a thin layer of wood filler where needed. If you feel like it’s needed, you can also add another layer of primer once the wood filler has dried. It’s also important to lightly sand once the wood filler has dried to create a completely smooth surface.
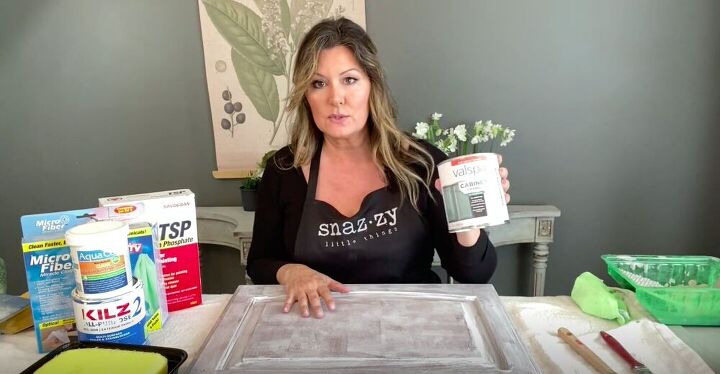
I love using Valspar paints for these projects. I get a really nice result and they have colors that I like. They can also be easily tinted to perfectly fit your project.
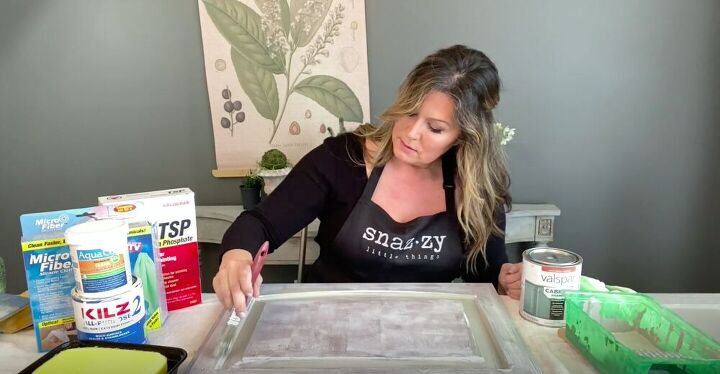
I start painting by cutting into the trim first with thin layers. If you paint it on too thick it may end up peeling off, ruining all your hard work. So don't glob on the paint.
I continued painting in even, light layers. painted two coats of this paint. Because it’s an enamel paint, I didn’t need a topcoat, which saved me a bunch of time. Also, if someone happens to bump into a cabinet and cause a chip or scratch, all you need to do is lightly touch it up. If you have a topcoat, it becomes more complicated with more steps.
Tip:
If you happen to be painting in a hot space, like a garage, your paint may get a bit gummy. I find it useful to keep water on hand to dip my brush into and keep the paint from doing this.

Tip:
If you’re nervous about a project of this magnitude, go ahead and start with the inside of your cabinets. If you happen to make a mistake it’s no big deal as you’ll probably be the only one who ends up seeing it, and it allows you to perfect your technique before you move on to the cabinet doors.
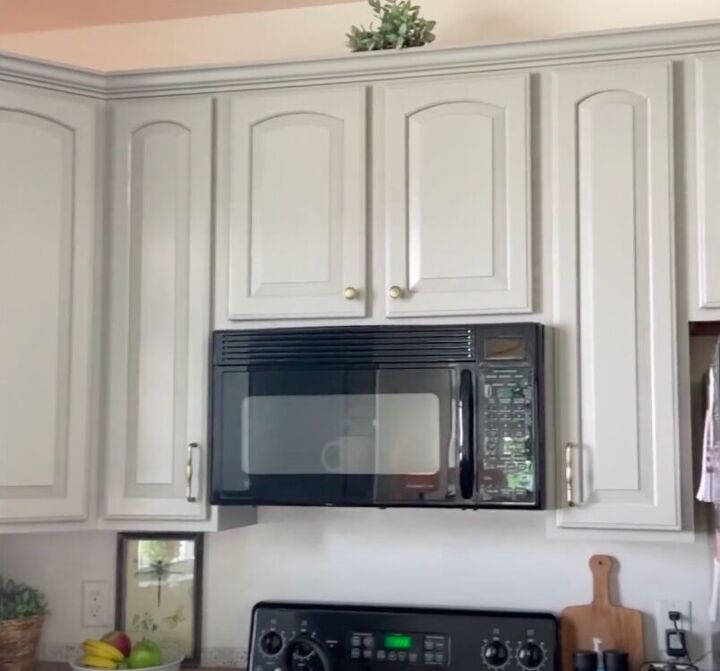
It took some time to fully paint all of the cabinets, but I think the finished product speaks for itself! What color would you update your kitchen cabinets with? Let me know in the comments below!
Resources for this project:
See all materials


Comments
Join the conversation
-
love that the color went to the fireplace mantle as well!
-
Just “WOW”!!!!!!!!!!!


Frequently asked questions
Have a question about this project?
Can you explain a bit more about using primer to show where wood filler is needed?
You mention dipping brush in water so is this a water based enamel? I know oil based is supposed to be stronger but I hate the hassle and fumes. I had wondered if waterbased paint could be as sturdy with proper prep.
I love the color, what color of valspar did you use in the cabinets
thank you