


Cornhole Boards DIY
My daughter is getting married in 2021, and she asked me to make a couple of cornhole boards for her wedding festivities. A couple of day's work later, this is what I came up with. What a fun family game for the yard!
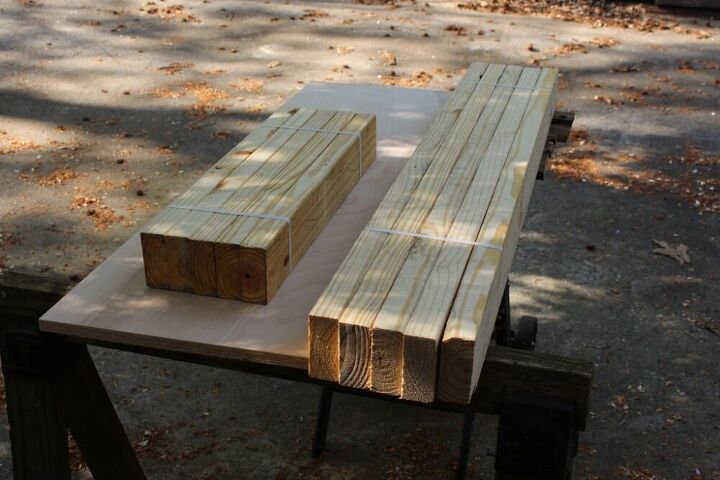
I decided to use premium pine. The boards have fewer knots and are straighter. All you need are a few 2X4s and two 4 ft by 2ft by 3/4 in. plywood boards. I used the birch plywood, but they have other selections. I did NOT use treated, but then I don't intend to leave these out in the rain.
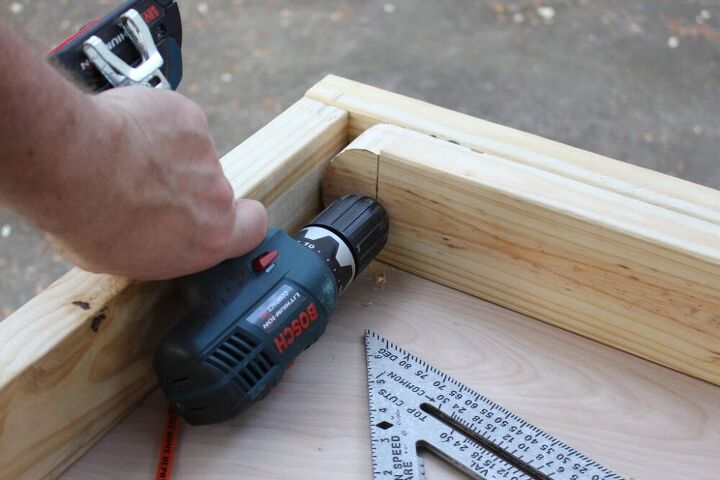
You can get all the measurements from my plans available at my website. Once I cut the 2 X 4s to appropriate length, I drilled pilot holes and screwed them together.
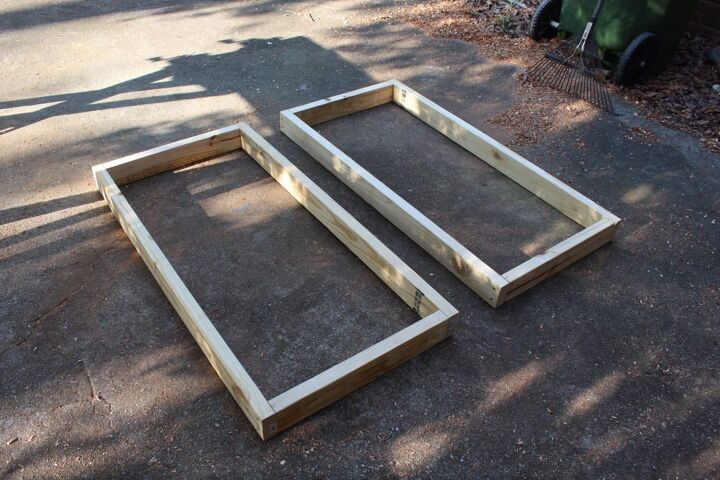
I have finished assembling the frames. Now I can attach to the plywood. Everything looks good and straight. It's hard to go wrong with premium lumber.
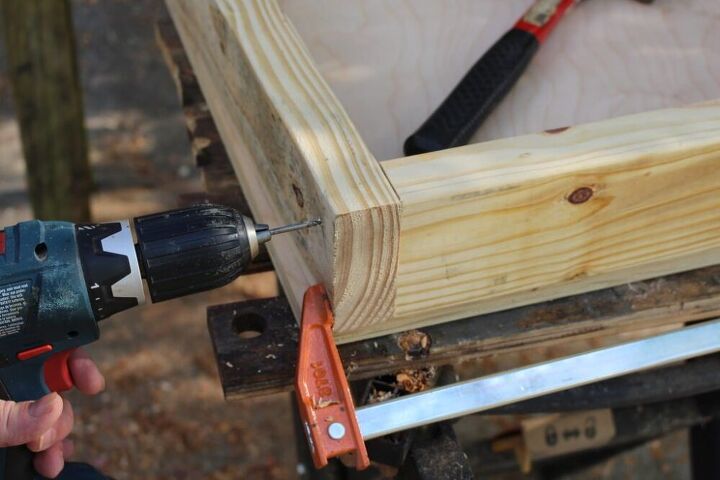
Now I'm attaching the frames to the plywood. I used one drill to create pilot holes and the 2nd to screw plywood to frame. The quick grip clamps come in very handy for helping me hold the boards together while I use the drill.
Each cornhole board has 2 legs on one side to give the cornhole board the needed slant for the game. So, I cut out the legs and rounded over one end of each leg. Then I measured and drilled the attachment / pivot hole for the legs. The legs will fold out when you use the boards and fold in for storage.
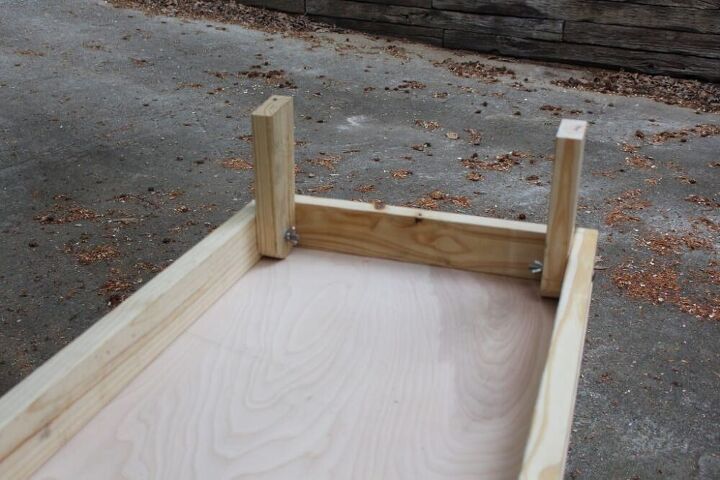
Here's the finished legs in the folded out position. I used carriage bolts with wing nuts.
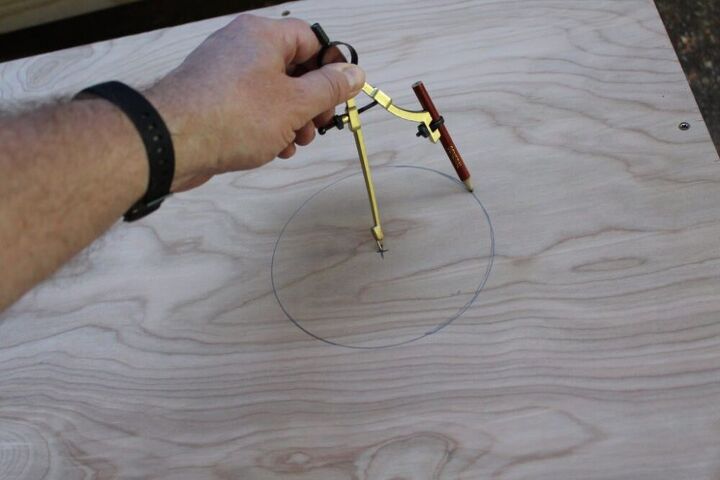
Next, I cut out the 6 inch hole. You can do this one of two ways. I used a jigsaw, but you can buy a 6 inch hole saw to do the job.
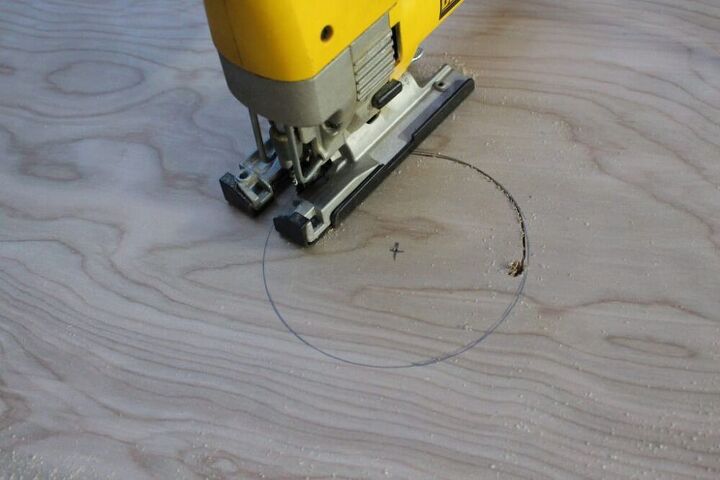
Here I'm using the jigsaw to cut out the 6 inch hole.
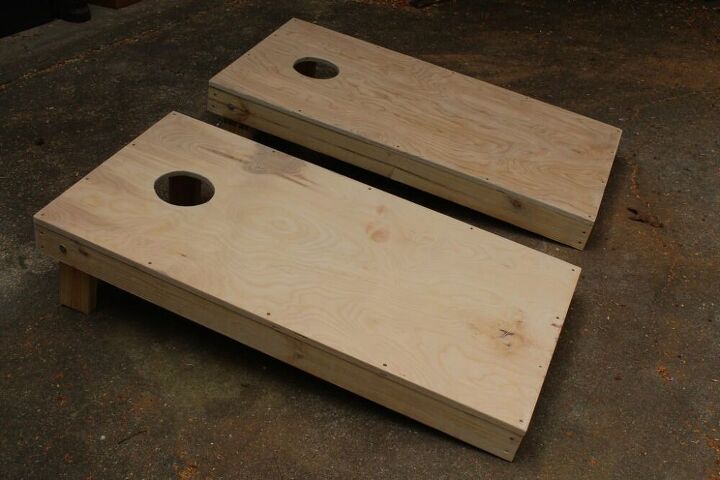
Here's a photo of my set of roughly finished cornhole boards. Now I'm ready to sand, stain and finish.
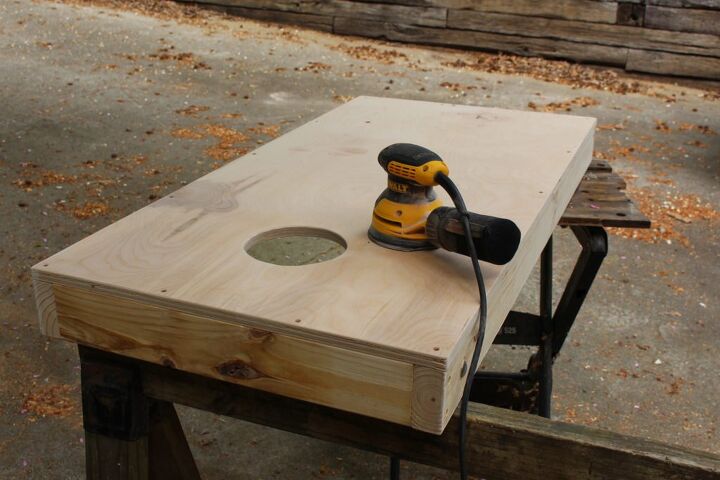
I used an orbital sander to do all the sanding on the boards. I started with 120 grit and then went to 220 grit. When sanding is complete, use an air compressor or denatured alcohol to remove wood dust.
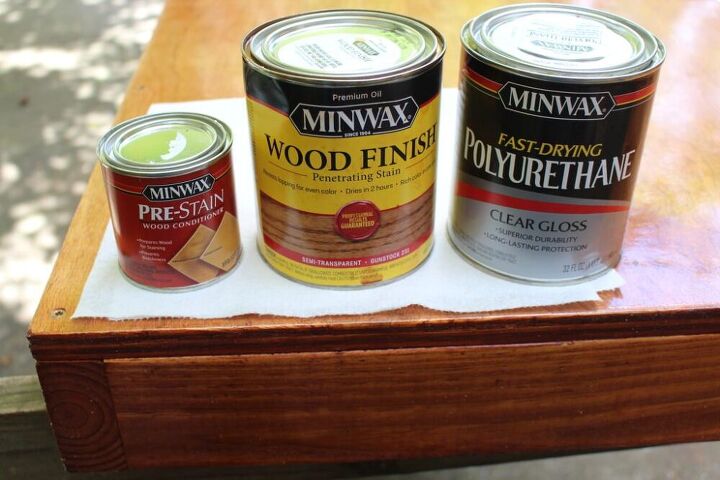
After sanding is complete, I treated the cornhole boards. First, I used a pre-stain sealer. The pre-stain sealer is important to use especially for birch plywood or pine. Next, I used a stain. Applied the stain and wiped off excess. Lastly, I used fast-drying Polyurethane. Follow directions on the cans.
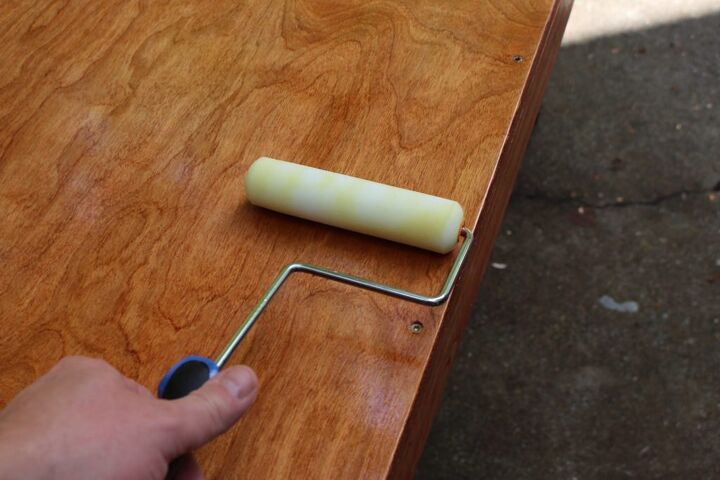
I added around 5 to 6 coats of polyurethane. This will help preserve the boards and creates a smooth surface for the cornhole bags to slide. Here I'm using a small roller brush to apply the polyurethane.
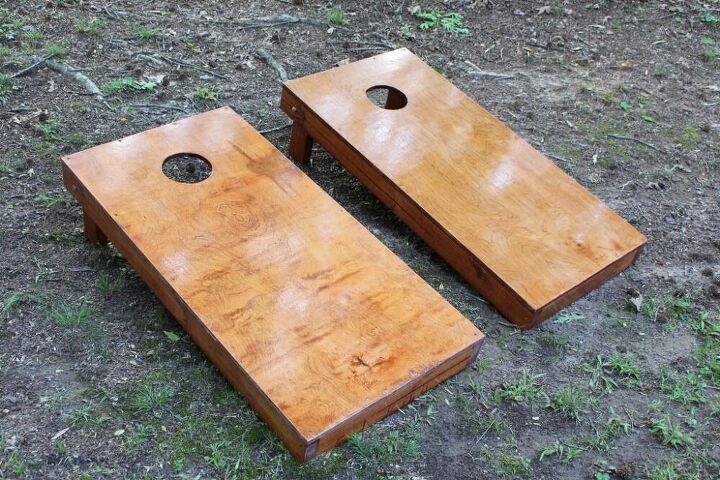
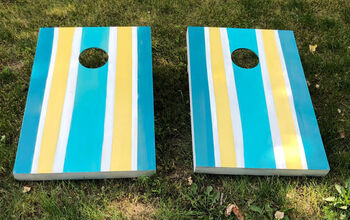
Here are the finished cornhole boards. This is a fun family project for the yard. You can get a detailed tutorial and detailed set of plans at my website. Please consider subscribing.
Some people like to make their own bags, but you can easily order a set from Amazon.
If you liked this tutorial, please check out my website and YouTube channel. If you subscribe to the website, I will send you a free Home Shop Safety & Tool Checklist. It's great for organizing your workshop and planning a safe workshop.
Resources for this project:


Comments
Join the conversation
-
Very nice! Looks great
-
👍🏼


Frequently asked questions
Have a question about this project?
What is size/ measurements of the 2x4’s and then height of the back legs??