


Dining Room Table MAKEOVER!

Hi, I'm Amber Oliver! I hope if you enjoy this project you'll also stop by my blog!
We were so excited to bring this table into the 21st century! The table was still in surprisingly good shape for surviving 5 kids and way more grandkids over 40+ years of meals. At my grandmas request we gave it a makeover!
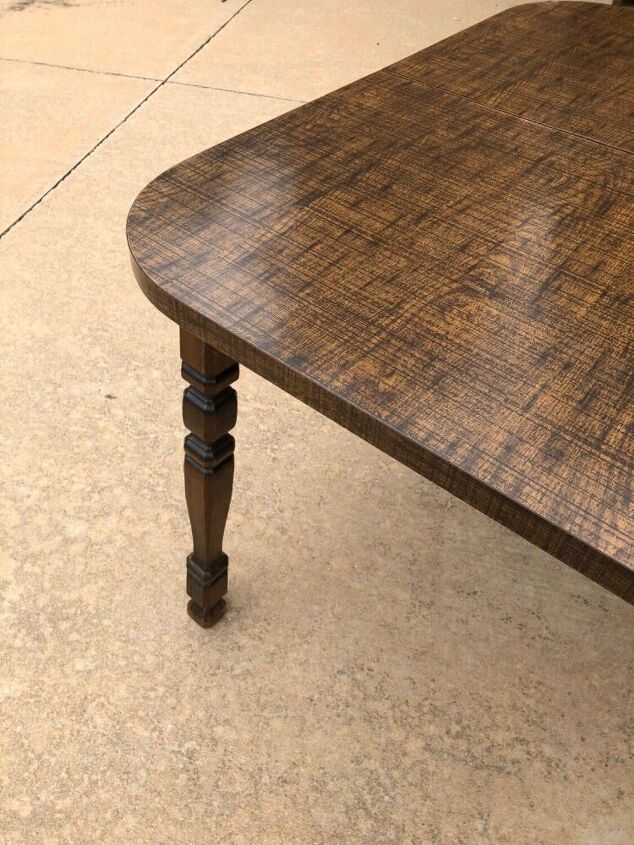
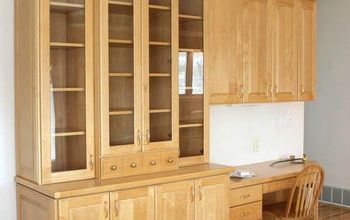
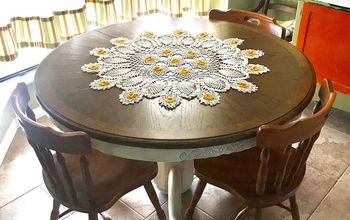
Here's what the table looked like before! My grandma wanted to keep the formica top, so we were going to try a two tone look with painted white legs and a dark top.
To begin, we started sanding. This is the longest part of the project and take your time here to ensure success when it's time to paint! You can use a sander on the larger/longer areas but you'll need to use sandpaper and hand sand in all the nooks and crannies of your table!
Now it's time for paint! We used the paint sprayer to make this part quick and easy!
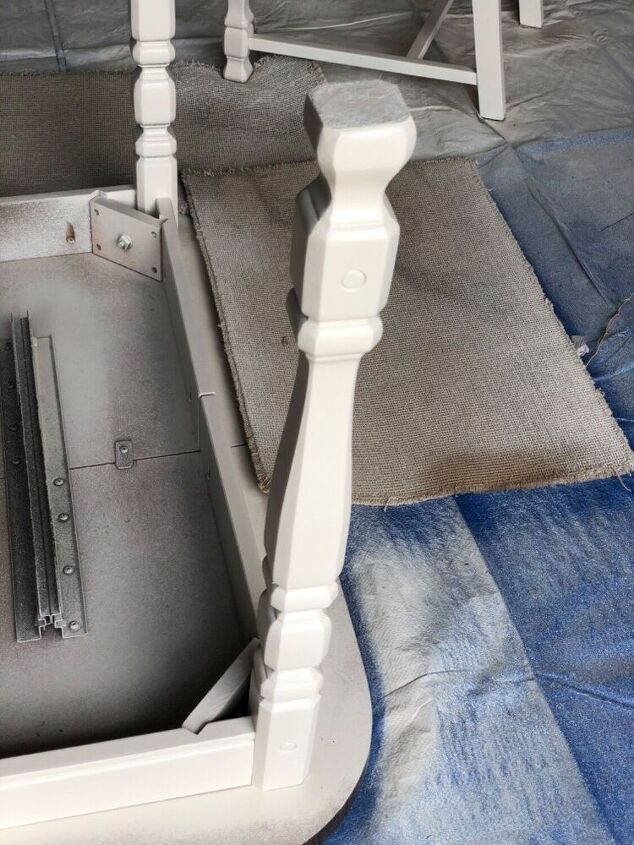
Because it was the underside of the table, we didn't take too much care in the spraying. If you're a perfectionist, you'll want to tape off before painting!! ;)
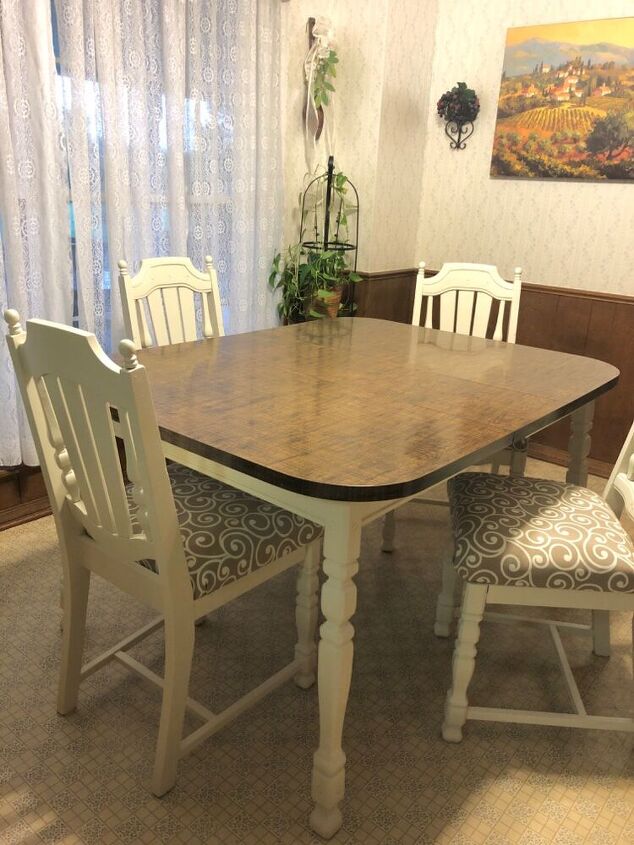
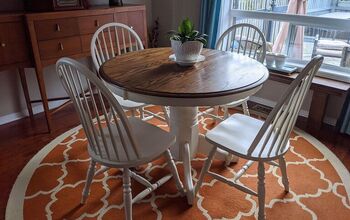
Here's what the table looked like after! We loved the two tone look and we won't have to worry about paint on the table top getting chipped, etc.
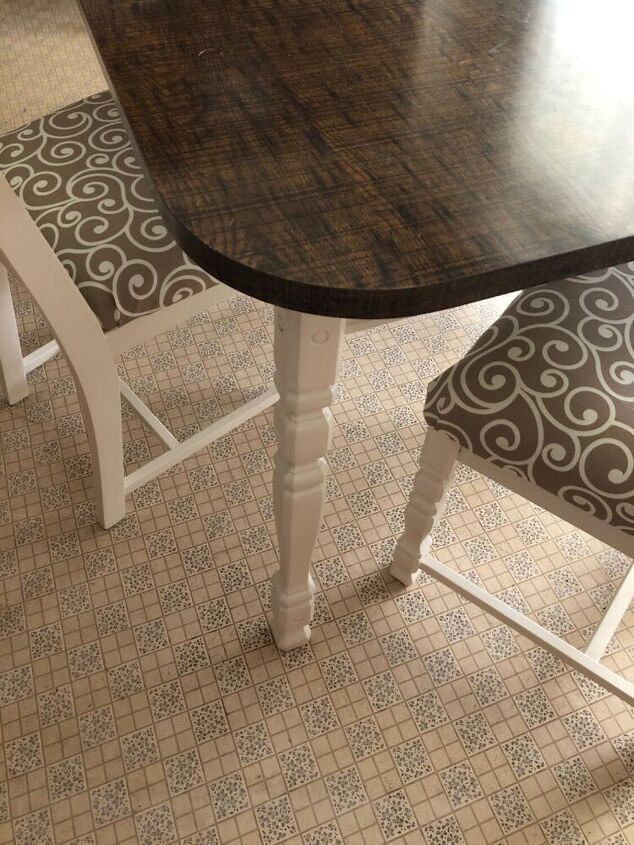
Now this dining table is ready for our next family meal!
If you enjoyed this project, please visit my FURNITURE ARCHIVE for more project inspiration!


Comments
Join the conversation
-
The table looks great! I'm sure your grandmother loved it! Thanks for sharing!
-
Hi, just a heads up if you feel lazy - 'frenchchic lazy' paint needs no undercoat, no preparation and no finish! Very easy to use - just did all my chairs. Totally agree your table looks wonderful and up to date, really worth the effort, congratulations


Frequently asked questions
Have a question about this project?
Do you have to apply a sealer?